
Steps, page two:
posted by  FabLabWgtn on June 06, 2015


Twist all the dowels into the holes you drilled for them.
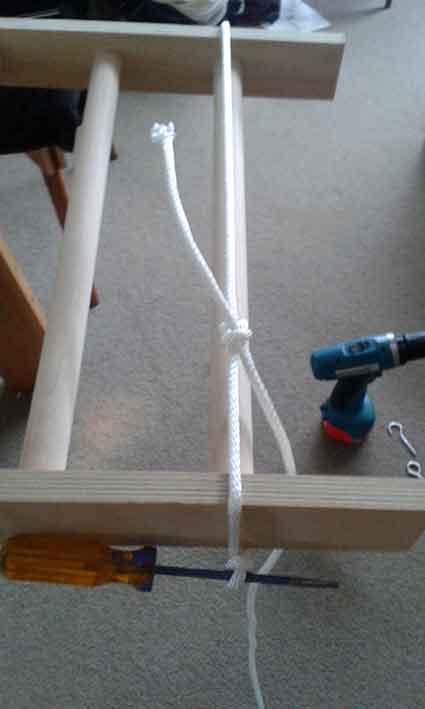
If the fit is a little snug and it’s not coming together evenly, tie a loop in the rope (see the photo) you have and then place it over the ply and dowels. Use the screwdriver to twist the rope so that it becomes tighter and draws the components together.
Do this all along the ‘ladder’. There’s no need for brute force - let the screwdriver and rope be your friends.
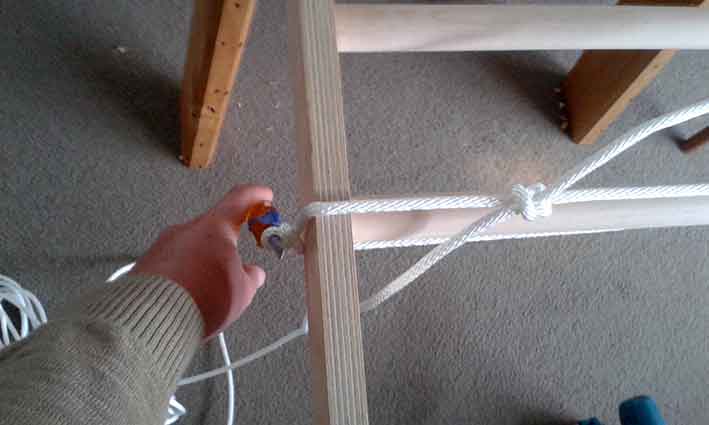
Now is a good time to screw it together. I put screws in both ends and in the middle but you could screw into all of your dowels if you feel like doing it. I marked out and drilled a pilot hole with a 3mm drill bit and then carefully countersunk the hole with an 8.5mm drill bit. I don’t have a countersink bit - you might want to practice that
step on a scrap of wood first.
If the fit is a little snug and it’s not coming together evenly, tie a loop in the rope (see the photo) you have and then place it over the ply and dowels. Use the screwdriver to twist the rope so that it becomes tighter and draws the components together.
Do this all along the ‘ladder’. There’s no need for brute force - let the screwdriver and rope be your friends.
Now is a good time to screw it together. I put screws in both ends and in the middle but you could screw into all of your dowels if you feel like doing it. I marked out and drilled a pilot hole with a 3mm drill bit and then carefully countersunk the hole with an 8.5mm drill bit. I don’t have a countersink bit - you might want to practice that
step on a scrap of wood first.