
Steps, page three:
posted by  FabLabWgtn on June 06, 2015

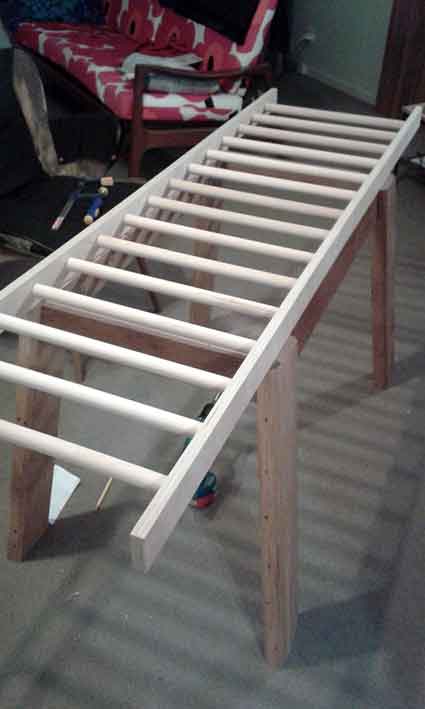
Here the frame/ladder/rack is, all put together on my ‘workbench’.
I used a tape measure to check (all along the width of the ‘ladder’) whether everything had gone together evenly.
That rope and screwdriver trick is really handy, aye?
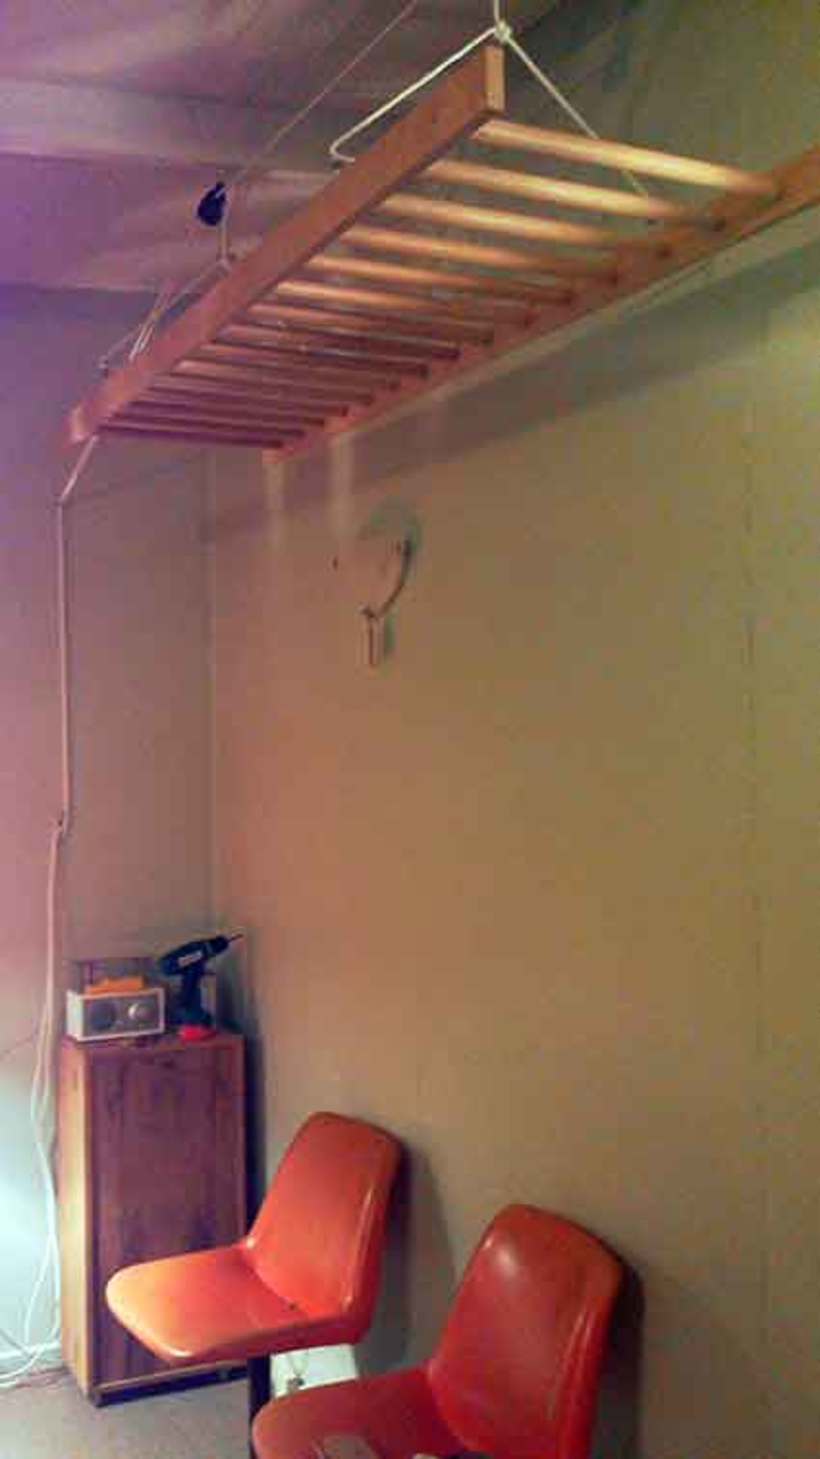
This is when I applied a sealer. I chose to rag on a satin water-based urethane so that the wood is sealed. This means that the clothes won’t be aected by the wood
or the sealer and the wet clothes won’t make the frame twist and warp.
Just a note: a pilot hole makes it easier to drive a screw into place. It also keeps it on track so that it doesn’t get distracted and go in the wrong direction.
I used a tape measure to check (all along the width of the ‘ladder’) whether everything had gone together evenly.
That rope and screwdriver trick is really handy, aye?
This is when I applied a sealer. I chose to rag on a satin water-based urethane so that the wood is sealed. This means that the clothes won’t be aected by the wood
or the sealer and the wet clothes won’t make the frame twist and warp.
Just a note: a pilot hole makes it easier to drive a screw into place. It also keeps it on track so that it doesn’t get distracted and go in the wrong direction.