Planning
IDEA SKETCH
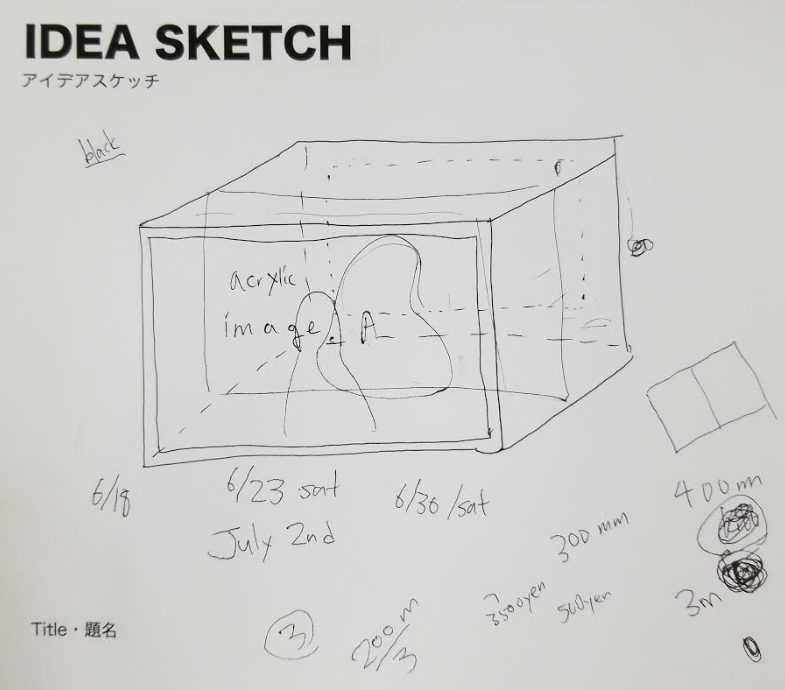
I first planned my project with an idea sketch. I wanted to create an artwork using laser cutter and 3D printing.
CONT.
I wanted to make a 3D photographic image.
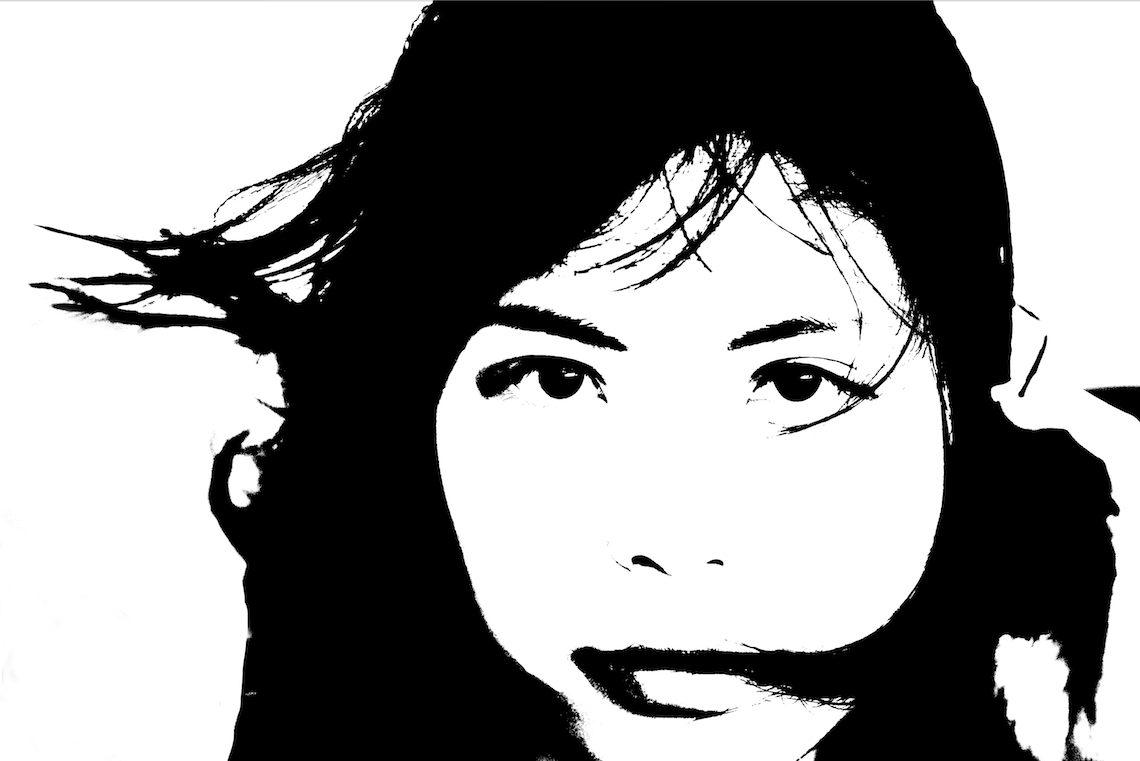
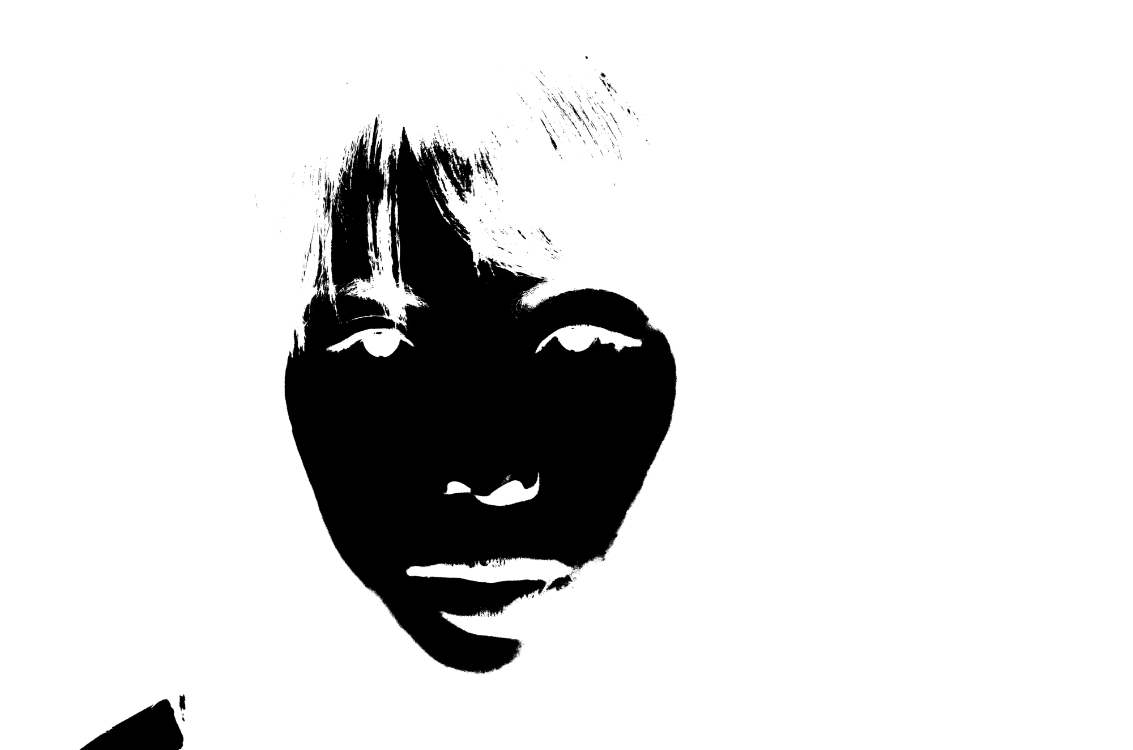
I chose 2 photos of a same person that are converted to black and white, and I planned to engrave the image on acrylic panels.
To align the photos, I needed a container. So I made a layout of an acrylic box that would hold the images.
I chose 2 photos of a same person that are converted to black and white, and I planned to engrave the image on acrylic panels.
To align the photos, I needed a container. So I made a layout of an acrylic box that would hold the images.
CONT.
BOX OUTLINE.
Creating a model
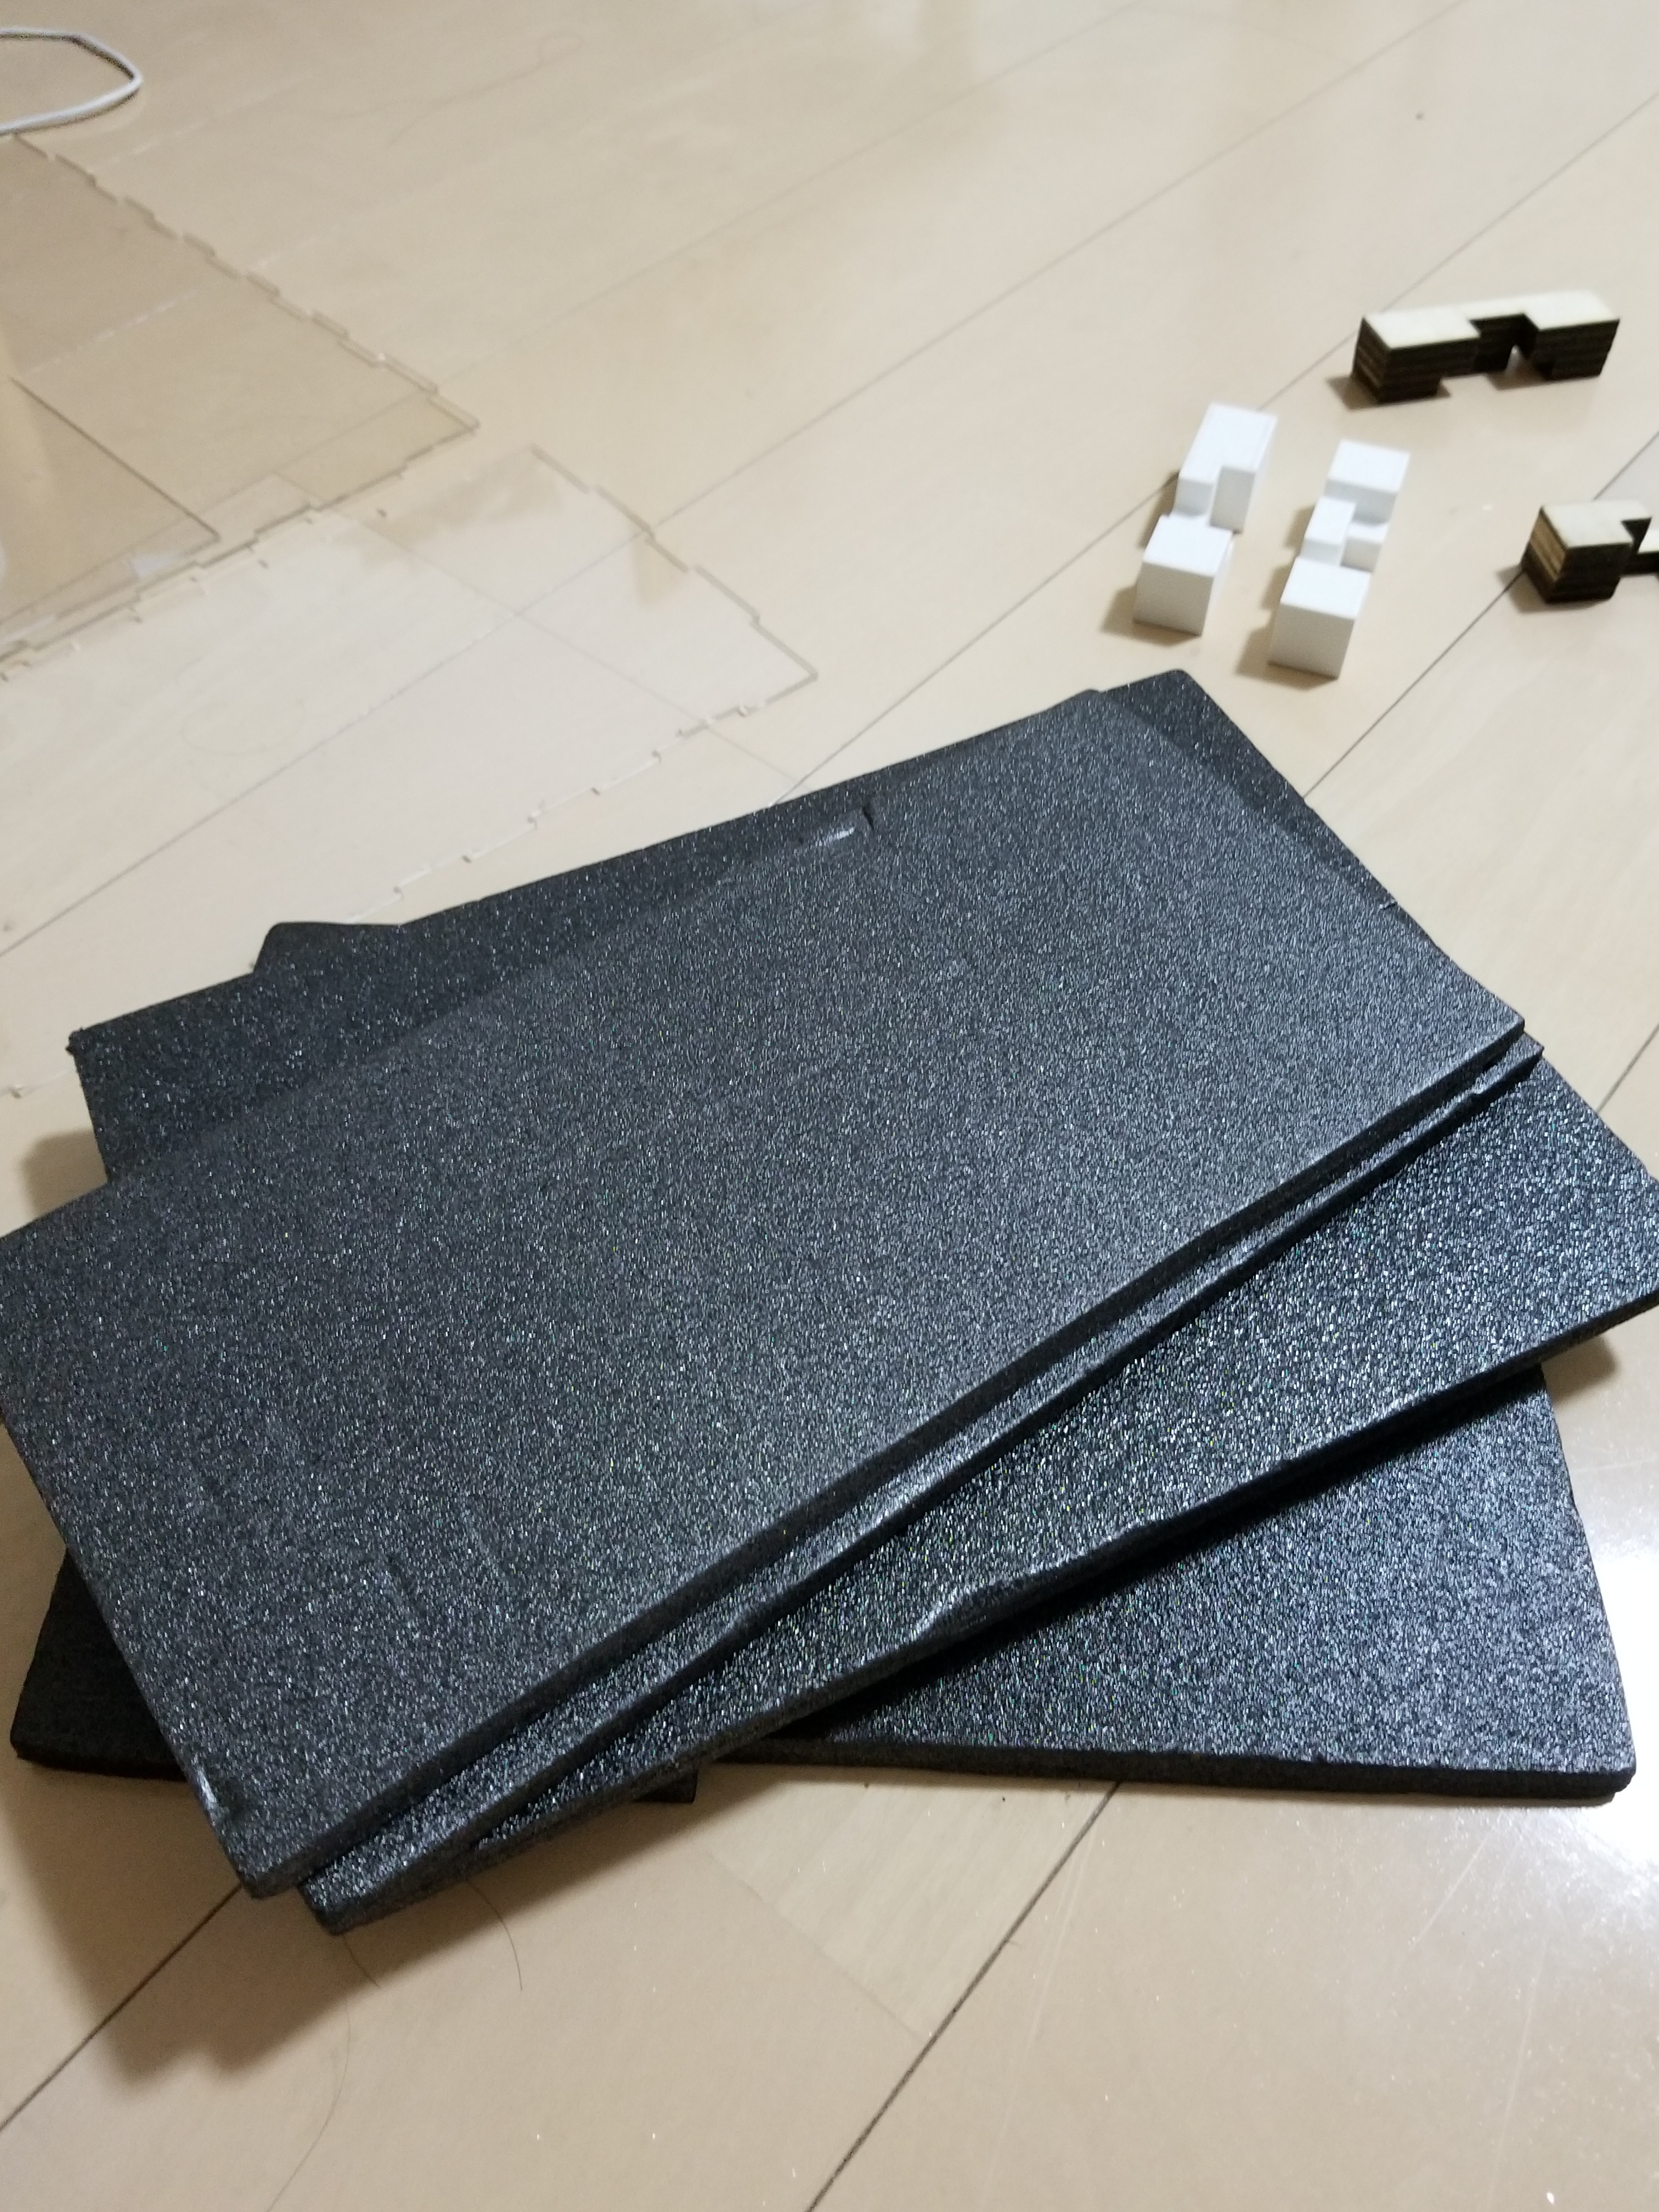
I made a prototype model with black boards I bought from DAISO.
It helped me better understand the size of the box.
3D printing
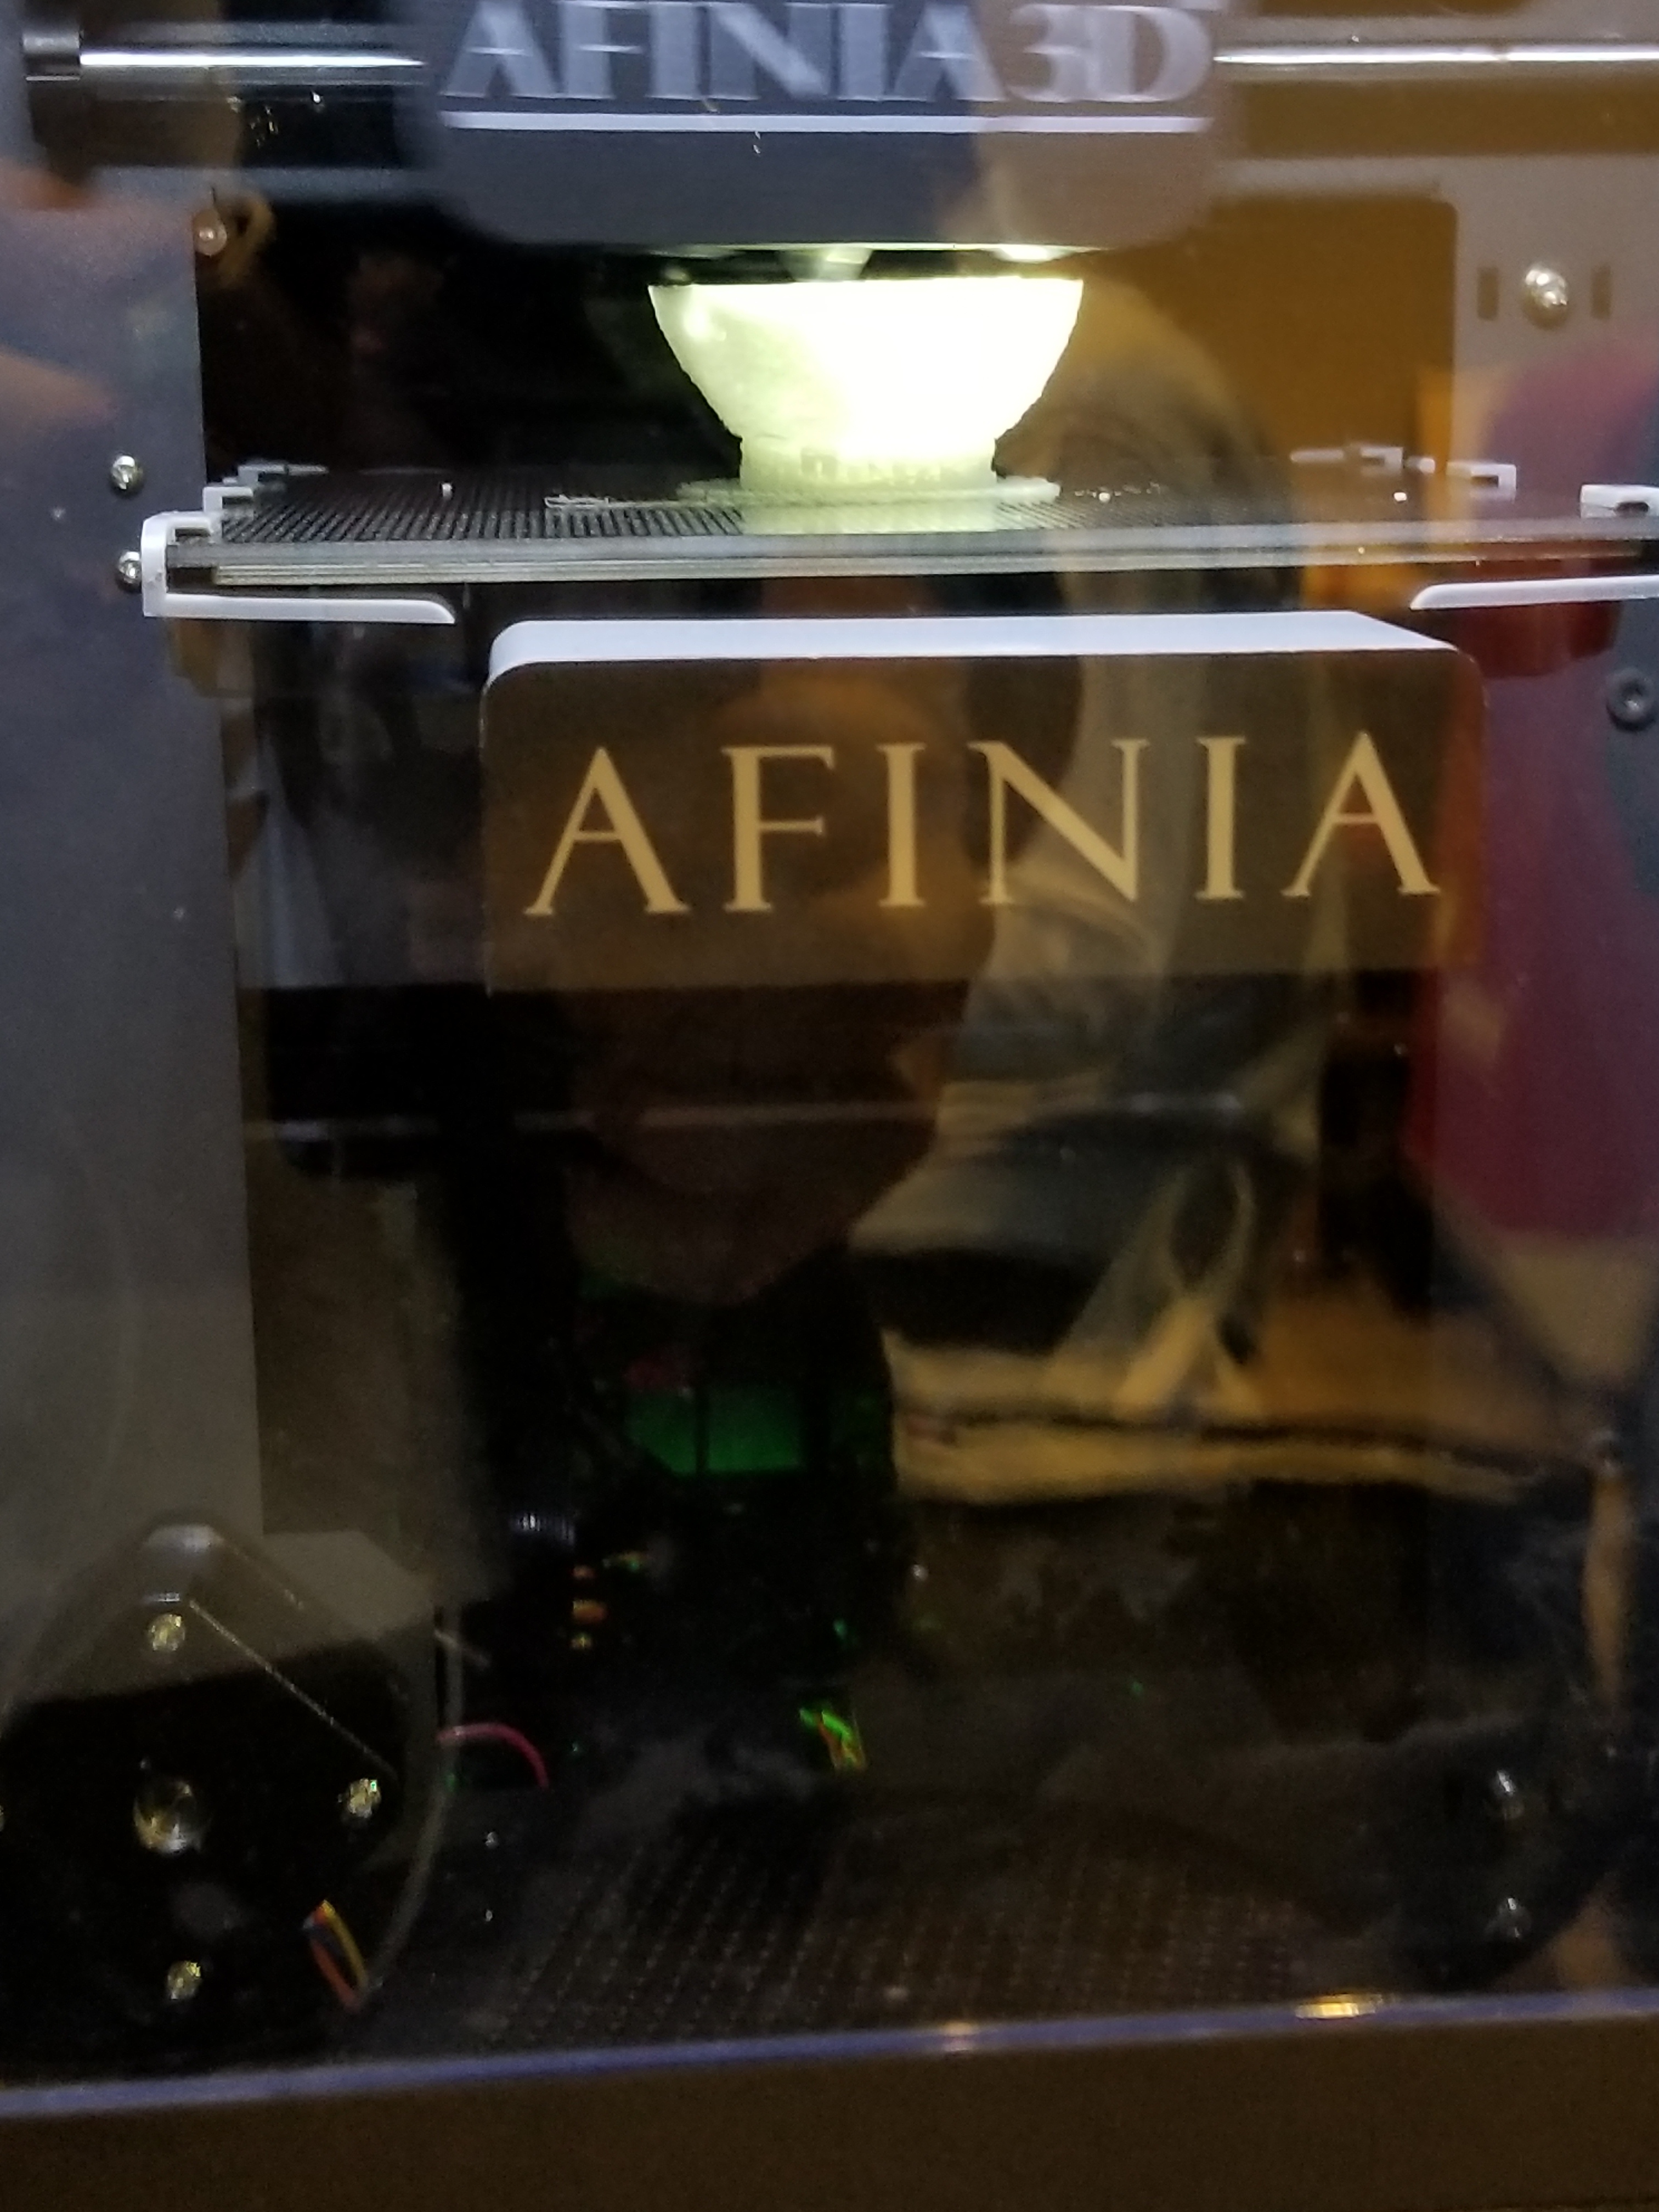
I went to FAB KAMAKURA to print my model with the 3D printer they have.
Due to the time limit, I could only choose to make it in a lower resolution. The moon could have looked much cleaner if it was in a higher resolution.
CONT.
3D printing took almost 5 hours in total.
The printer was different from the one we have at SFC, which made it slightly difficult to operate.
The printer was different from the one we have at SFC, which made it slightly difficult to operate.
Expectation

I wanted to print a moon shaped lamp with the 3D printer.
The picture shows the example that I wanted to create. (source: google image)
The picture shows the example that I wanted to create. (source: google image)
However, the resolution was too low and it could not print out the details on the surface. If anything, it had some tiny holes over the moon.
Laser cutting
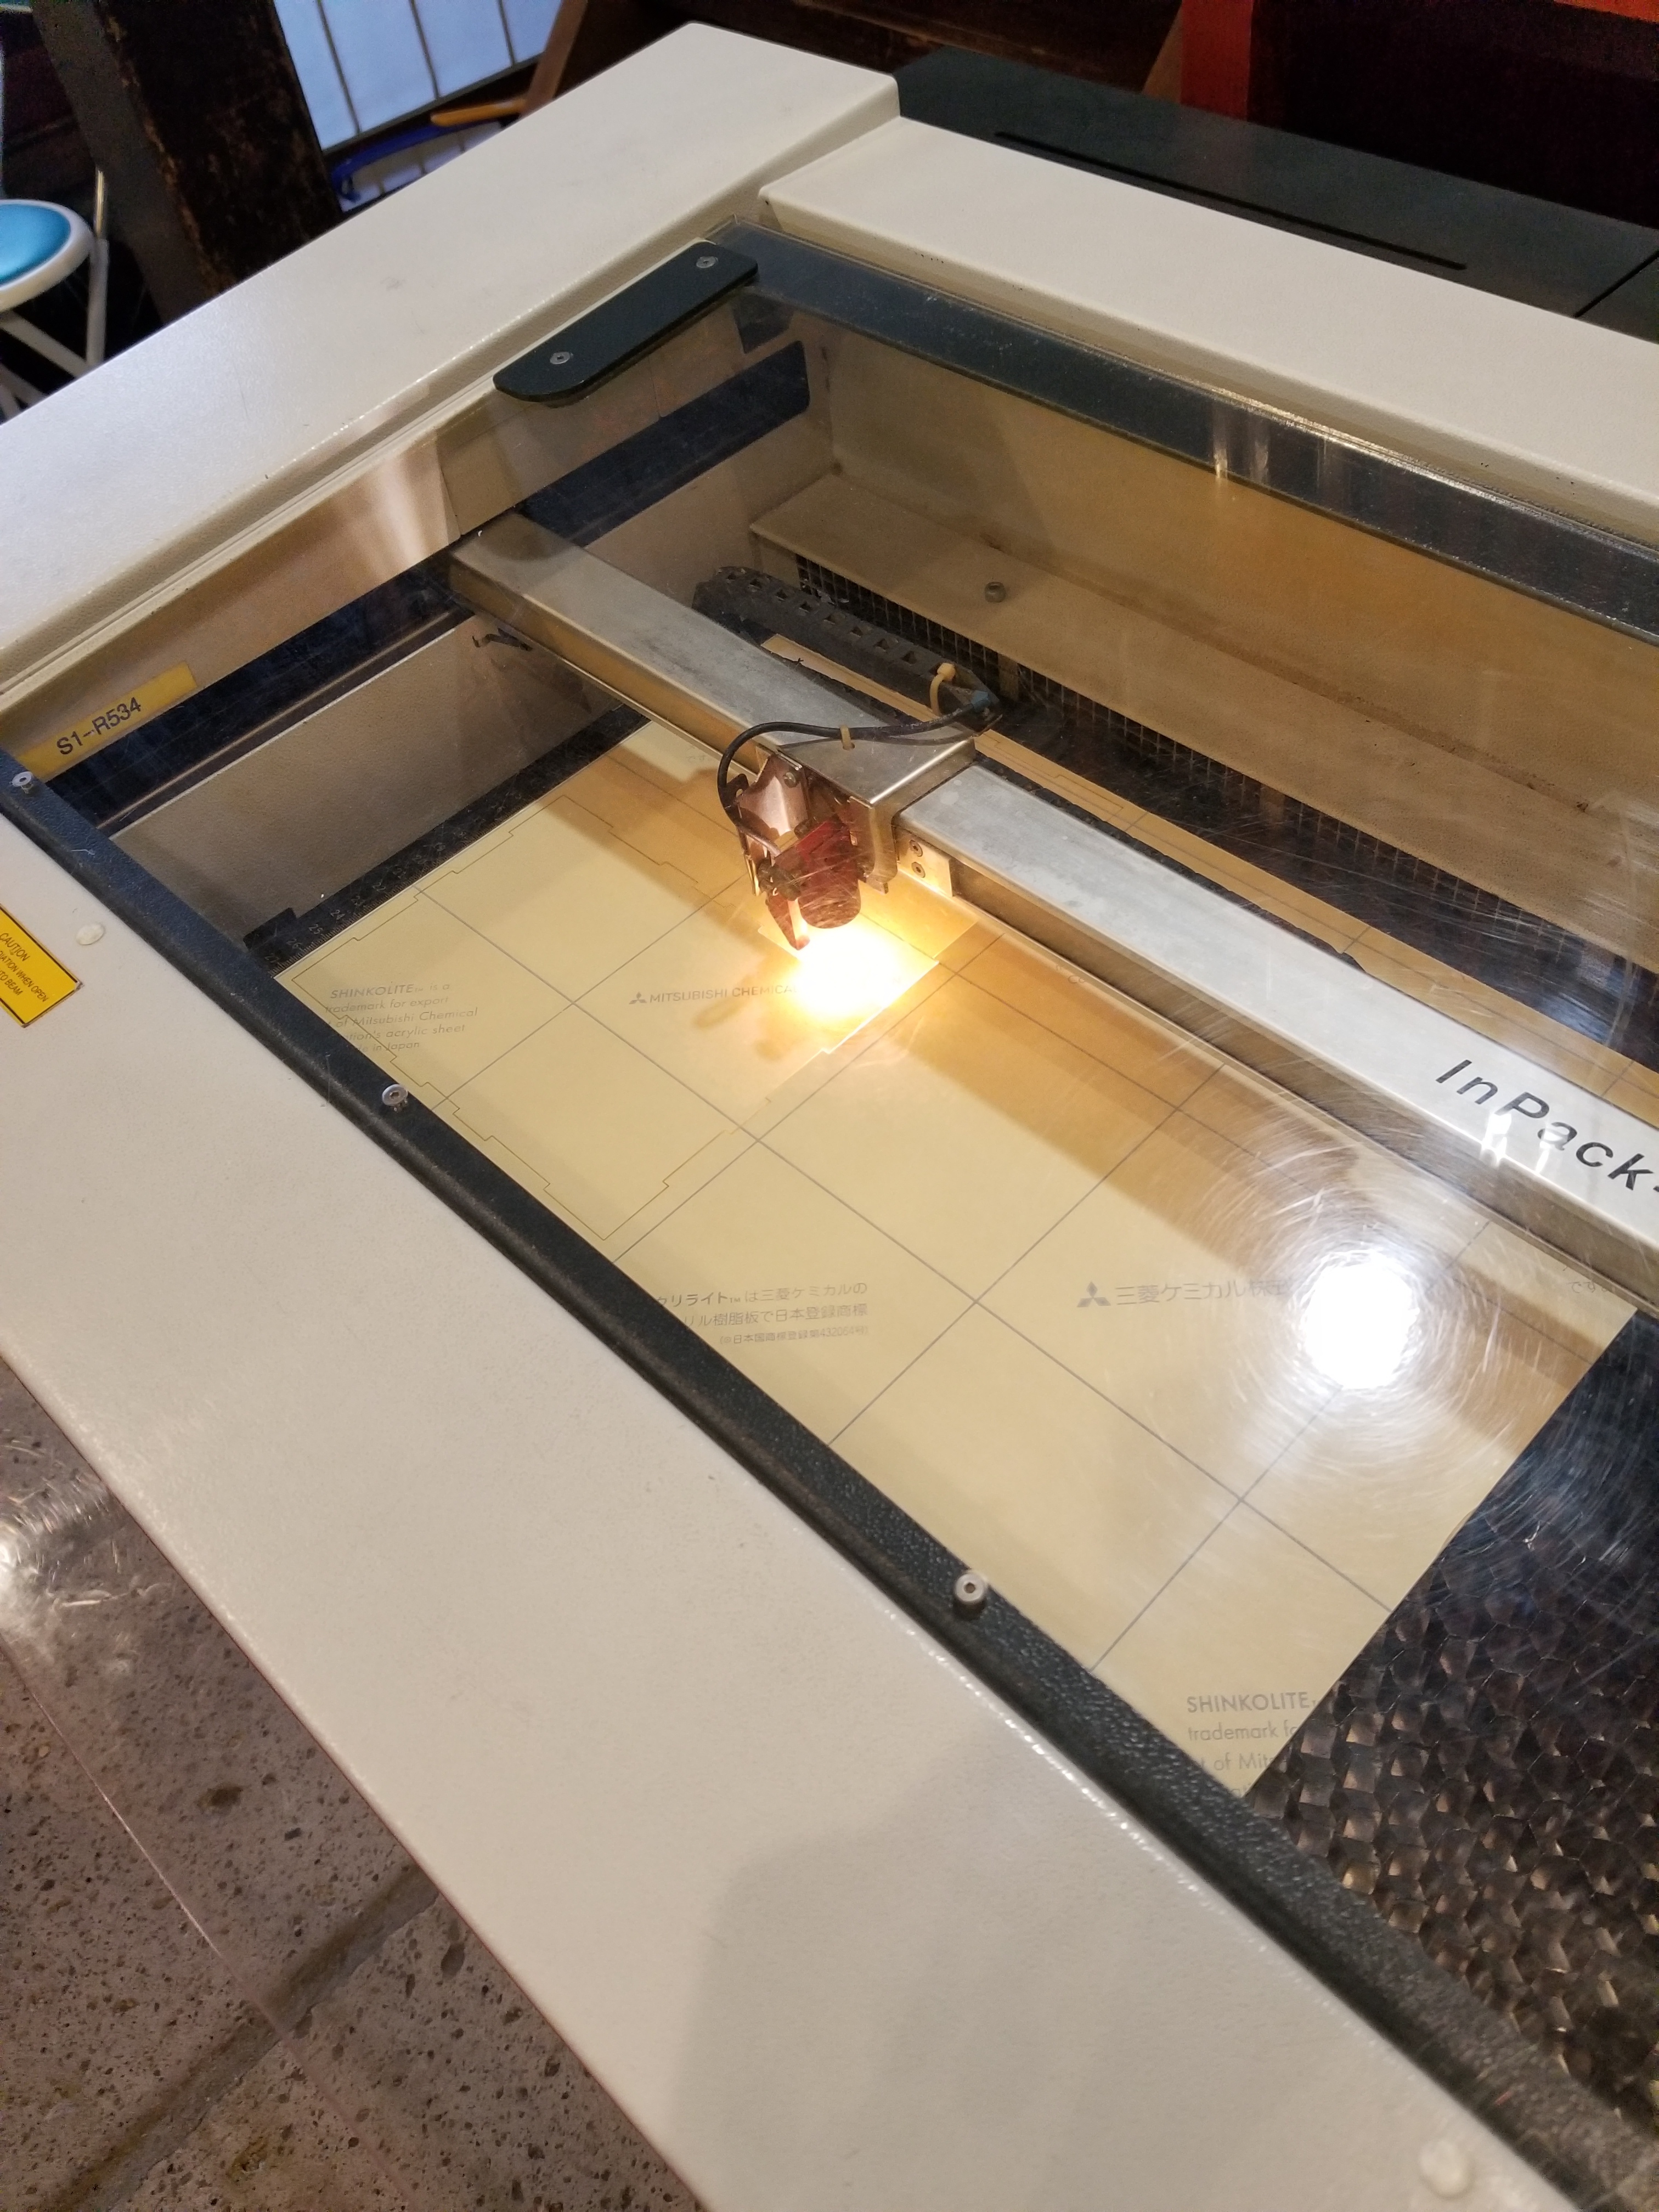
I used the lasercutter to cut and engrave the acrylic boards.
The difficulty was calculating the right size and measurement of the panels.
I had to find the optimal layout of the box to make the most out of the panel I bought.
I had to find the optimal layout of the box to make the most out of the panel I bought.
Measuring
I had to fix my measurement of the acrylic panels considering the gaps between edges.
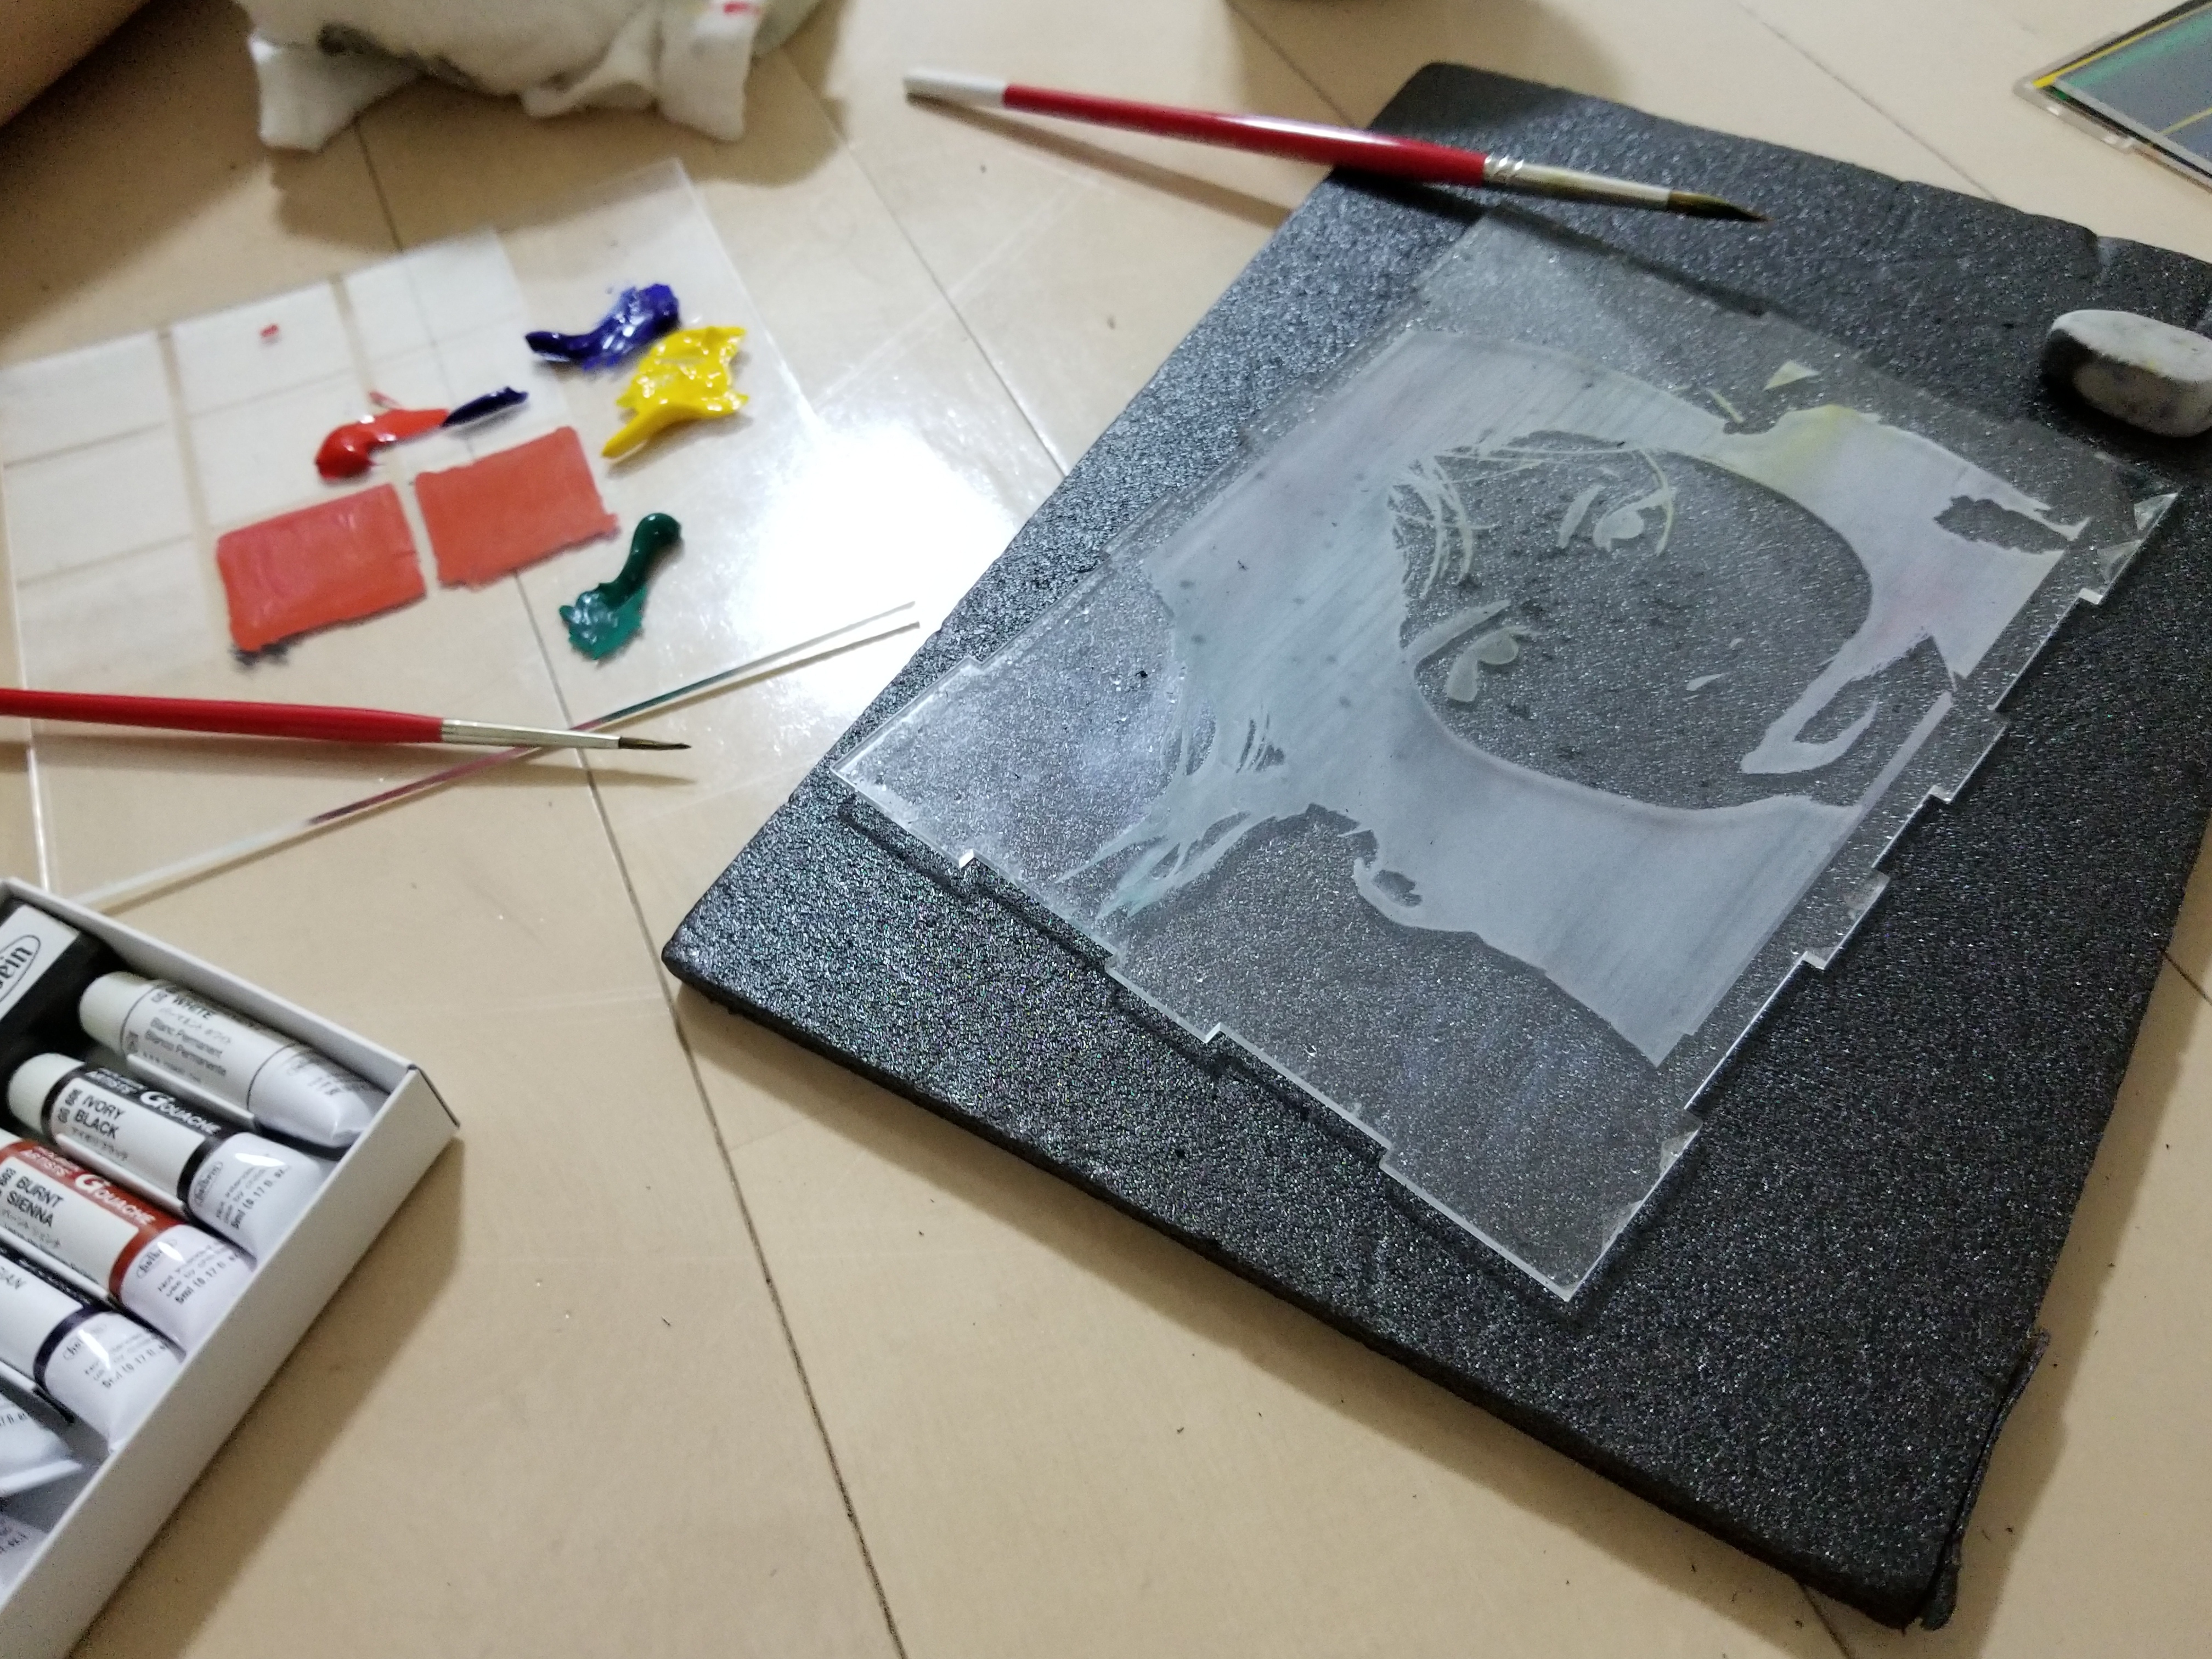
First Result
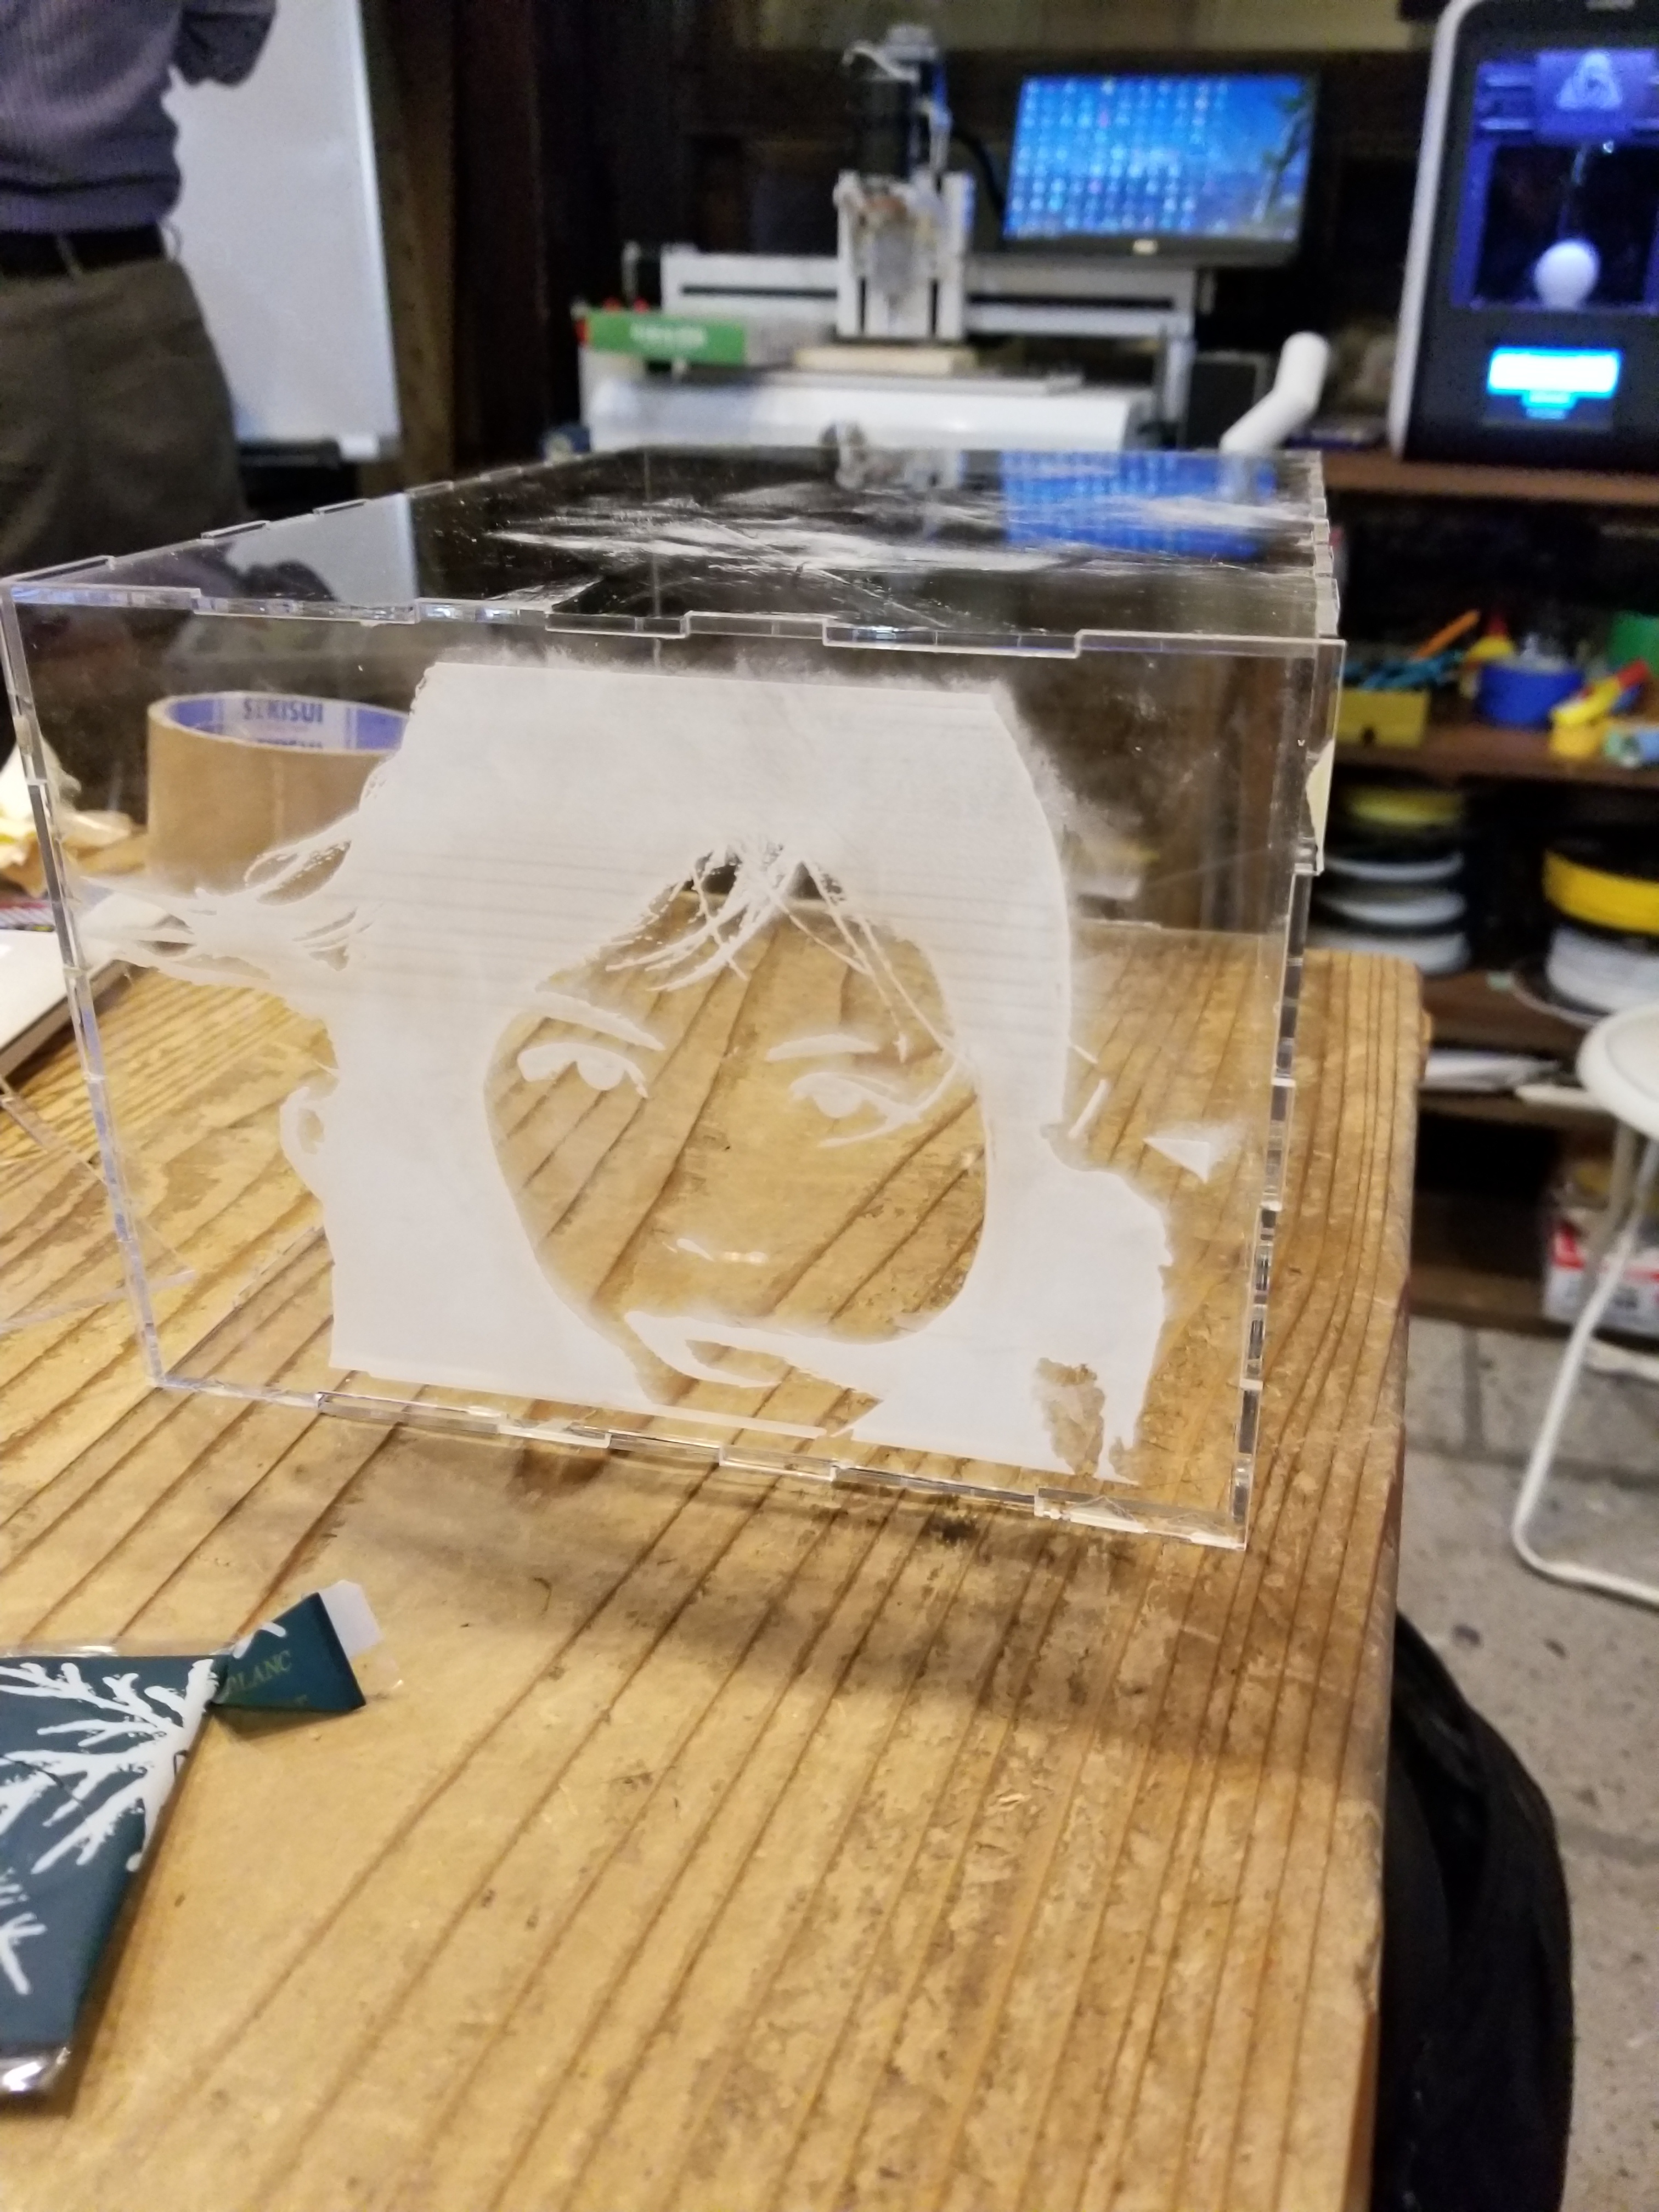
I assembled the pieces to see how it looks like.
The panels had some burn and scratch marks.
I had to wash and sand some of the parts to make it clean.
I had to wash and sand some of the parts to make it clean.
Coloring
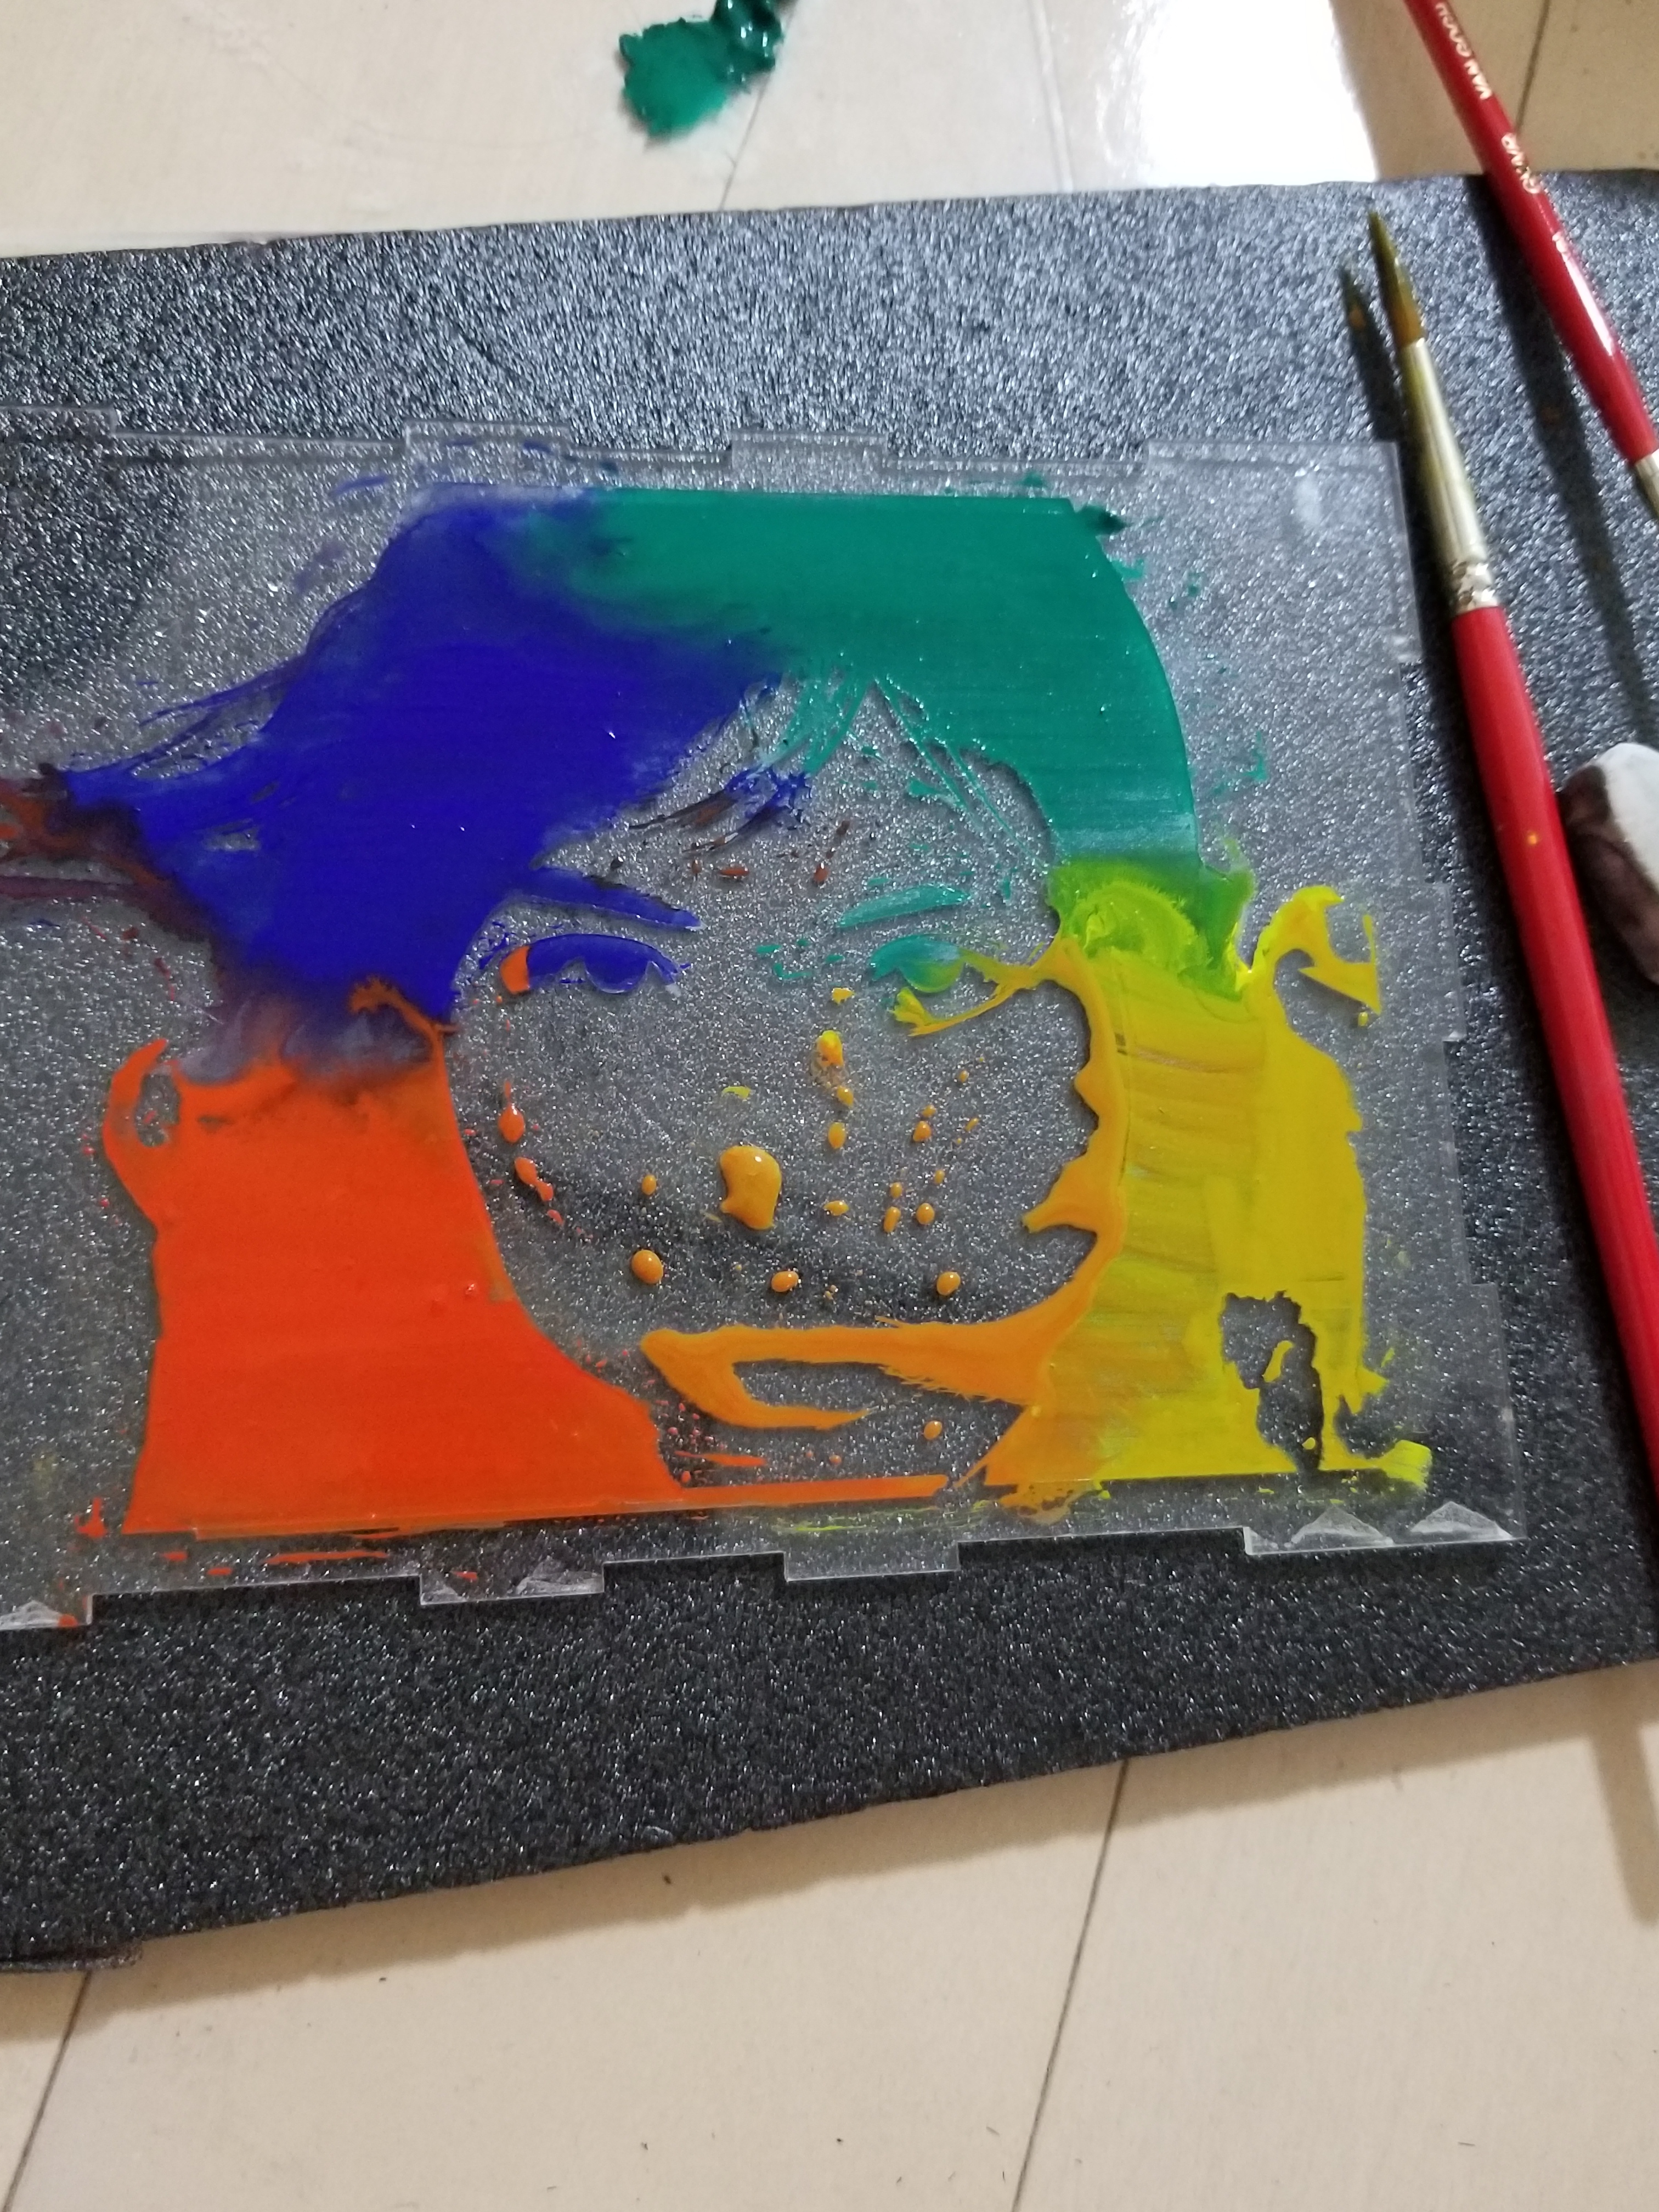
I tried many materials to add colors on the acrylic boards. It turned out water painting worked the best.
Colors
I used the water paint to add colors on the panel.
I added different colors for my work.
I painted over the panel multiple times in several layers, let the paints dry, and washed off the paints.
After the process, the paints will only remain on the engraved part of the panel.
Assembling
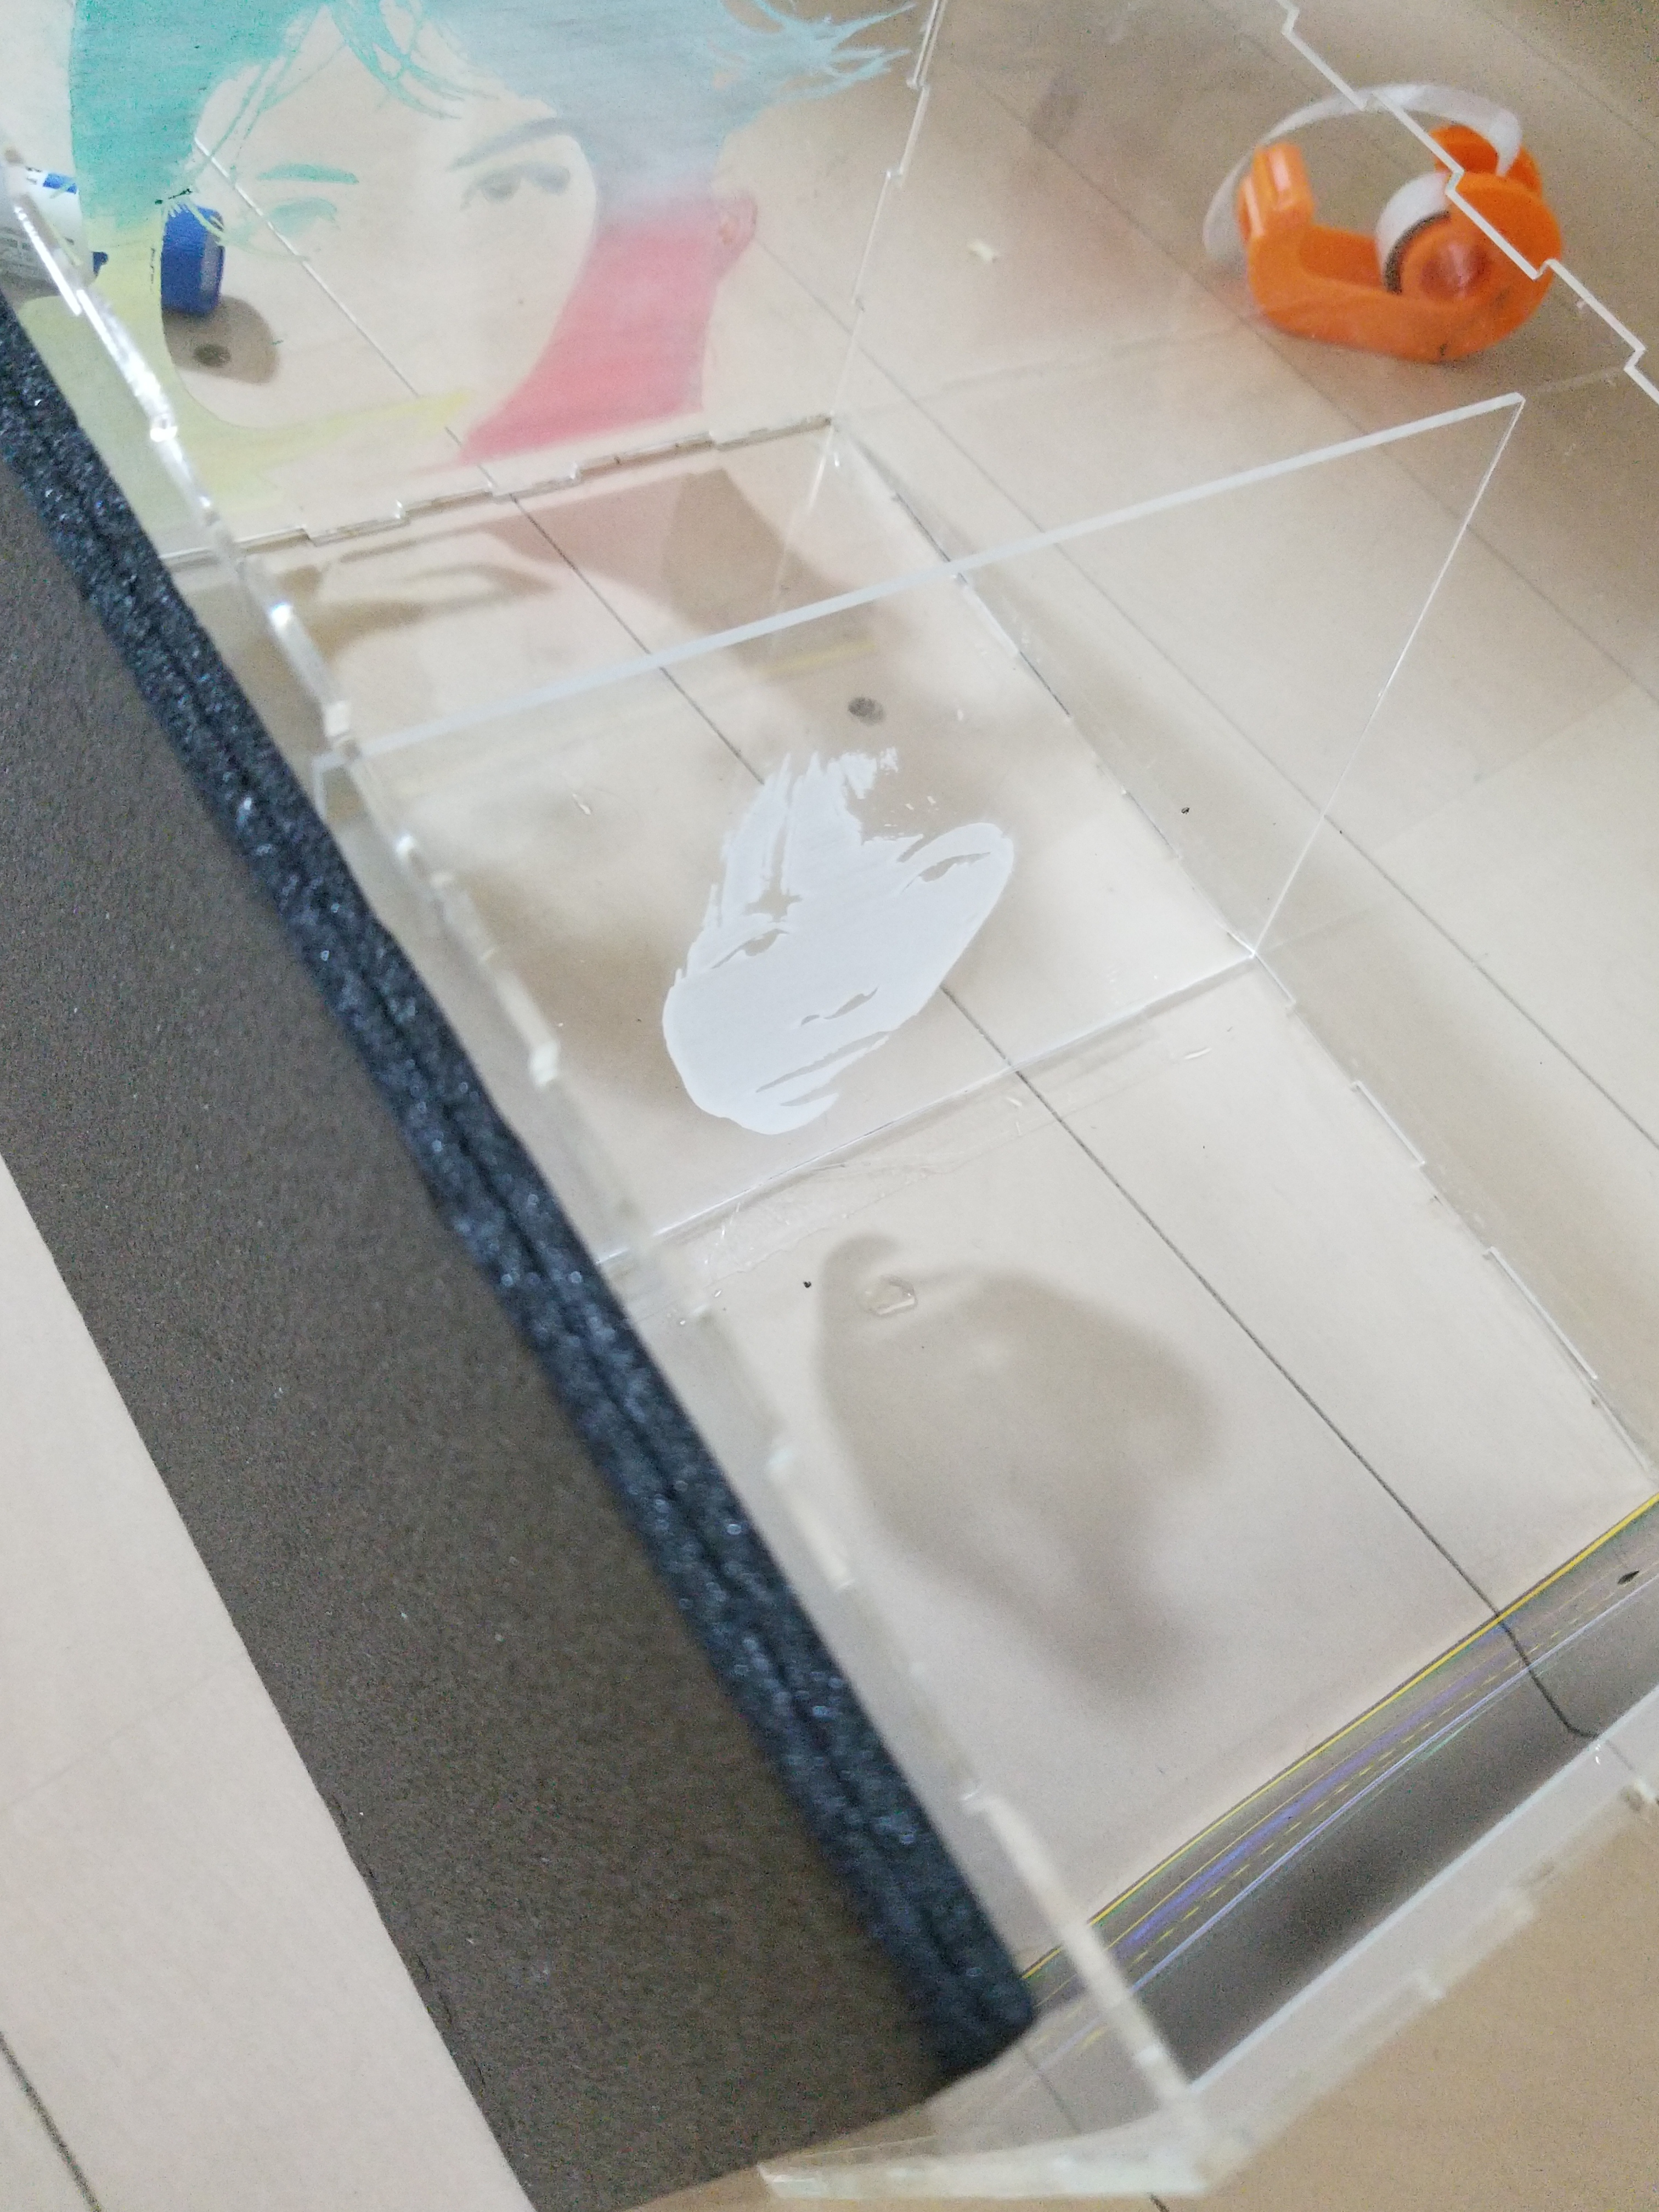
Final assembling.
In order to make the inside dark, I covered the box with black paper.
I made a hole on top of the panel so the light will come through to shine the moon.
I put the photo on the back panel. I put two engraved acrylic panels at the front and in the middle.
Result
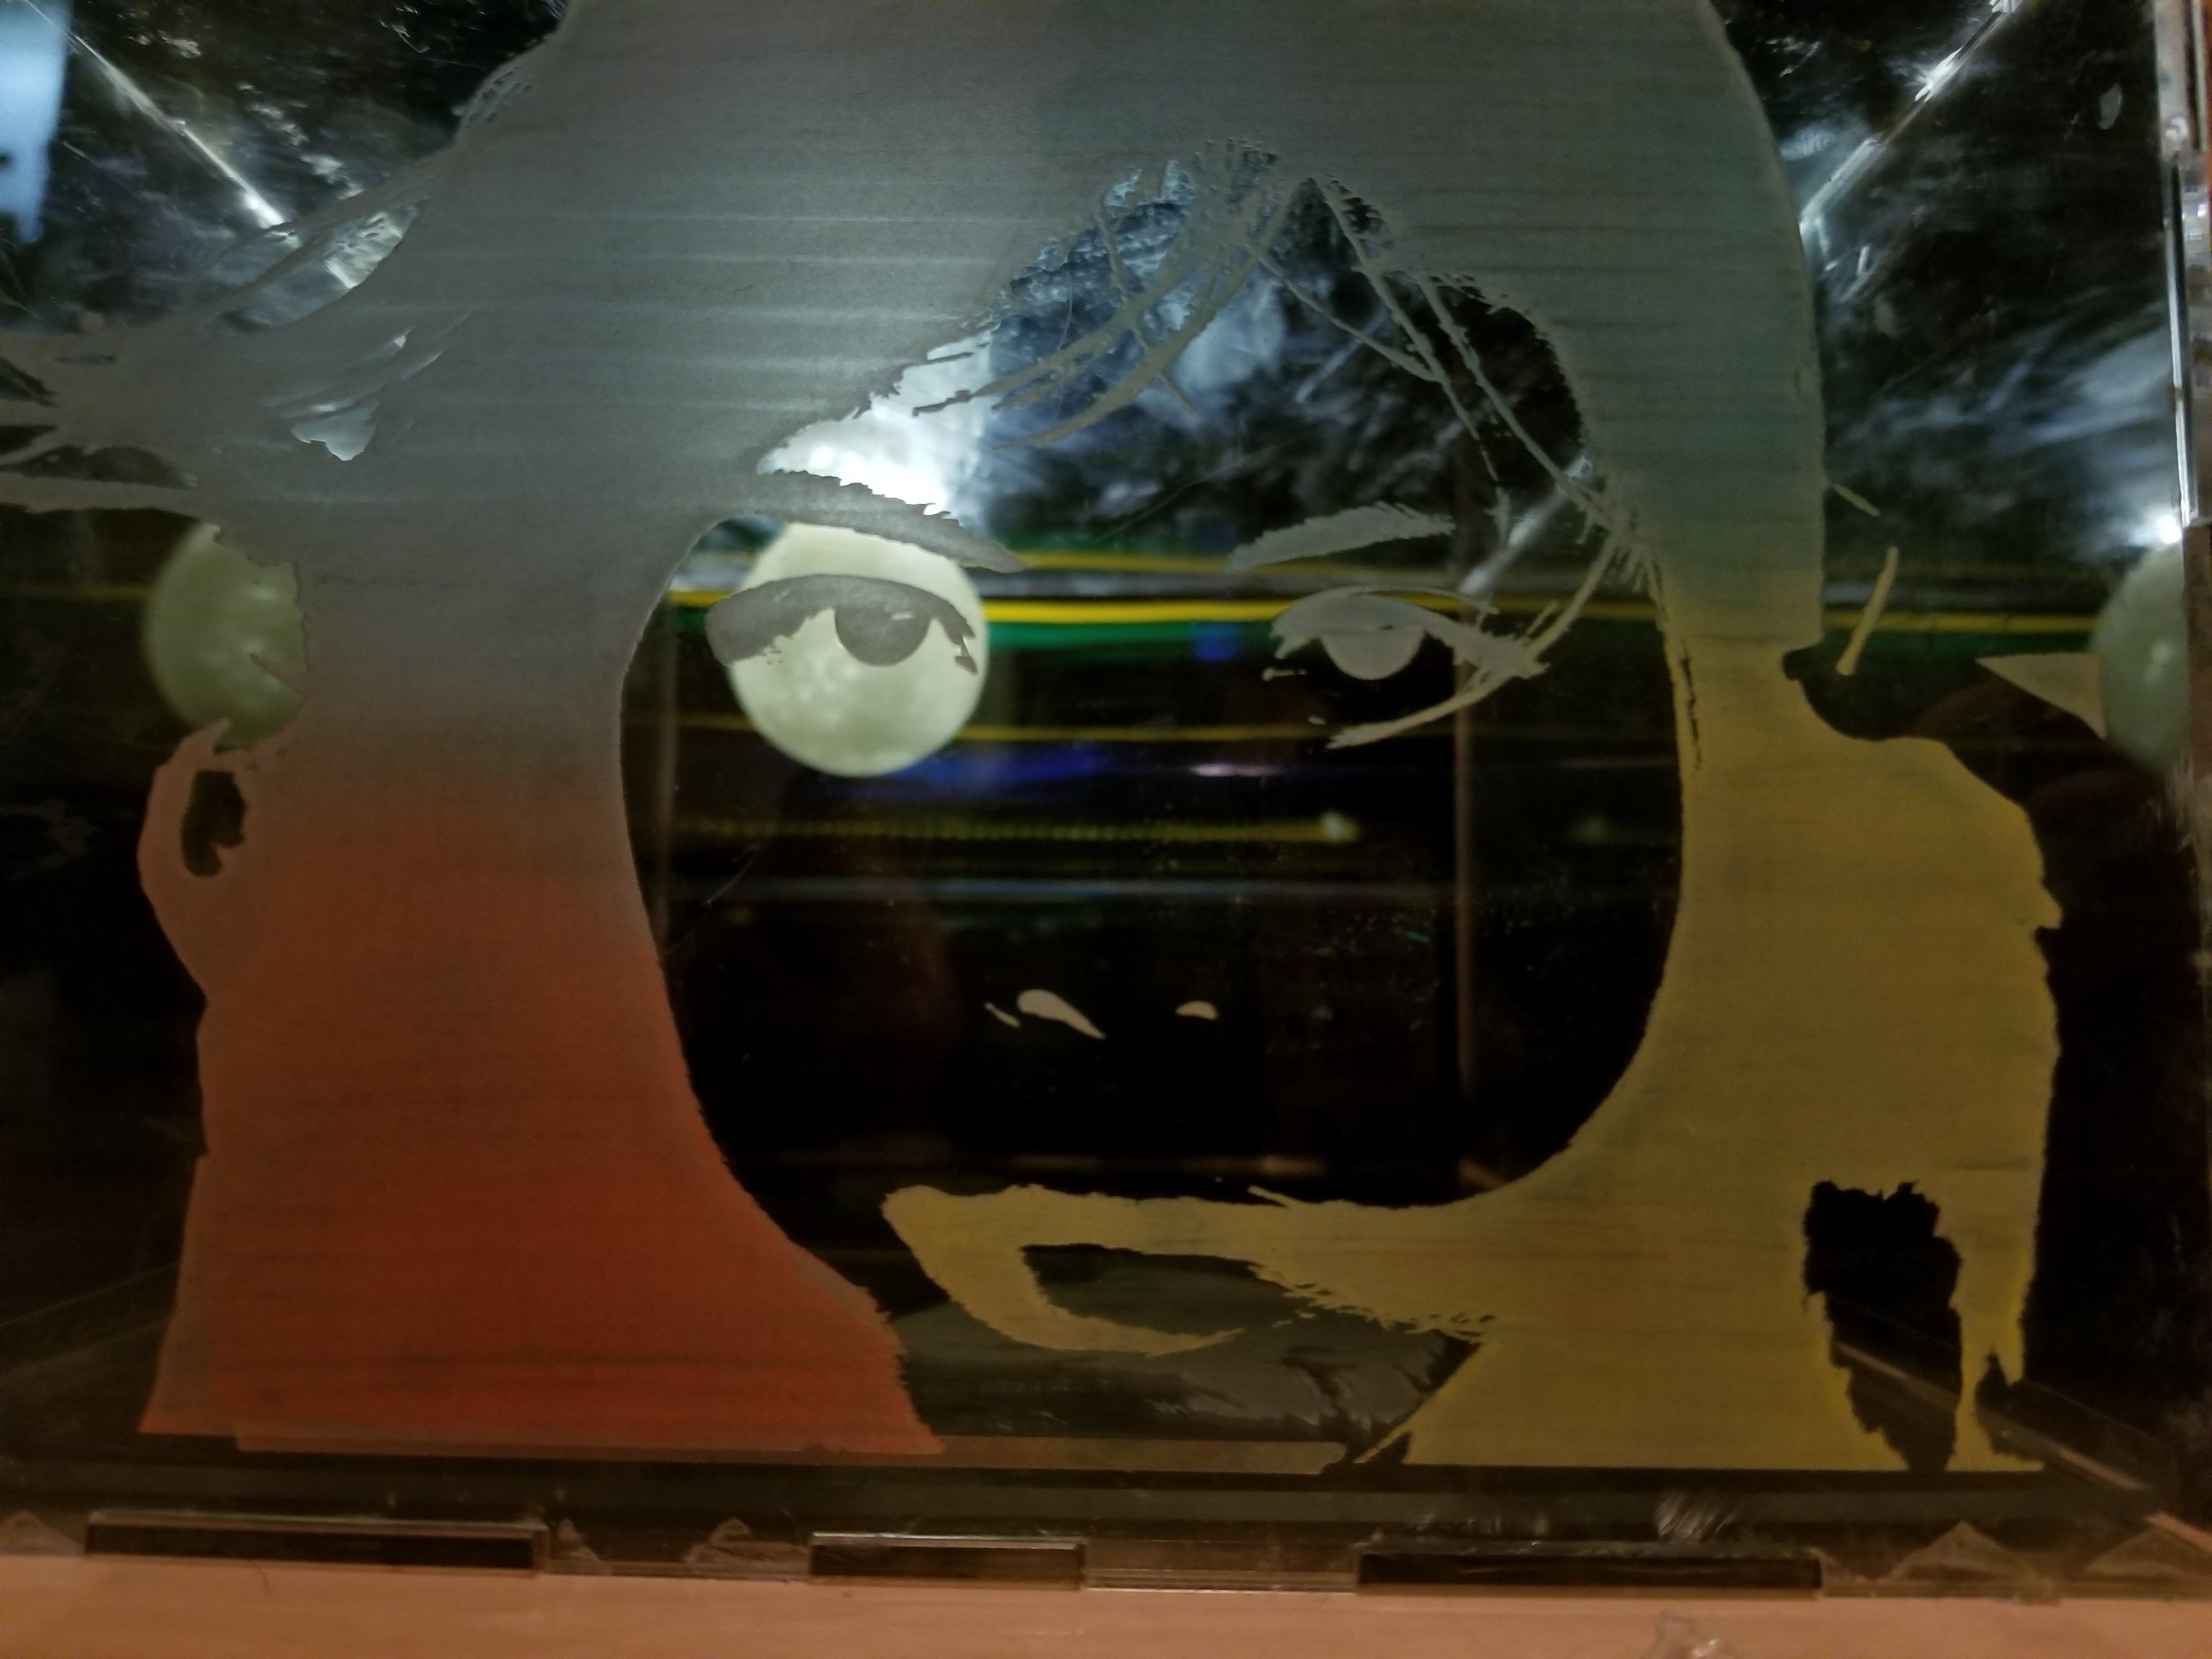
I was satisfied with my work. But the glue was too weak that the panel in the middle fell and I would have to open the box to fix it.
The image that the box created was really powerful. I liked how the image contained great depth and interesting colors. I was impressed with the moon as well.
Reflection
Although I was satisfied with my work, there are some technical parts that I could improve with my future works.
First, the box could have been cleaner with less burn and scratch marks.
First, the box could have been cleaner with less burn and scratch marks.
Also, the box was weak in structure. I could use a stronger glue and make the box fit better.
CONT.
Lastly, I want to find a better way to add color on the panels.
The colors were a bit weak in my opinion.
It would be interesting to see the colors with other art materials like color markers, oil paints and color sprays.
The colors were a bit weak in my opinion.
It would be interesting to see the colors with other art materials like color markers, oil paints and color sprays.
CONT.
I hope to continue this work further and create a series with more subjects.