Part List
ESP32 development board
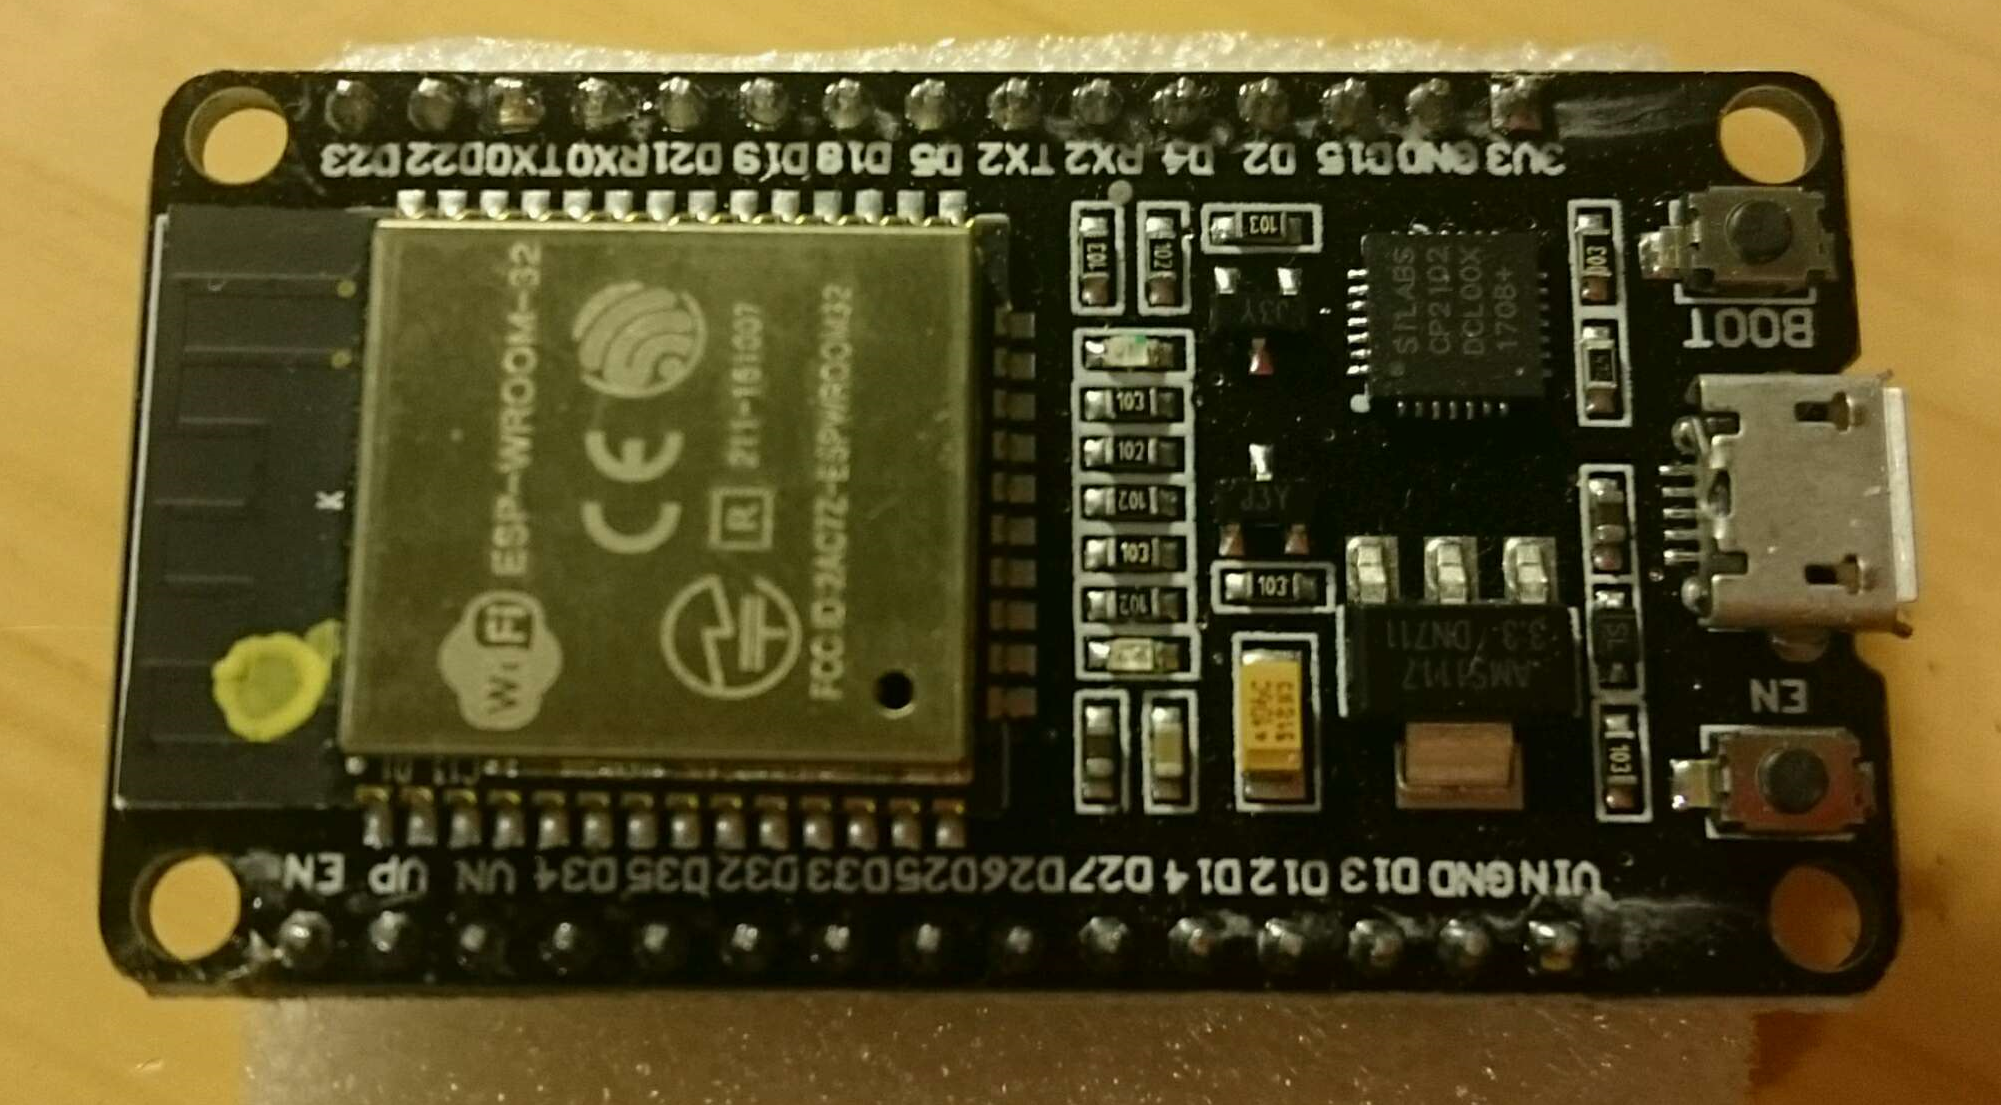
As a microcontroller, I used DOIT ESP32 DevKitV1(1) that I had at hand. I believe that any board should be ok as far as ESP-WROOM-32 chip is on your board.
Li-ion battery charger module
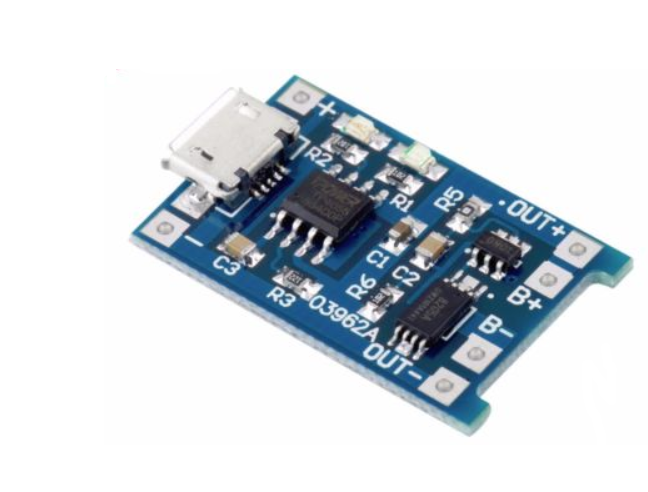
Purchased from eBay.
Battery, Connector, Switch
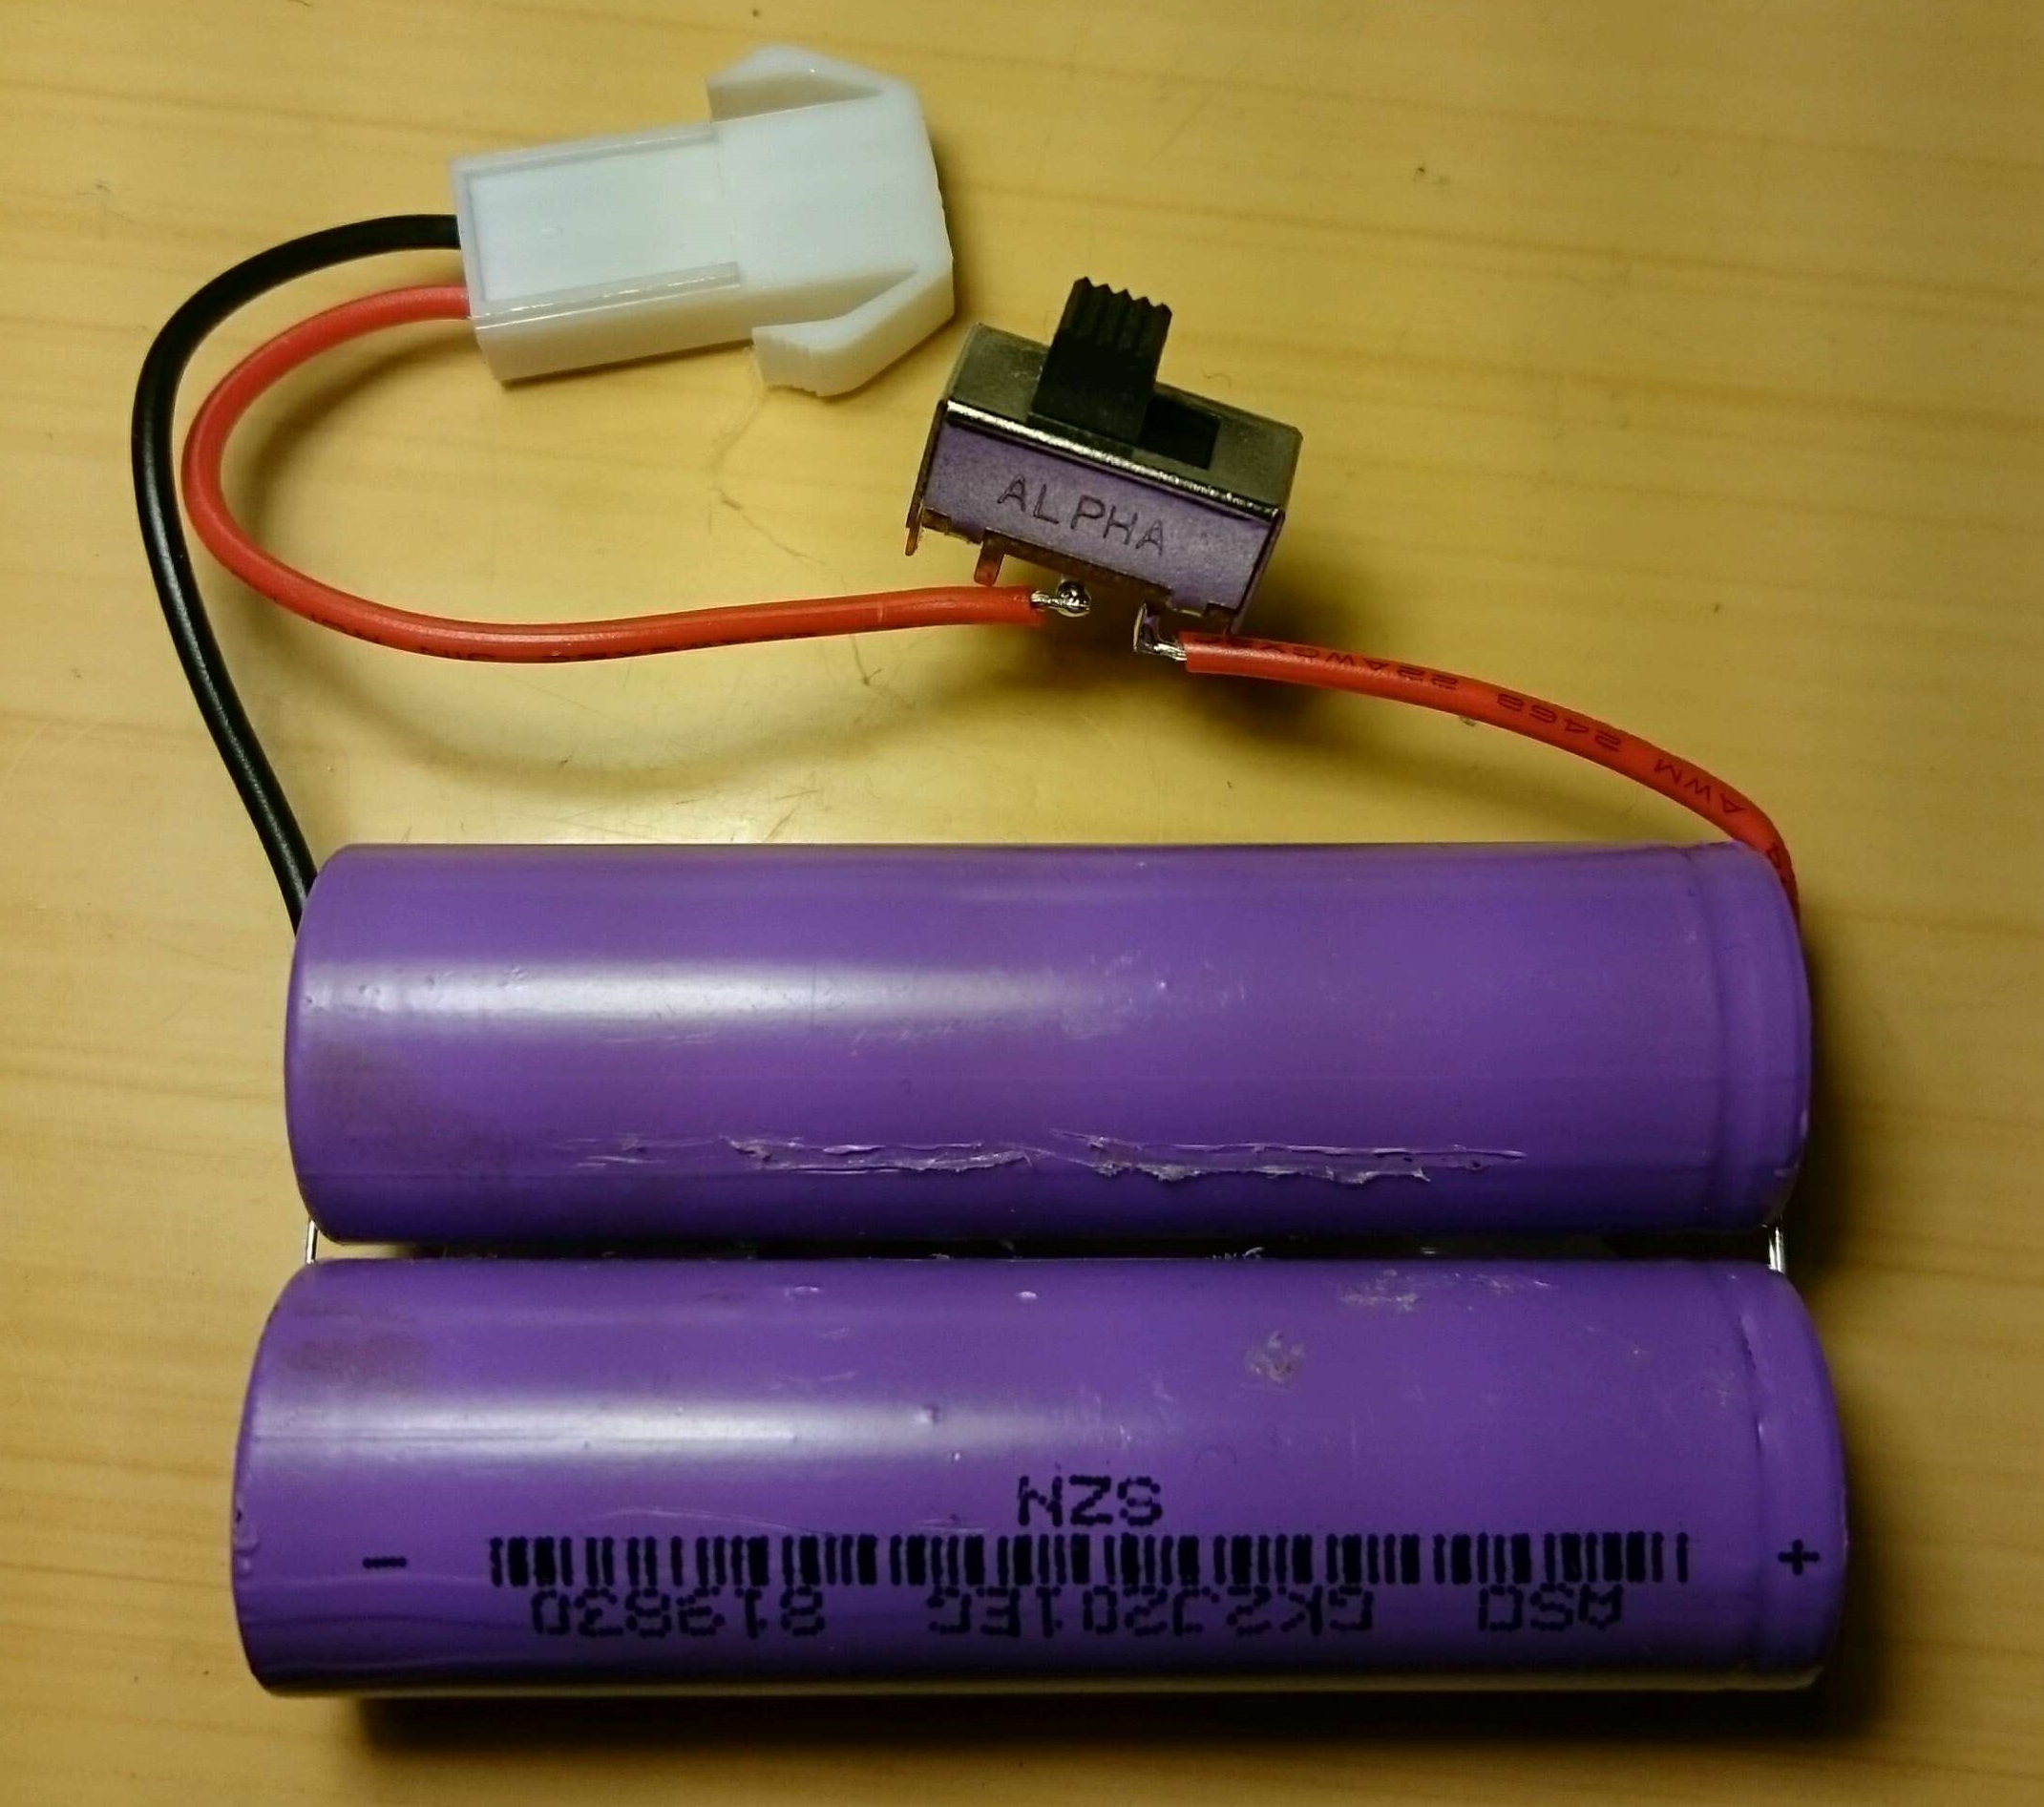
Note:
- I can't find this slide switch so you will have to modify the palm-rest if it is different in size.
- This connector was a little too big.
Key caps and Cherry MX mechanical switches
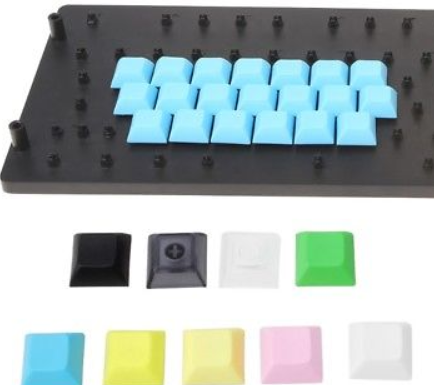
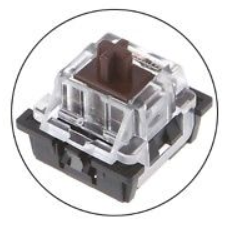
Note: I failed to 3D-print this cap because it has a too small hall so I sought after them at eBay.
Diode, LED, Resiste
Wires, Connector housing
- 28AWG, Blue
- 24AWG, Yellow, Red, Black
- 2.54mm Crimp and Connector Housing, 1x1(2), 1x2(1), 1x3(1), 1x4(1)
Note: 28AWG for signal lines, 24AWG for power lines
3D printed parts
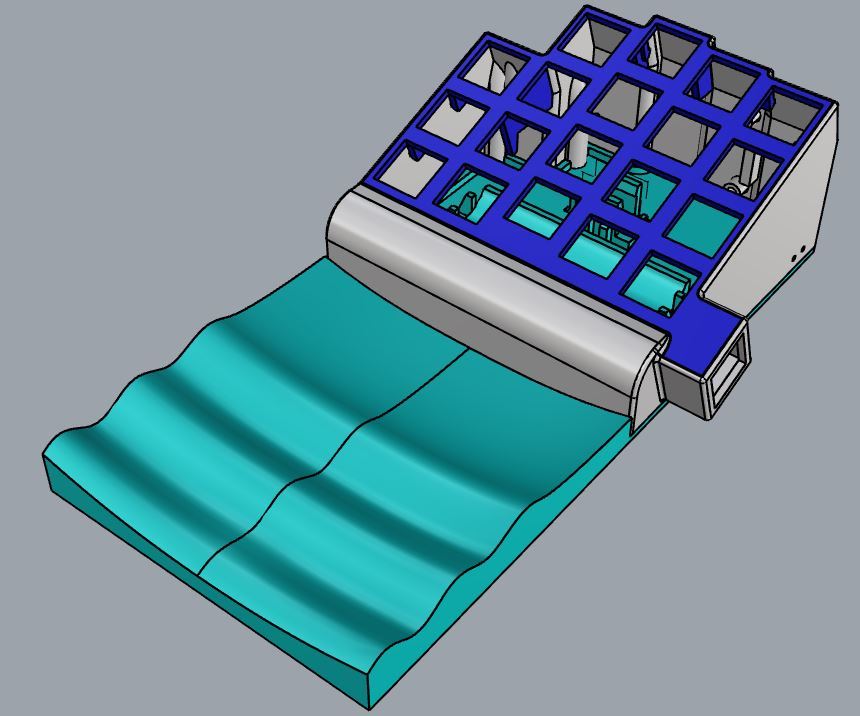
- Key panel (1)
- Body (1)
- Palm rest (1)
Layer height: 0.2 mm
Support: yes
Material: PLA
Assembly
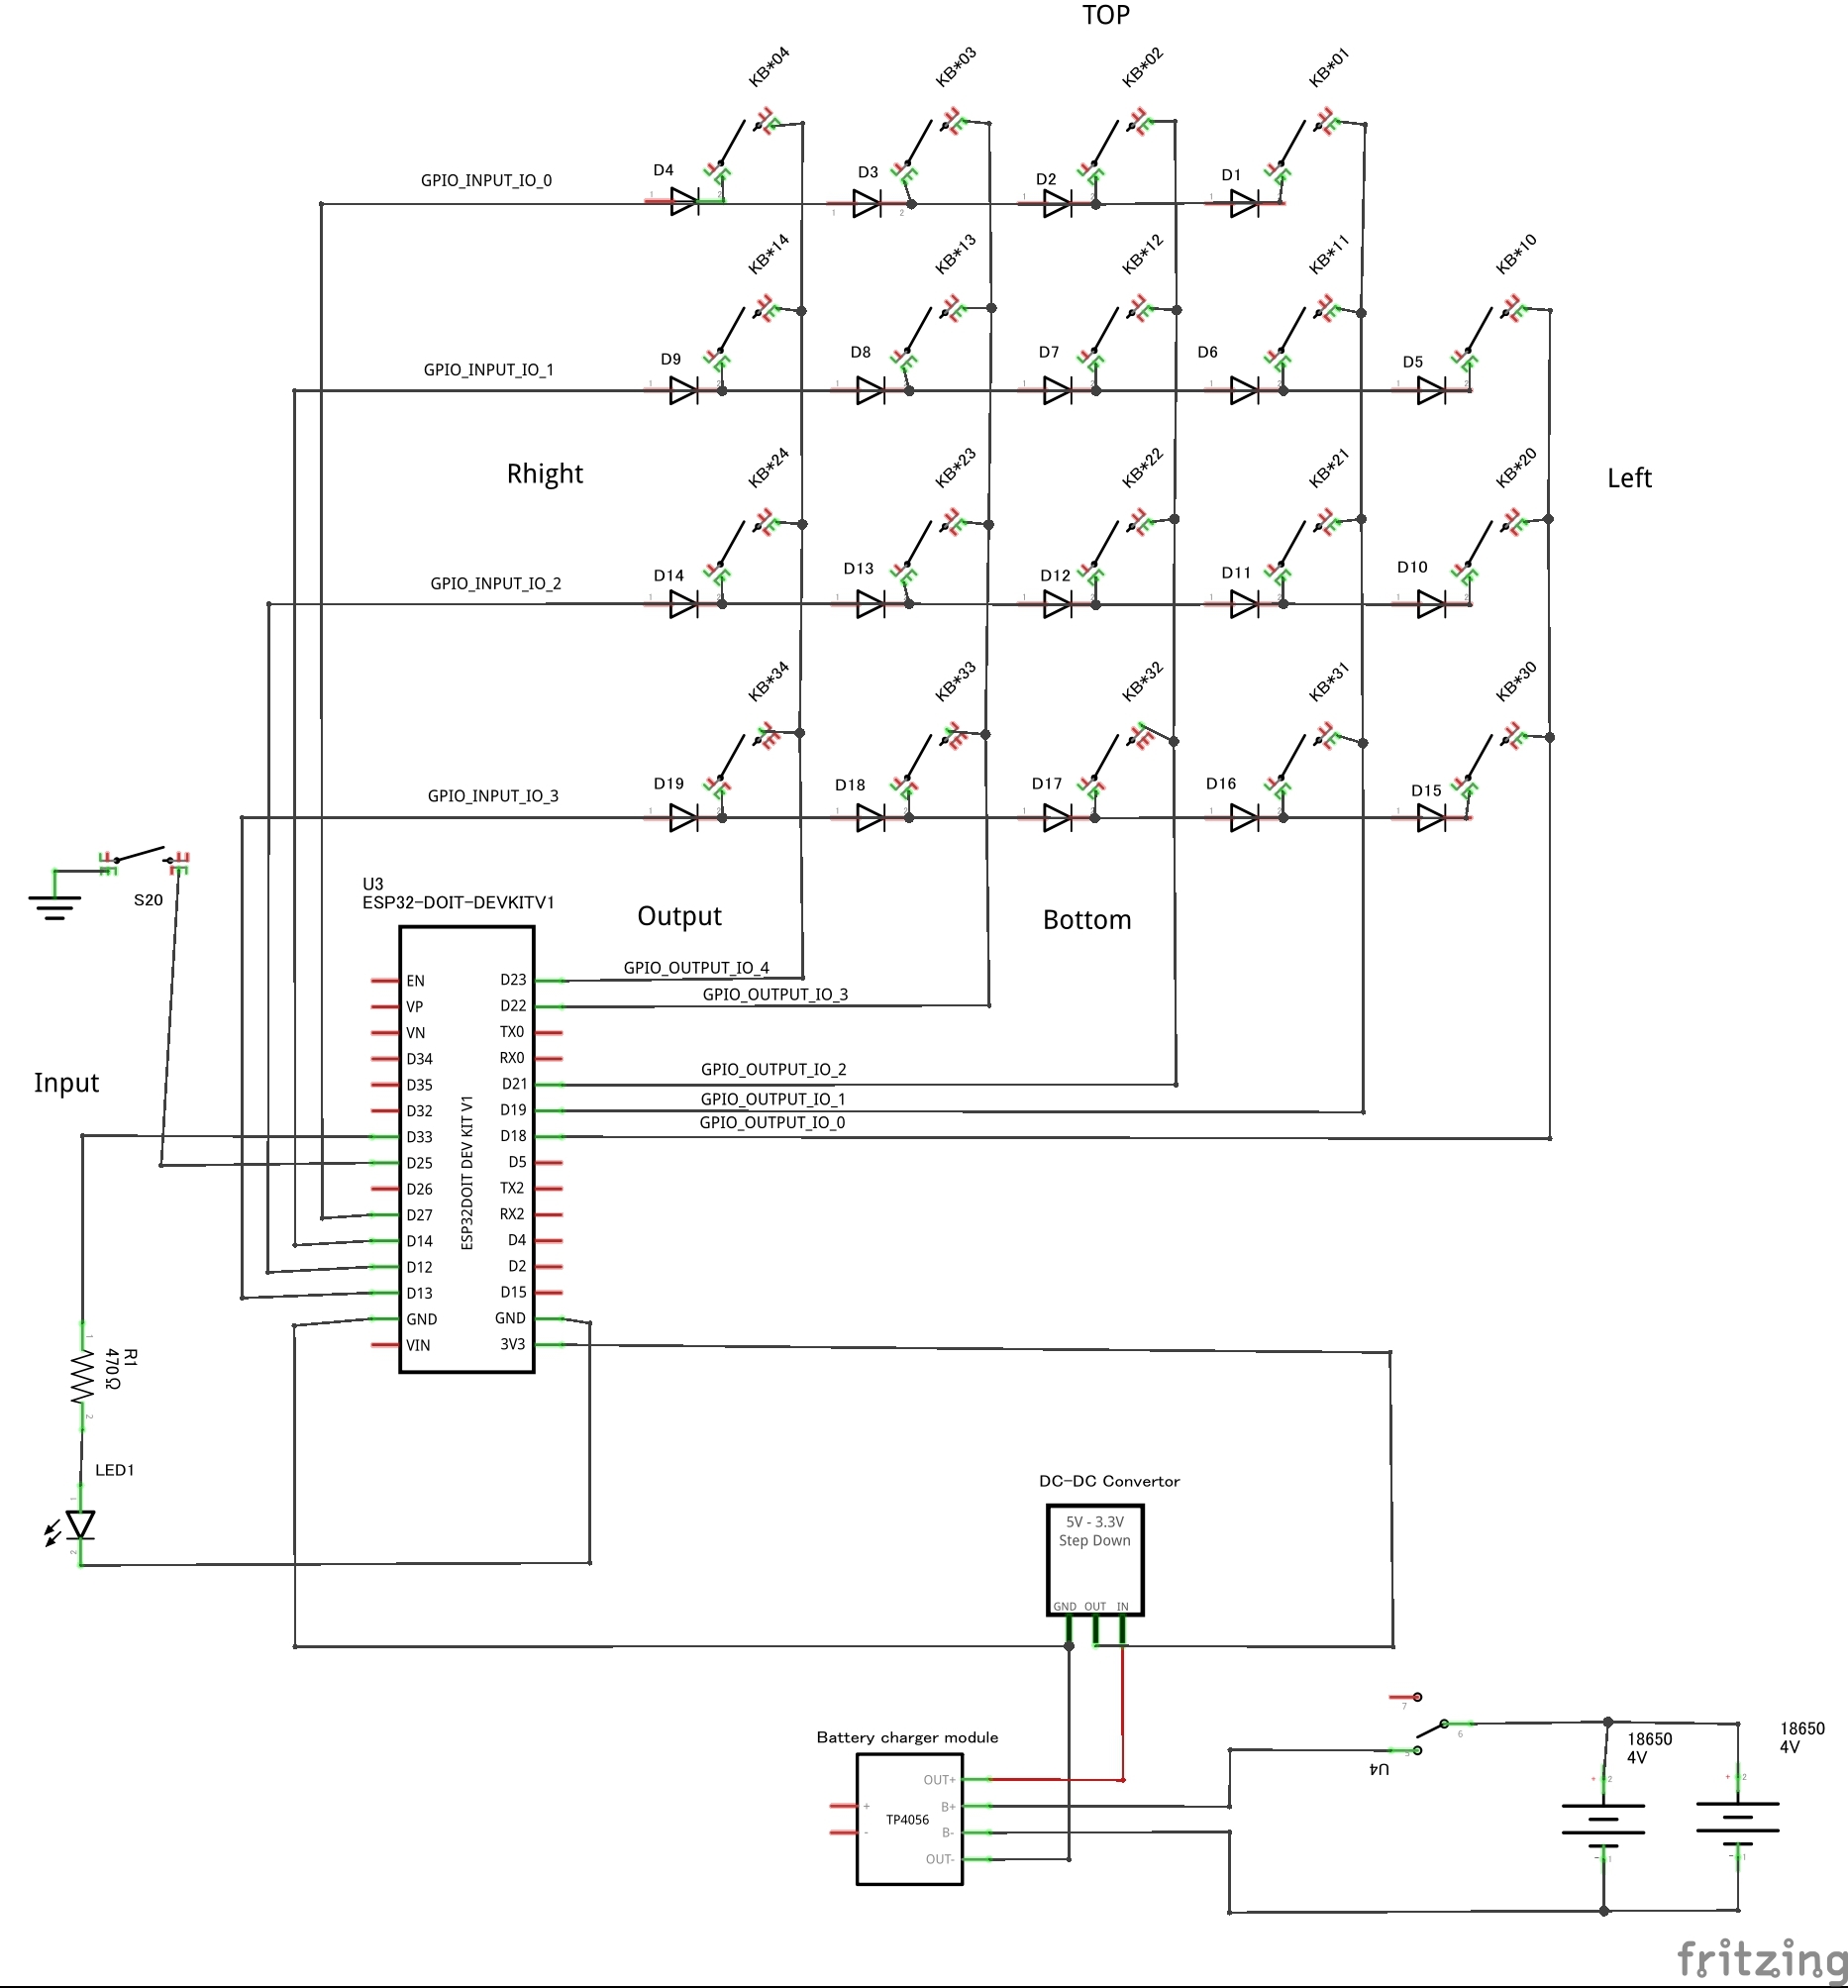
Soldering the key panel
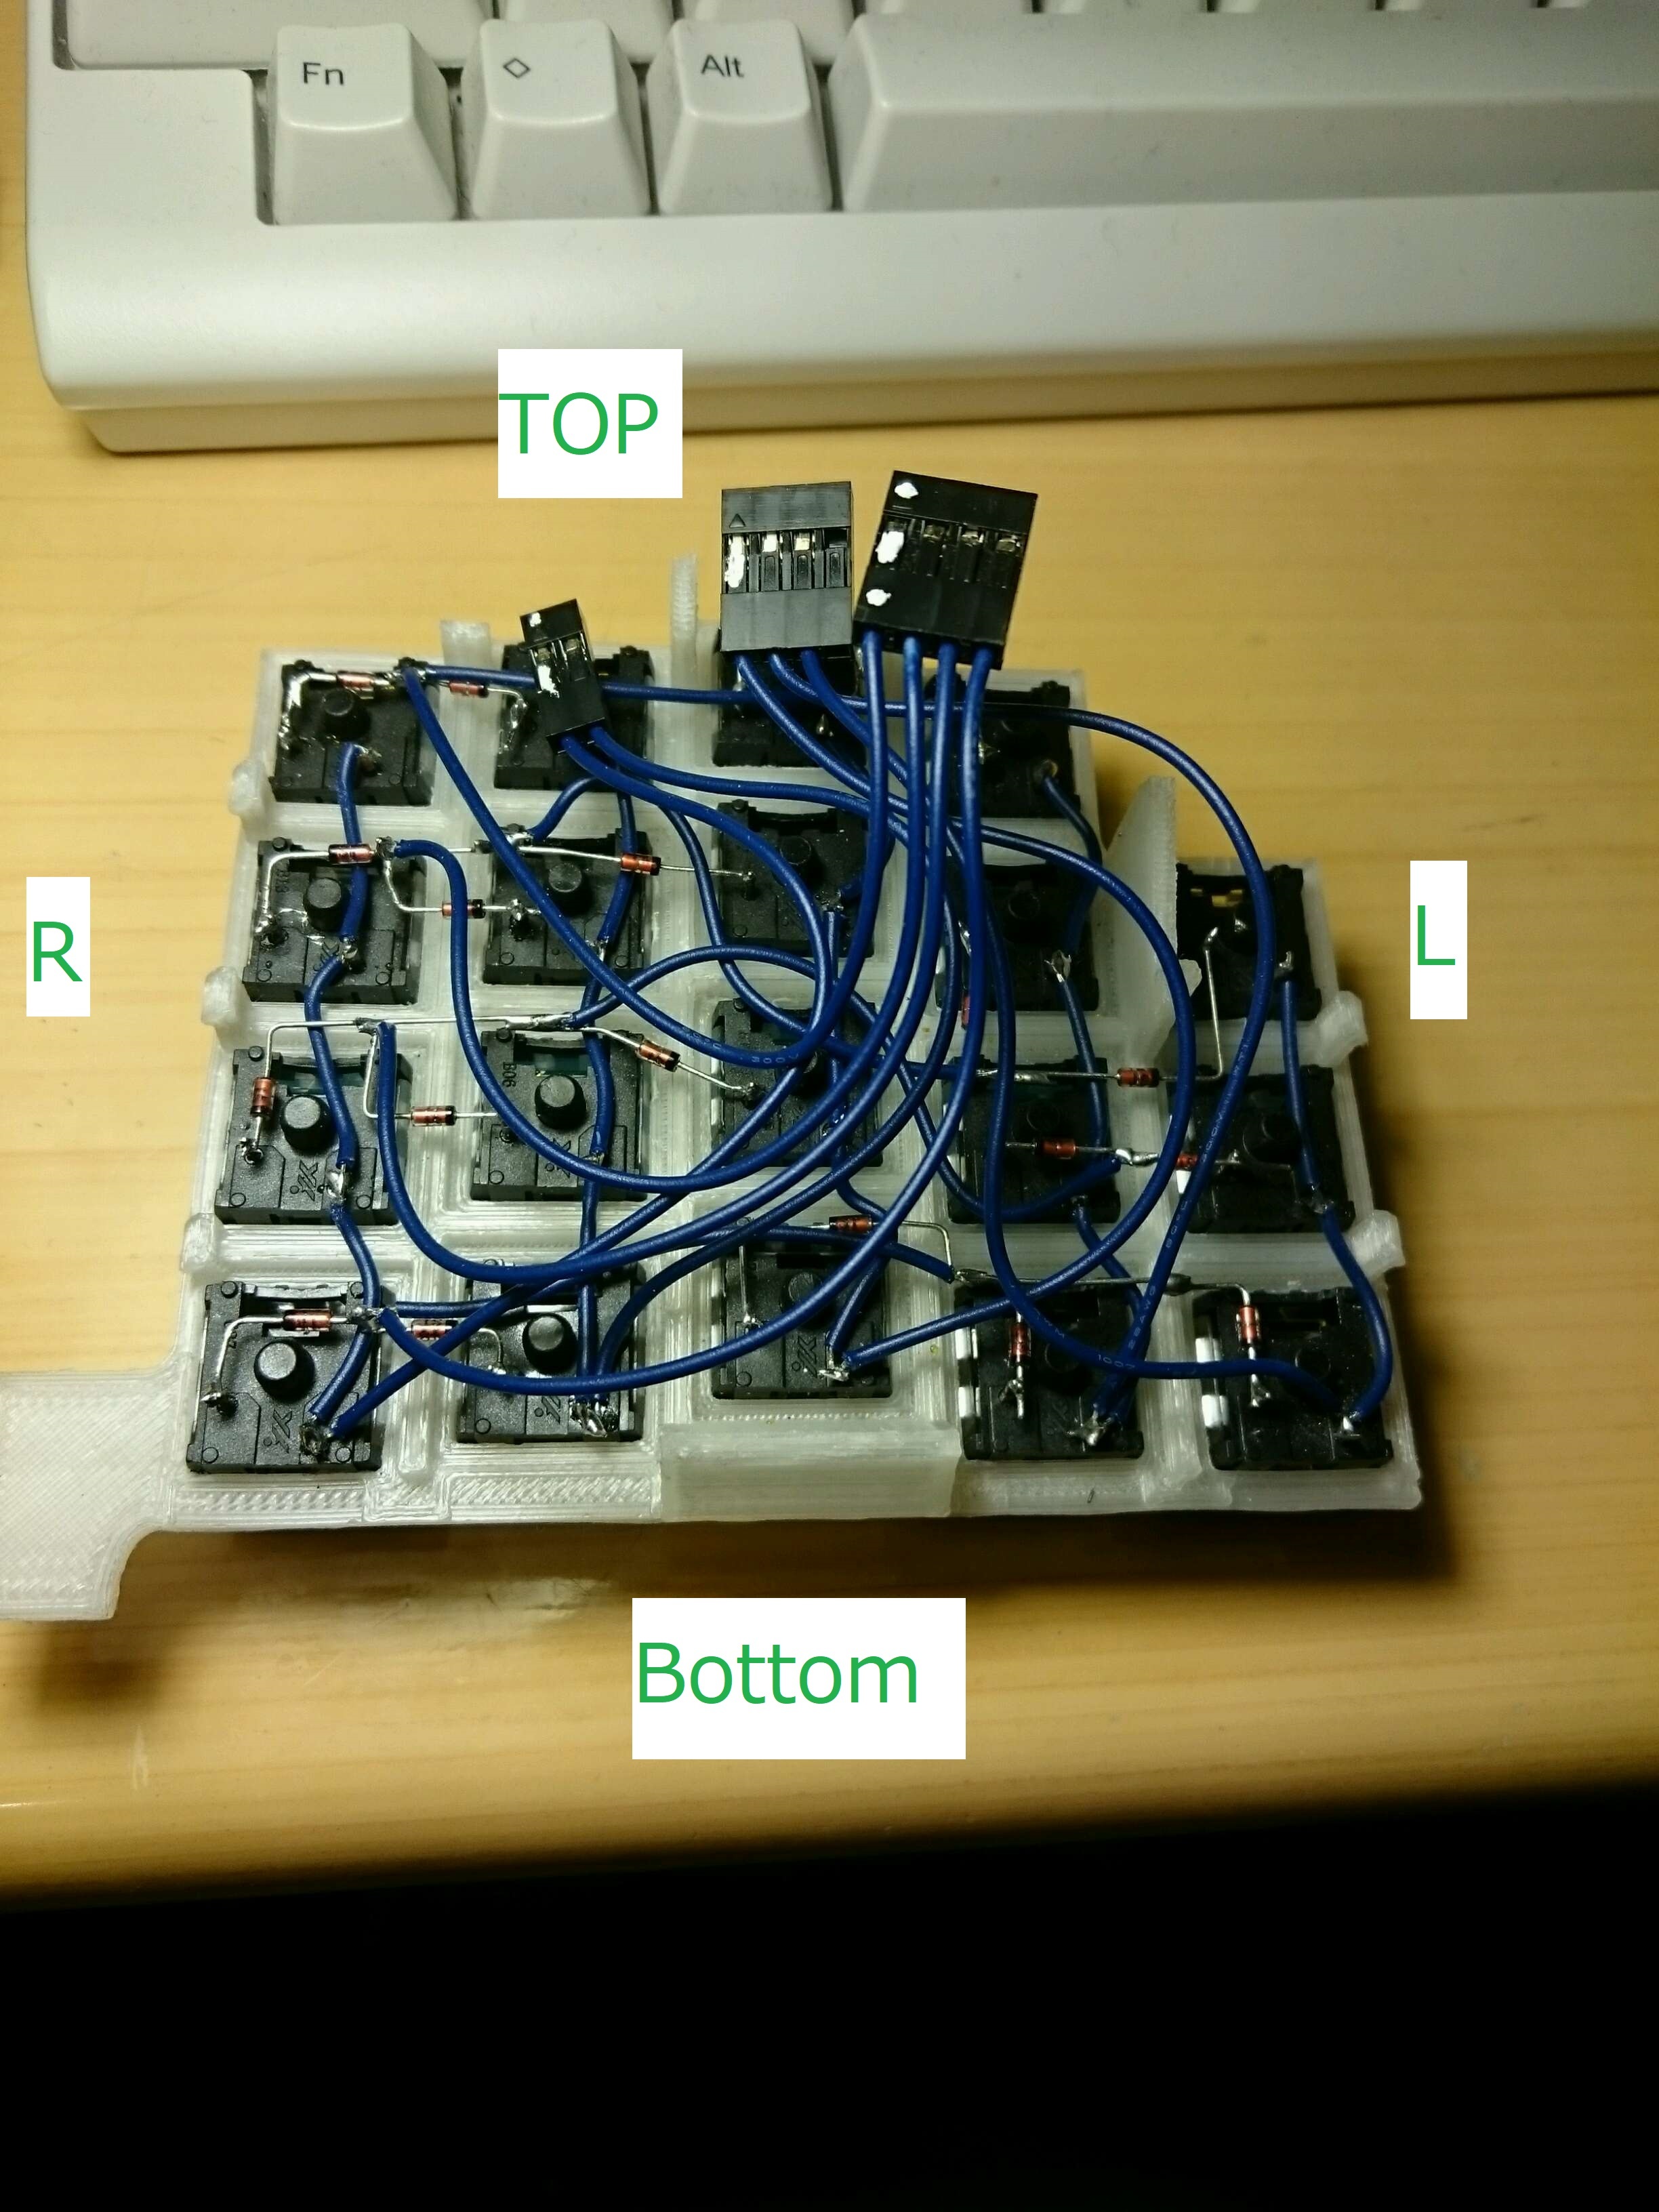
- Solder the diodes
- Solder the wire
- Assemble the connector housings
Note: The image is viewed from the back.
Soldering the boards and the LED light
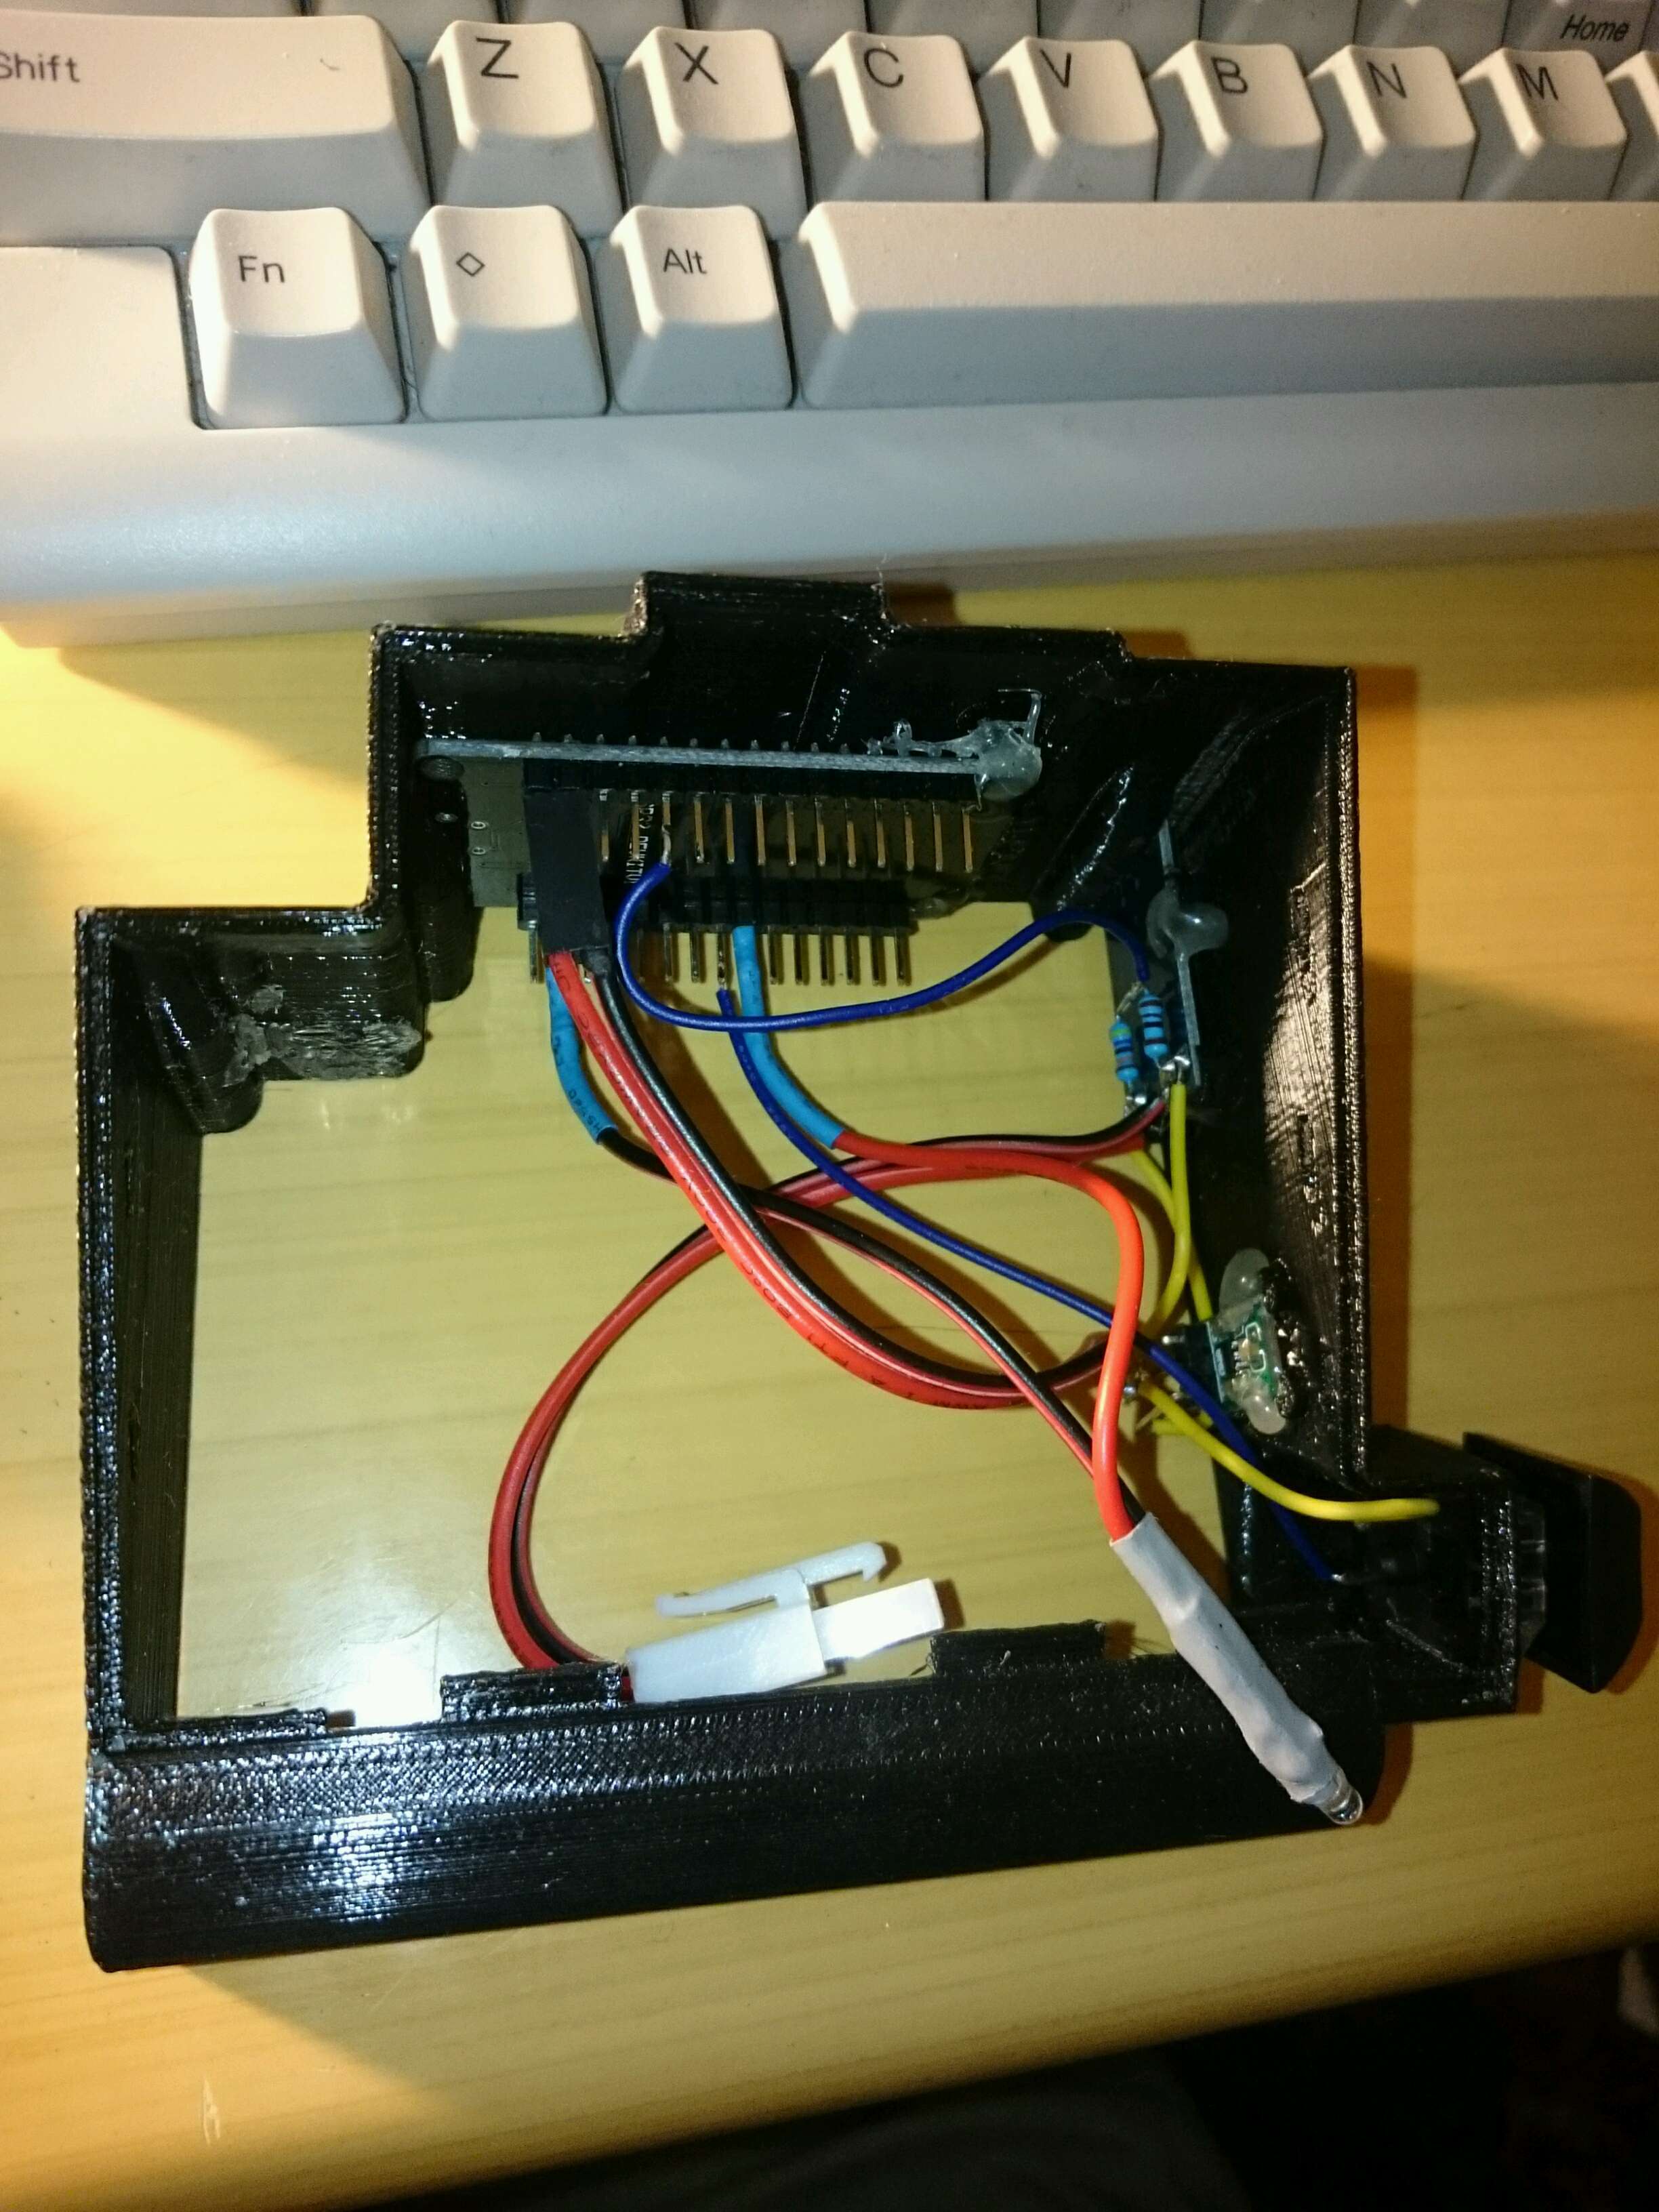
- Battery connector - Battery charger module B+, B-
- Battery charger module out+, out- - ESP32 board
- Solder the LED and resister, protect them with a heat-shrink tube and connect it to ESP32
- Connect the thumb side key switch to ESP32 board
Solder the battery on the palm rest
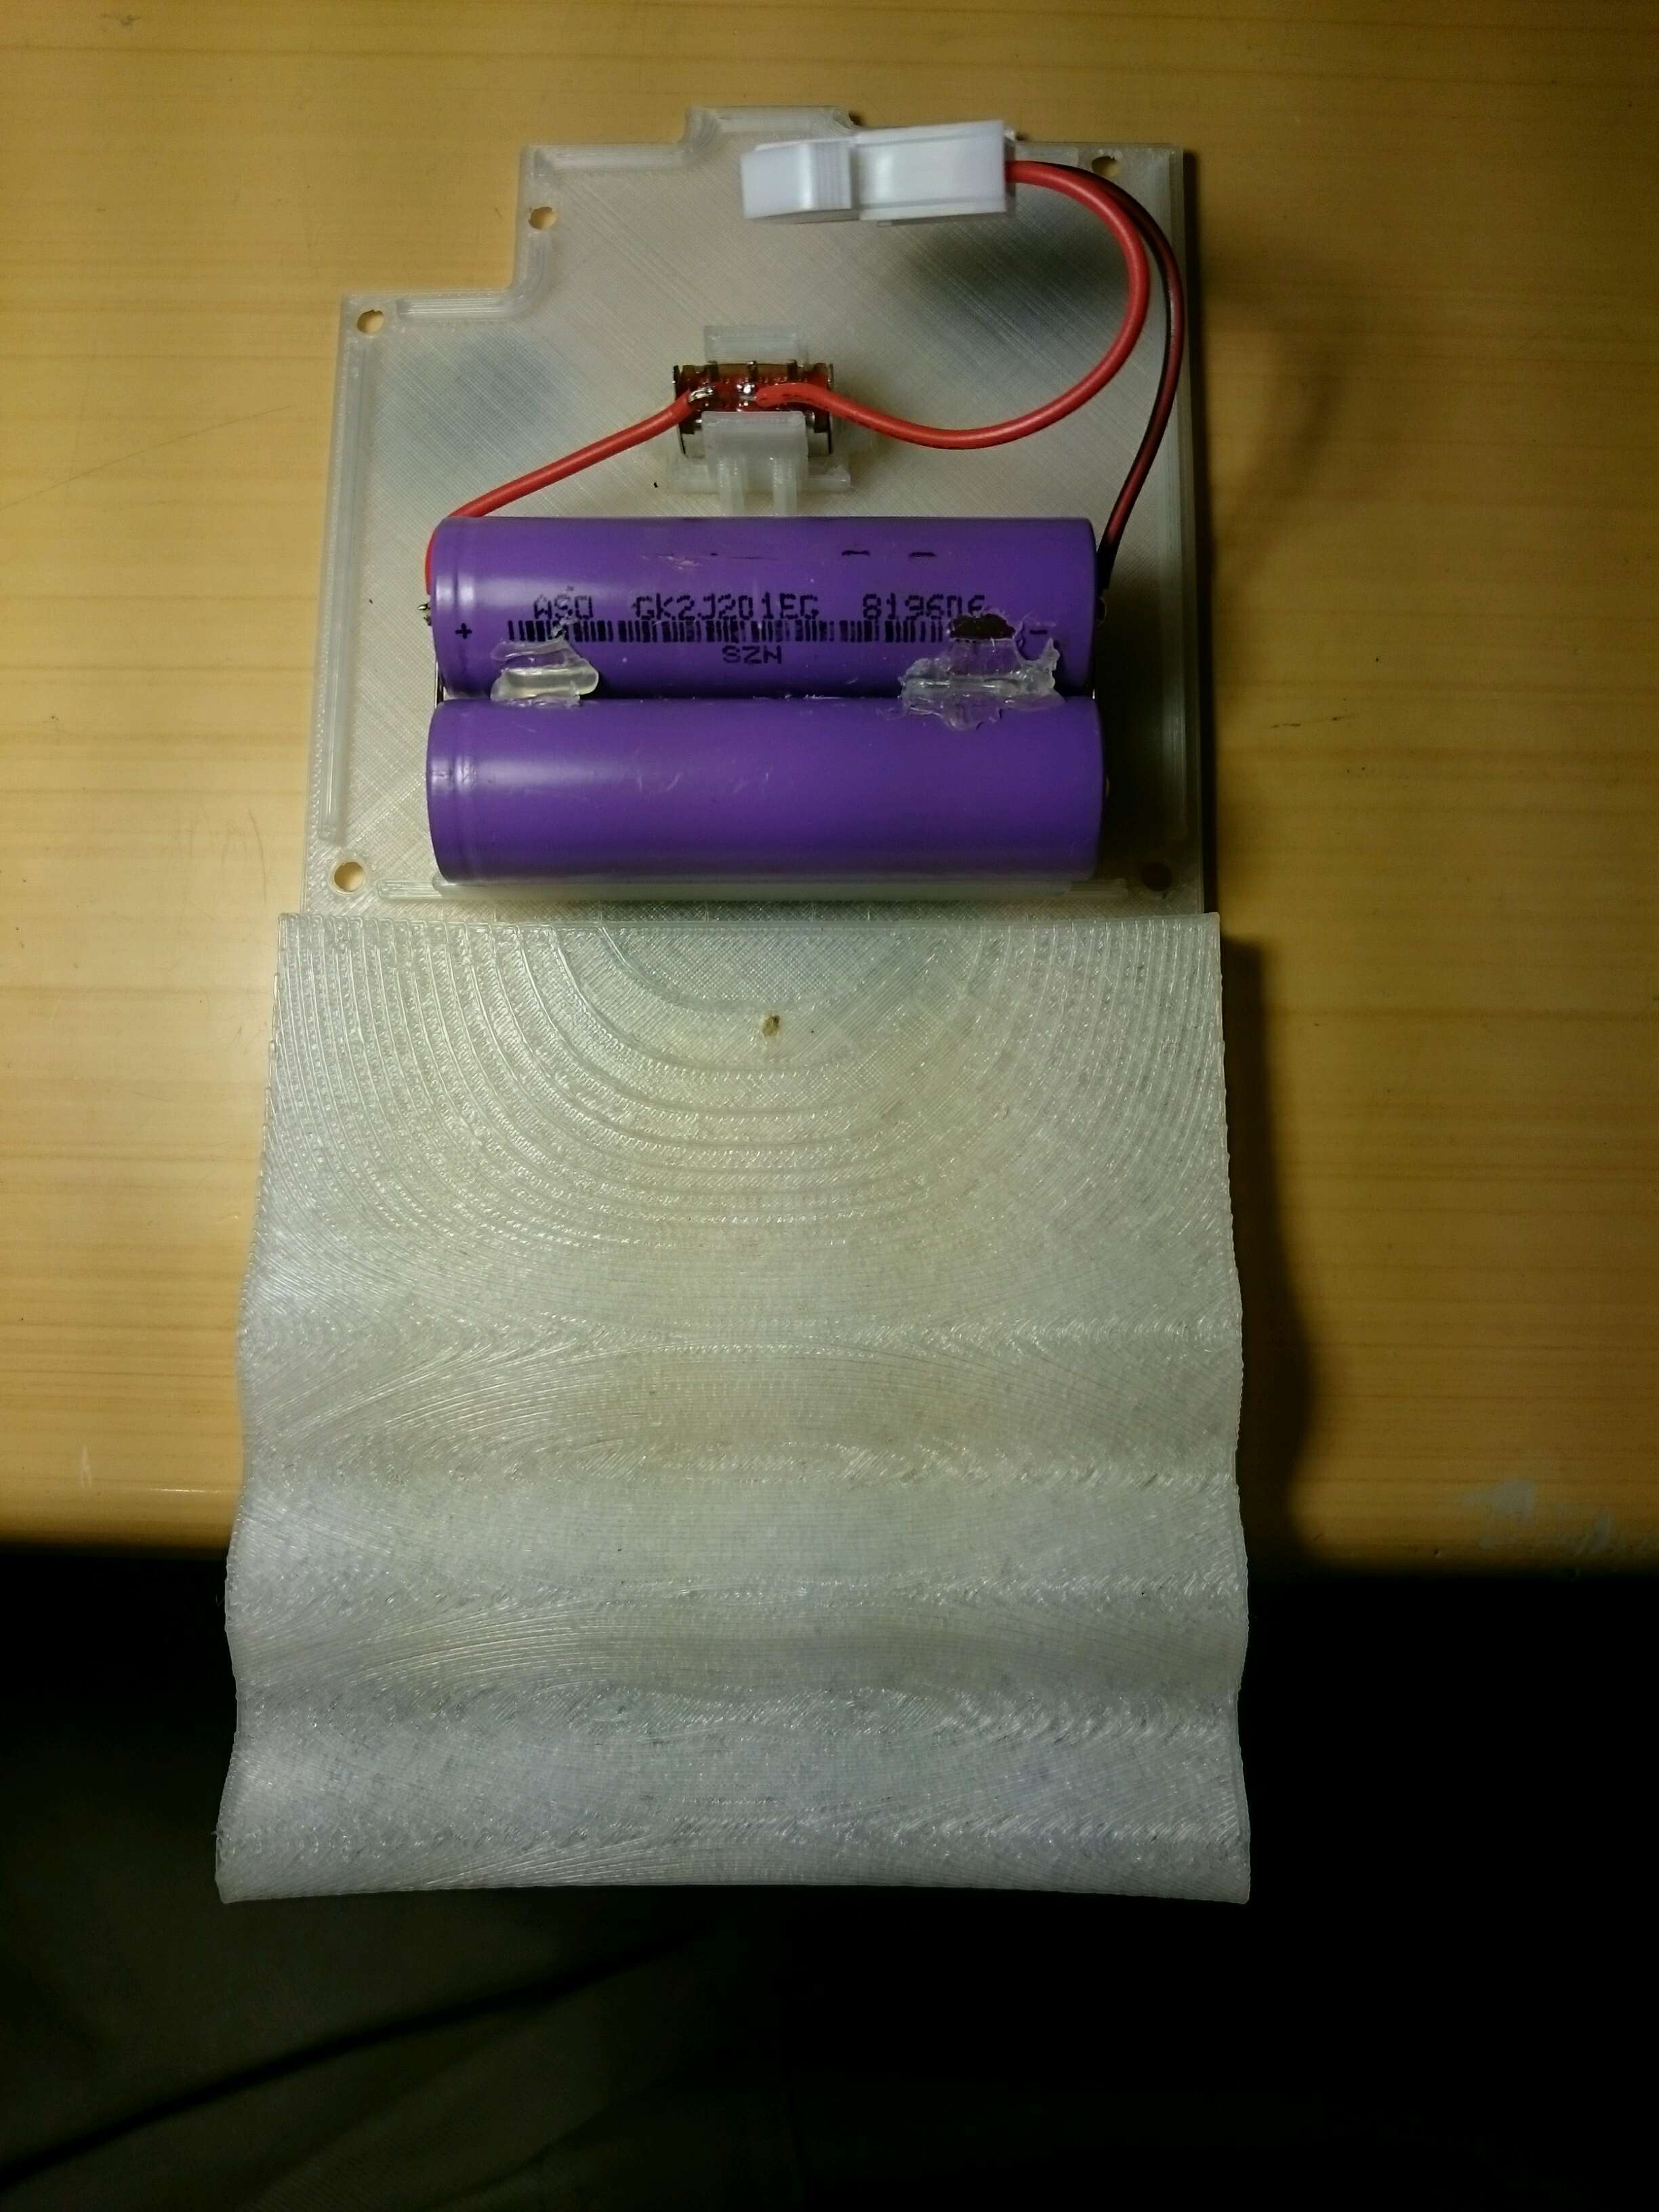
Note: Make sure that both batteries are in the same voltage if you use two batteries.
The batteries are in parallel.
Glue the boards onto the body
Use a Glue gun to hold the boards onto the body.
Because the DC-DC converter will be heating up, I used a UV-cure glue for it.Glue the battery
Use a Glue gun
Upload the program
- Prepare the ESP-IDF development environment in your system (Reference)
- Download the programs from my GitHub repository
- Flash the ESP32
Edit Rhino's Aliases file
- Make an alias file
- Import the file in the options of Rhino