Logging in to Fabble
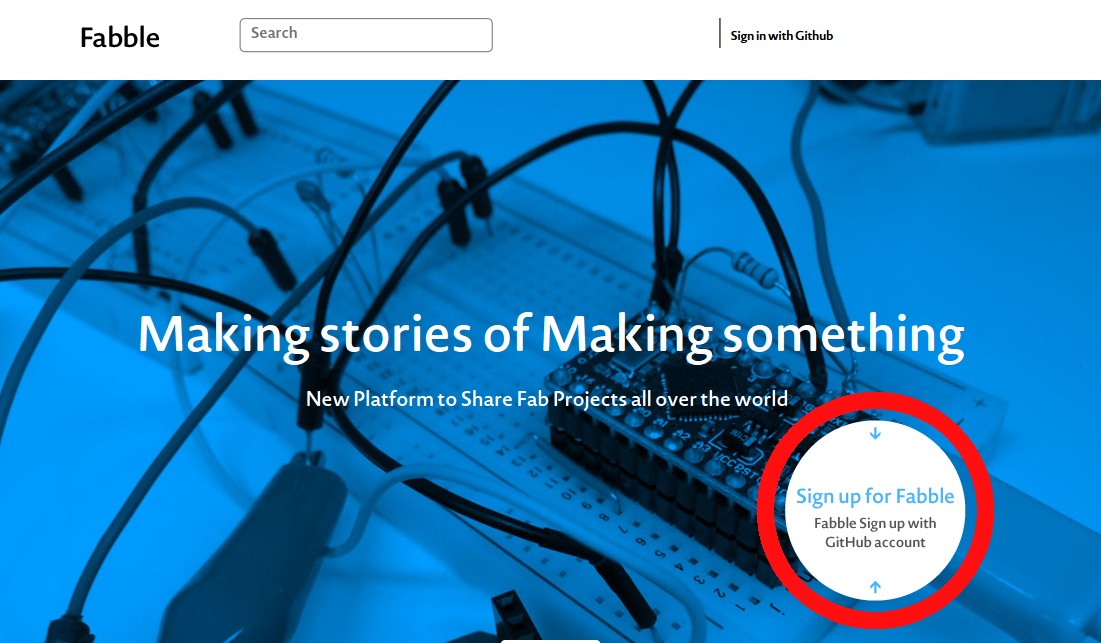
A GitHub account is necessary for logging in to Fabble. Please sign up for GitHub if you do not already have an account.
Authorization (For the first login only)

For the initial login, the site will request permission to access your GitHub account. Please confirm the information and authorize.
Account and Group settings
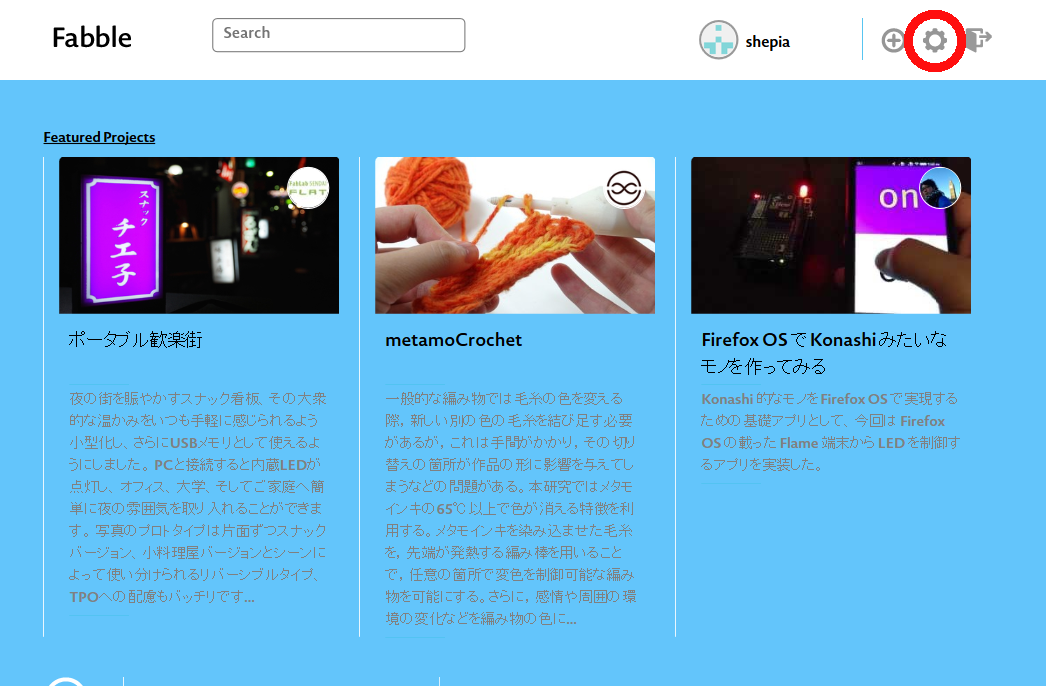
Account and Group settings can be changed pressing the settings button on the top right of the page. This step can be skipped.
Editing the profile
You can edit your profile by adding a thumbnail, name, URL and region.
About Groups
Creating a Group will make it possible to edit a project as a group. You can also collectively grant editing rights to members of the group as collaborators. Though individual accounts can also be appointed as collaborators, creating a group will make managing easier.
Creating a Group
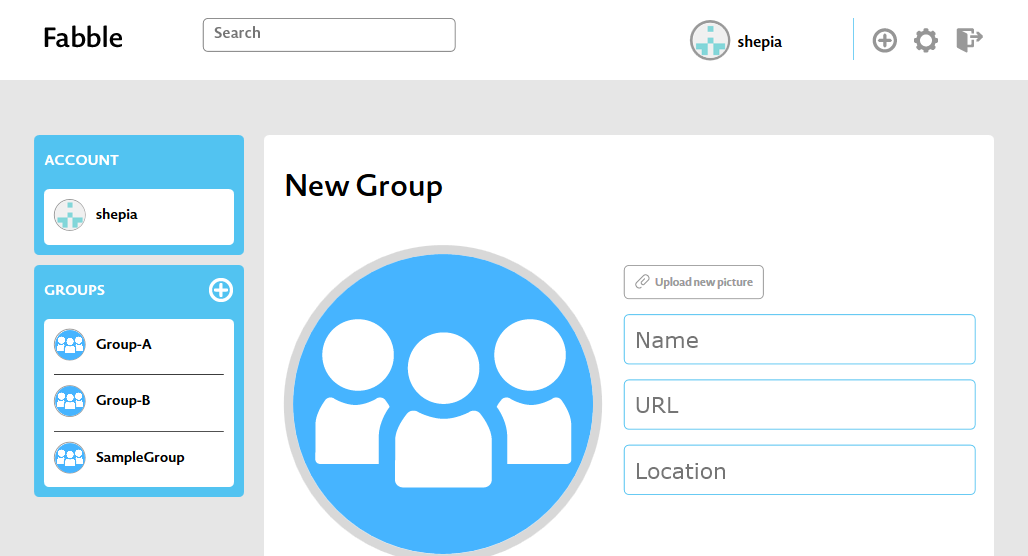
New Groups can be created from account’s settings page. Naming the Group is mandatory. After creating the Group, add members from the bottom
About your personal page
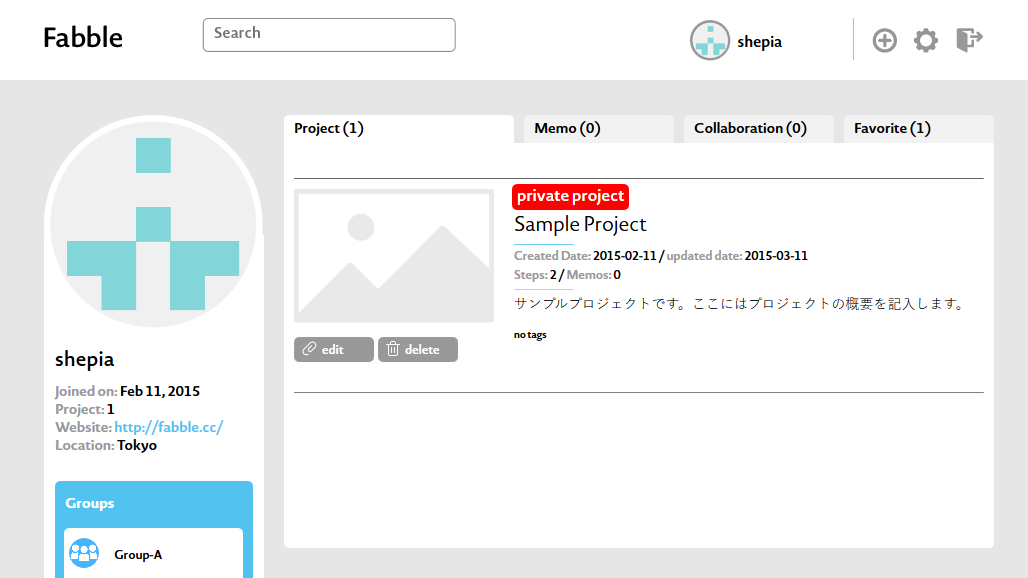
Your projects will appear on the Project and Note tab, and the projects that you are collaborating in will appear on the Collaboration tab.
About Group page
Groups that are collaborators or administrators will be shown on the Group page, not on your personal page.
Creating a Project
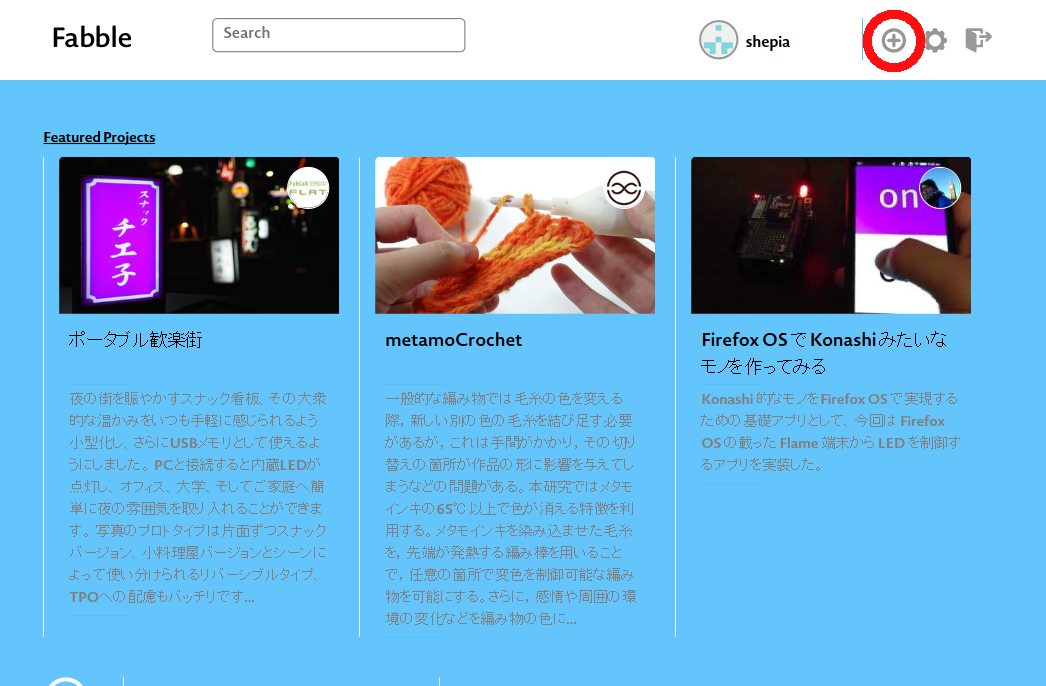

The page for documenting the whole process of making is called the Project. Use the + icon on the top right of the page to create a new Project and enter the following information.
Step 1 : Project Title
Write a Project title under 30 characters.
Step 2 : Project Owner
This item will appear when you belong to one or more groups. When a group is assigned as the administrator, all of the members from that group can edit the project. Individual accounts or groups that are added later on will be collaborators, not administrators.
kmkmkmkmkmkm
njknmmkmk
kmkmk
kmkmk
kmkmkm
mkmkmk
mkmkmk
kmk
Body type calculator
Discover your body type with our free and accurate Body Type Calculator. Perfect for men and women—find out if you're an ectomorph, mesomorph, or endomorph and get personalized health and fitness insights.
The Project’s settings
All of these items can also be edited afterwards.
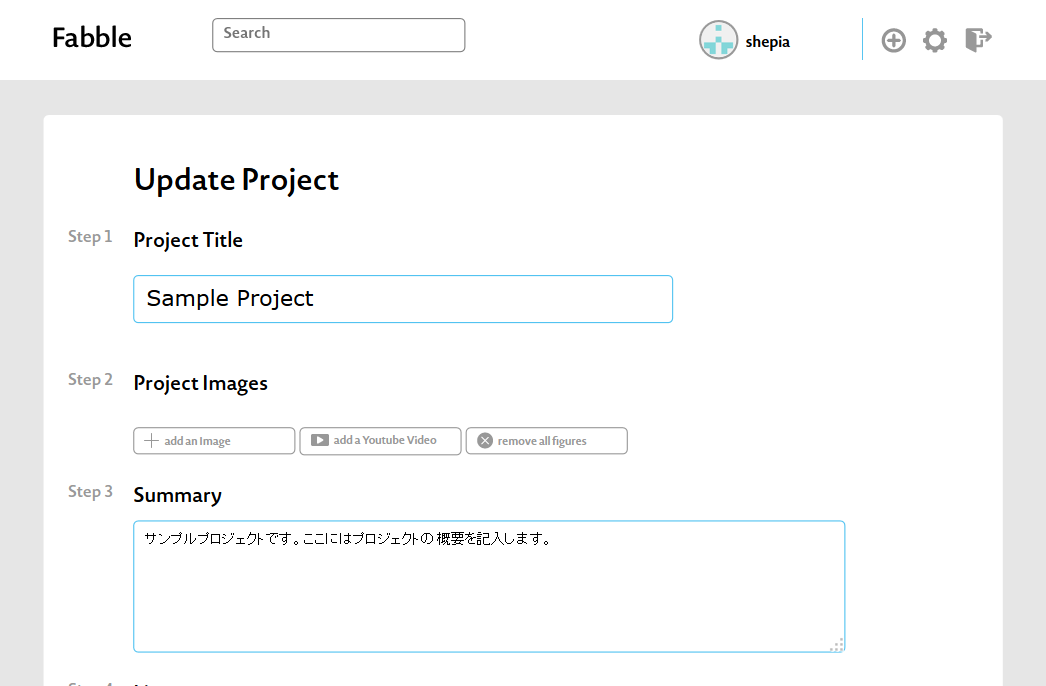
Step 1 : Project Title
Write a project title under 30 characters.
Step 2 : Project Images
Choose a thumbnail for the project.
Step 3 : Summary
Write a description about what you are going to make. This description will be shown as the headline.
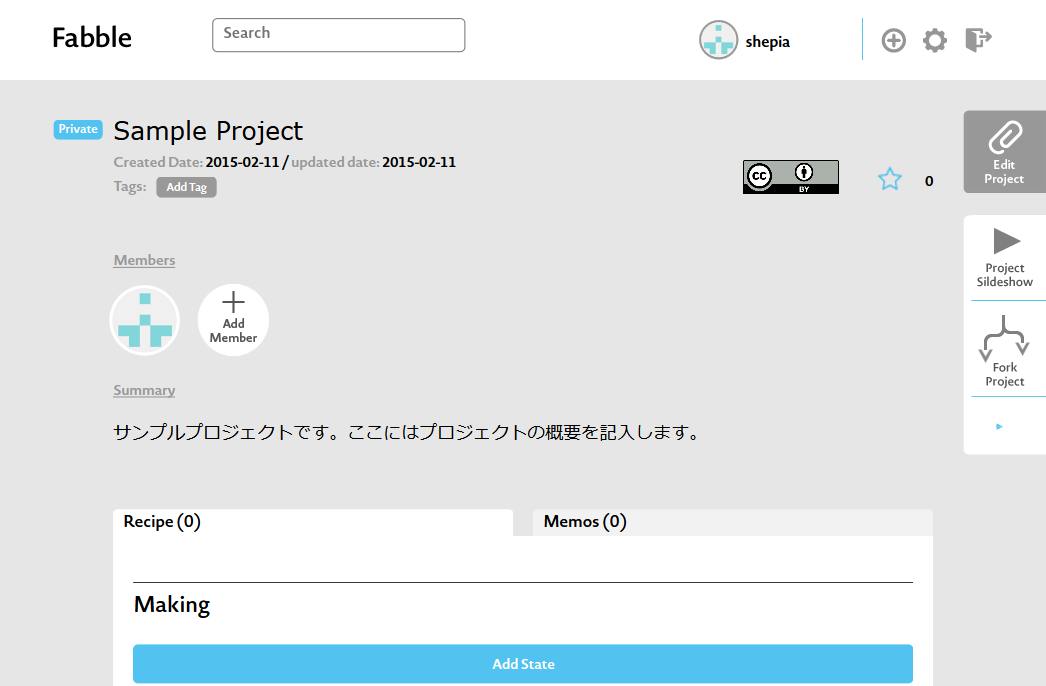
Step 4 : License
A creative commons license will be applied to all of the projects on Fabble. Please select a license for you project.
Step 5 : Access level
Selecting Private Project will make the project invisible to other users. If this item is not selected, the project will be publicly viewable from the moment the project is created.
Step 6 : Permalink
Create a URL for the project page. The default URL can be changed.
How to write a Project
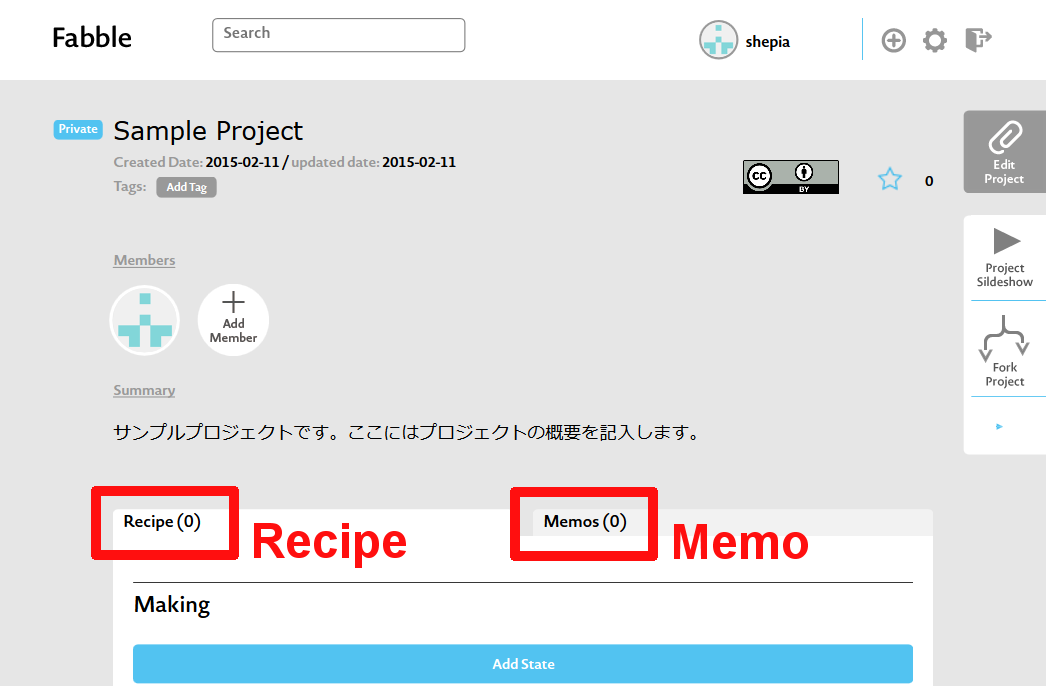
One project consists of two formats of documentation: Recipe and Memo.
About Recipe
The process of making and the necessary materials, tools and blueprints will be documented in Recipe. This documented process may be forked (creating a different Project based on an existing one) by another user and evolve into a new project.
About Recipe
The experiences and tips of making will be written in Memo. Please share the story about what you are making by documenting it here. Why did you want to make it? What didn’t work out? Write this down as you go through the process of making, to share the time you spent and the decisions you made.
Using these documentation form
We assume that users will take notes on Memo and document the process in Recipe. But you can also choose only one format. When working as a group, it may be efficient to divide the group into those who do the making and those who document that process on Fabble.
Writing a Recipe
The Recipe shows how the state of what you are making has changed. The process of how it has changed from one state to another will be described as Annotations. Or you can use the State as a headline and Annotation as the subheading.
Mark Up of Materials, Tools, and Blueprints
While documenting, the name of a material, tool and blueprint data can be assigned as "Material", "Tool" or "Blueprint" using the Markup tool. Uploaded files can be linked to one of these categories. All of the marked content will be listed at the top of the Recipe.
300-character limit
There is a 300-character limit (is nearly equal to 50 words in English) for the State and Annotation. Use simple sentences, pictures, screenshots, and YouTube videos to efficiently share your process.
Text formats
Text can also be written in Bold and Italic with Underlines, Links and Bulleted lists.
Changing the order
The State’s order can be changed using the Change Order button. Use the Convert to State or Convert to Annotation button to change between State and Annotation.
Writing a Usage
At the end of the Recipe, write how your creation can be used in Usage. Taking a video of the usage and posting it here can be effective.
KJNKJN
EROEKOREKROGFK
ADOFKOADKF
ASKDOFKSODFKOAWF
oafkdosfvsdkfosek
fjbvdkfbmdkmvkfmbk
Claude Artifactshub
Discover AI-powered artifactshub built with Claude. Explore interactive artifacts, including games, productivity tools, and creative apps, and share them easily.
Writing a Memo
Use Memo however you like. You can document your process like a diary or write down your trials and errors. The documentation format is similar to the State and Annotation, however there is no character limit so you can write as much as you like.
mtrkrtj

ergkmfevkrmmmmmmmmmmmmmmmmmmmmmmmmmmmmmmmmmmmmmmmmmmmmmmmmmmmmmmmmmmmmmmmmmmmmmmmmmmmmmmmmmmmmmmmmmmmmmmmmmmmmmmmmmmmmmmmmmmmmmmmmmmmmmmm
Using Projects
Use your Projects and other users’ Projects as explained below.
Editing tags
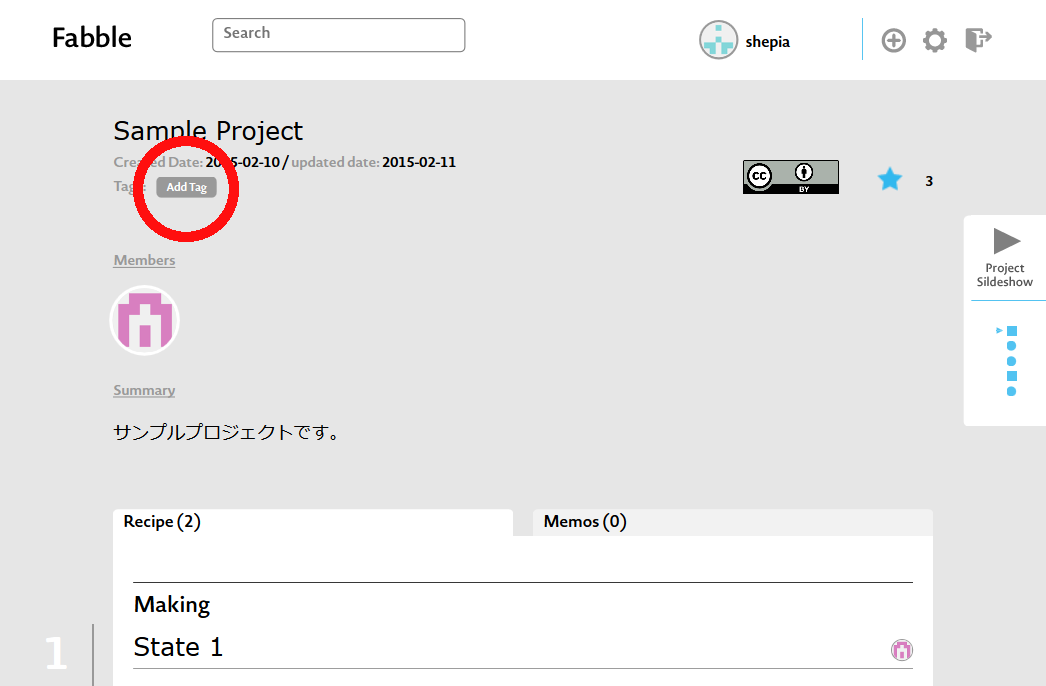
The Project’s tags can be added and edited by any user. Tags will make it possible to find you project using the search box on the site. They can be used for projects that continue in a series, events that would like to manage all of the works, or to simply categorize your project.
Adding to favorites
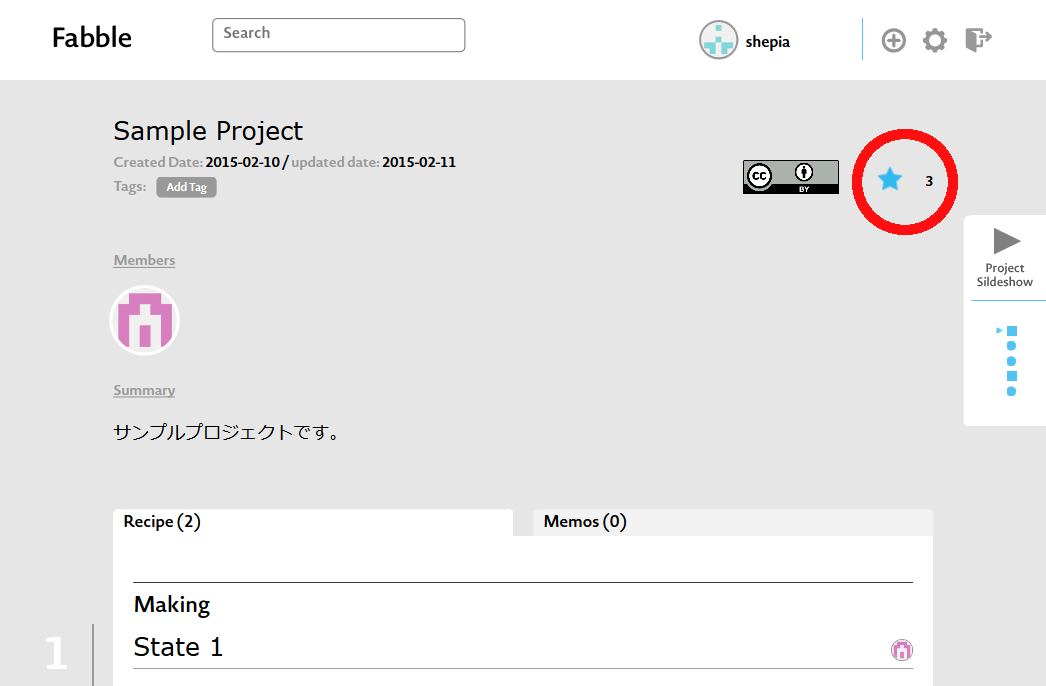
Selecting the star on a Project will add it to your favorites. The favorited Projects can be viewed in the favorite tab on your personal page. Adding projects here will make it easier to find later on.
Adding comments


Anyone can leave comments as long as they are signed in. Creators can receive feedback from comments and improve their Recipe.
Viewing as a slideshow
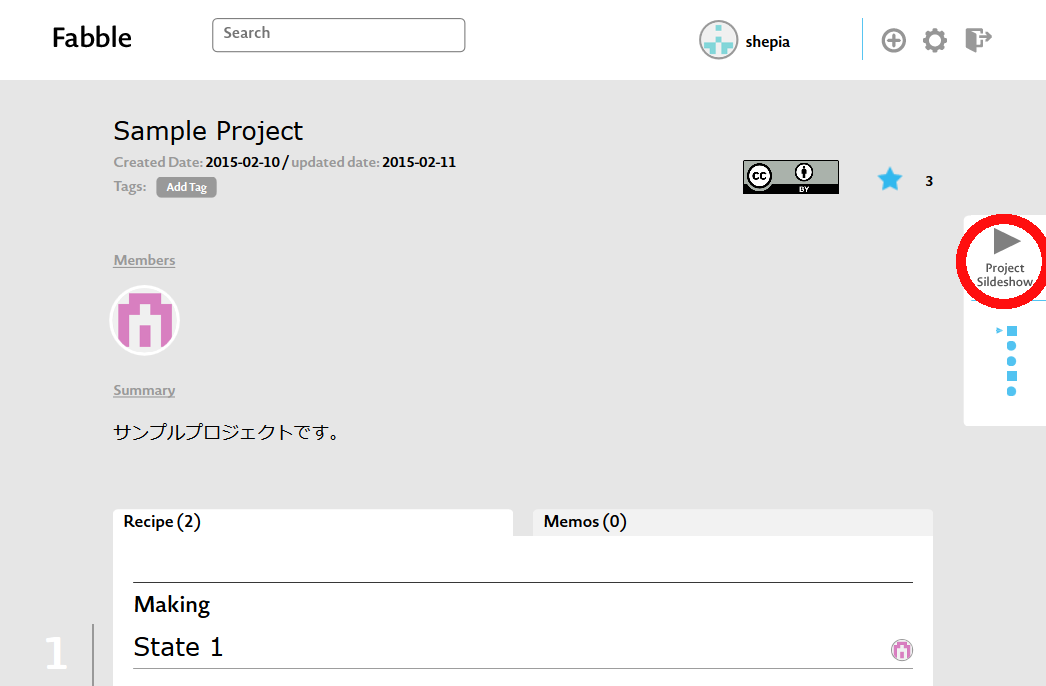
The Recipe can be viewed as a slideshow.
Blood Money
BloodMoney is a stealth action game in the Hitman series. Players control Agent 47, a contract assassin, completing missions through disguise, strategy, and silent kills. It emphasizes freedom of choice and creative problem-solving.
If you like puzzle game, try [Knit Out] (https://www.knitout
If you like puzzle game, try [Knit Out] (https://www.knitout.net/),[HexaSort] (https://www.hexasortlevel.com/)
merge game
If you like merge game, try [Stick Merge](https://www.stickmerge.games/)
casual game
If you like casual game, try [Causal Zap](https://www.causalzap.com/),[Drive Mad](https://www.drivemadlevel.com/)
sajaboys
If you like sajaboys, try [Saja Boys](https://www.sajaboys.live/)
gbagames
If you like gbagames, try [GAME BOY ADVANCE ARCHIVE](https://www.bestgbagames.com/)
Stickman's puzzle games
If you like Stickman's puzzle games, try [Hole People Level](https://www.holepeoplelevel.com/).
cozy game
If you like cozy game about organizing and decorating, try [Whisper of the House] (https://www.whisperofthehouse.com/)
[Cozy Game](https://www.cozygame.net) [Perfect Tidy](https://www.perfecttidyhub.com/) [Satisroom: Perfectly Organize](https://www.satisroomlevel.com/)
3D games
If you like 3D games, try [Duck Duck Click] (https://www.duckduckclick.com/)
simulation/life/training&strategy game
if you like simulation/life/training&strategy game, try [Sort The Court] (https://www.sort-the-court.com/)
flow management, micro-strategy puzzle, or addictive timing
If you like flow management, micro-strategy puzzle, or addictive timing games, try [Pixel Flow]([https://www.pixelflowlevel.net/]
want to know the game awards from 2015 to 2024
If you want to know the game awards from 2015 to 2024,try [Game Awards Hub]([https://www.gameawardshub.com/en]