About ScanNCutDX /SDX1200
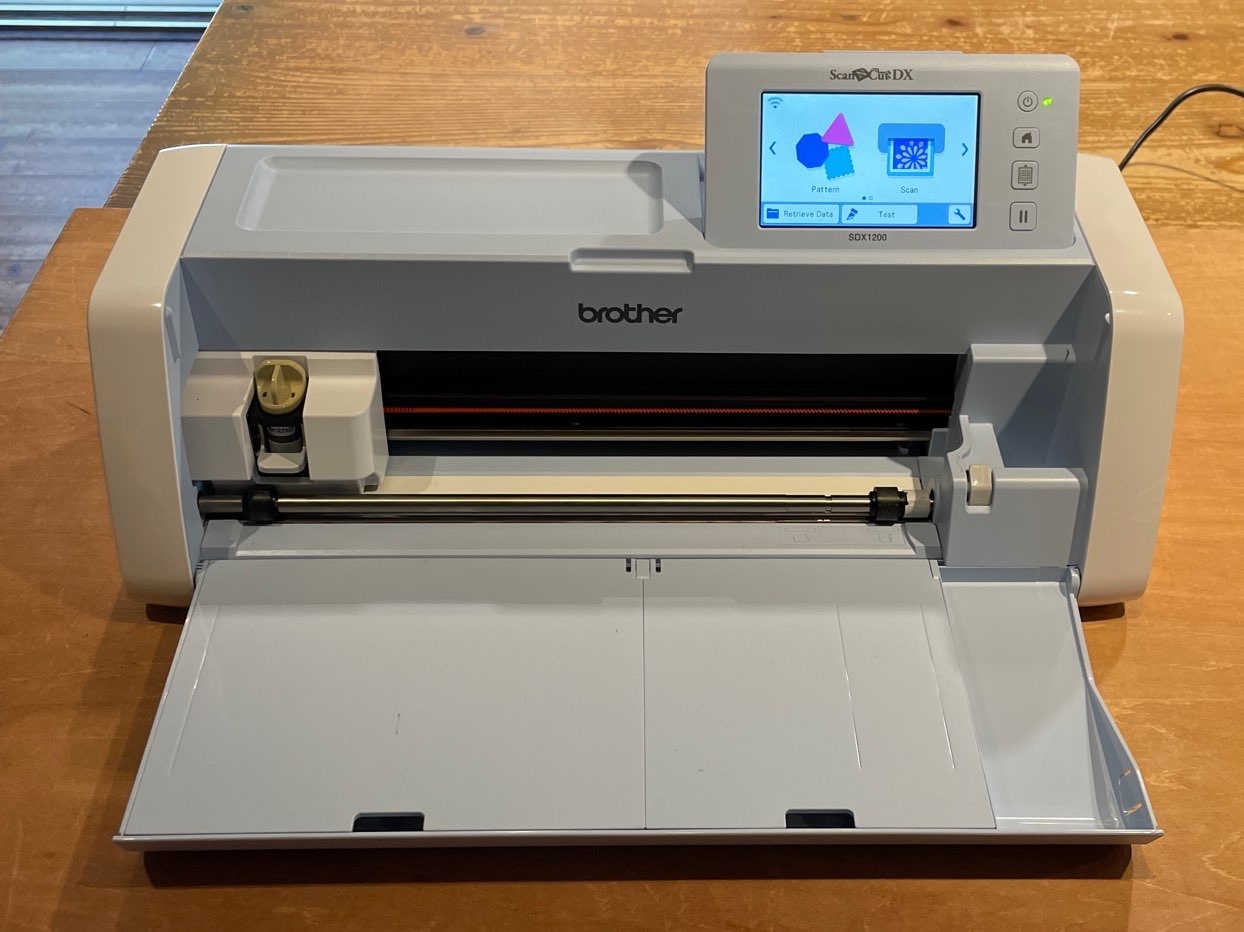
This machine can automatically cut as per your design.
Basic data
Material : Cloth, Paper, Shrinkplastic, and Urethane foam
Maximum cut size of 12-inch mat (width x depth) : 296mm x 298mm
Maximum cut size of 24-inch mat (width x depth) : 296 mm x 603 mm
Data format : SVG, PES, and PHC
Quickstart guide
- Create the data from illustration software (SVG format is recommended)
- Load the data into the machine
- Edit the data
- Setting the cutting method
- Set the material
- Test cut
- Start cutting
- Remove the cut object
1. Create the design
Use Inkscape to create data.
1-1 Convert to path
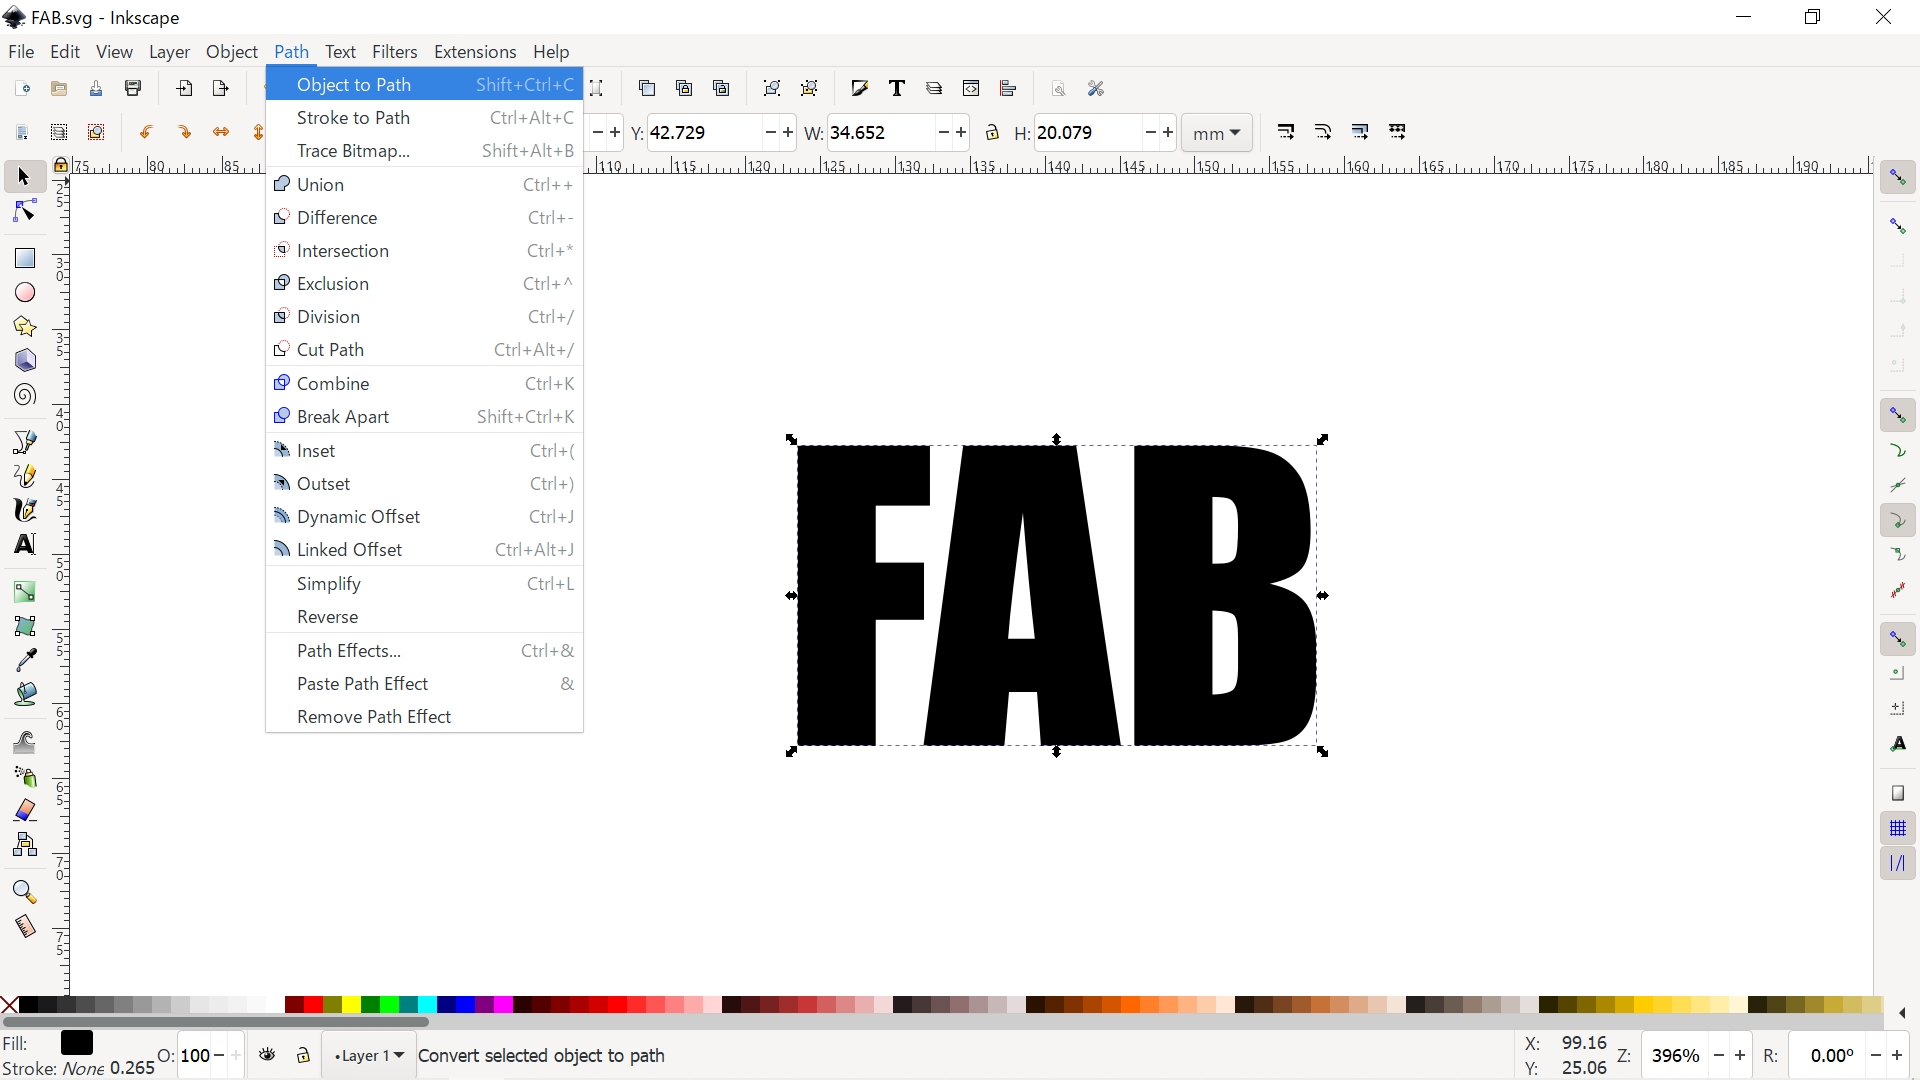
All objects need to be converted to paths.
- Select all objects
- Toolbar → "Path" → "Object to Path"
1-2 Save the design to a USB stick
Save the completed design in SVG format.
- Insert the USB stick
- Toolbar → "File" → "Save"
Tips : Add frame
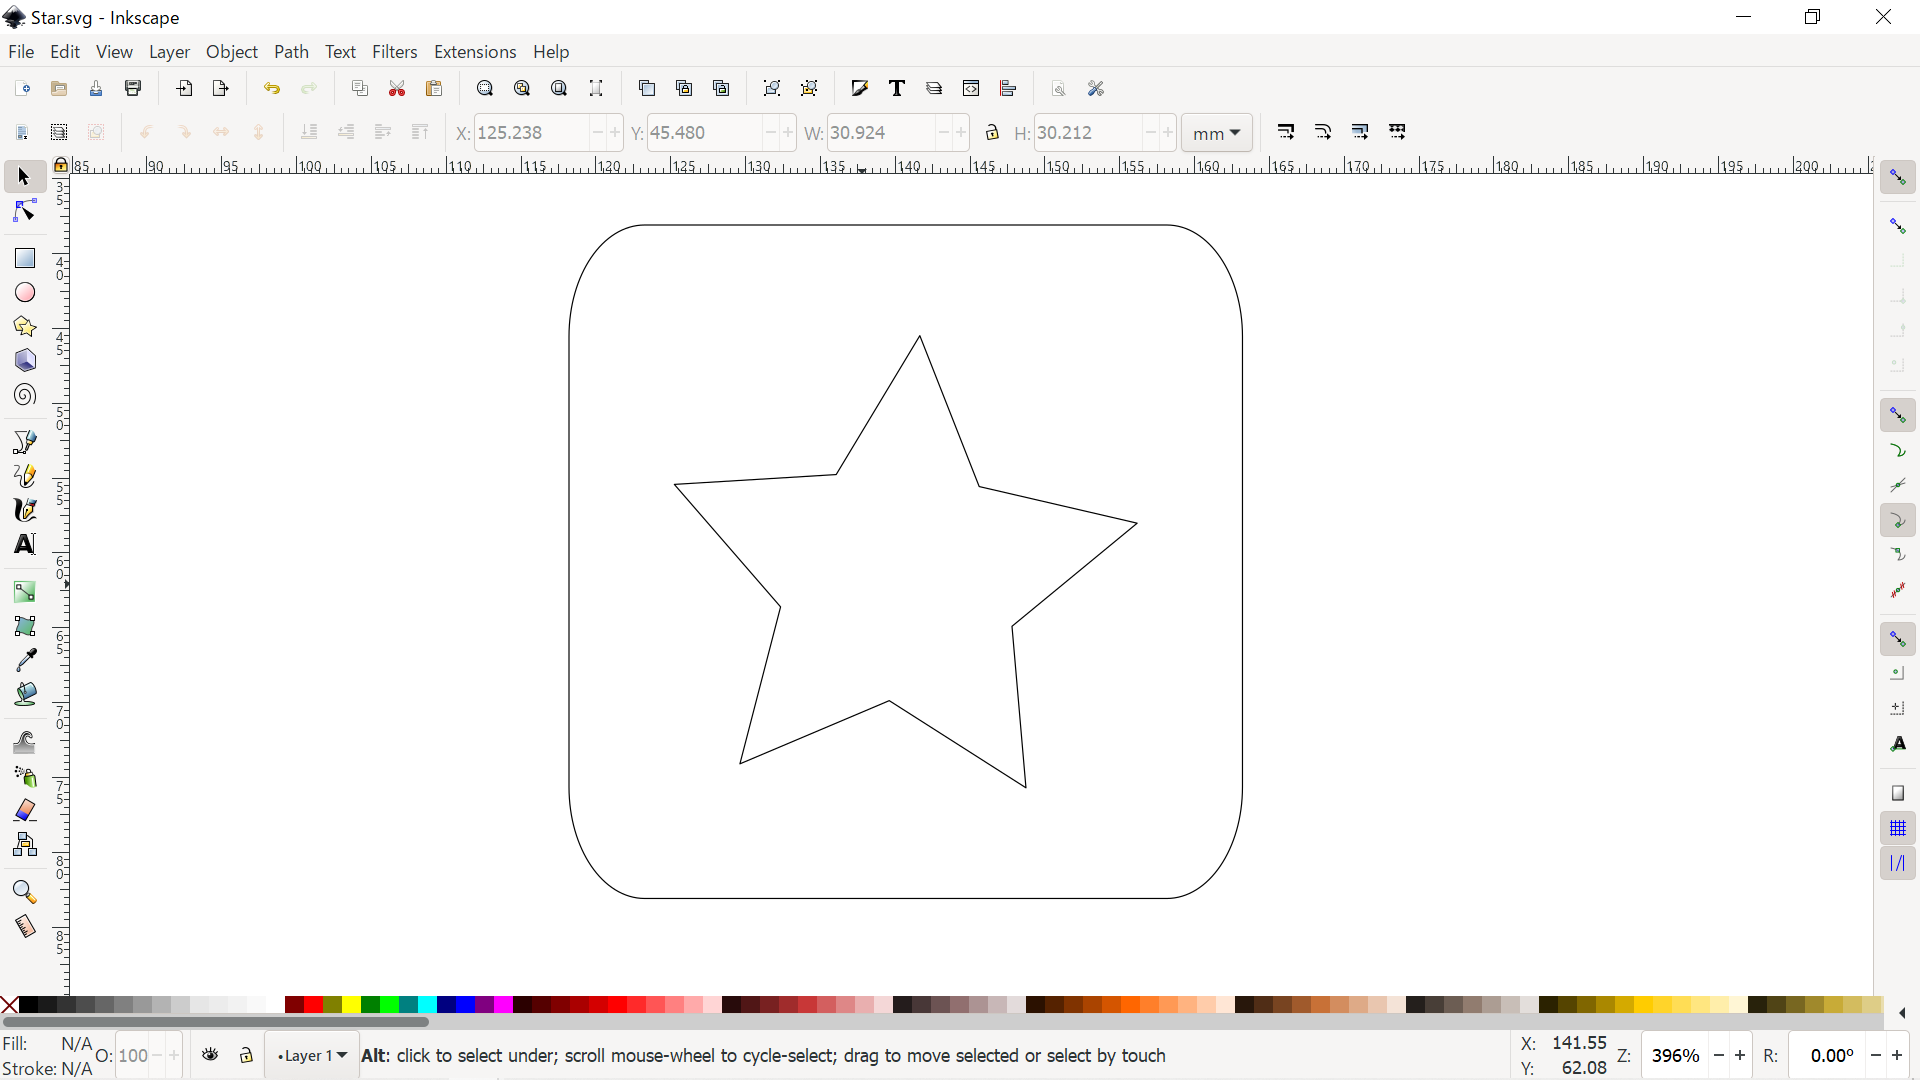
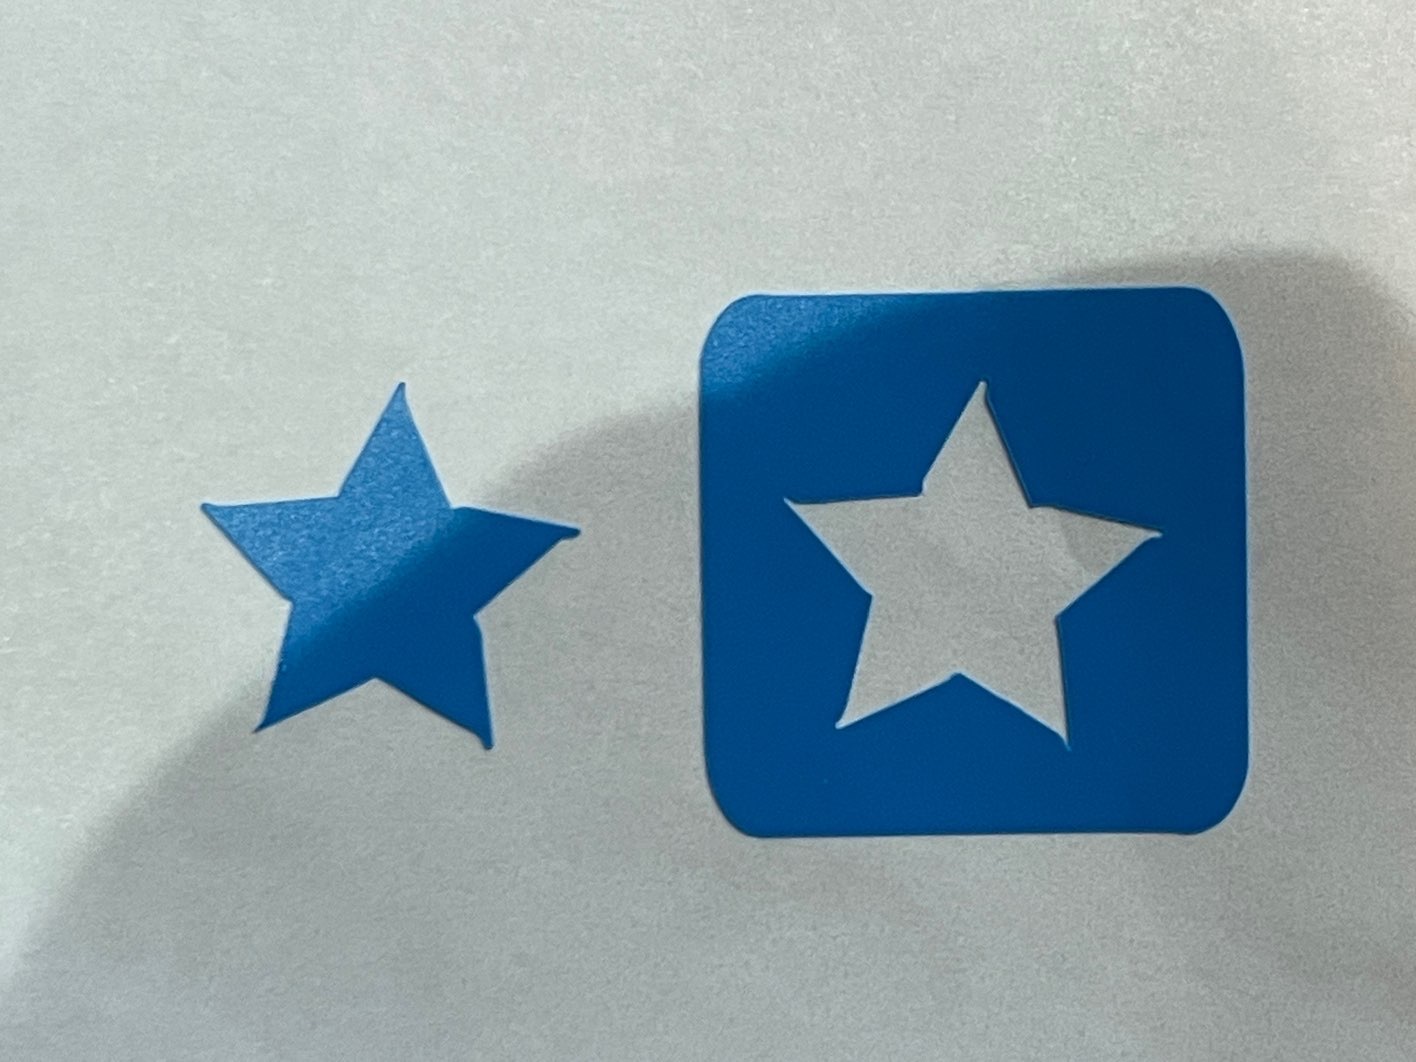
If you add a frame as shown in the picture, you can create two types.
2. Load the design into the machine

Save the design to a USB stick and open it on the machine.
Insert the USB stick
- "Retrieve Data" → Select the USB logo → Select your desin → "OK"
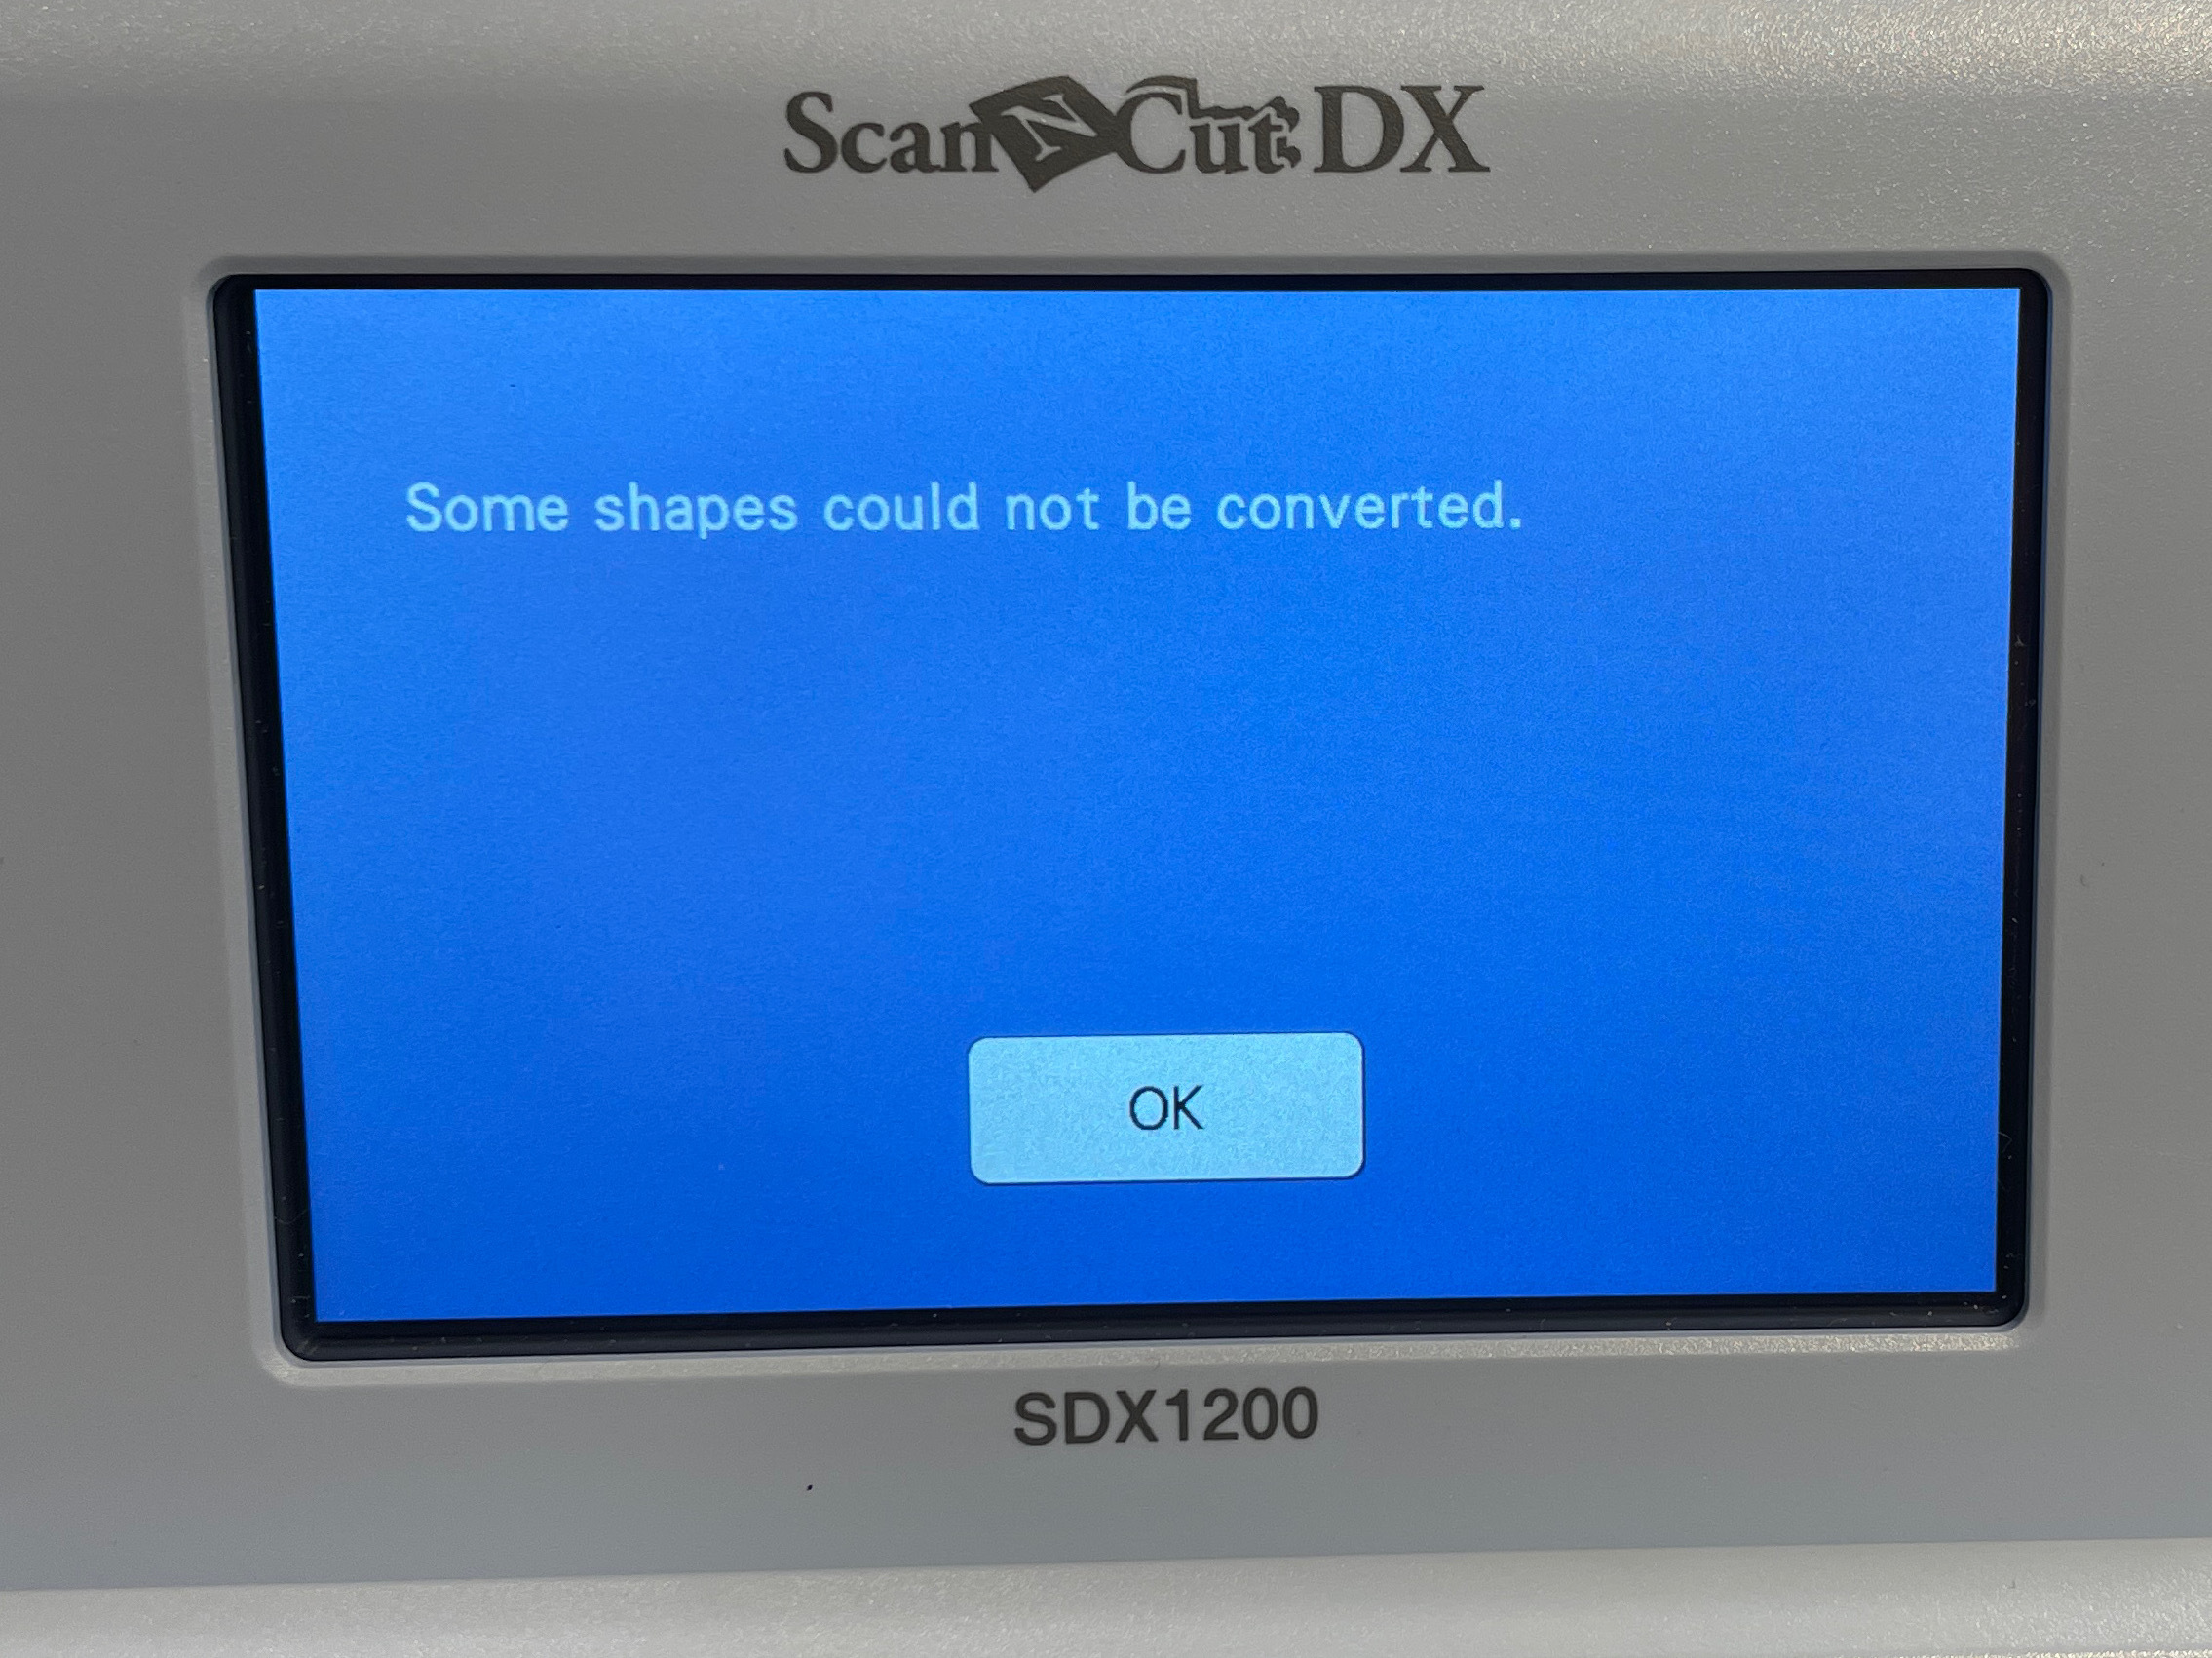
※Sometimes, you will get the error "Some shapes could not be converted.". Make sure that the object is converted to a path(1-1).
3. Edit the desing
3-1 Edit the size / direction
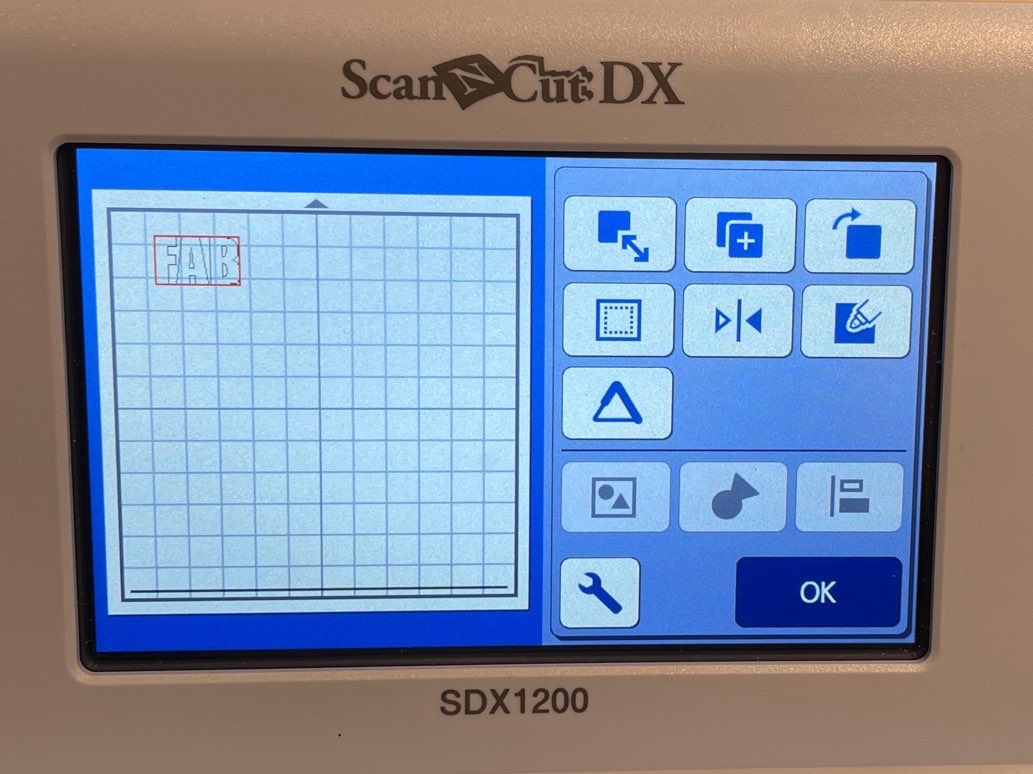
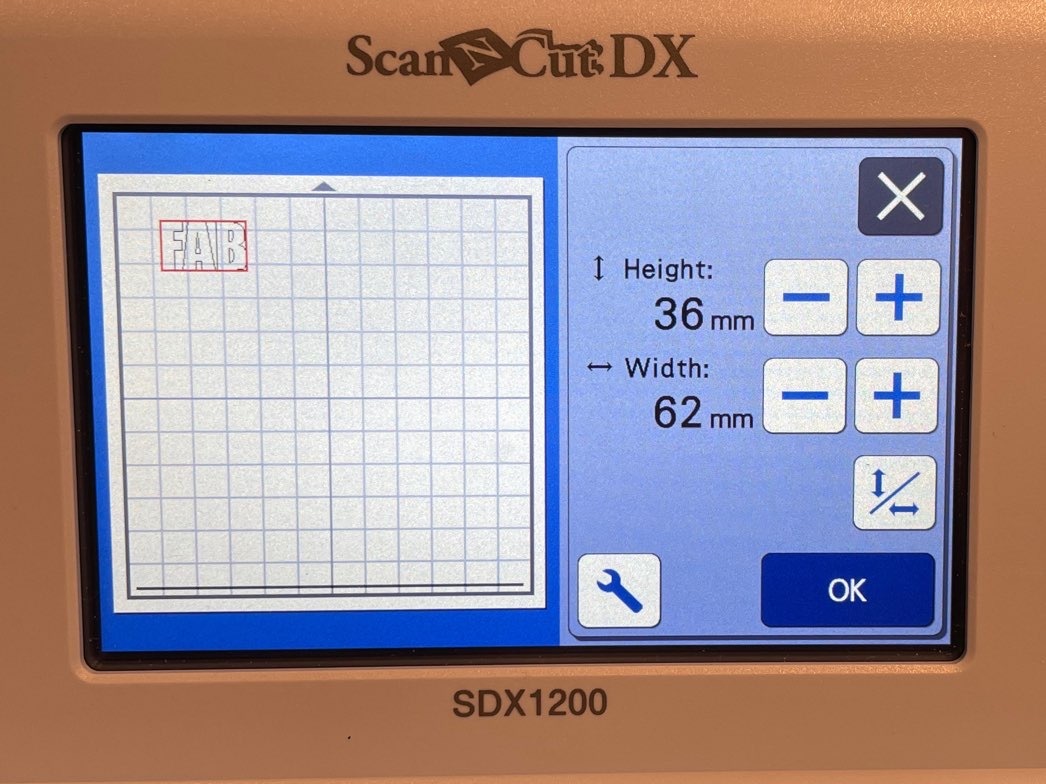
- "Edit" → "Object Edit"
3-2 Edit the position

- "Edit" → cross-arrow button
※The default setting is at the edge, so set the cut position with a little margin.
4. Setting the cutting parameter
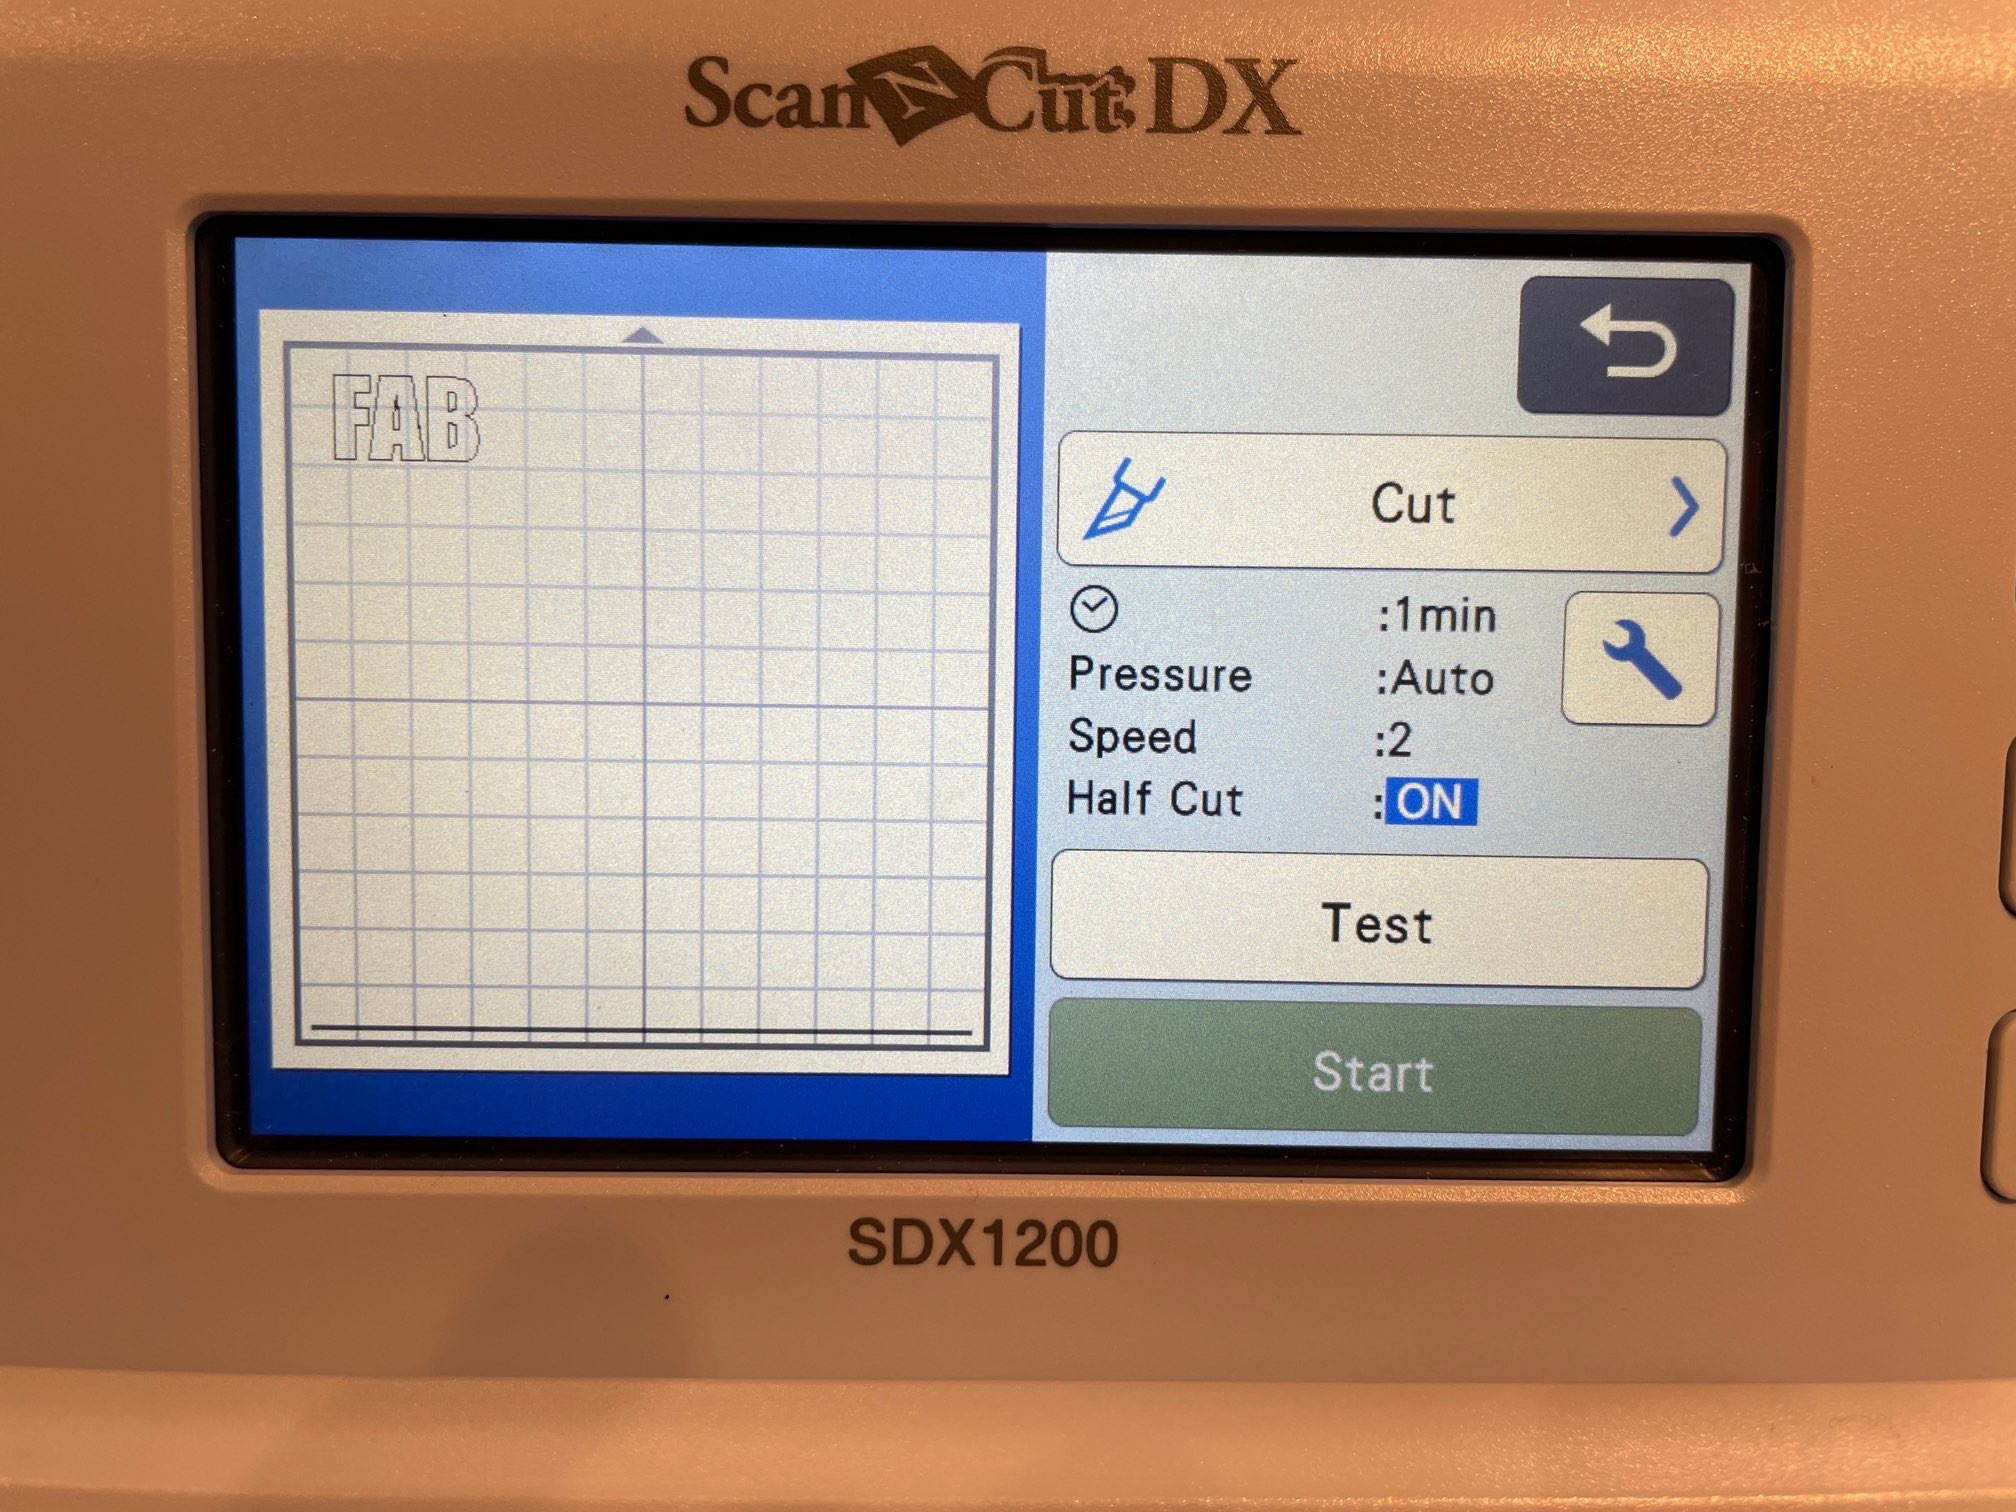
Finally, configure the detailed settings for the cut. Press "OK" to proceed to the next.
- "Please select" → "Cut"
※You can also replace the blade with a drawing pen to draw your design. - Set the "Cut Speed", "Cut Pressure", "Cut Pressure (Manual Blade), "Cut Amount", and "Half Cut"
Example of settting
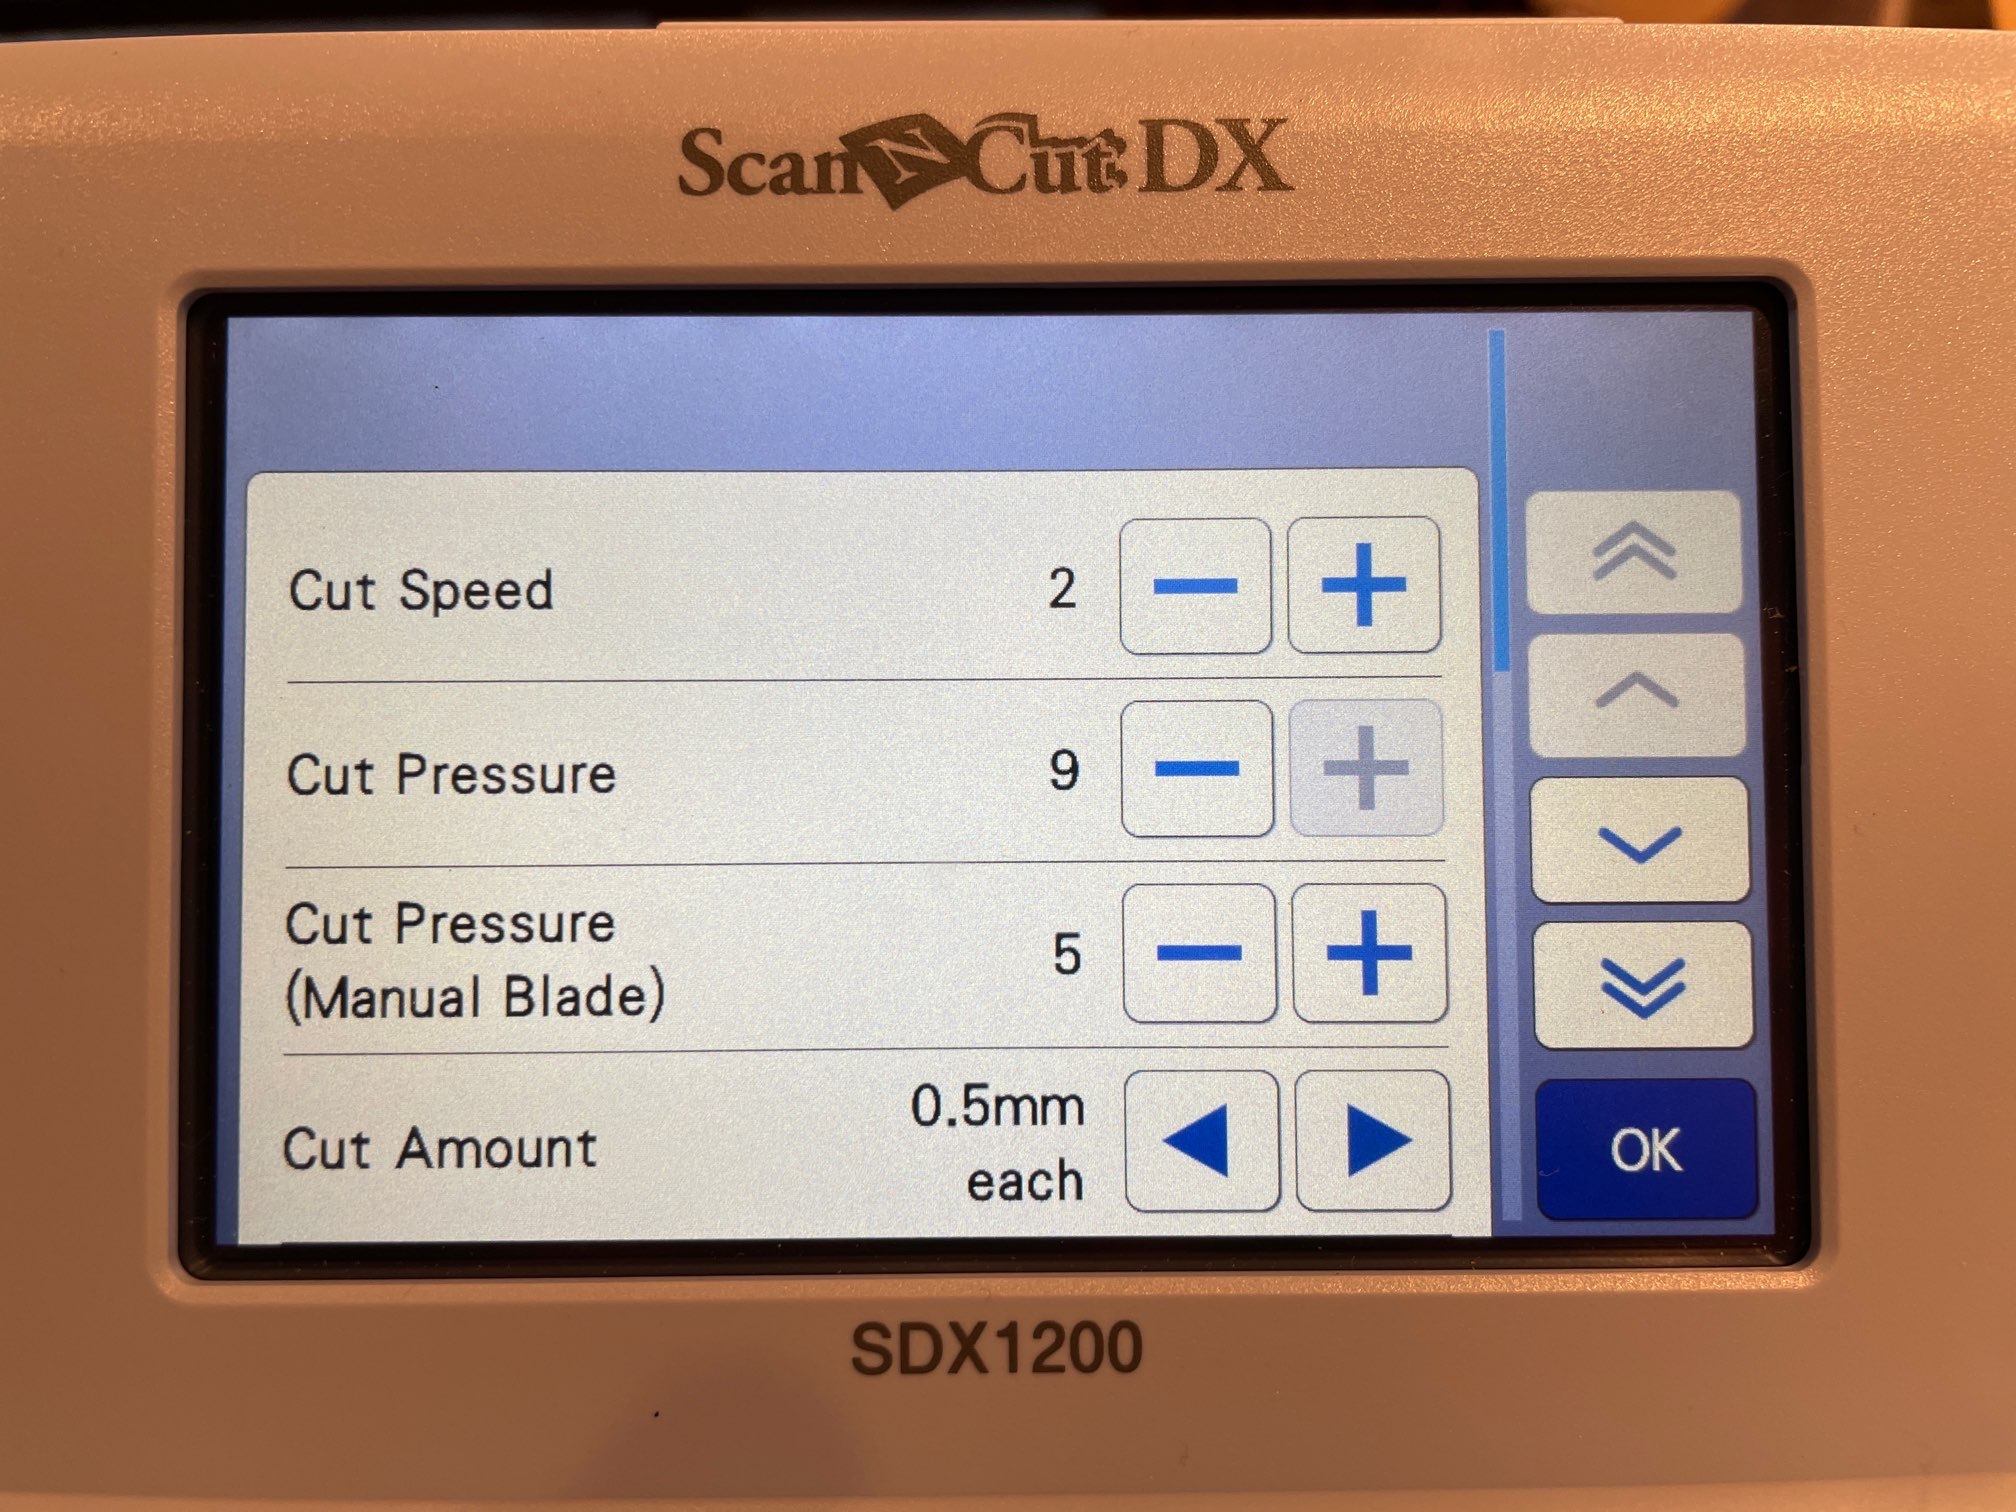

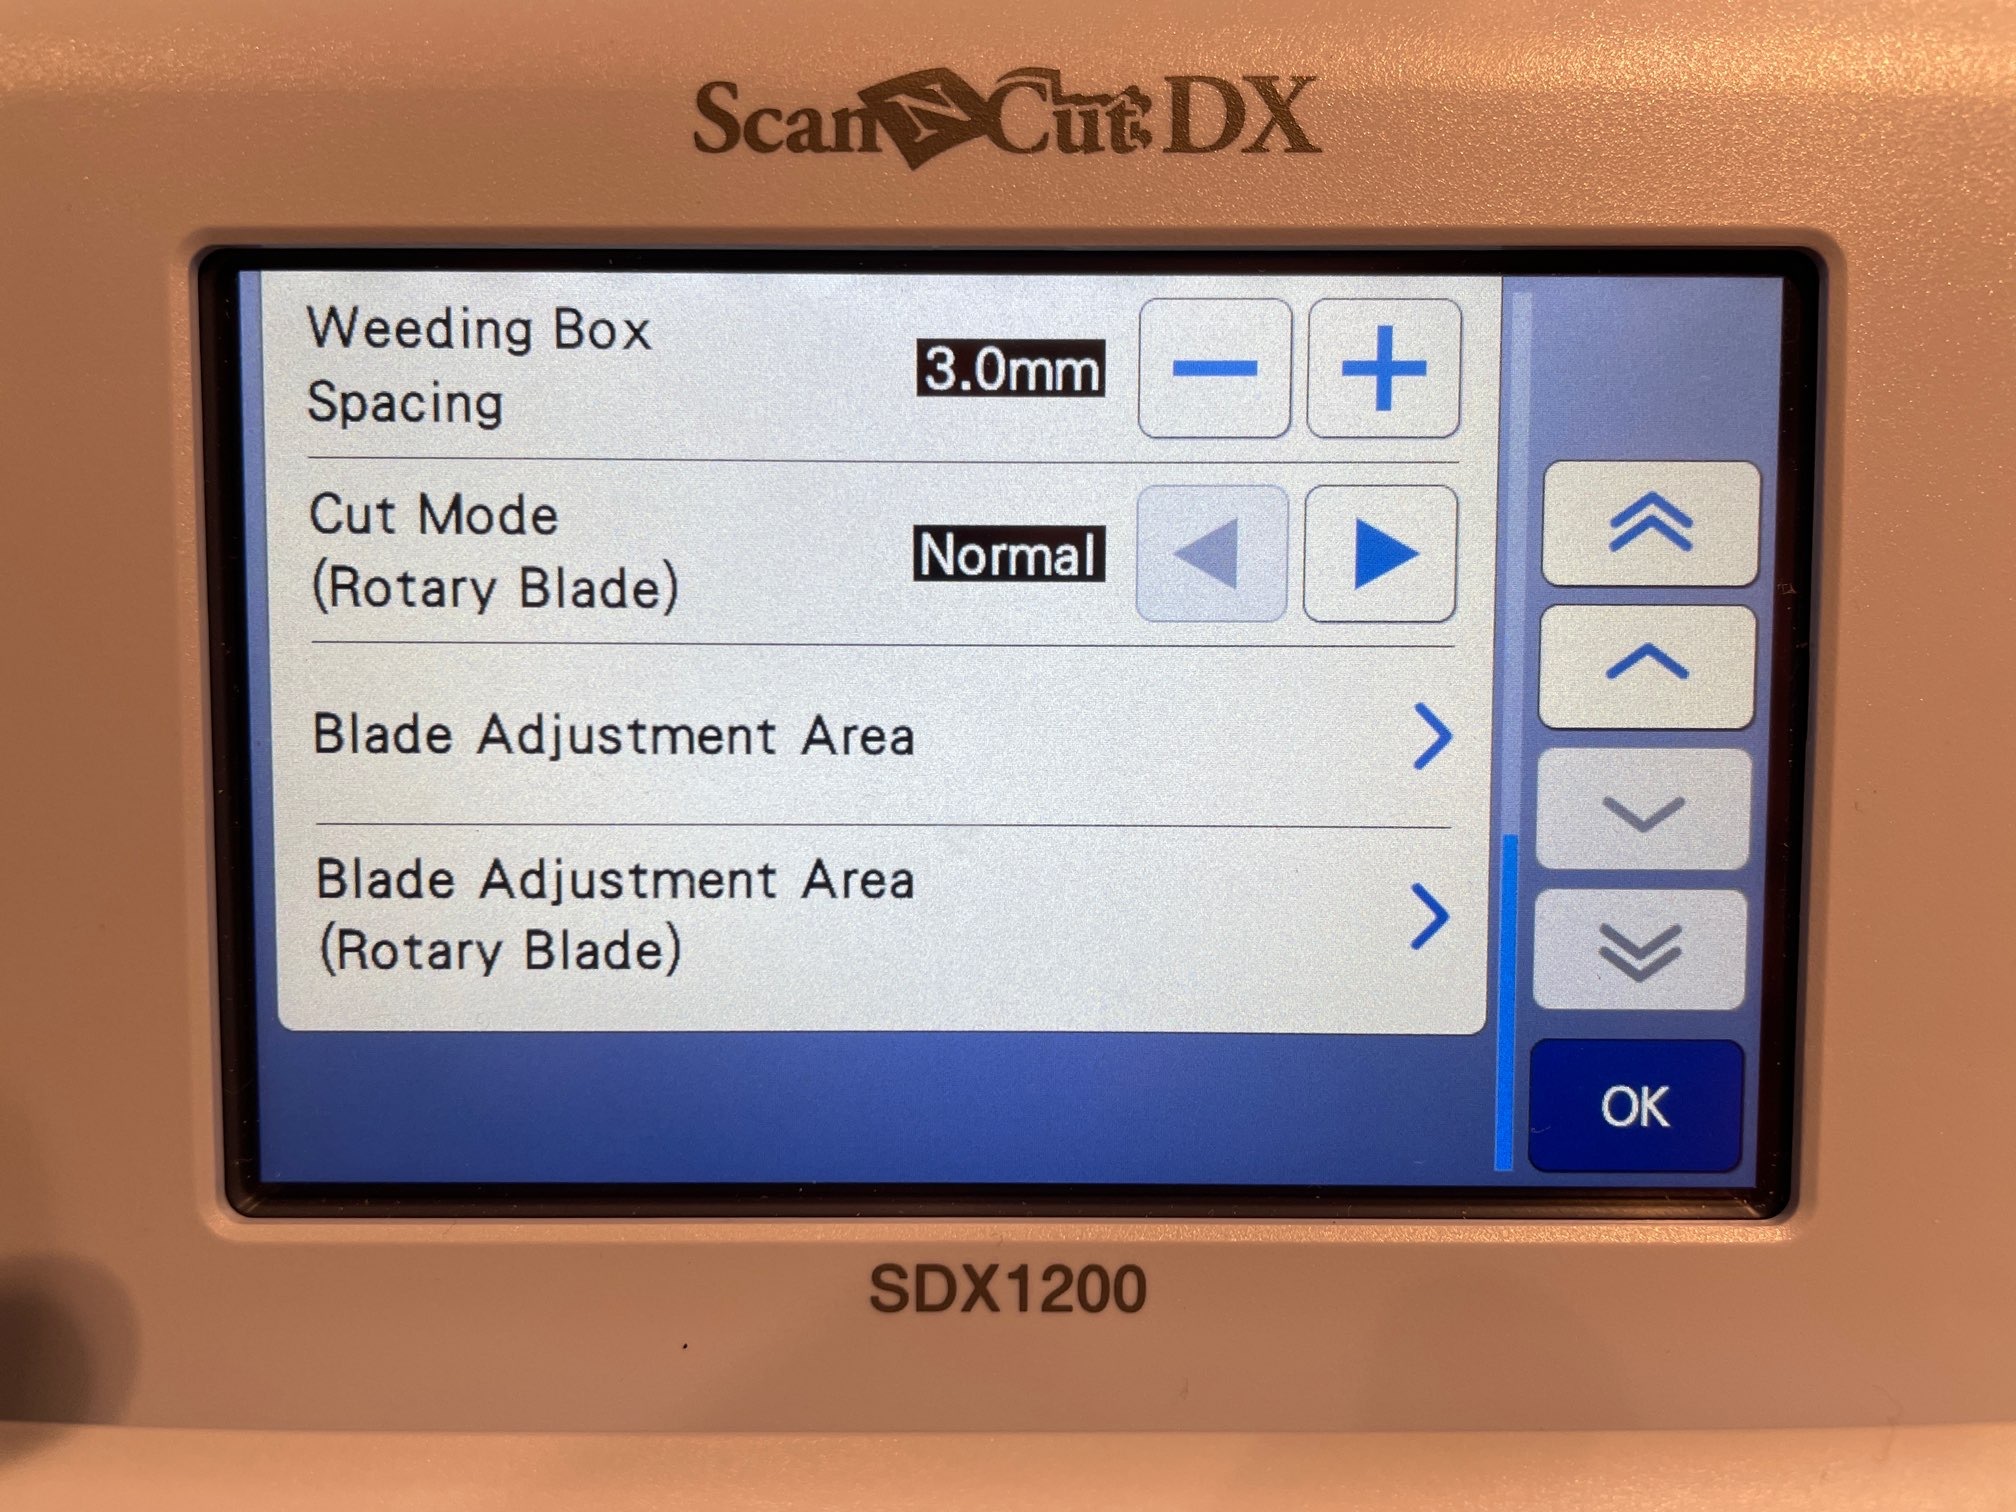
Material : Cut-out sticker
Cut Speed : 2
Cut Pressure : 9
Cut Pressure (Manual Blade) : 5
Cut Amount : 0.5mm each
Half Cut : ON
※"Half Cut" is a feature to make a sticker. This function allows you to cut only the seal part without cutting the base paper.
※When cut tiny parts, reduce the speed.
5. Set the material
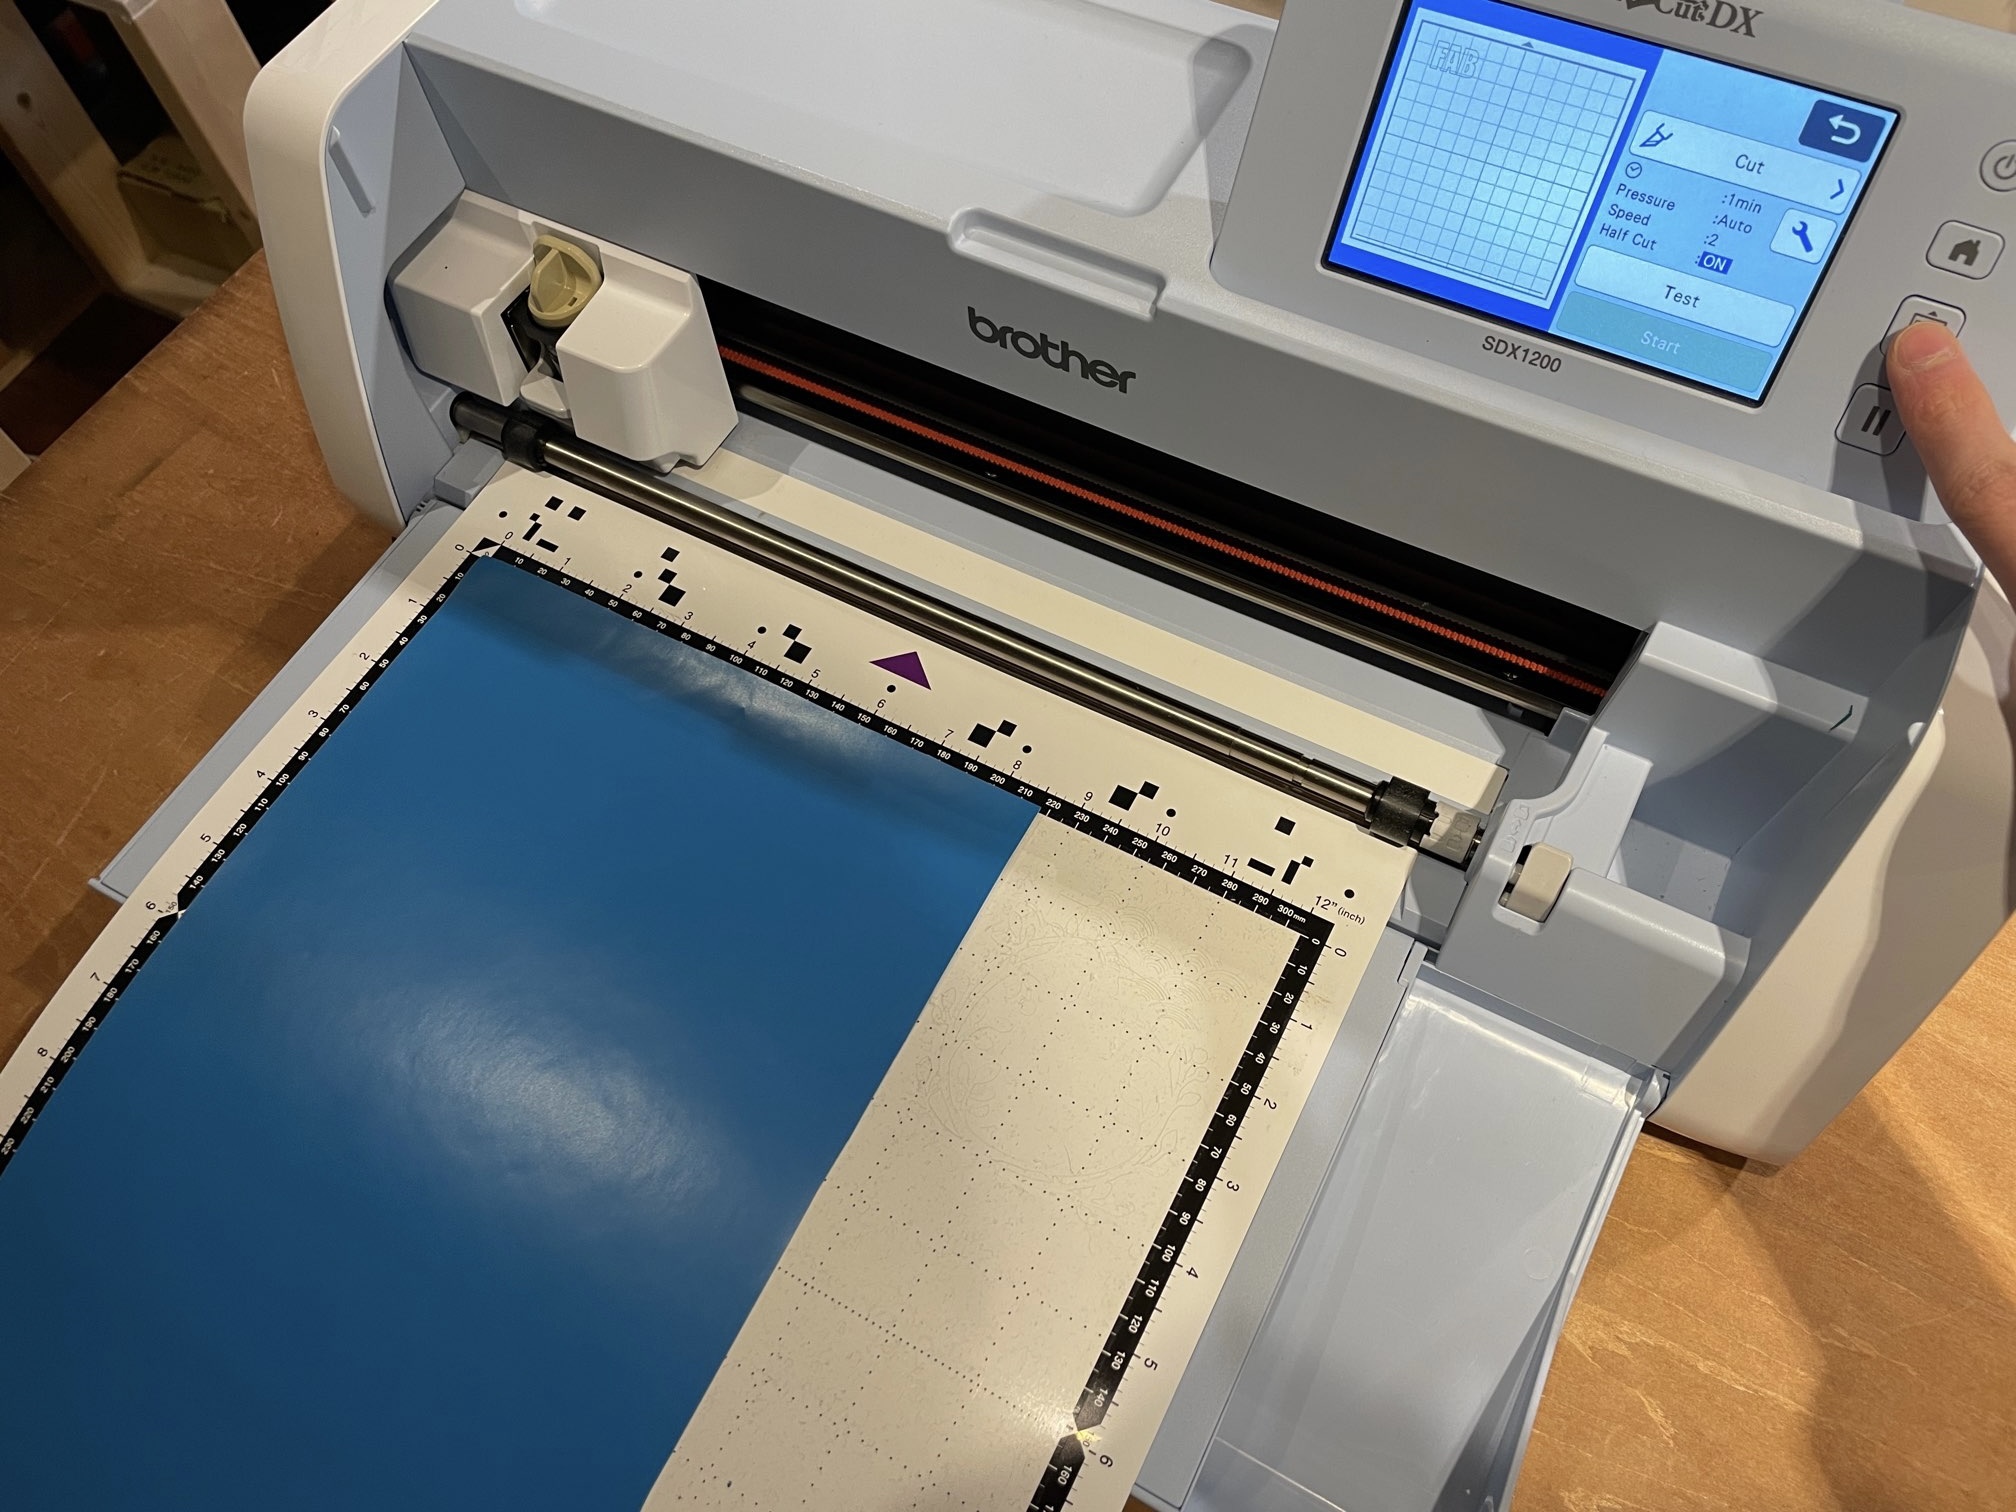
- Attach the Cut-out sticker to the mat.
- Insert the mat along the black rollers on both ends.
- Press the set button under the home button. It will automatically roll the mat in and set it up.
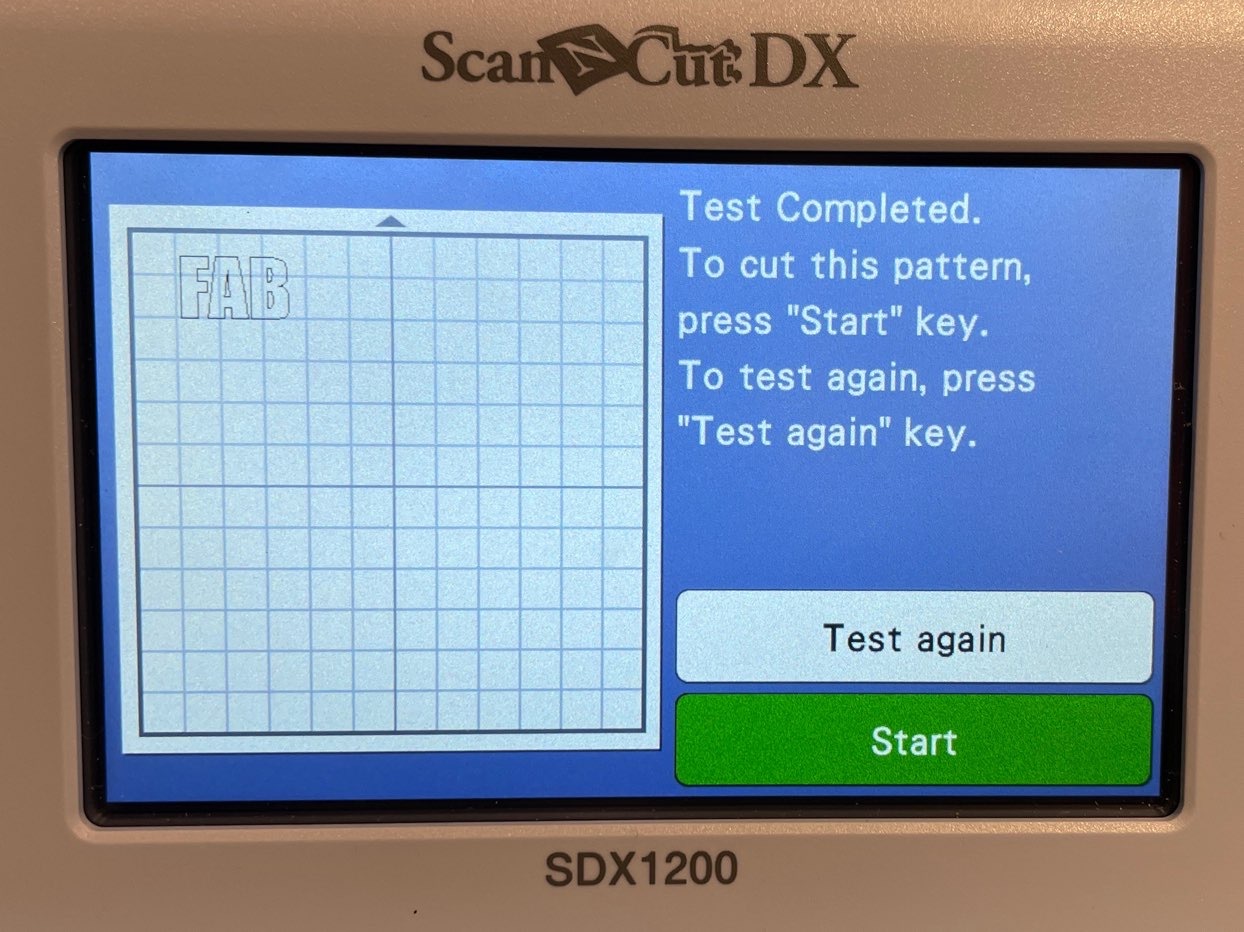
6. Test cut
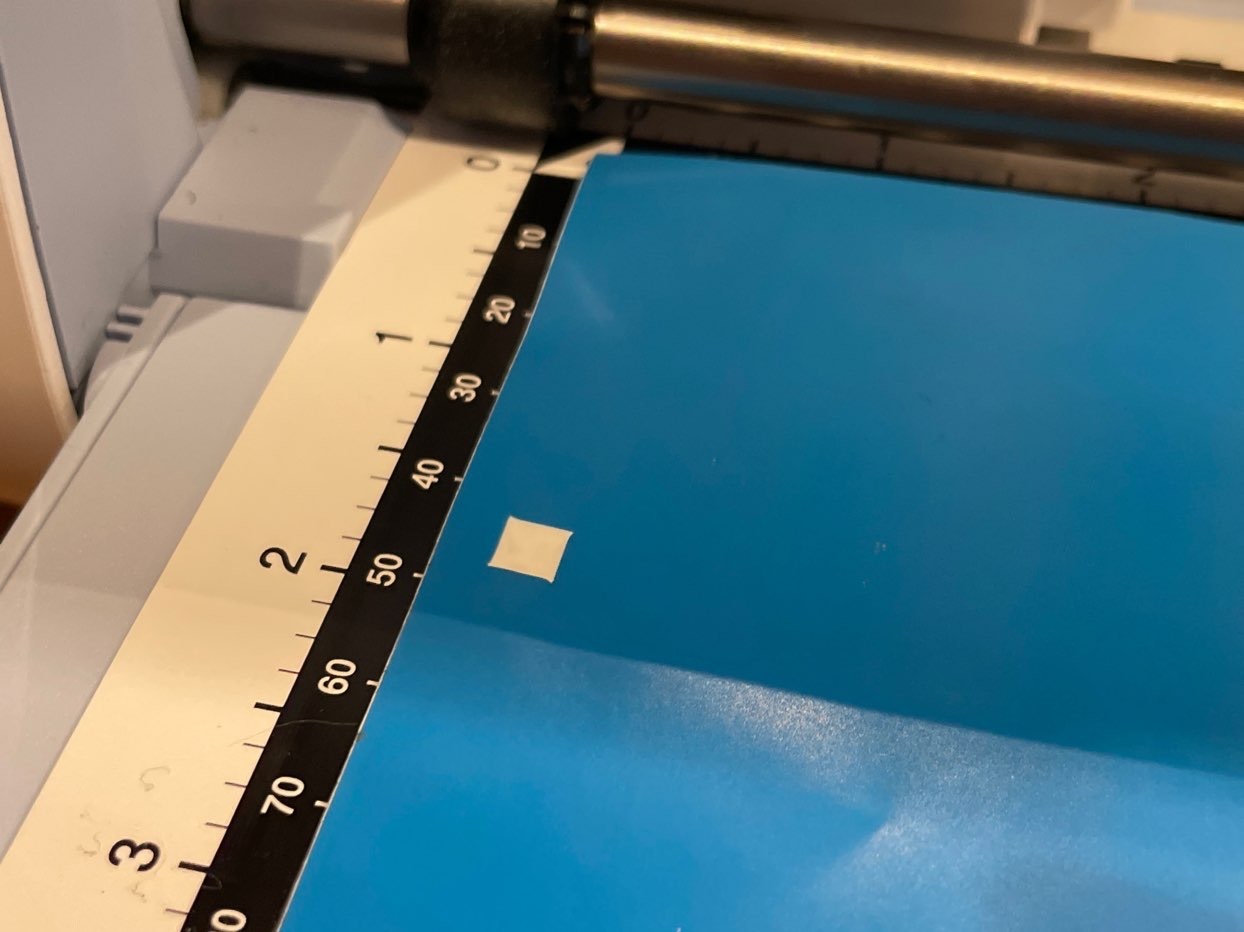
Check if the cut can be made exactly with the parameters you've set.
- "Test" → "Start"
7. Start cutting
Press "Start" to start cutting.
8. Remove the cut object
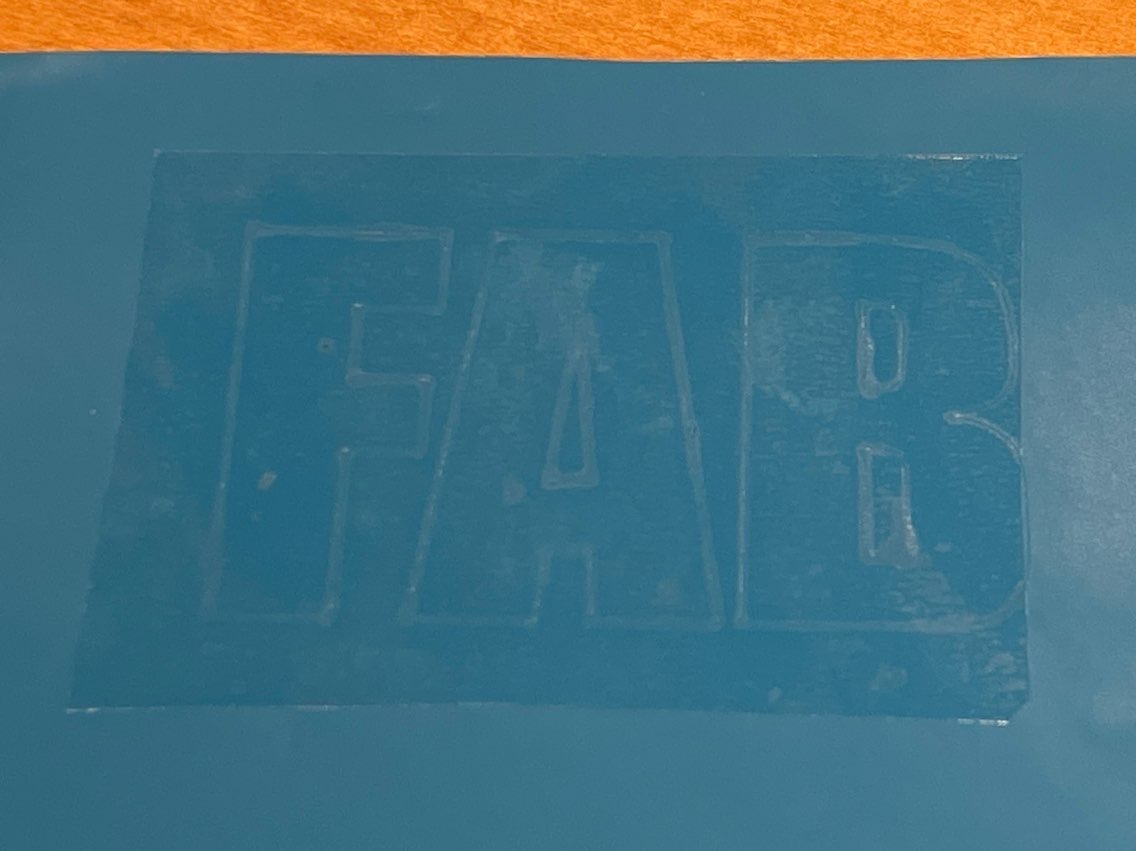
- Press the set button under the home button and remove the mat.
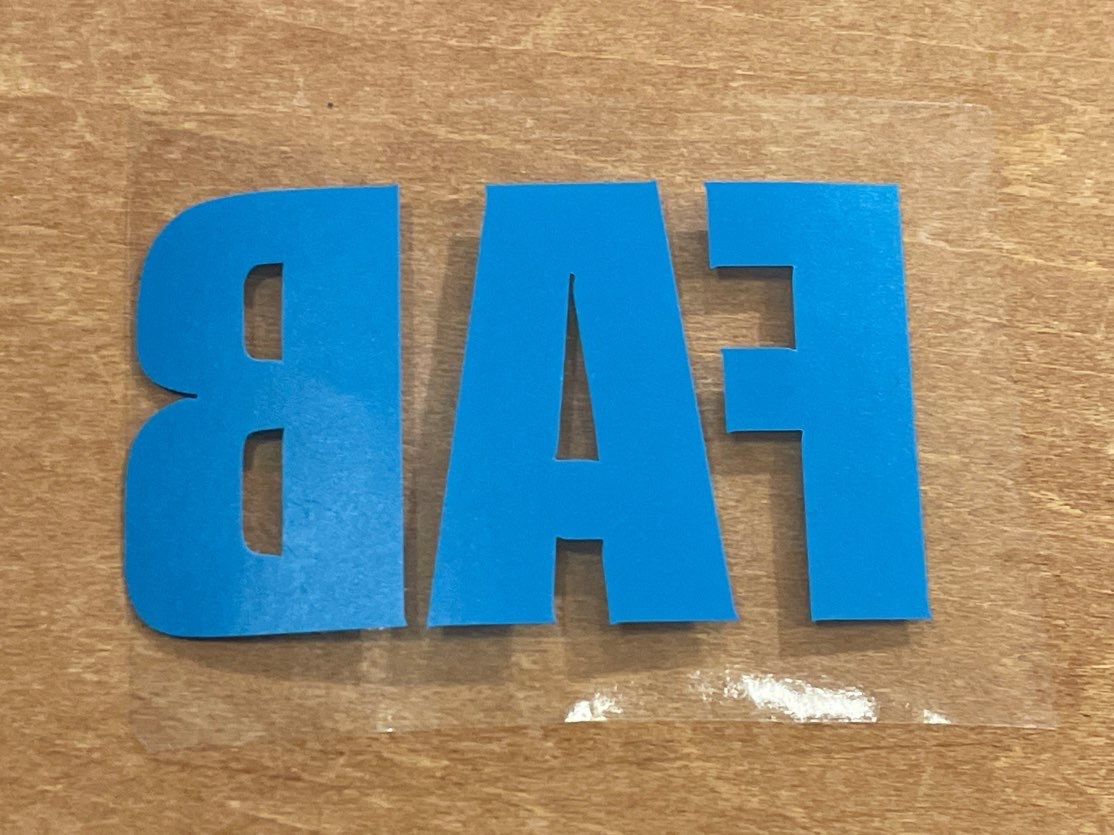
- Cut the transfer sheet to fit the size and paste it.
- Carefully peel it off.
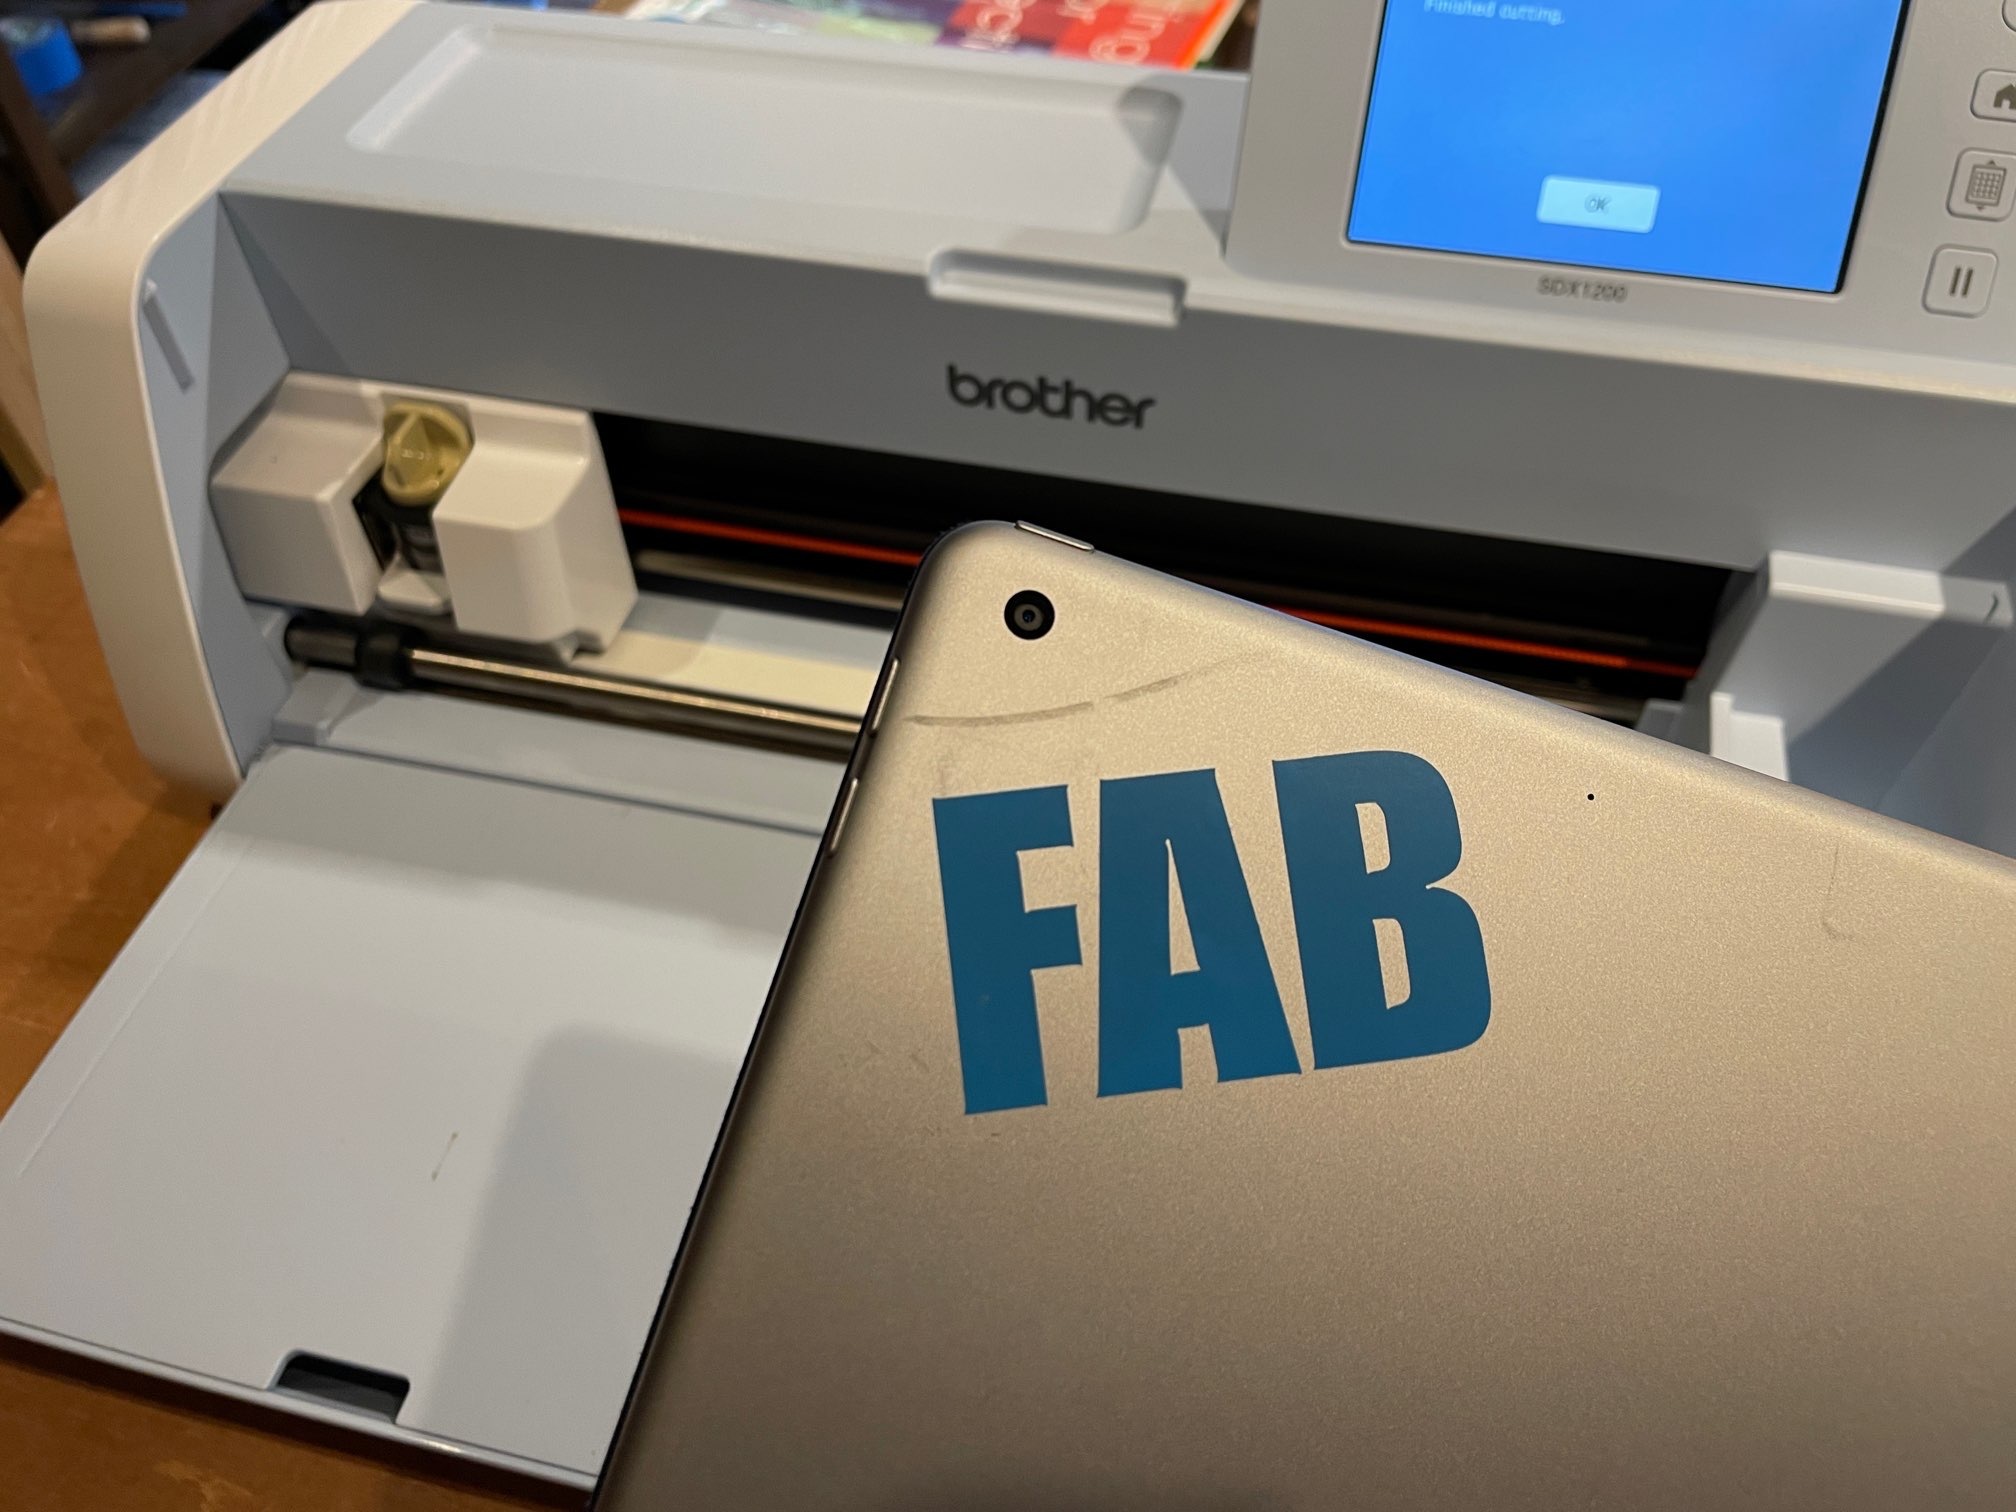
- Stick it wherever you want.
Tutorial Video
Brother ScanNCut Tutorial - Cutting Vinyl with your Brother Scan and Cut - Personalize your SDX125