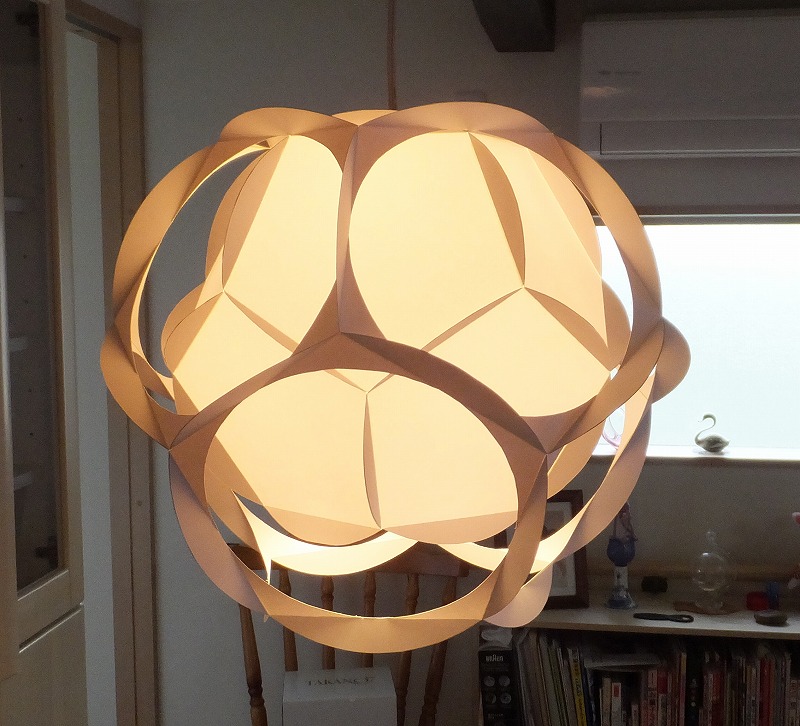
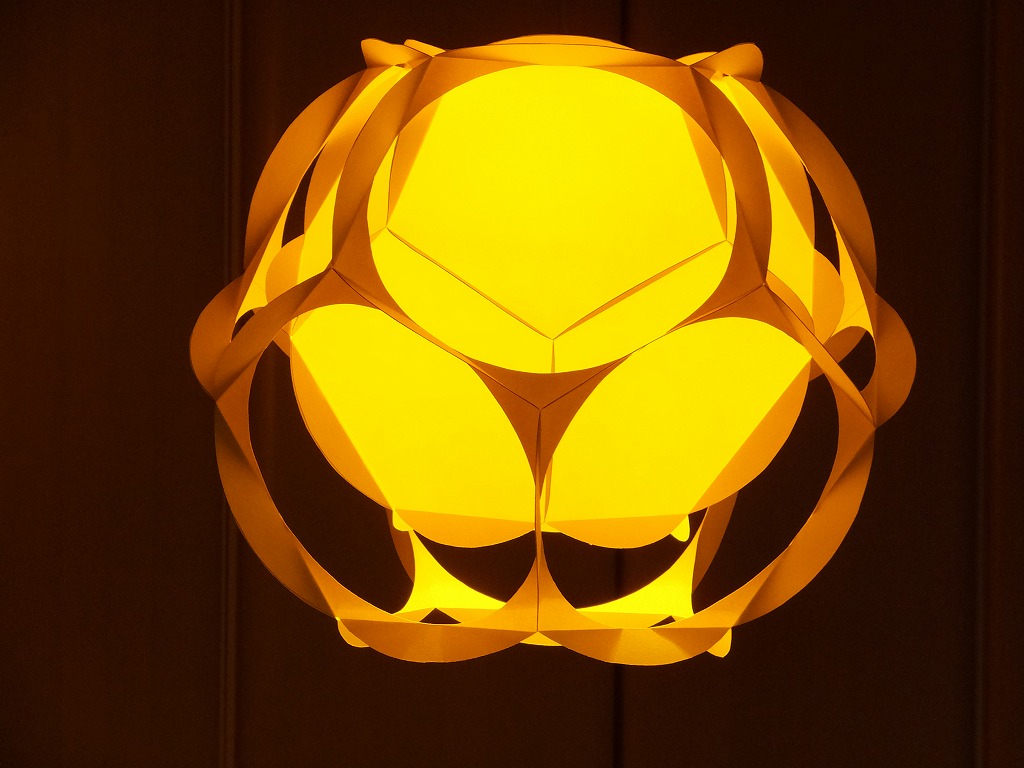
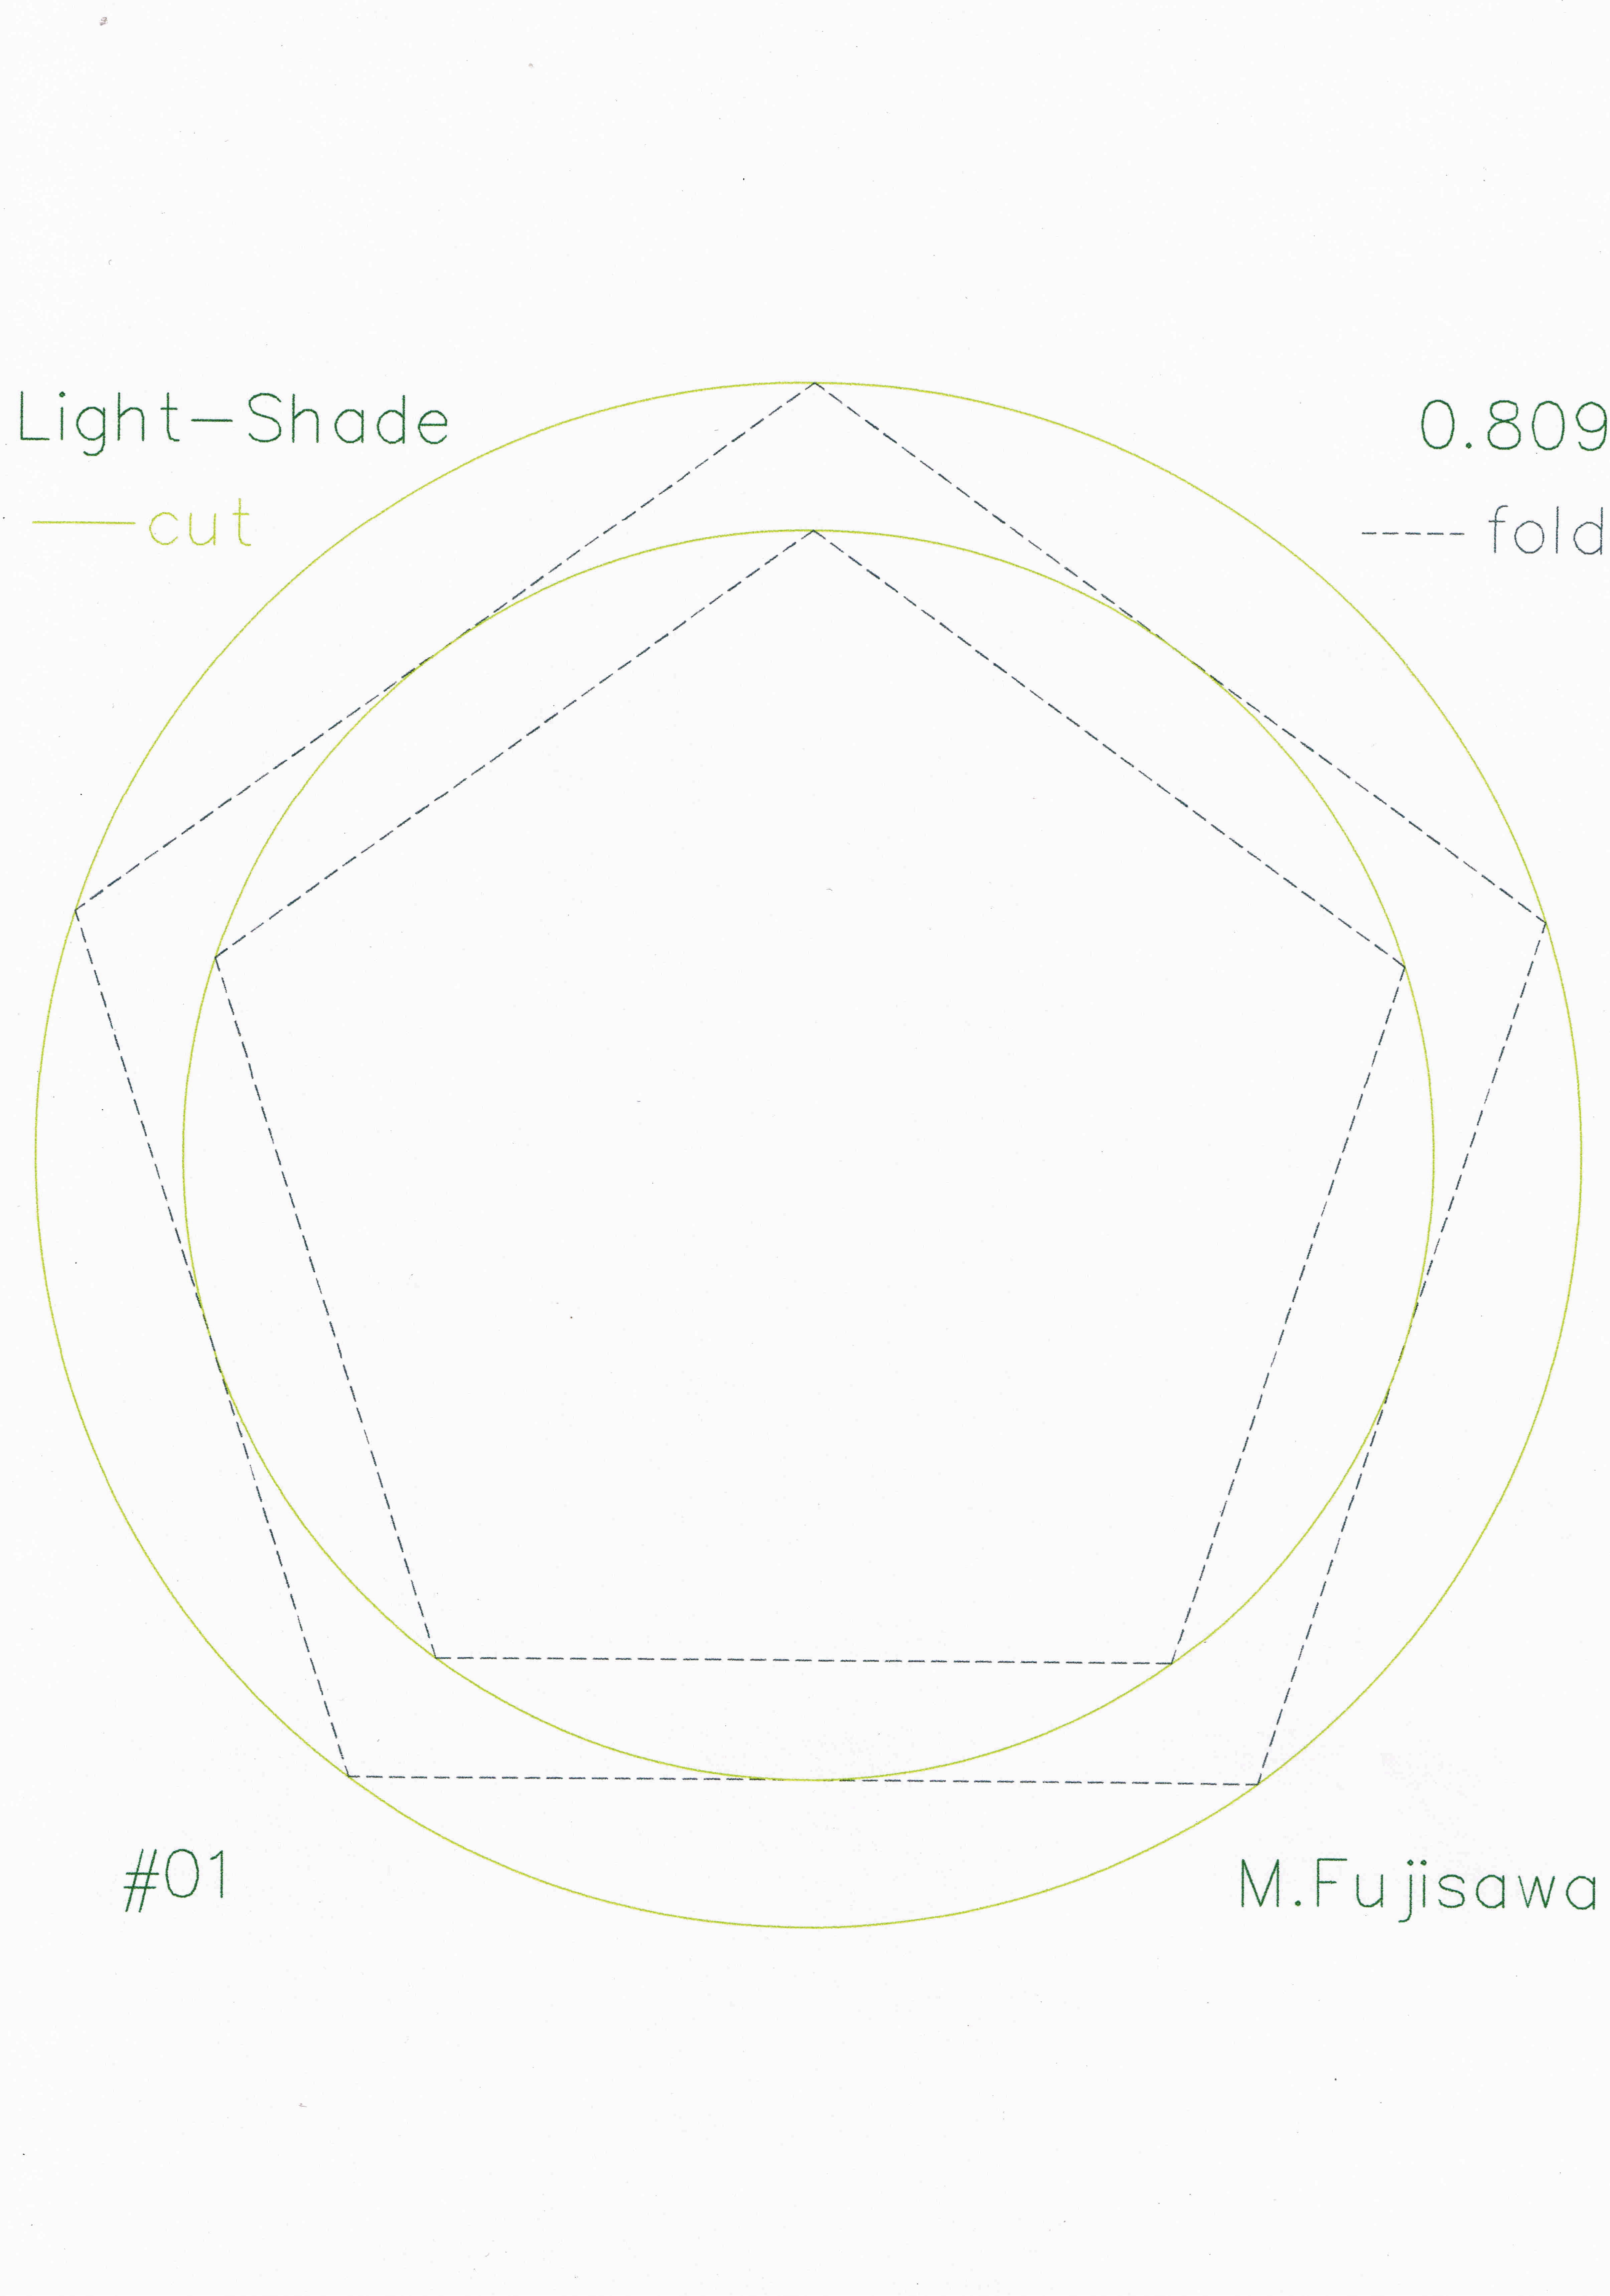
Light-Shade #01 drawing 図面#01
Electrical Parts 電気部品
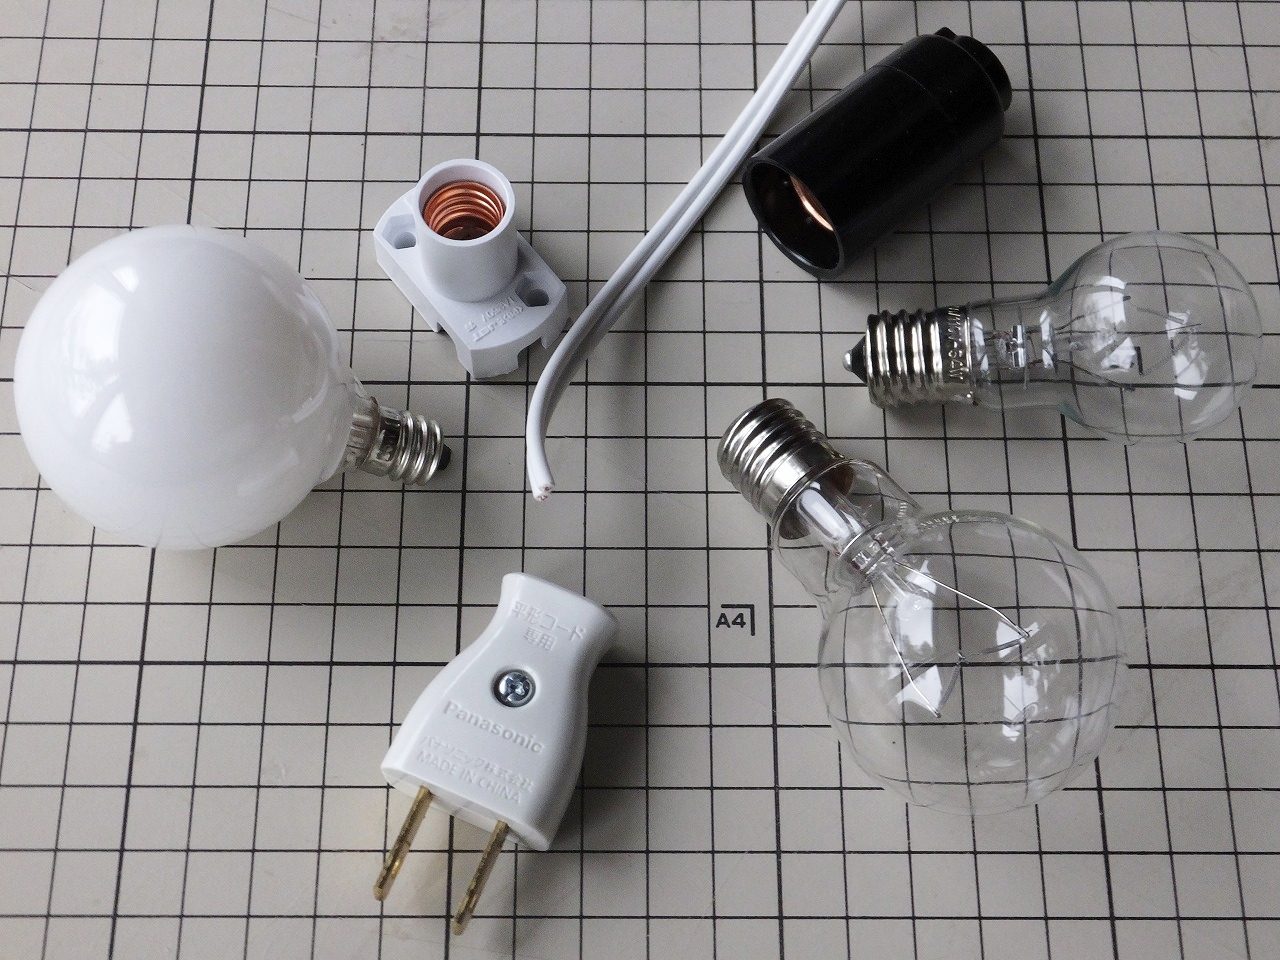
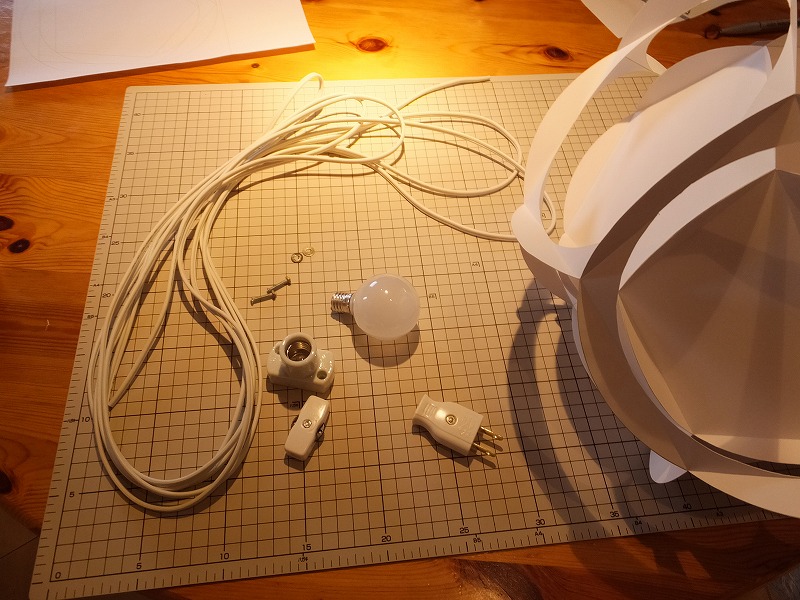
1.Lamp bulb or LED lamp 電球またはLEDランプ・2.Lamp socket 電球ソケット・3.Power cord 電源コード・4.Power plug 電源プラグ・(5.Bolts and nuts 組立ねじ類・6.Switch中間スイッチ)
Notes 注記
*Select the suitable electric parts according to the tolerable current and the local regulations. 電気用品は許容電流に注意してW数に適した器具で電気規格に適合したものを使用すること
Material 材料

Any plain materials can be used. For example;Paper, Plastic sheet, or Sheet metal if you like 平面材料なら何でも可、例えば紙、プラスチックシート、あるいは金属薄板など
Tip 補足
Attach a stiff material (cardboard/thin plywood) to the top piece for the stronger lamp-socket support. 上面のソケット受け補強に厚紙か薄合板を添えるとよい
Tools1 道具1
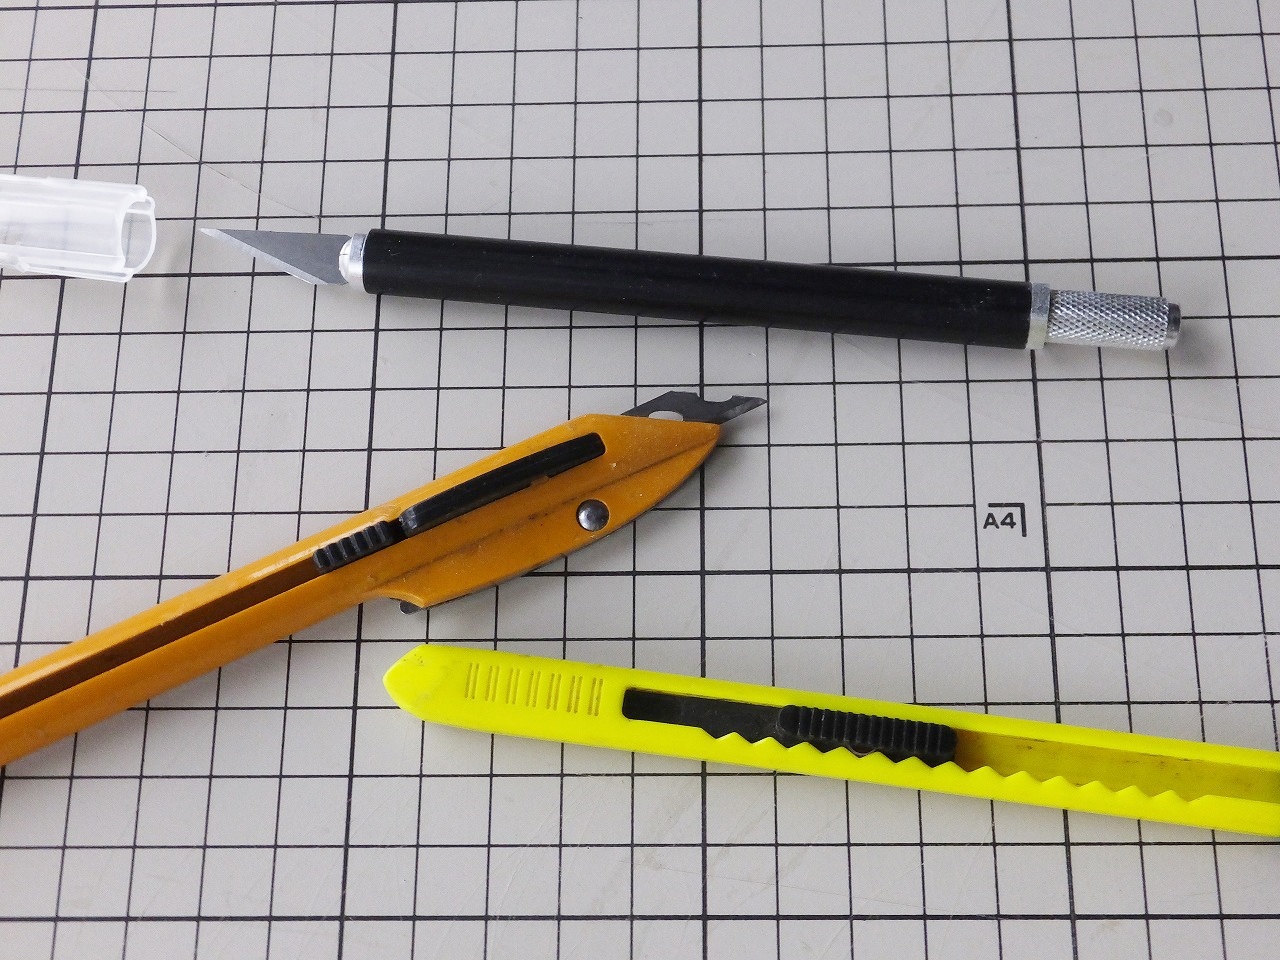
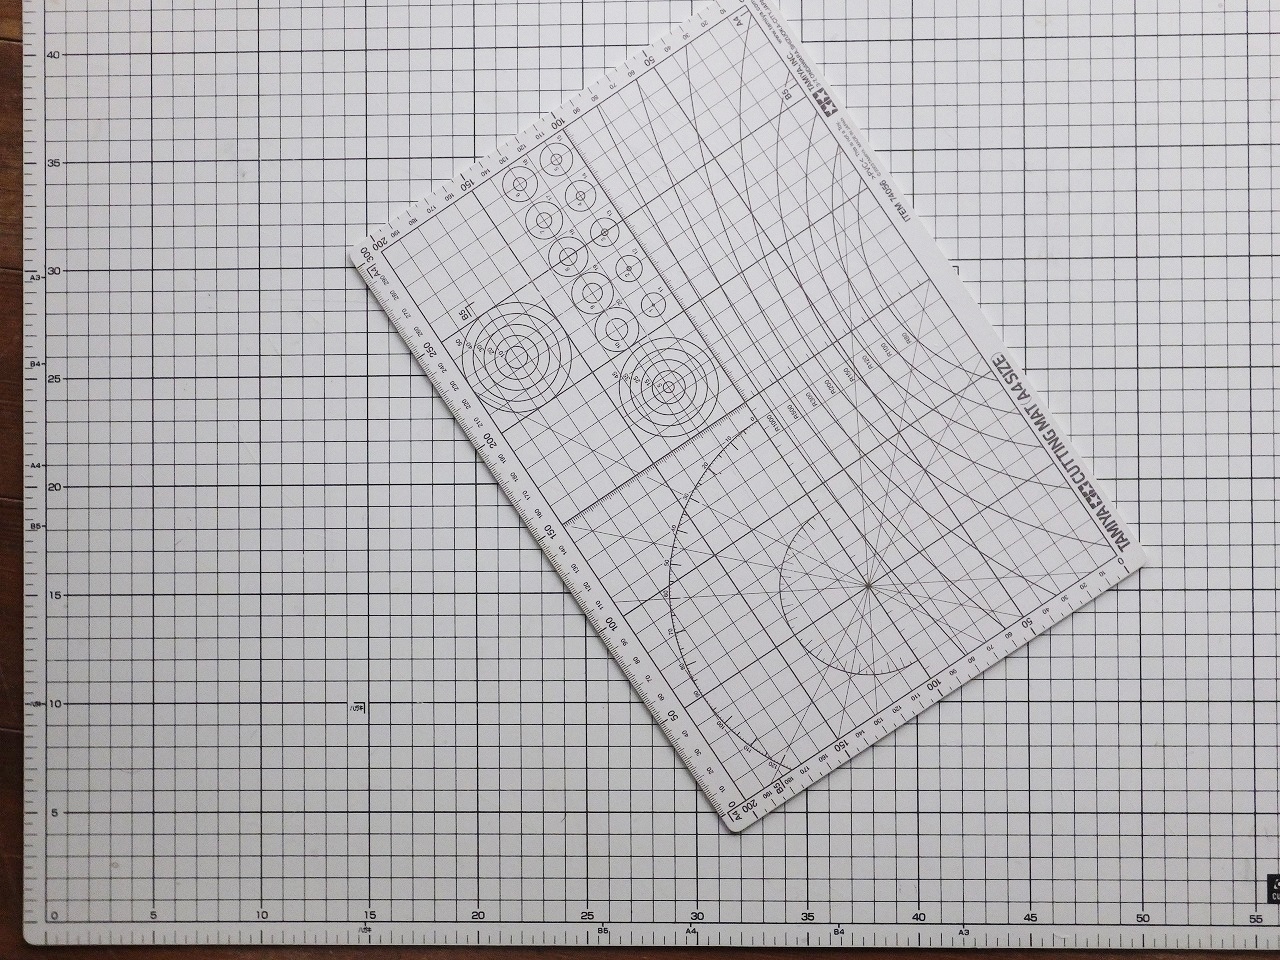
1.Printer/copier プリンターかコピー機・・・・2.Knife カッター類・・・・3.Cutting mat/desk pad カッティングマットか下敷
Alternative tool 代用機器
(1.2.3. / May use the cutting plotter to cut out the
shapes directly from the papers.) (1.2.3の道具の代わりにペーパーカッティングマシンで紙から直接切り出してもよい。)
Tools2 道具2
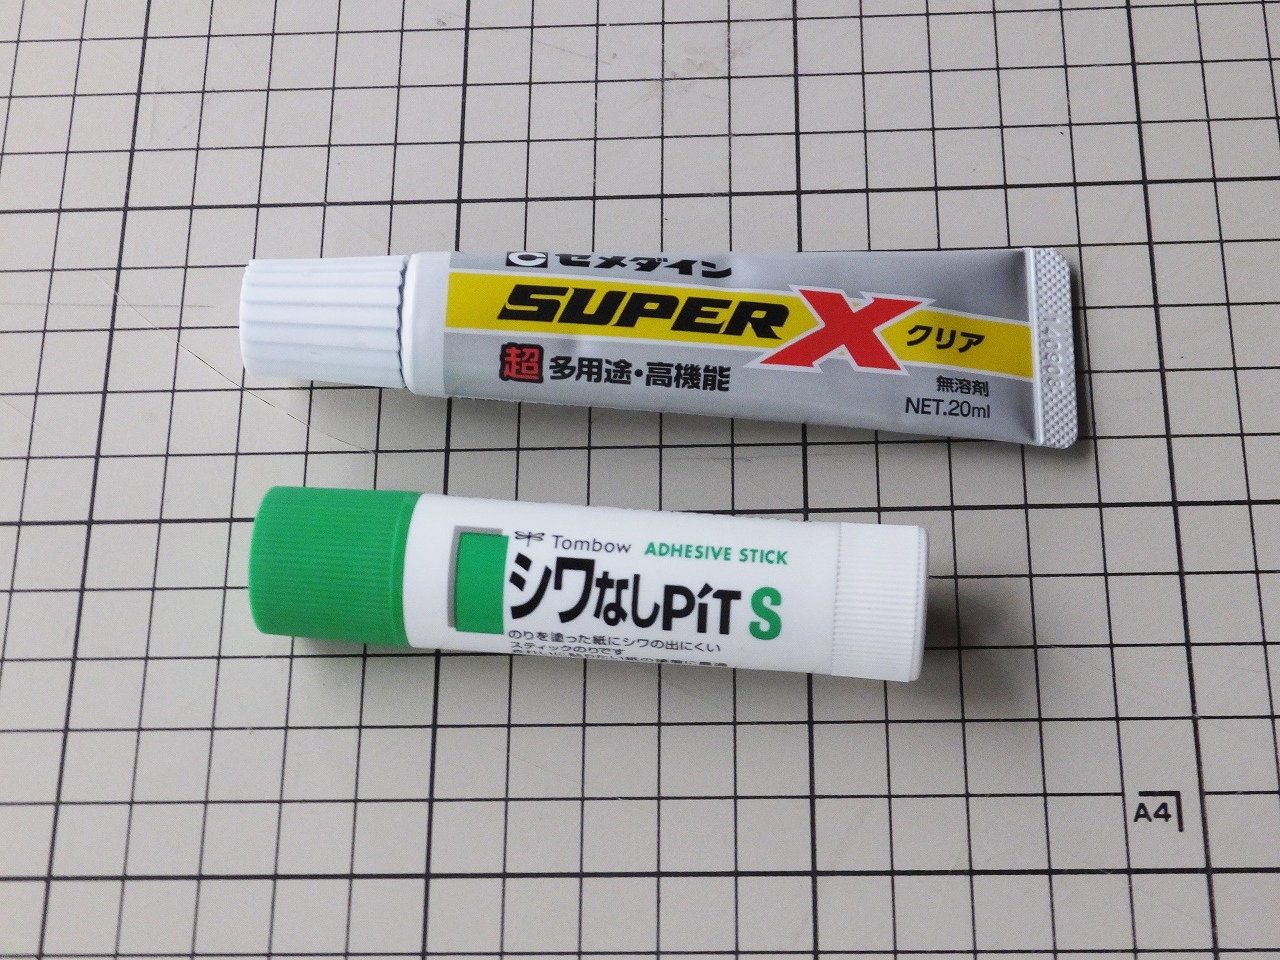
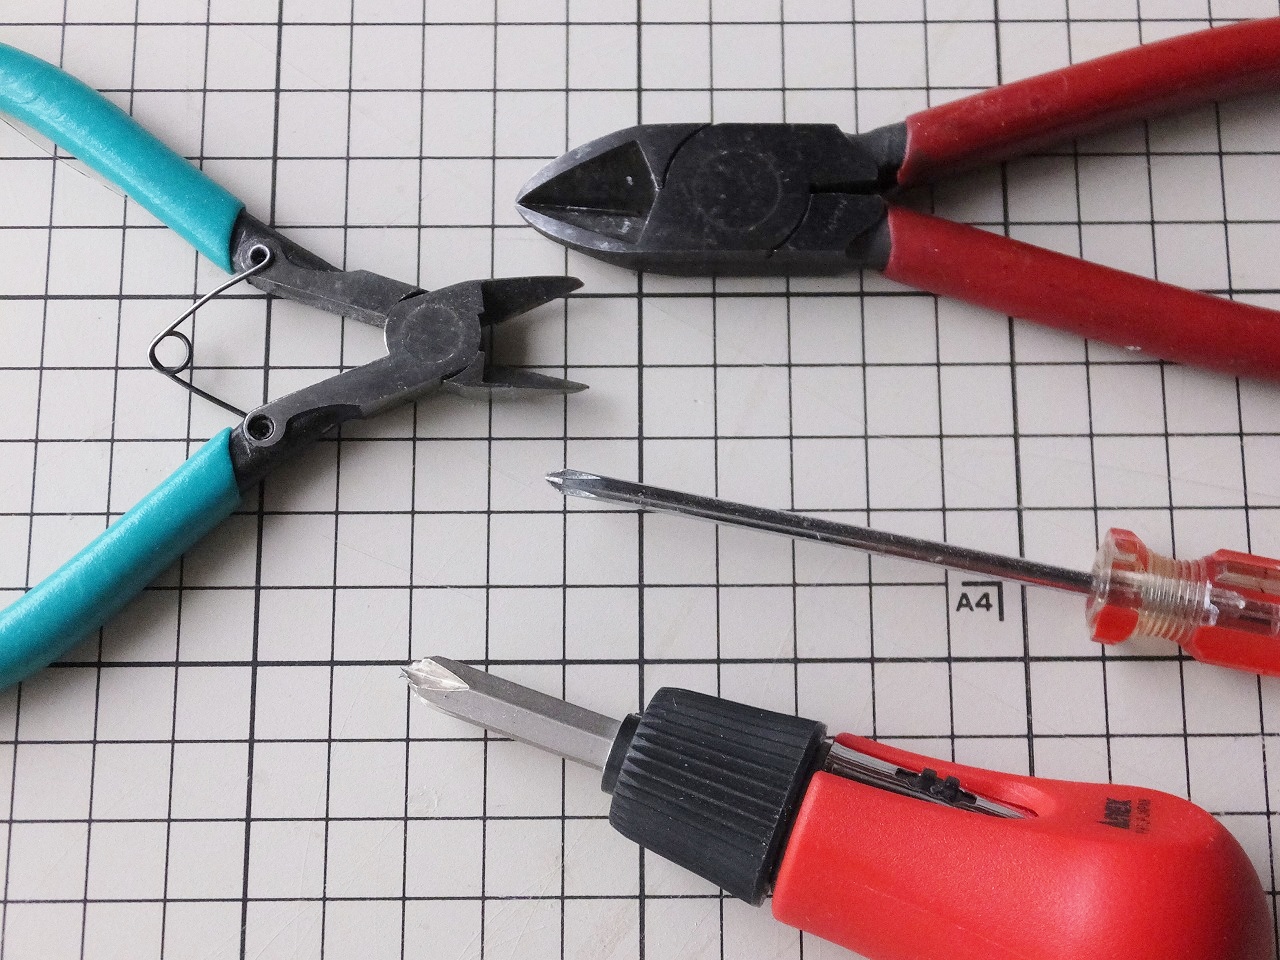
4.Ruler 定規・5.Glue/adhesive 糊か接着剤・6.Nipper ニッパー・7.Screwdriver ドライバー・(if necessary, 8.Solder and soldering iron) (必要に応じ、はんだ付け用具)
Procedure1&2 製作手順1及び2
1. Print the drawing on the color/white papers. 色/白画用紙に図面を印刷する。・・・・2. Cut out all the solid-lined shapes. 実線の内外円をすべて切り出す。
Alternative way 別の方法
(1.2. / May use the cutting plotter to cut out the
shapes directly from the papers.) (1.2.の工程はペーパーカッティングマシンを使って紙から直接切り出すのでもよい。)
Procedure3&4 製作手順及3び4
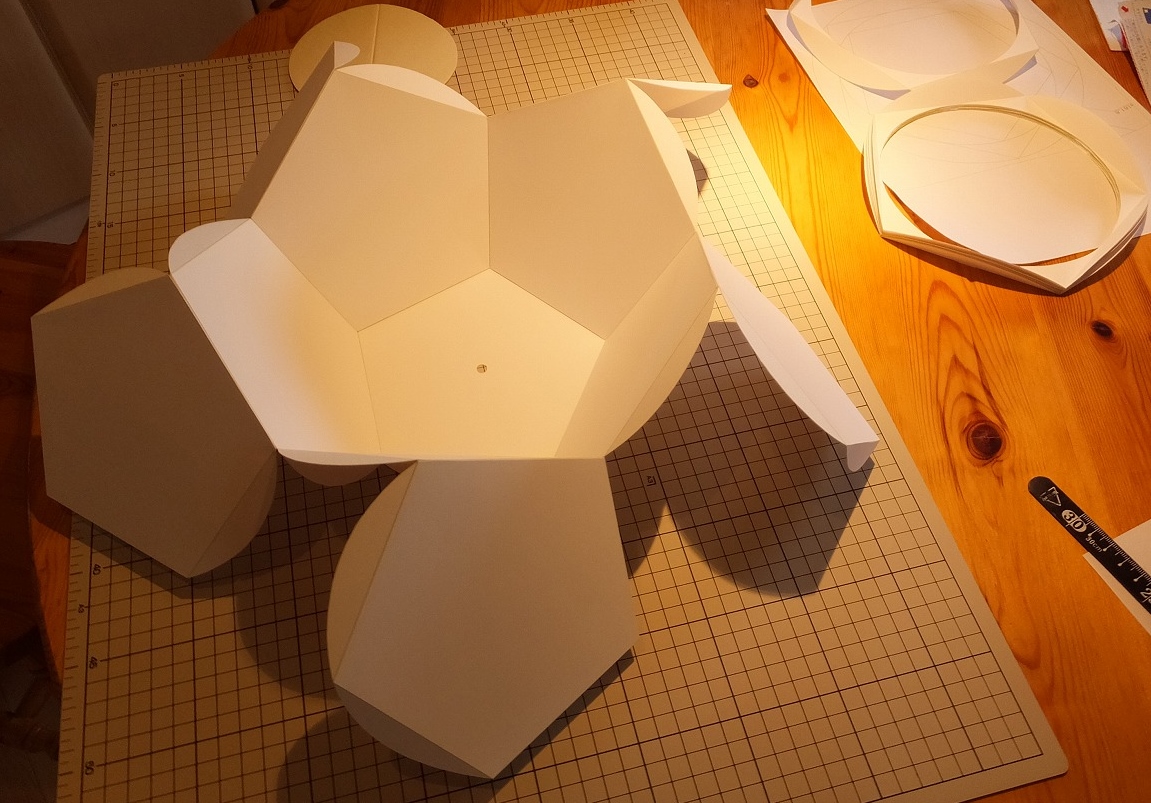
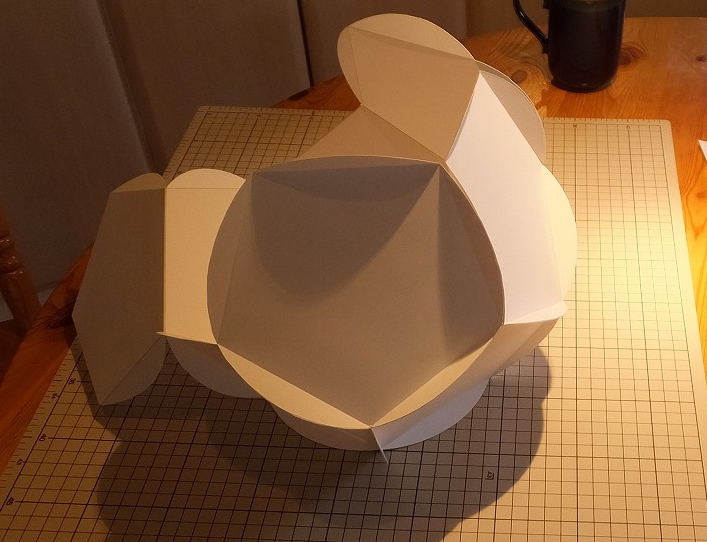
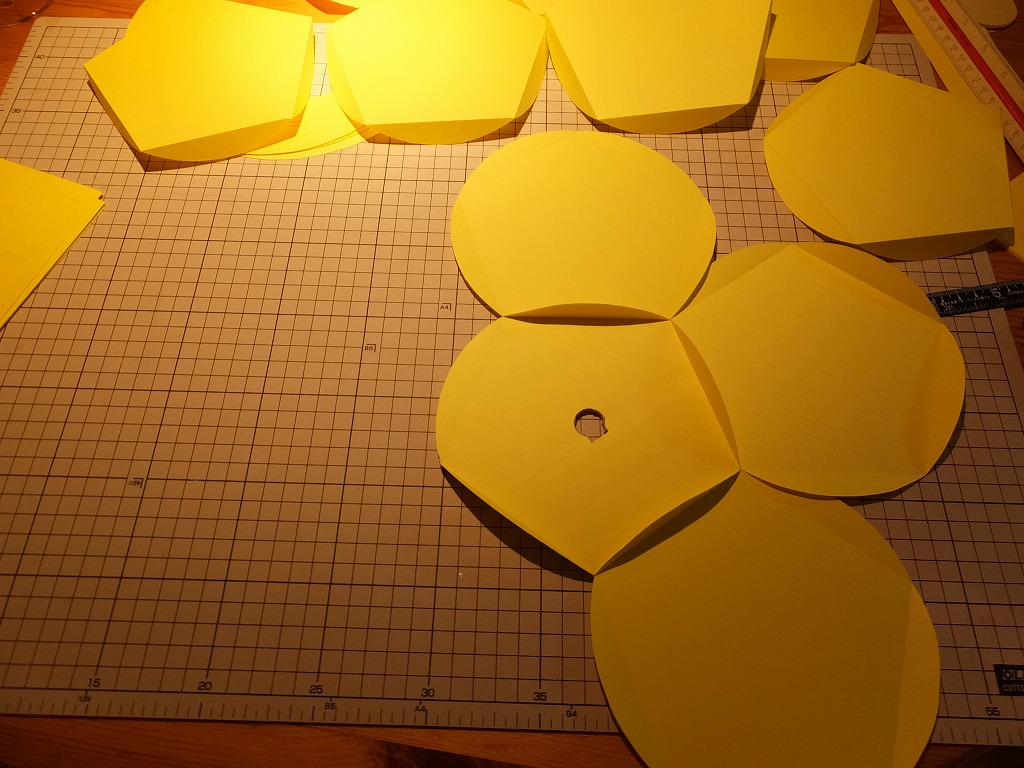
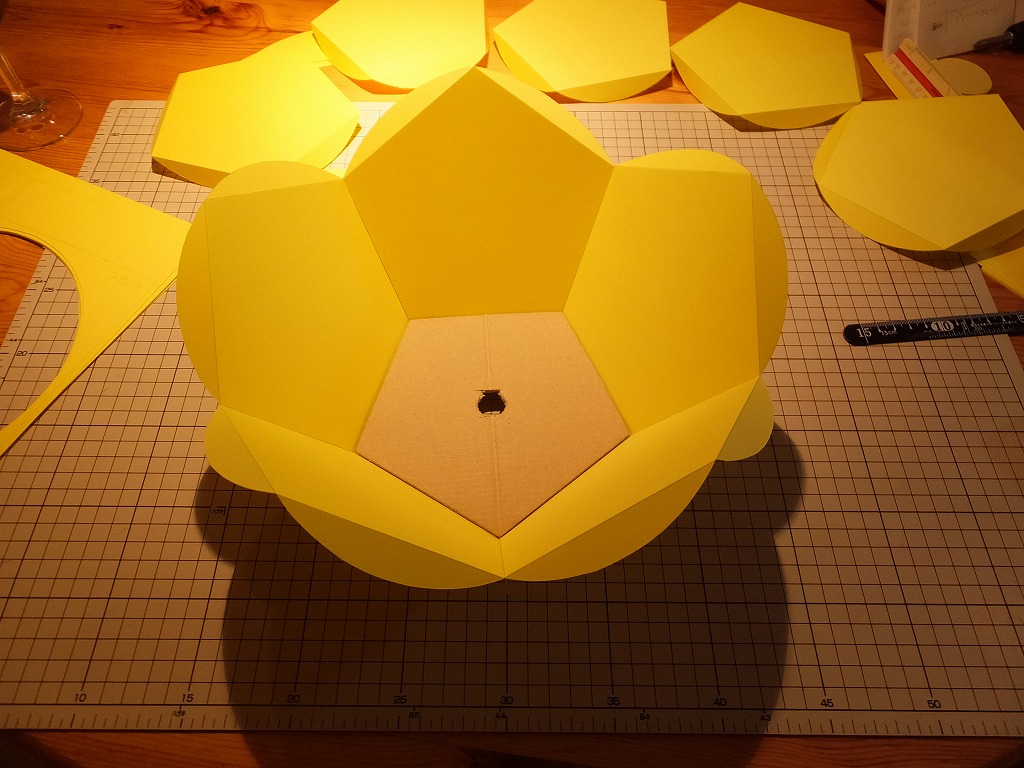
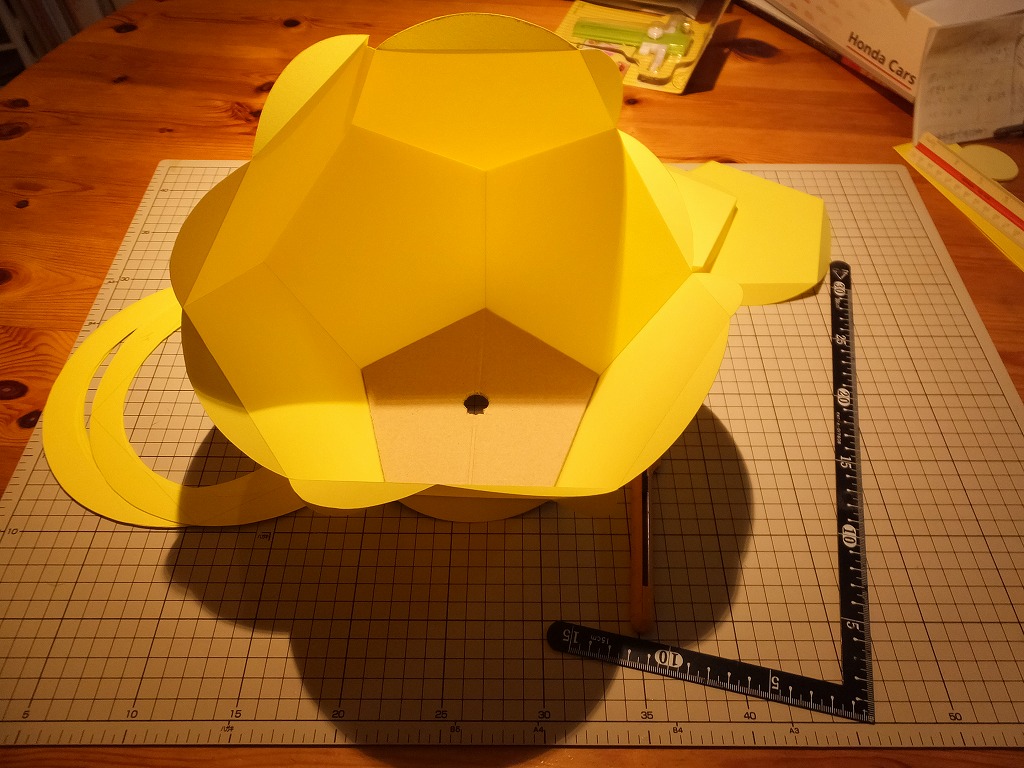

3. Fold up the gluing area along the dotted line. 点線を折り返しておく。・・・・4. Glue pieces to construct the inner sphere. 紙に糊付して内球を組み立てる。
Procedure5 製作手順5
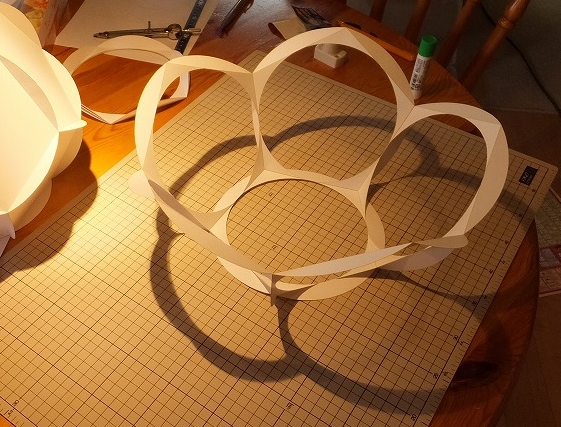
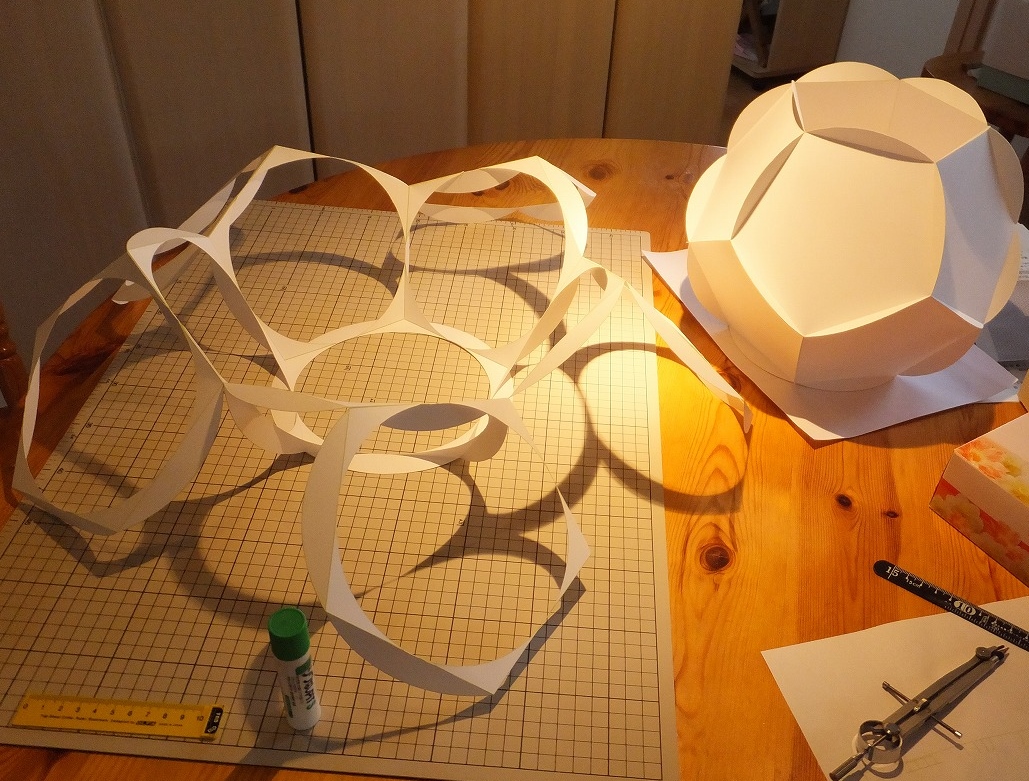
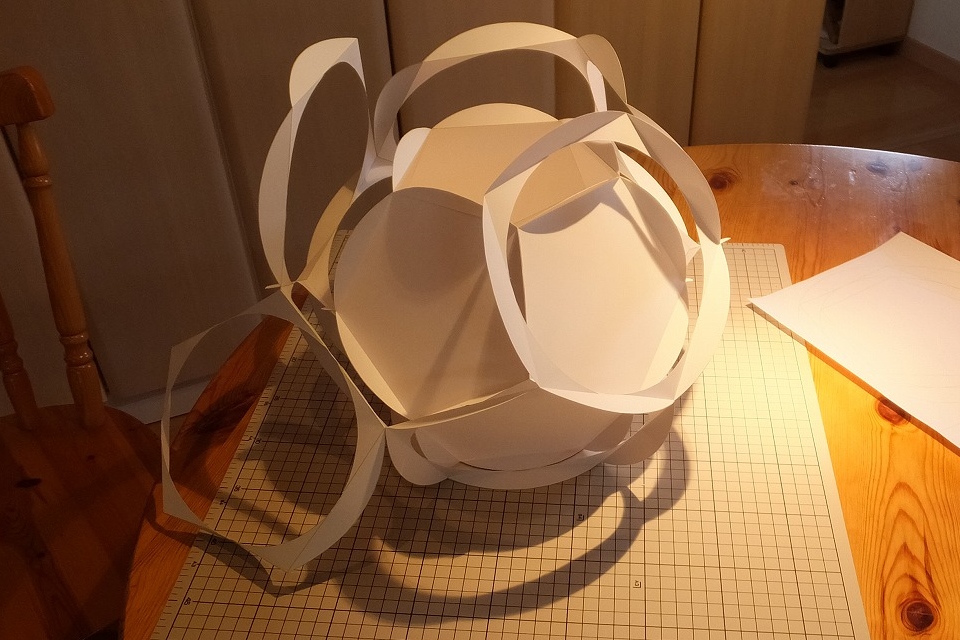
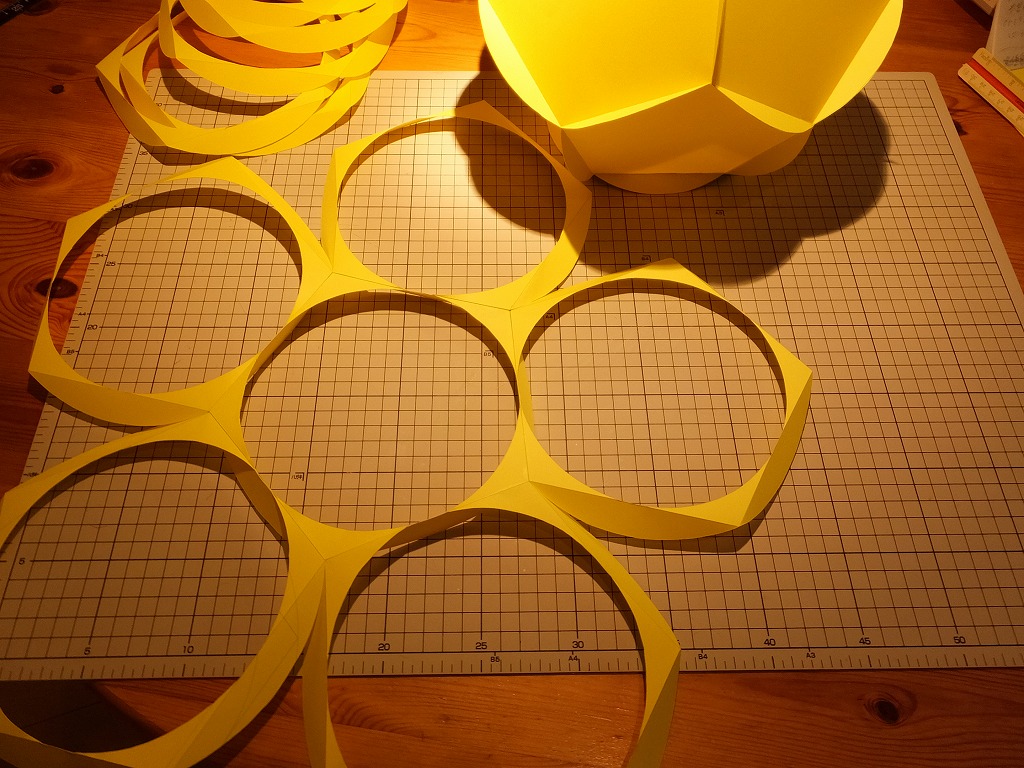
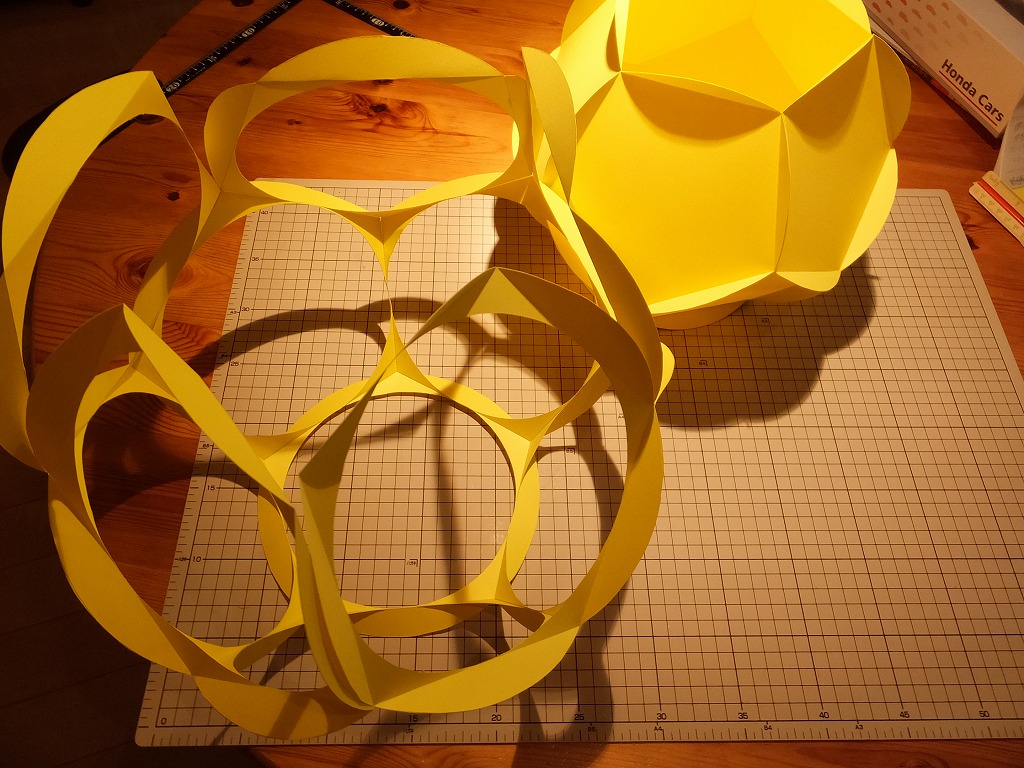
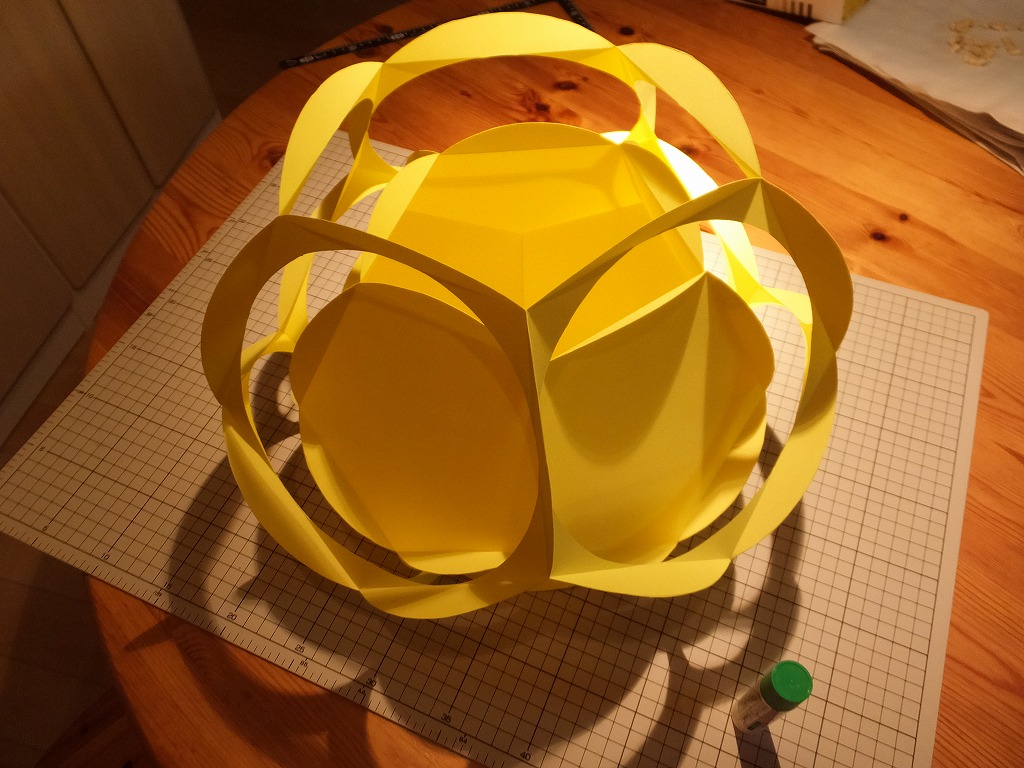
5.Glue pieces to construct the outer sphere. 外側の球を糊付して組み立てる。・・・・*Put the inner sphere in before closing. *途中で内側の球を入れておく。
Procedure6 製作手順6
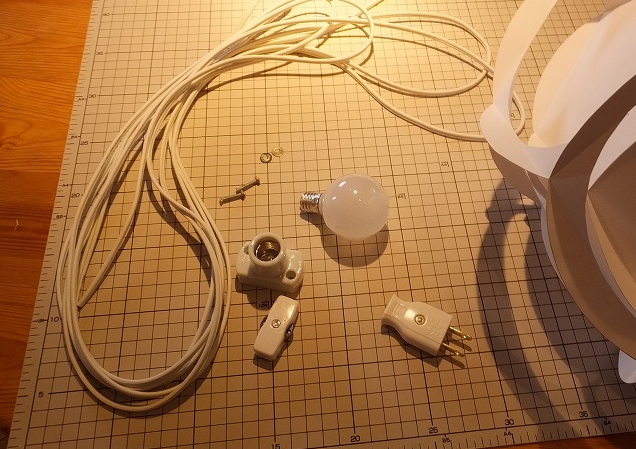
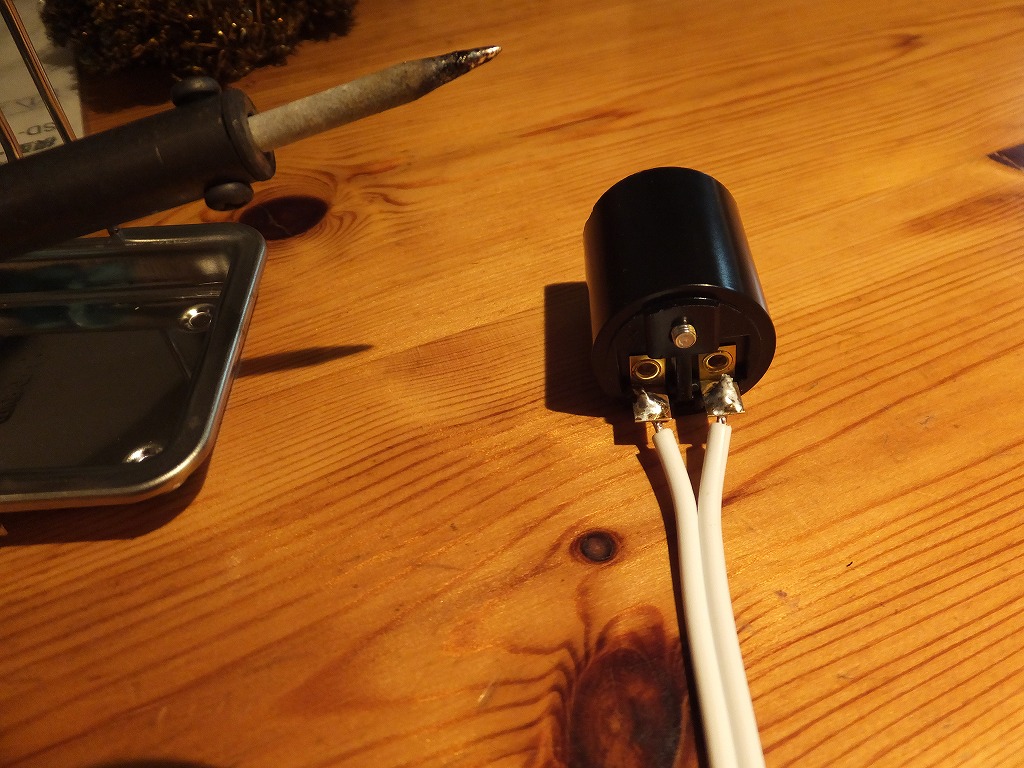
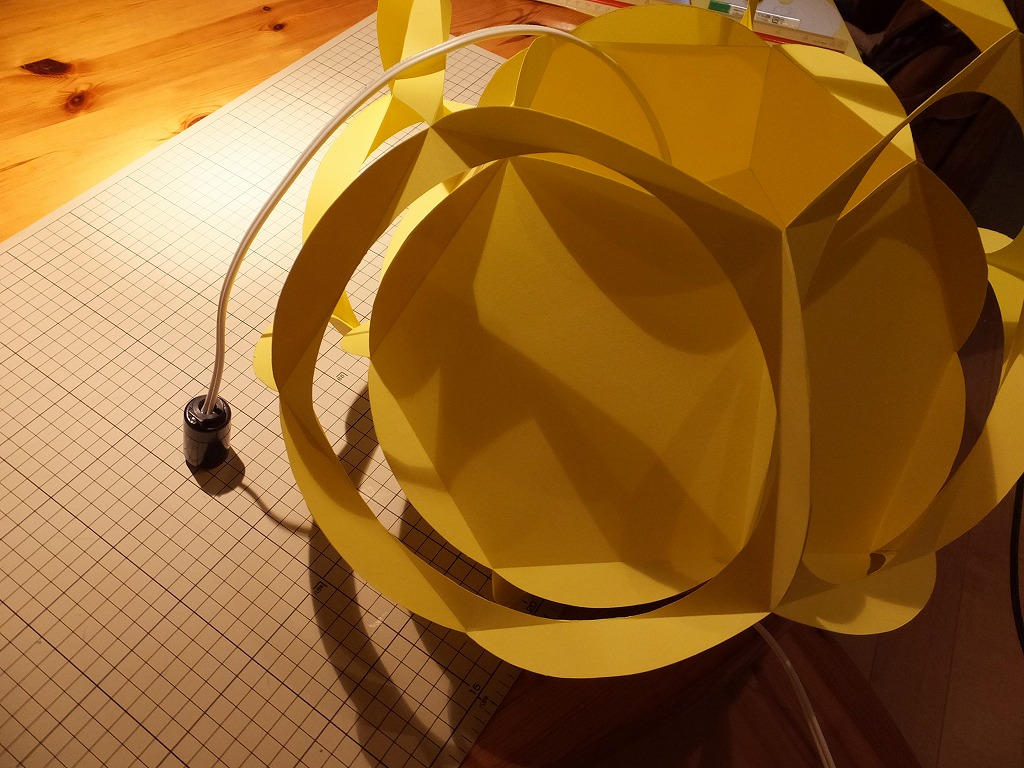
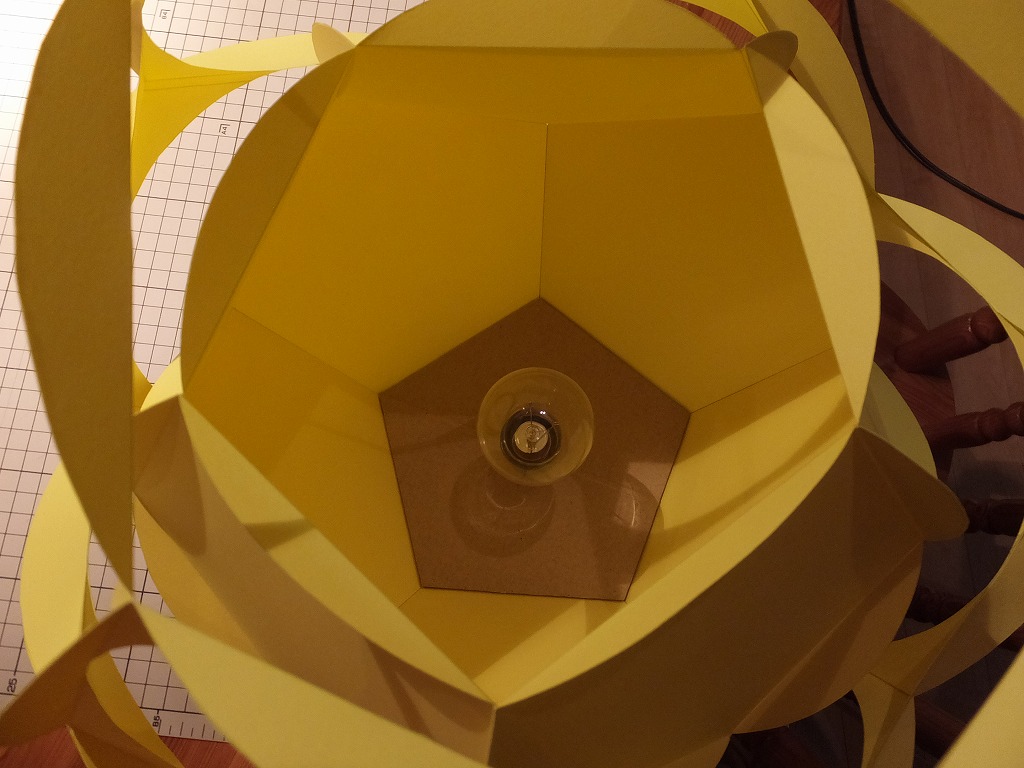
6.Assemble the set of electrical parts and fix the lamp socket at the top of the inner sphere. ソケットにコードをつなぎ、コードを通してソケットを内球上面に取り付け、他部品を組む。
Completion 完成状態
