Everytime after use it
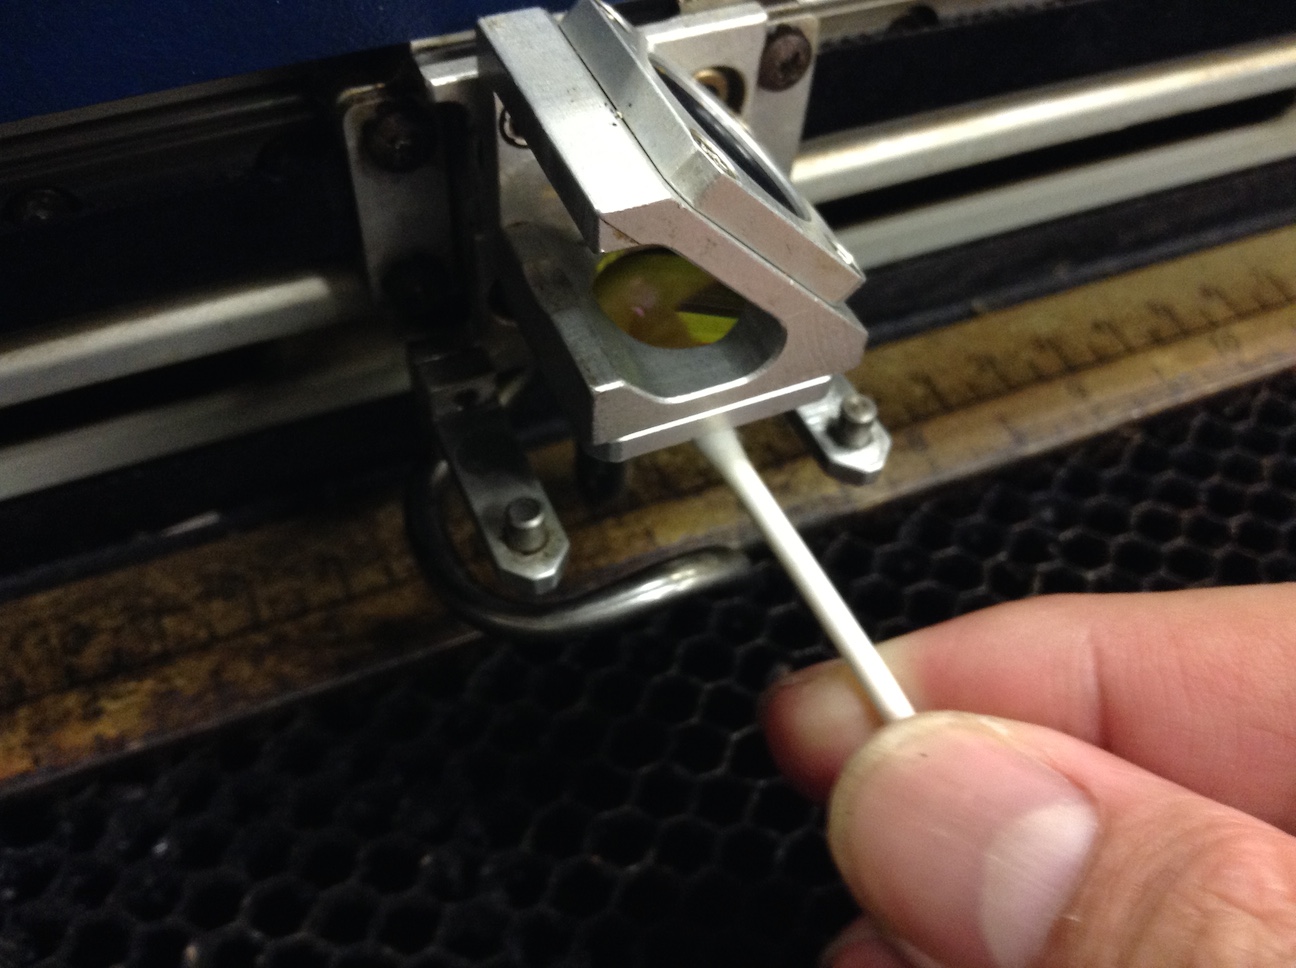
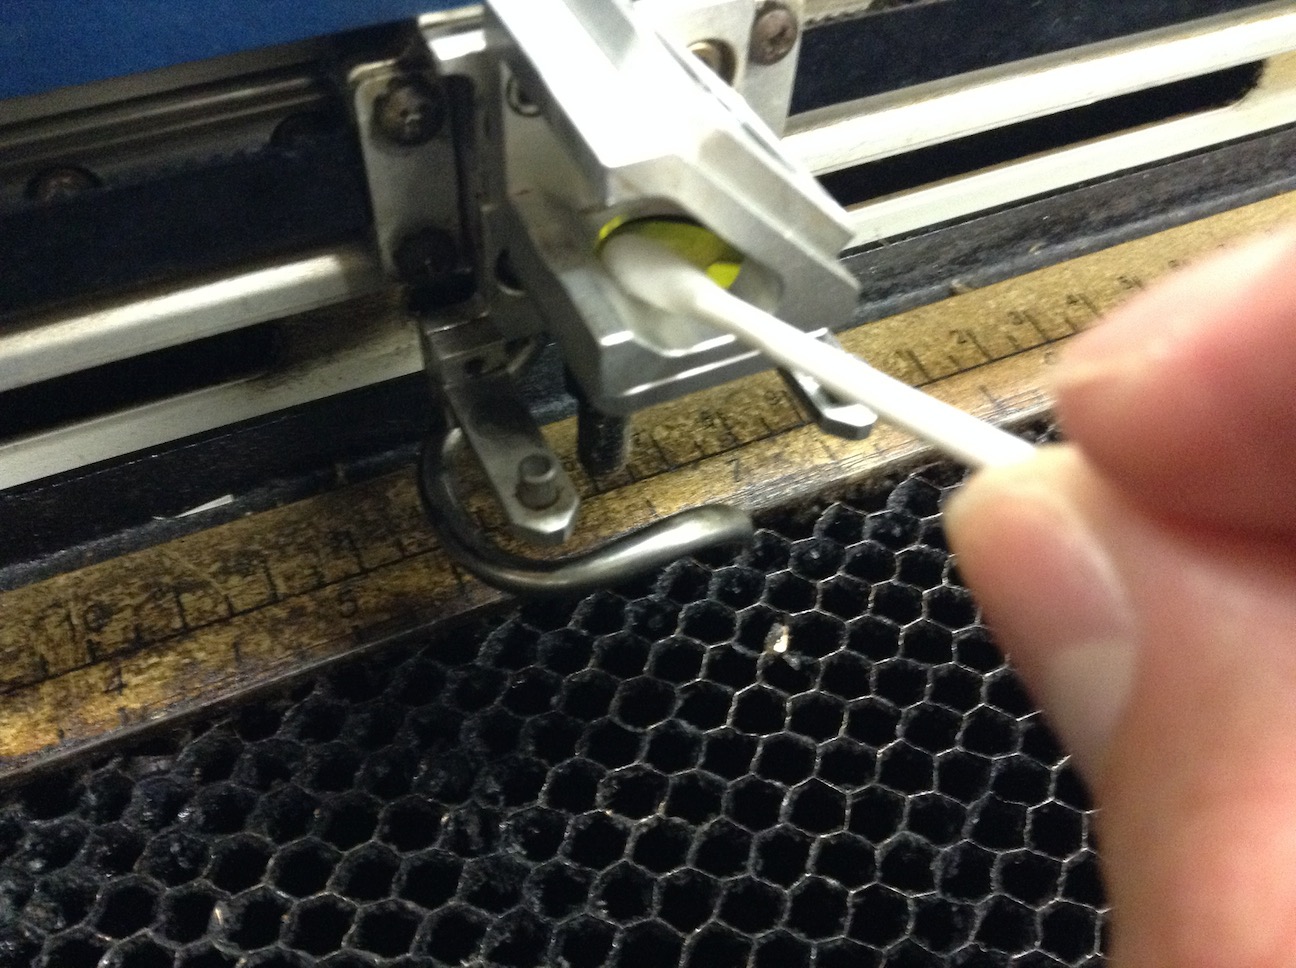
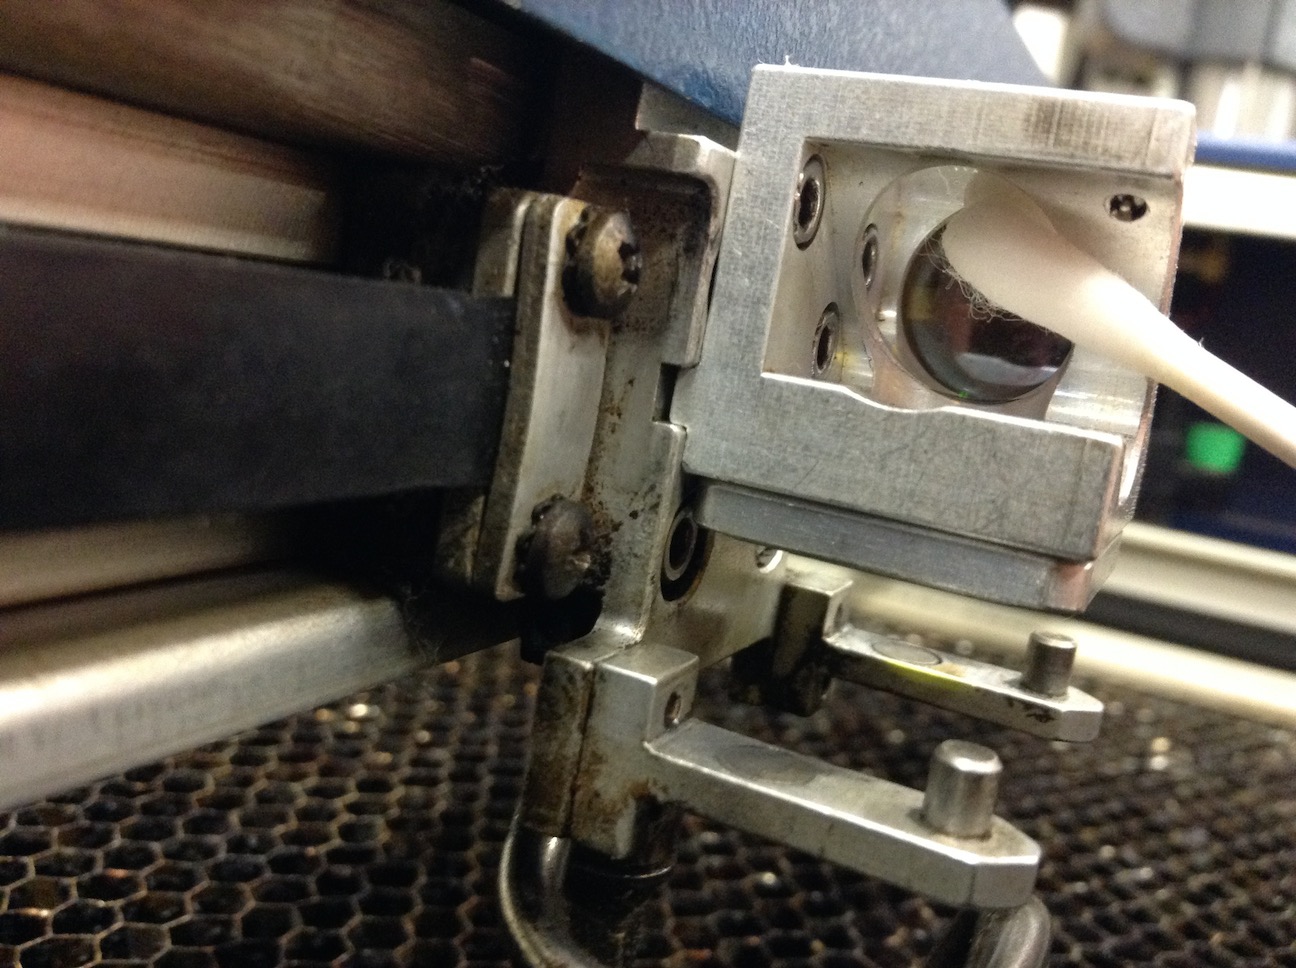
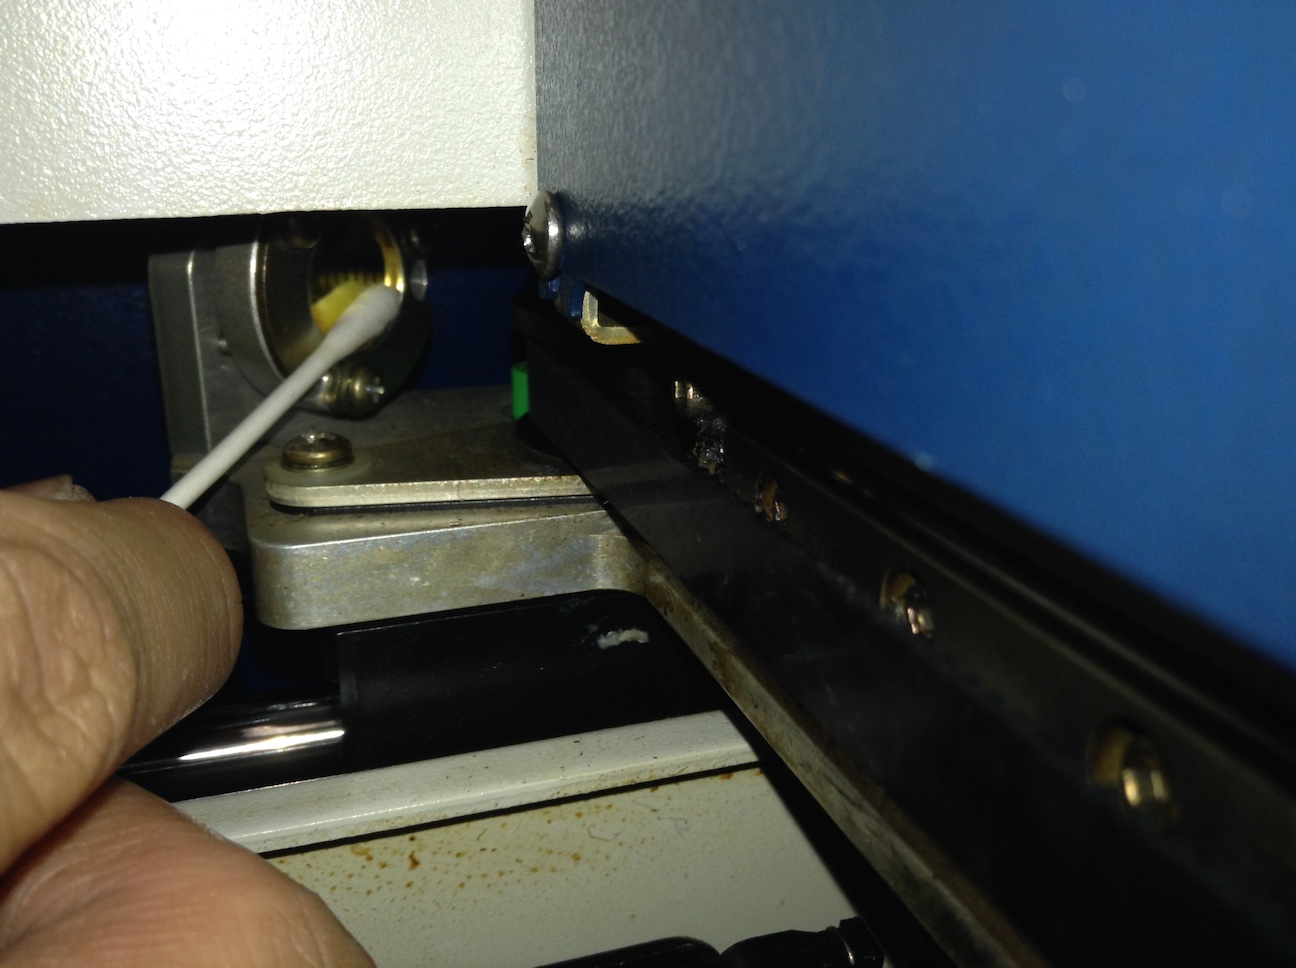
Clean both sides of the lens, and two major mirrors.
They are especially dirty with tar when you cut MDFs.
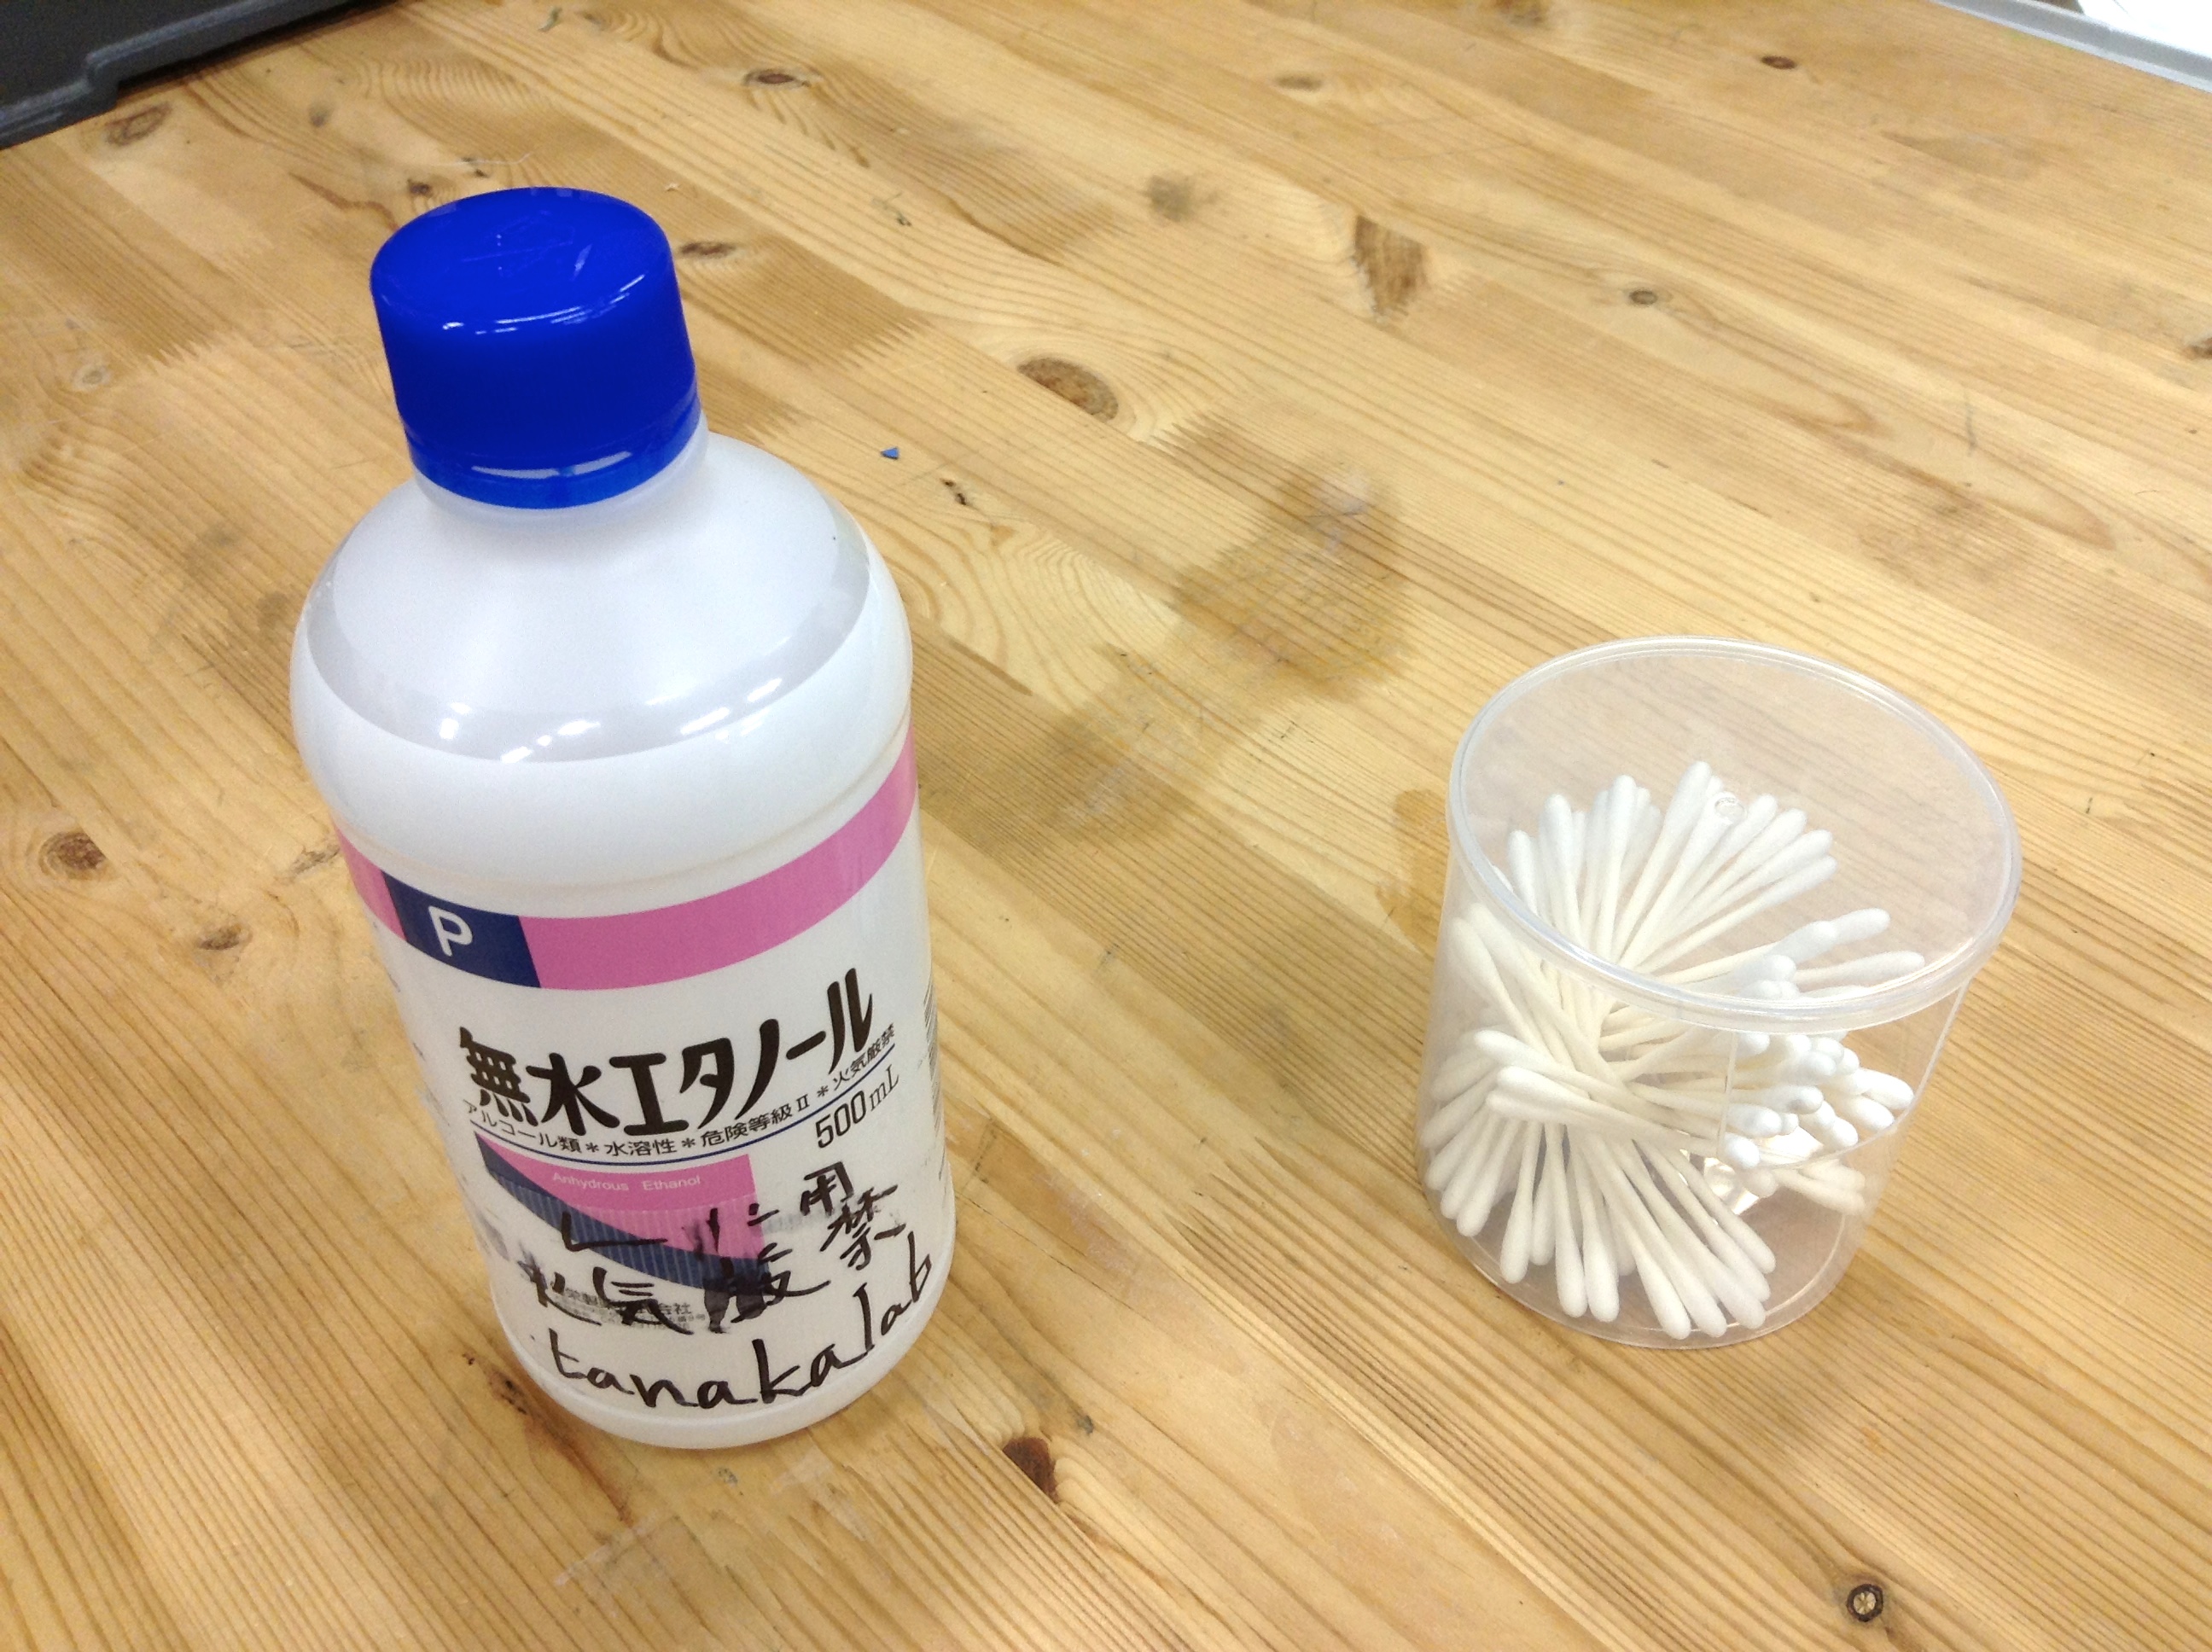
Use exclusive cleaners,
or you can just buy anhydrous alcohol at a drug store
and wet a clean cotton bud with it.
Sometimes you should take the lens off to make sure it is clean.
Once a month - no.1
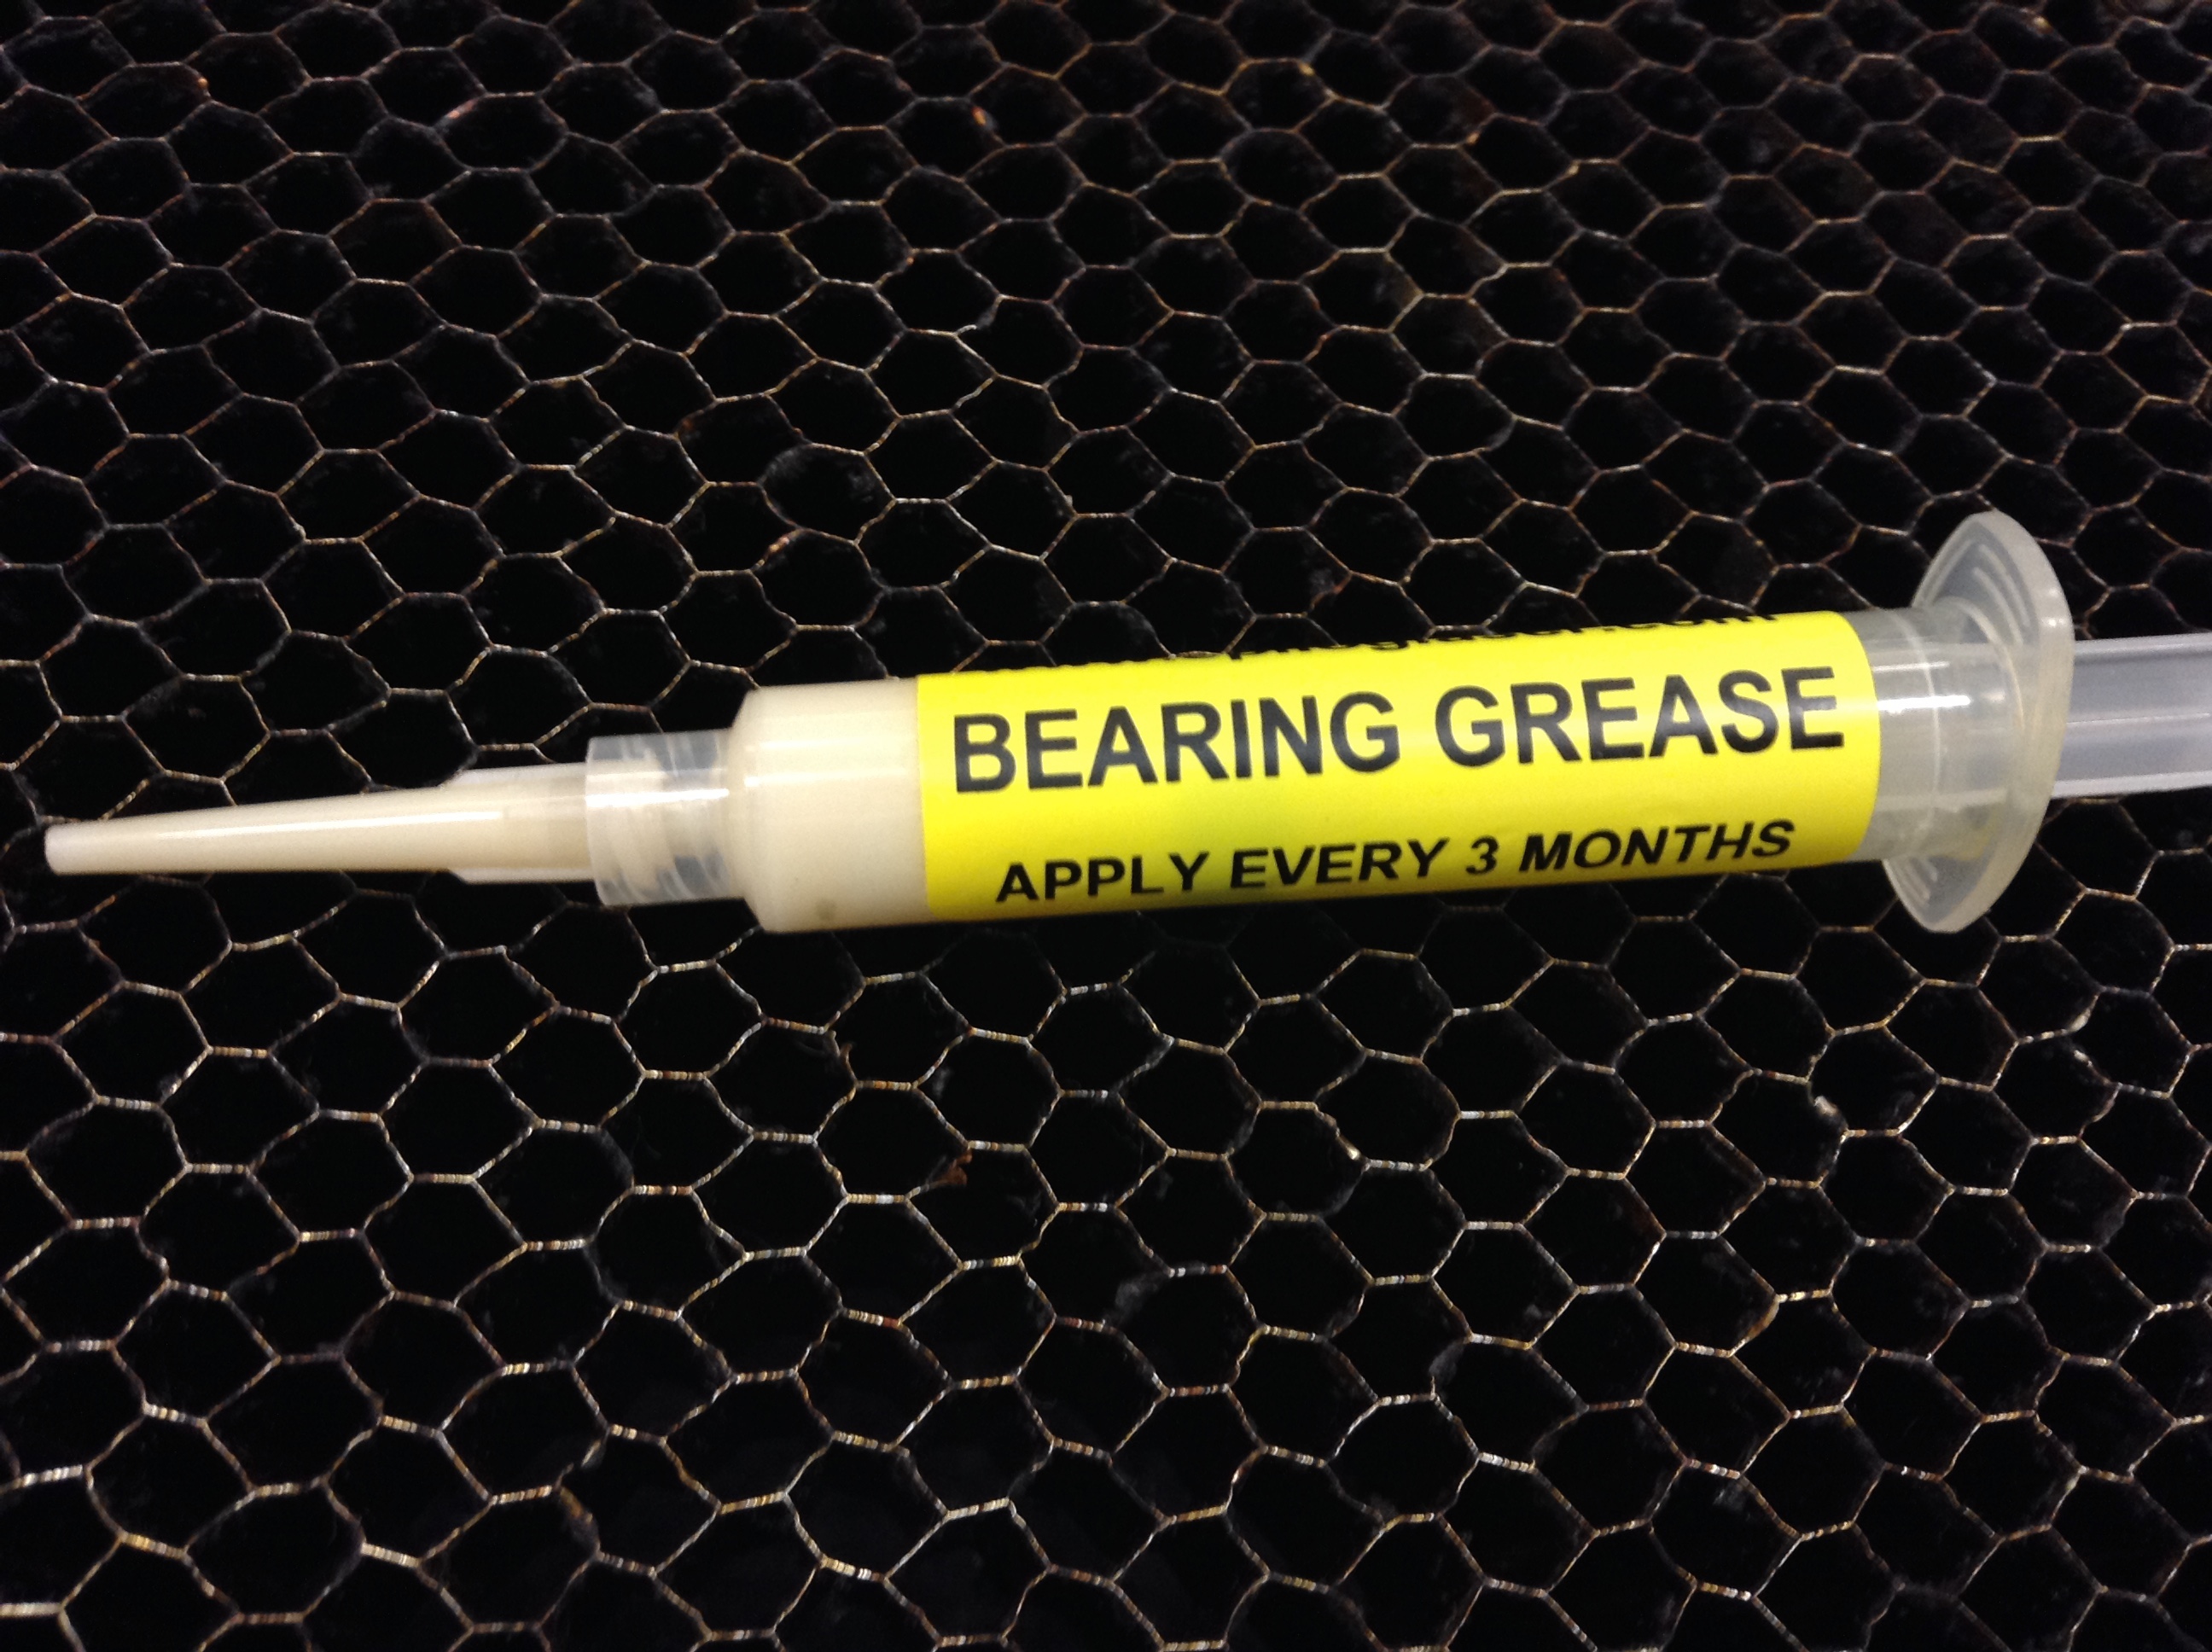
Use grease.
Use grease for metal bars
which works as carriages as X and Y axis.
Be aware that there only one X axis bar, and two Y axis bars.
This should be done about every 40 hours of use
which seems about a month in my situation.
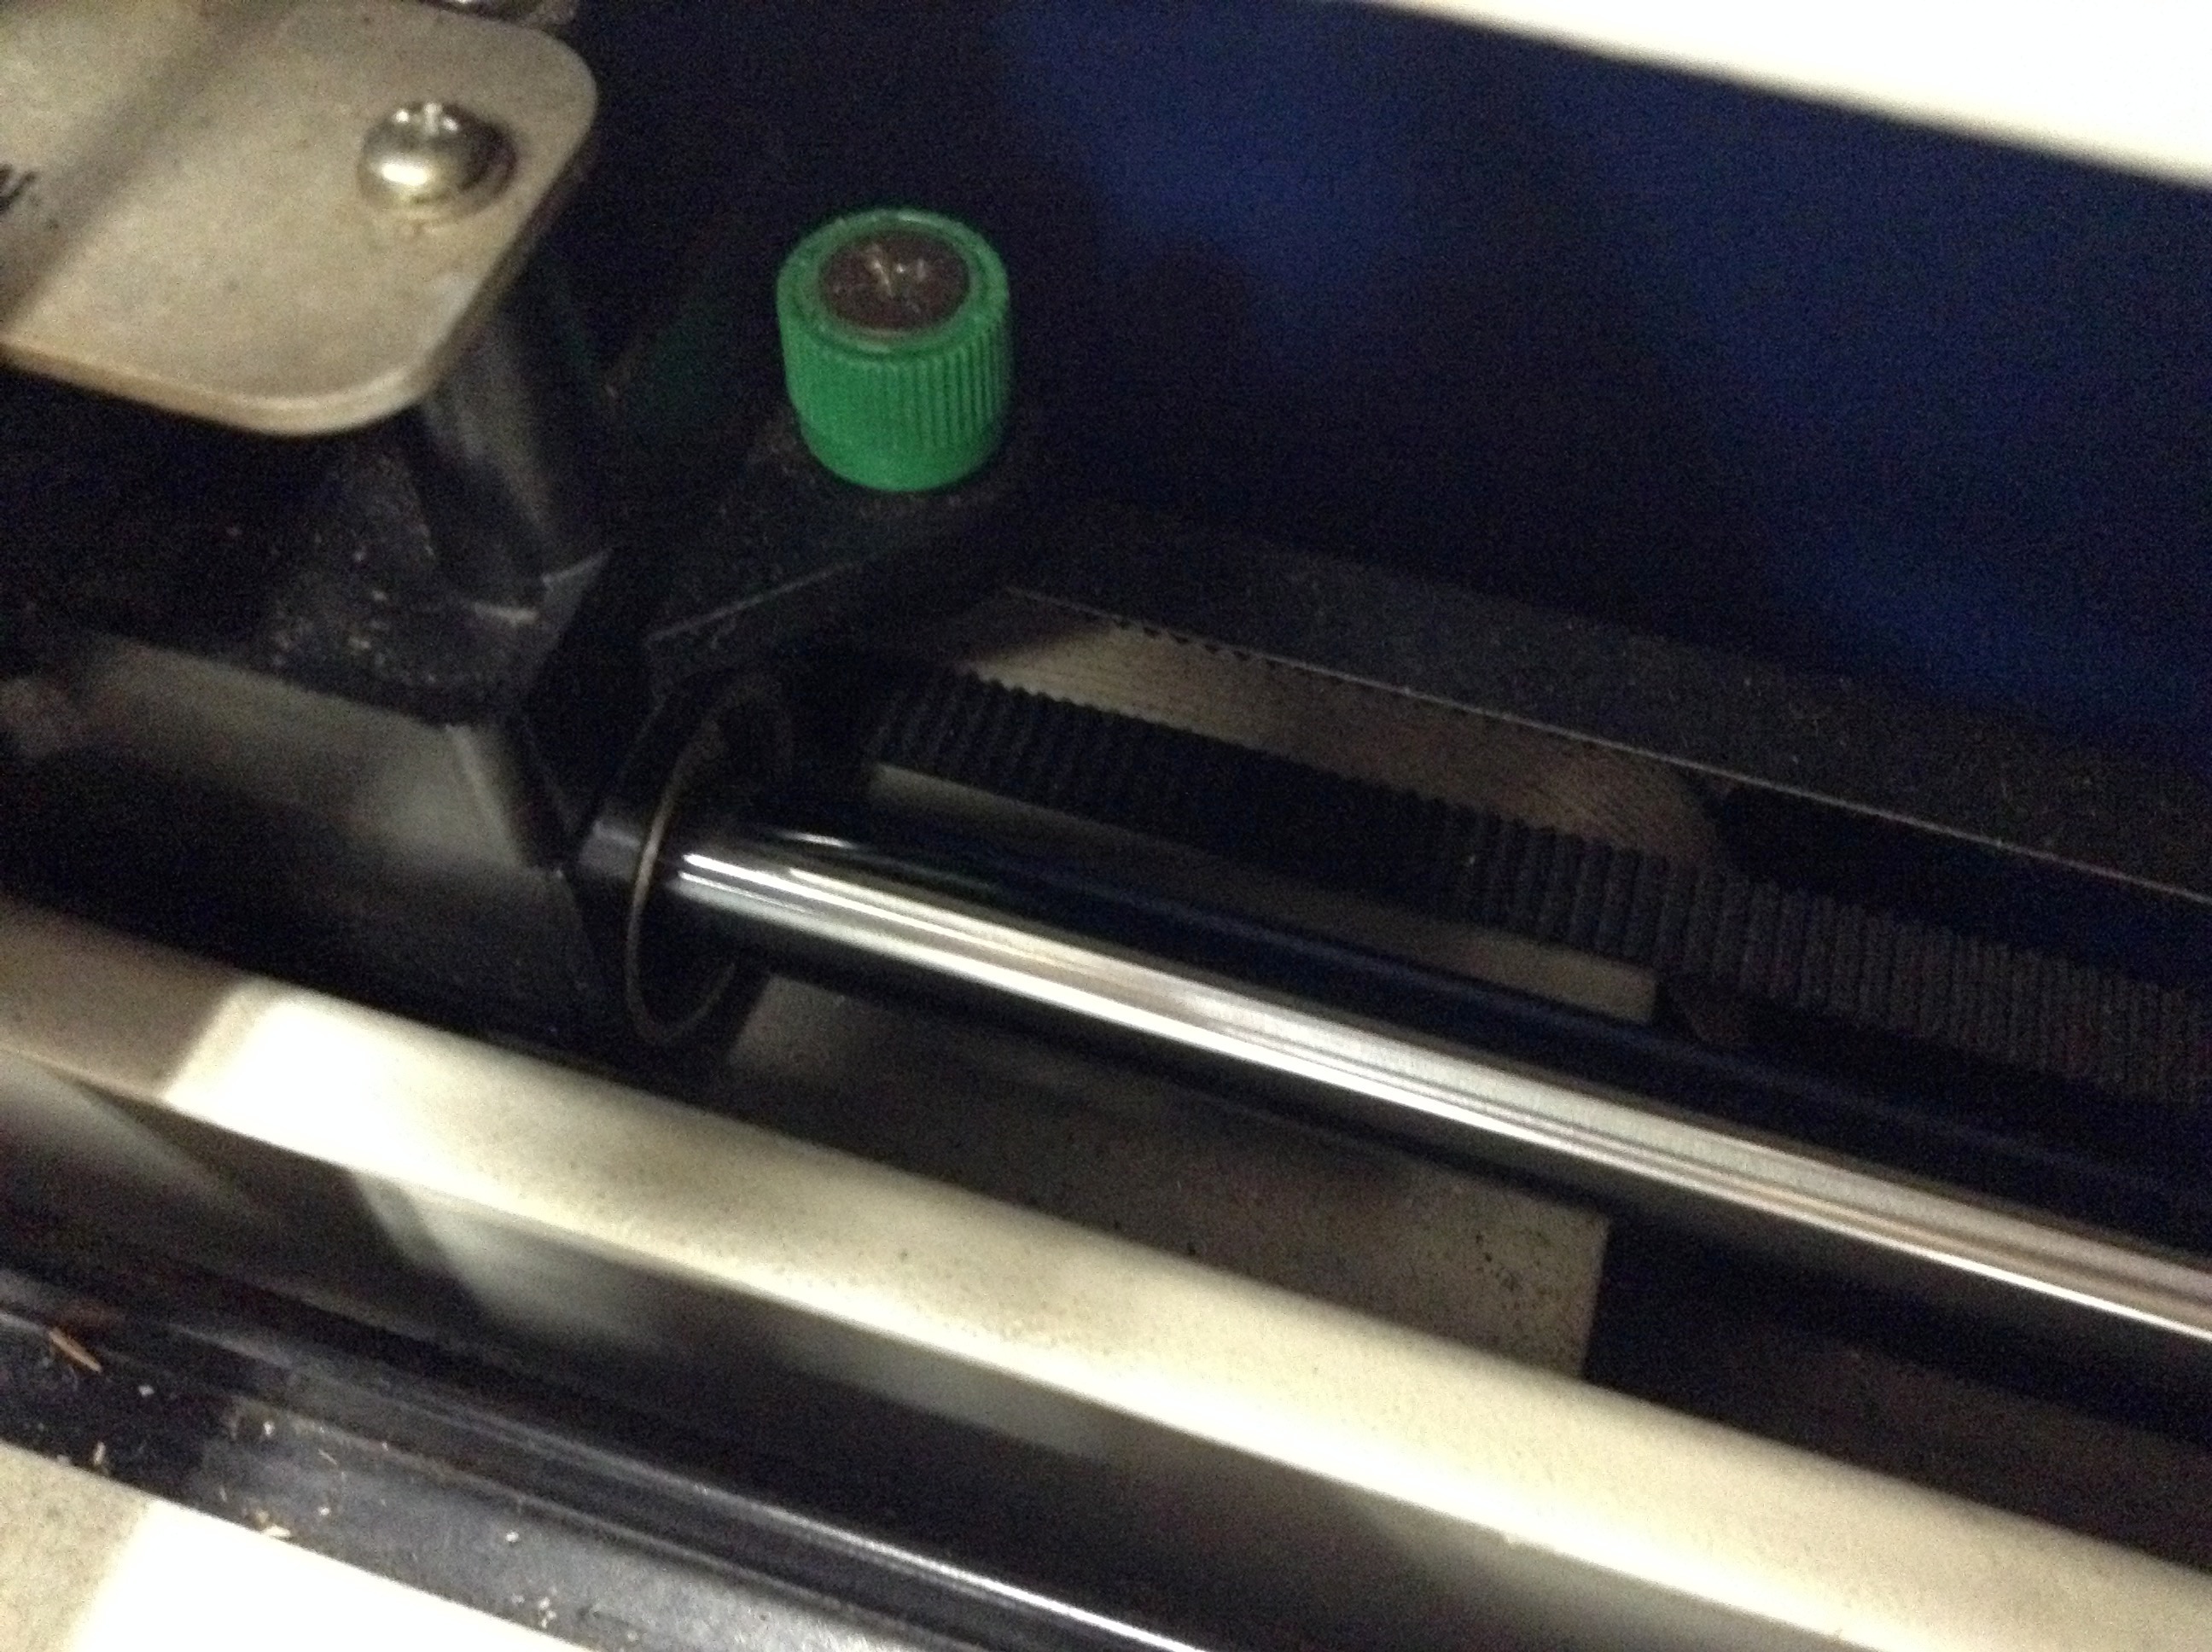
Once a month - no.2
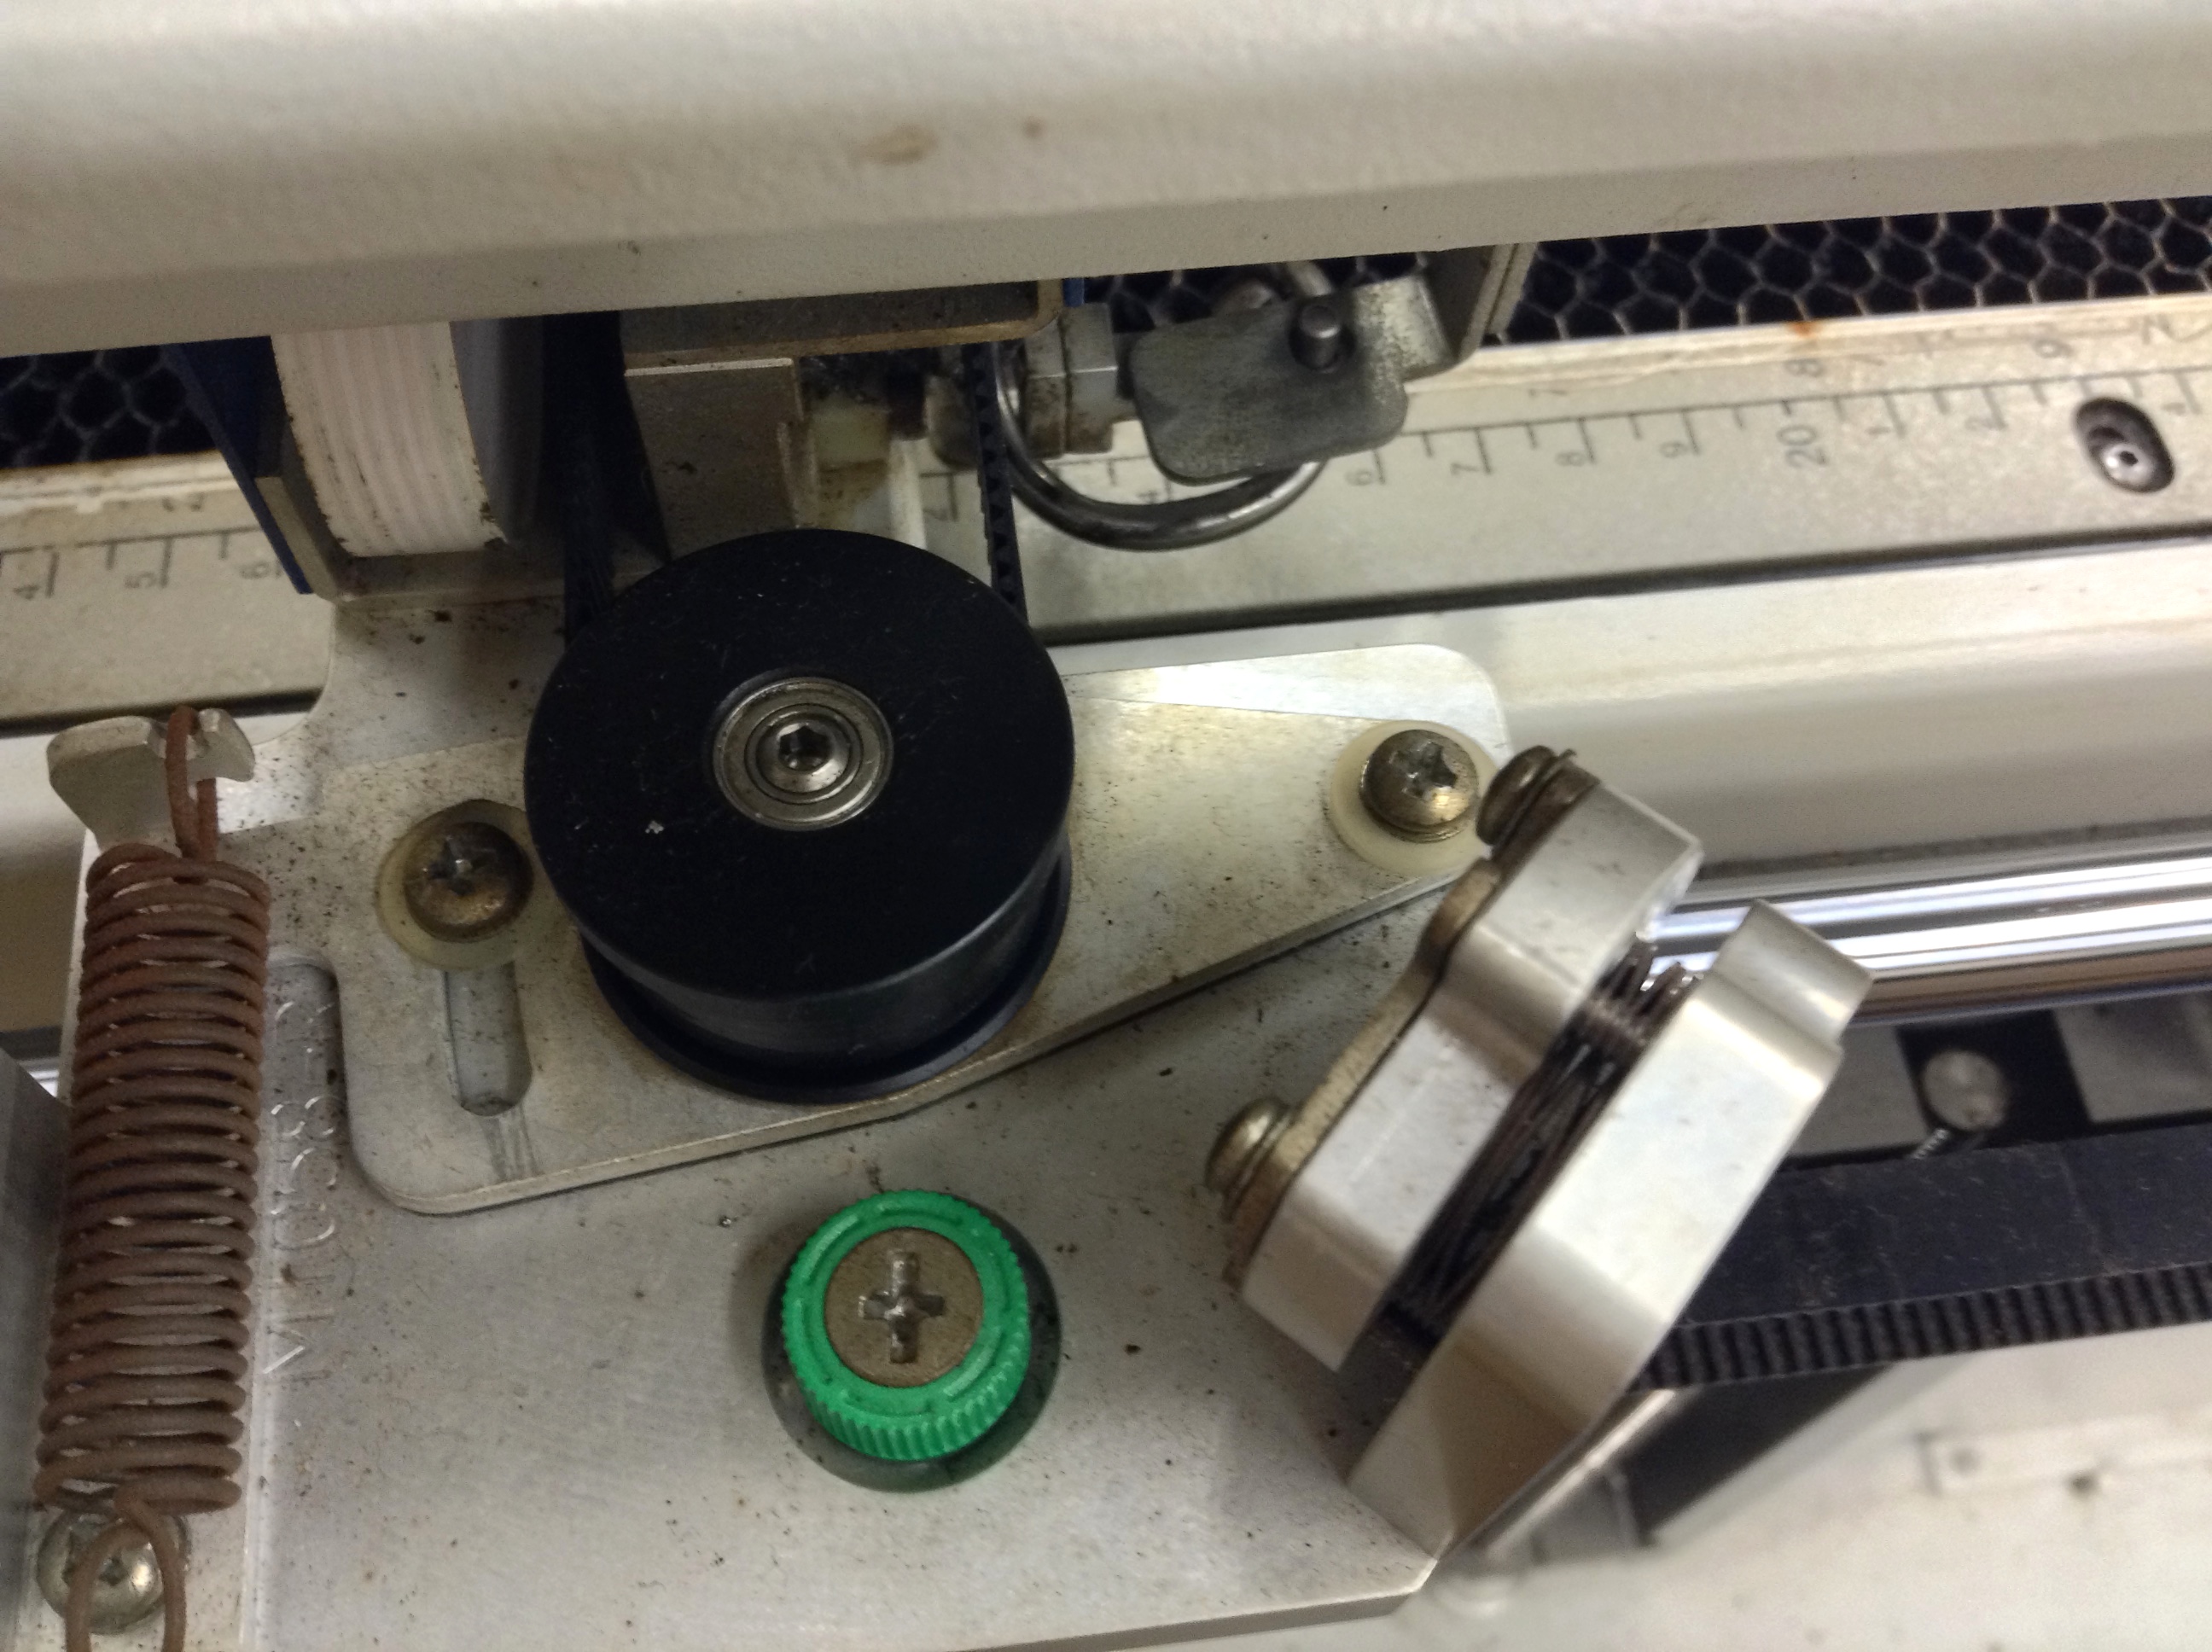
Make sure belts are tight enough.
There are one for X axis, two for Y axis,
and one for Z axis below the metal honeycomb.
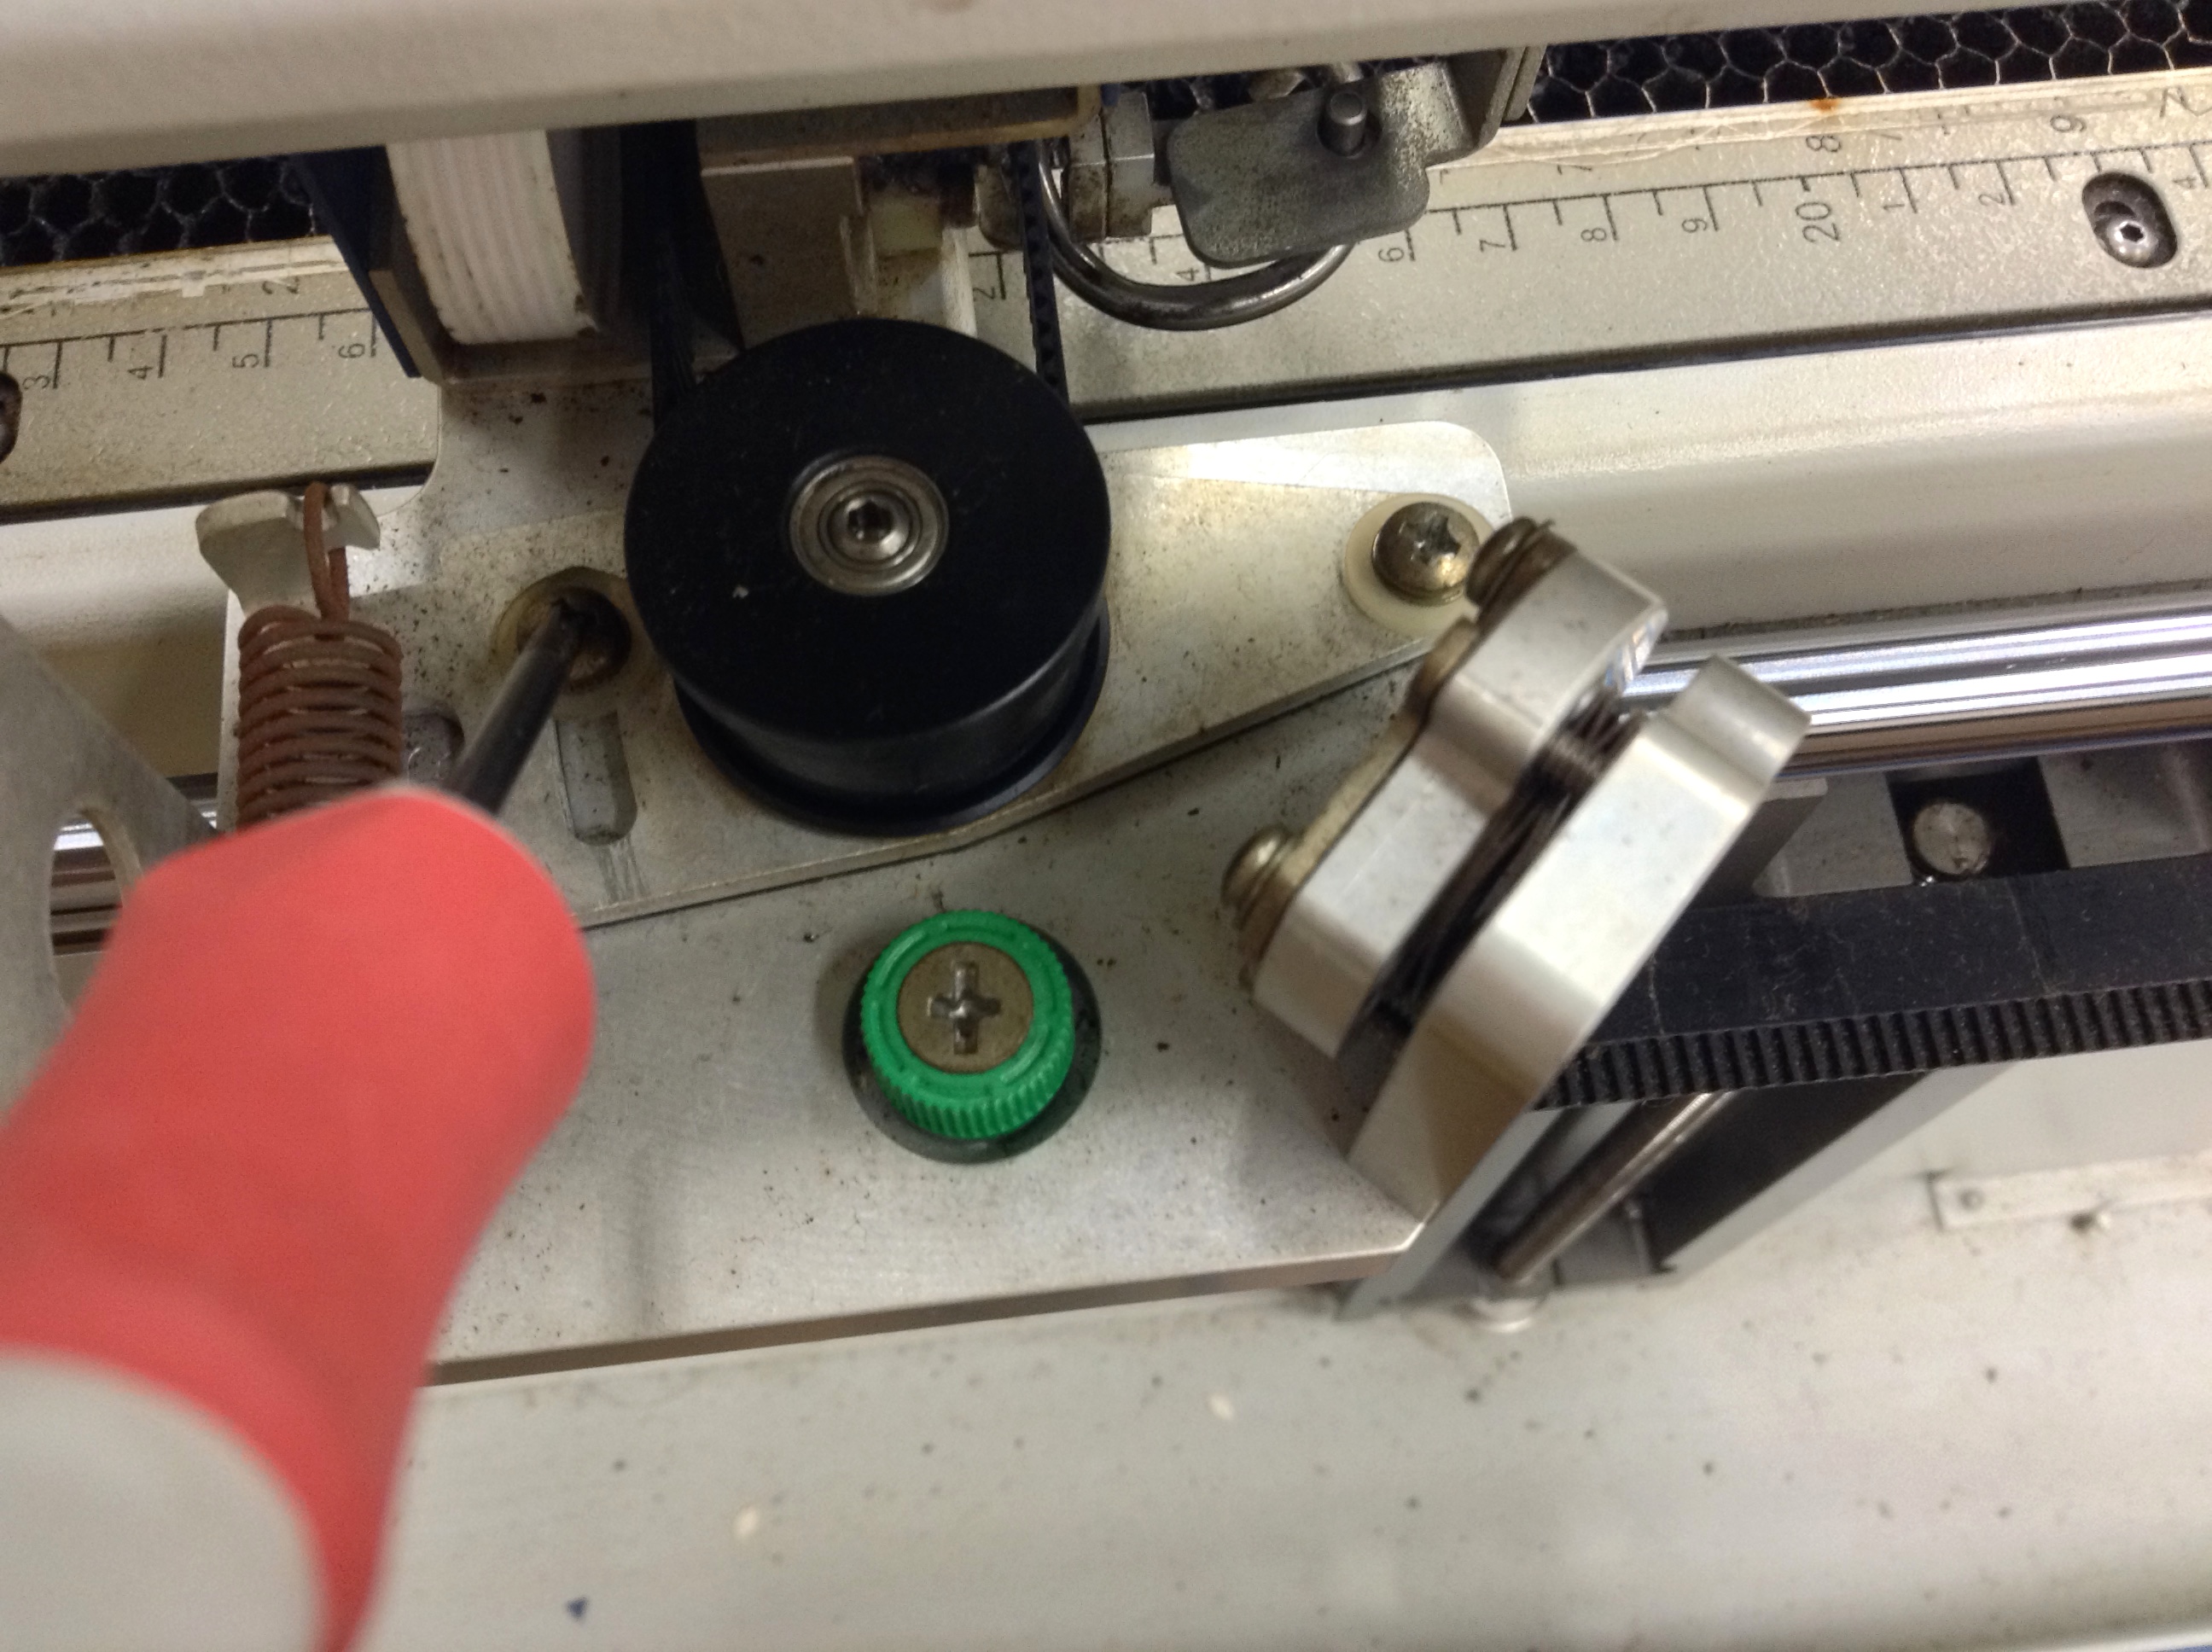
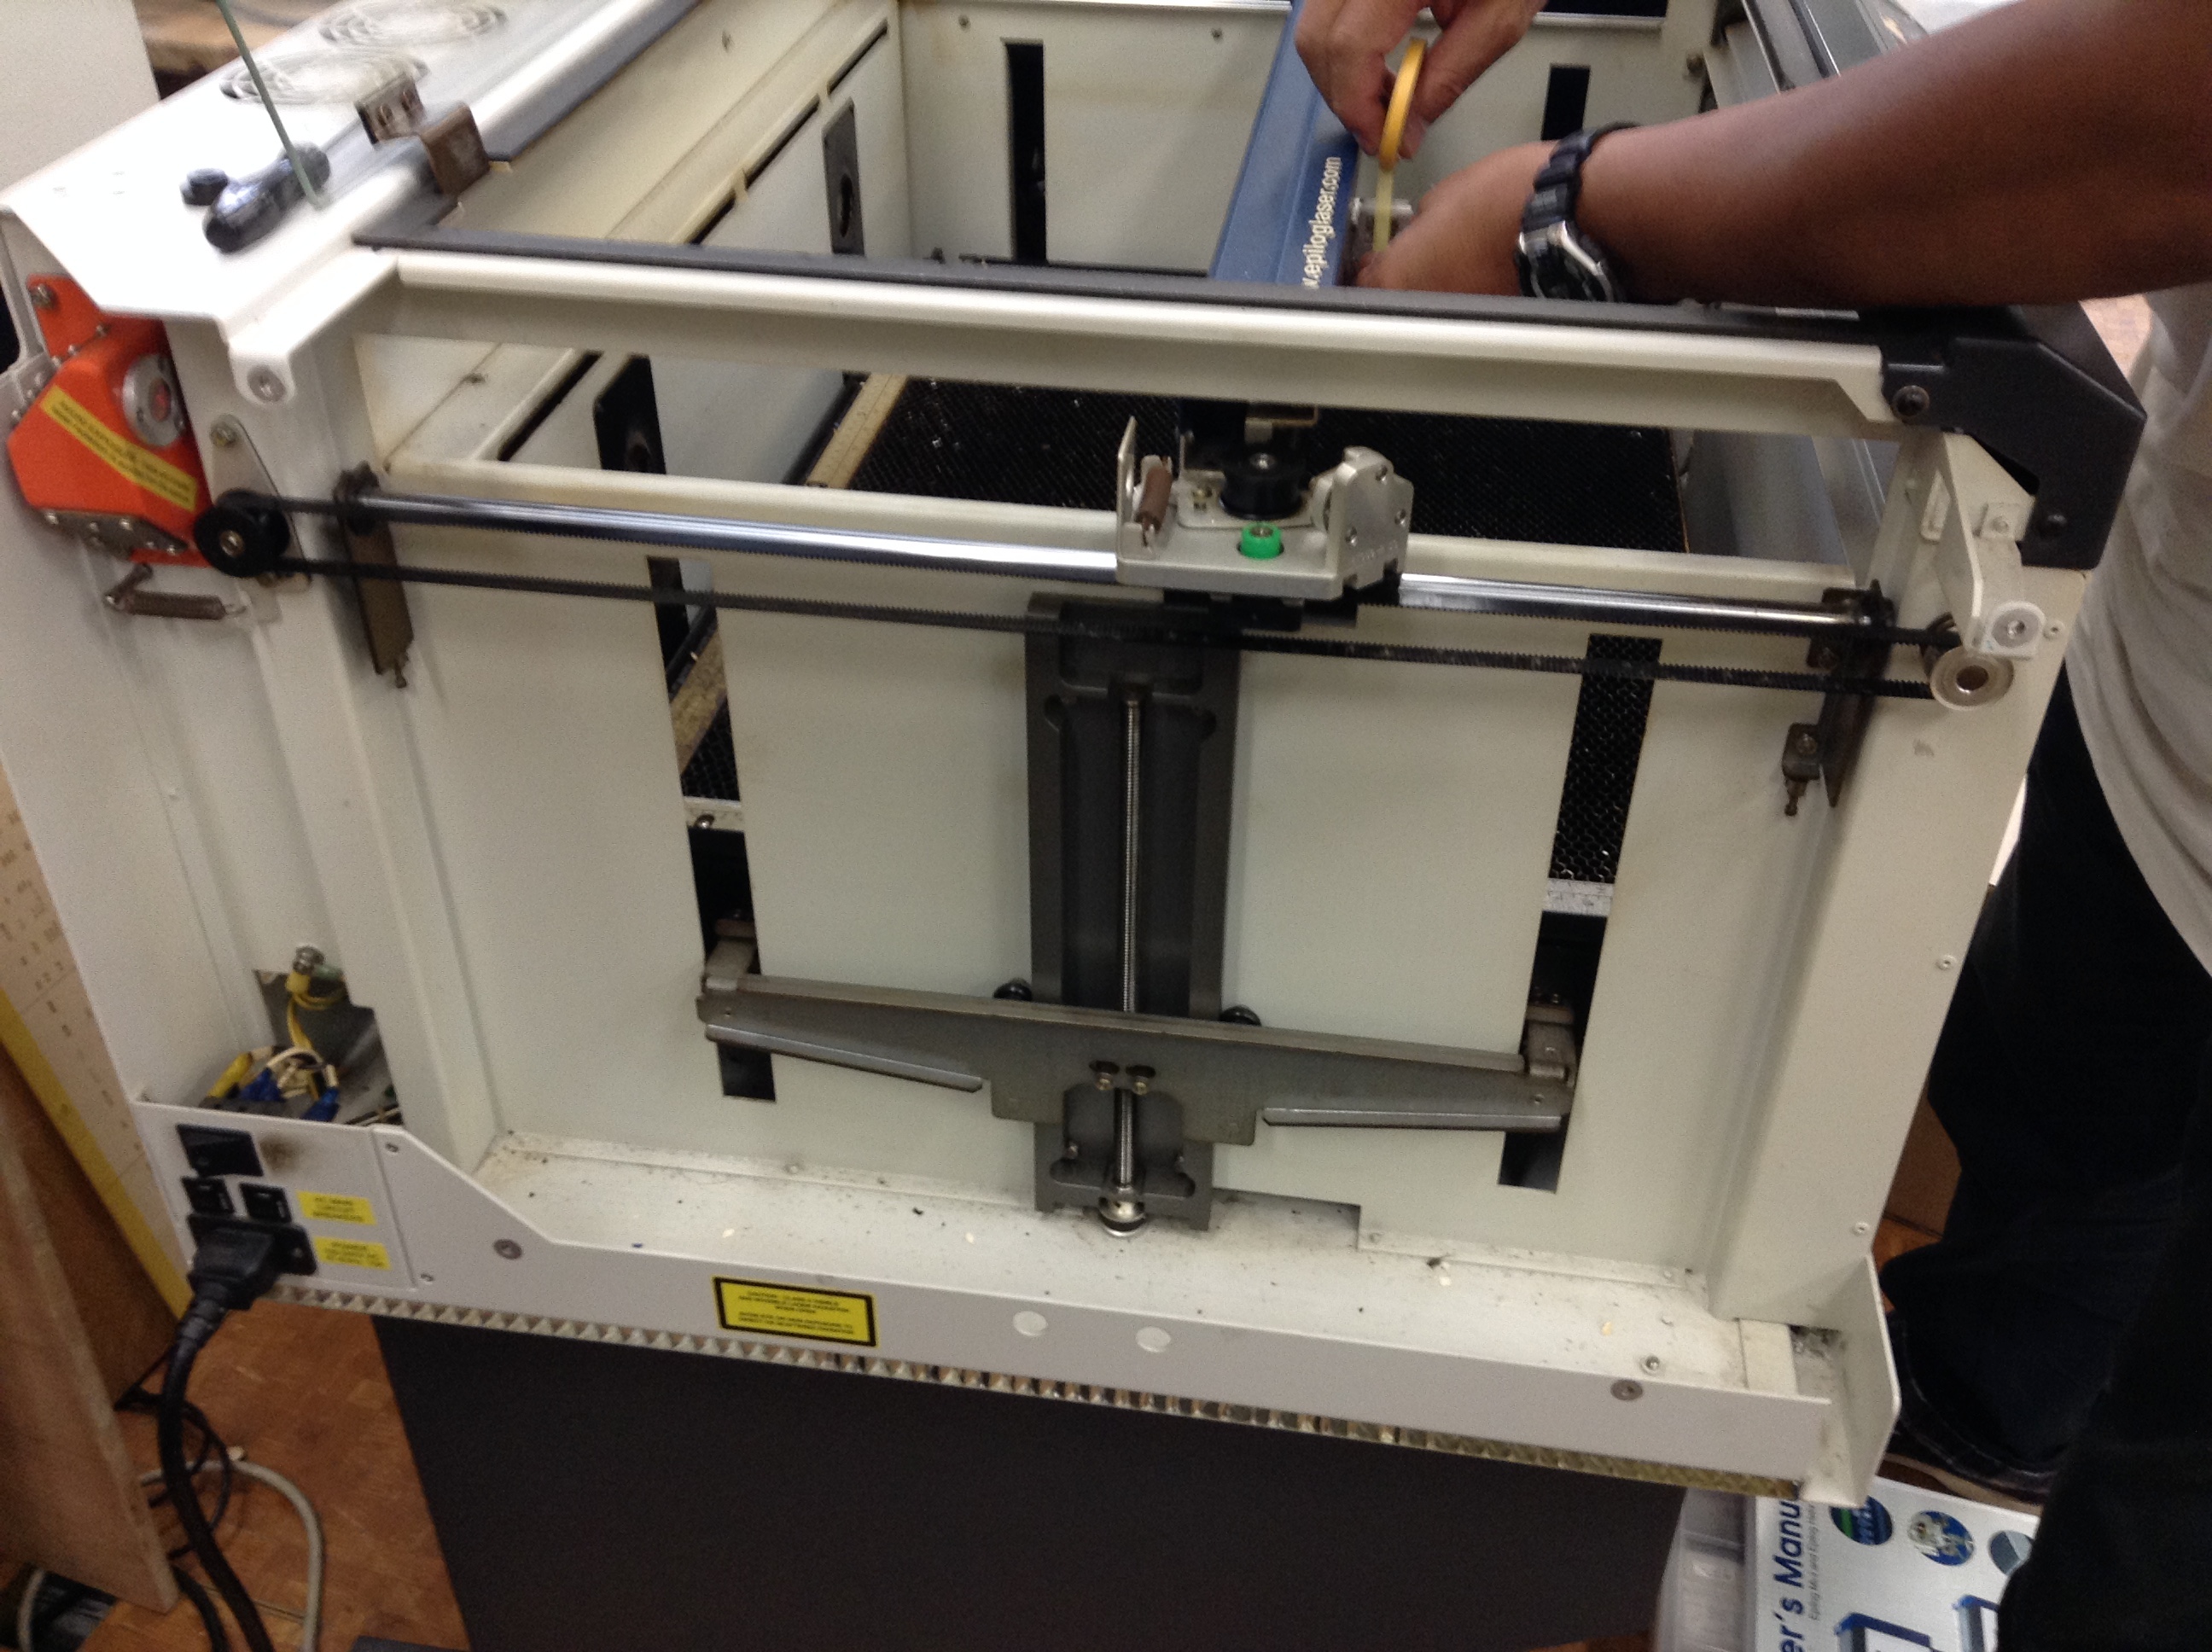
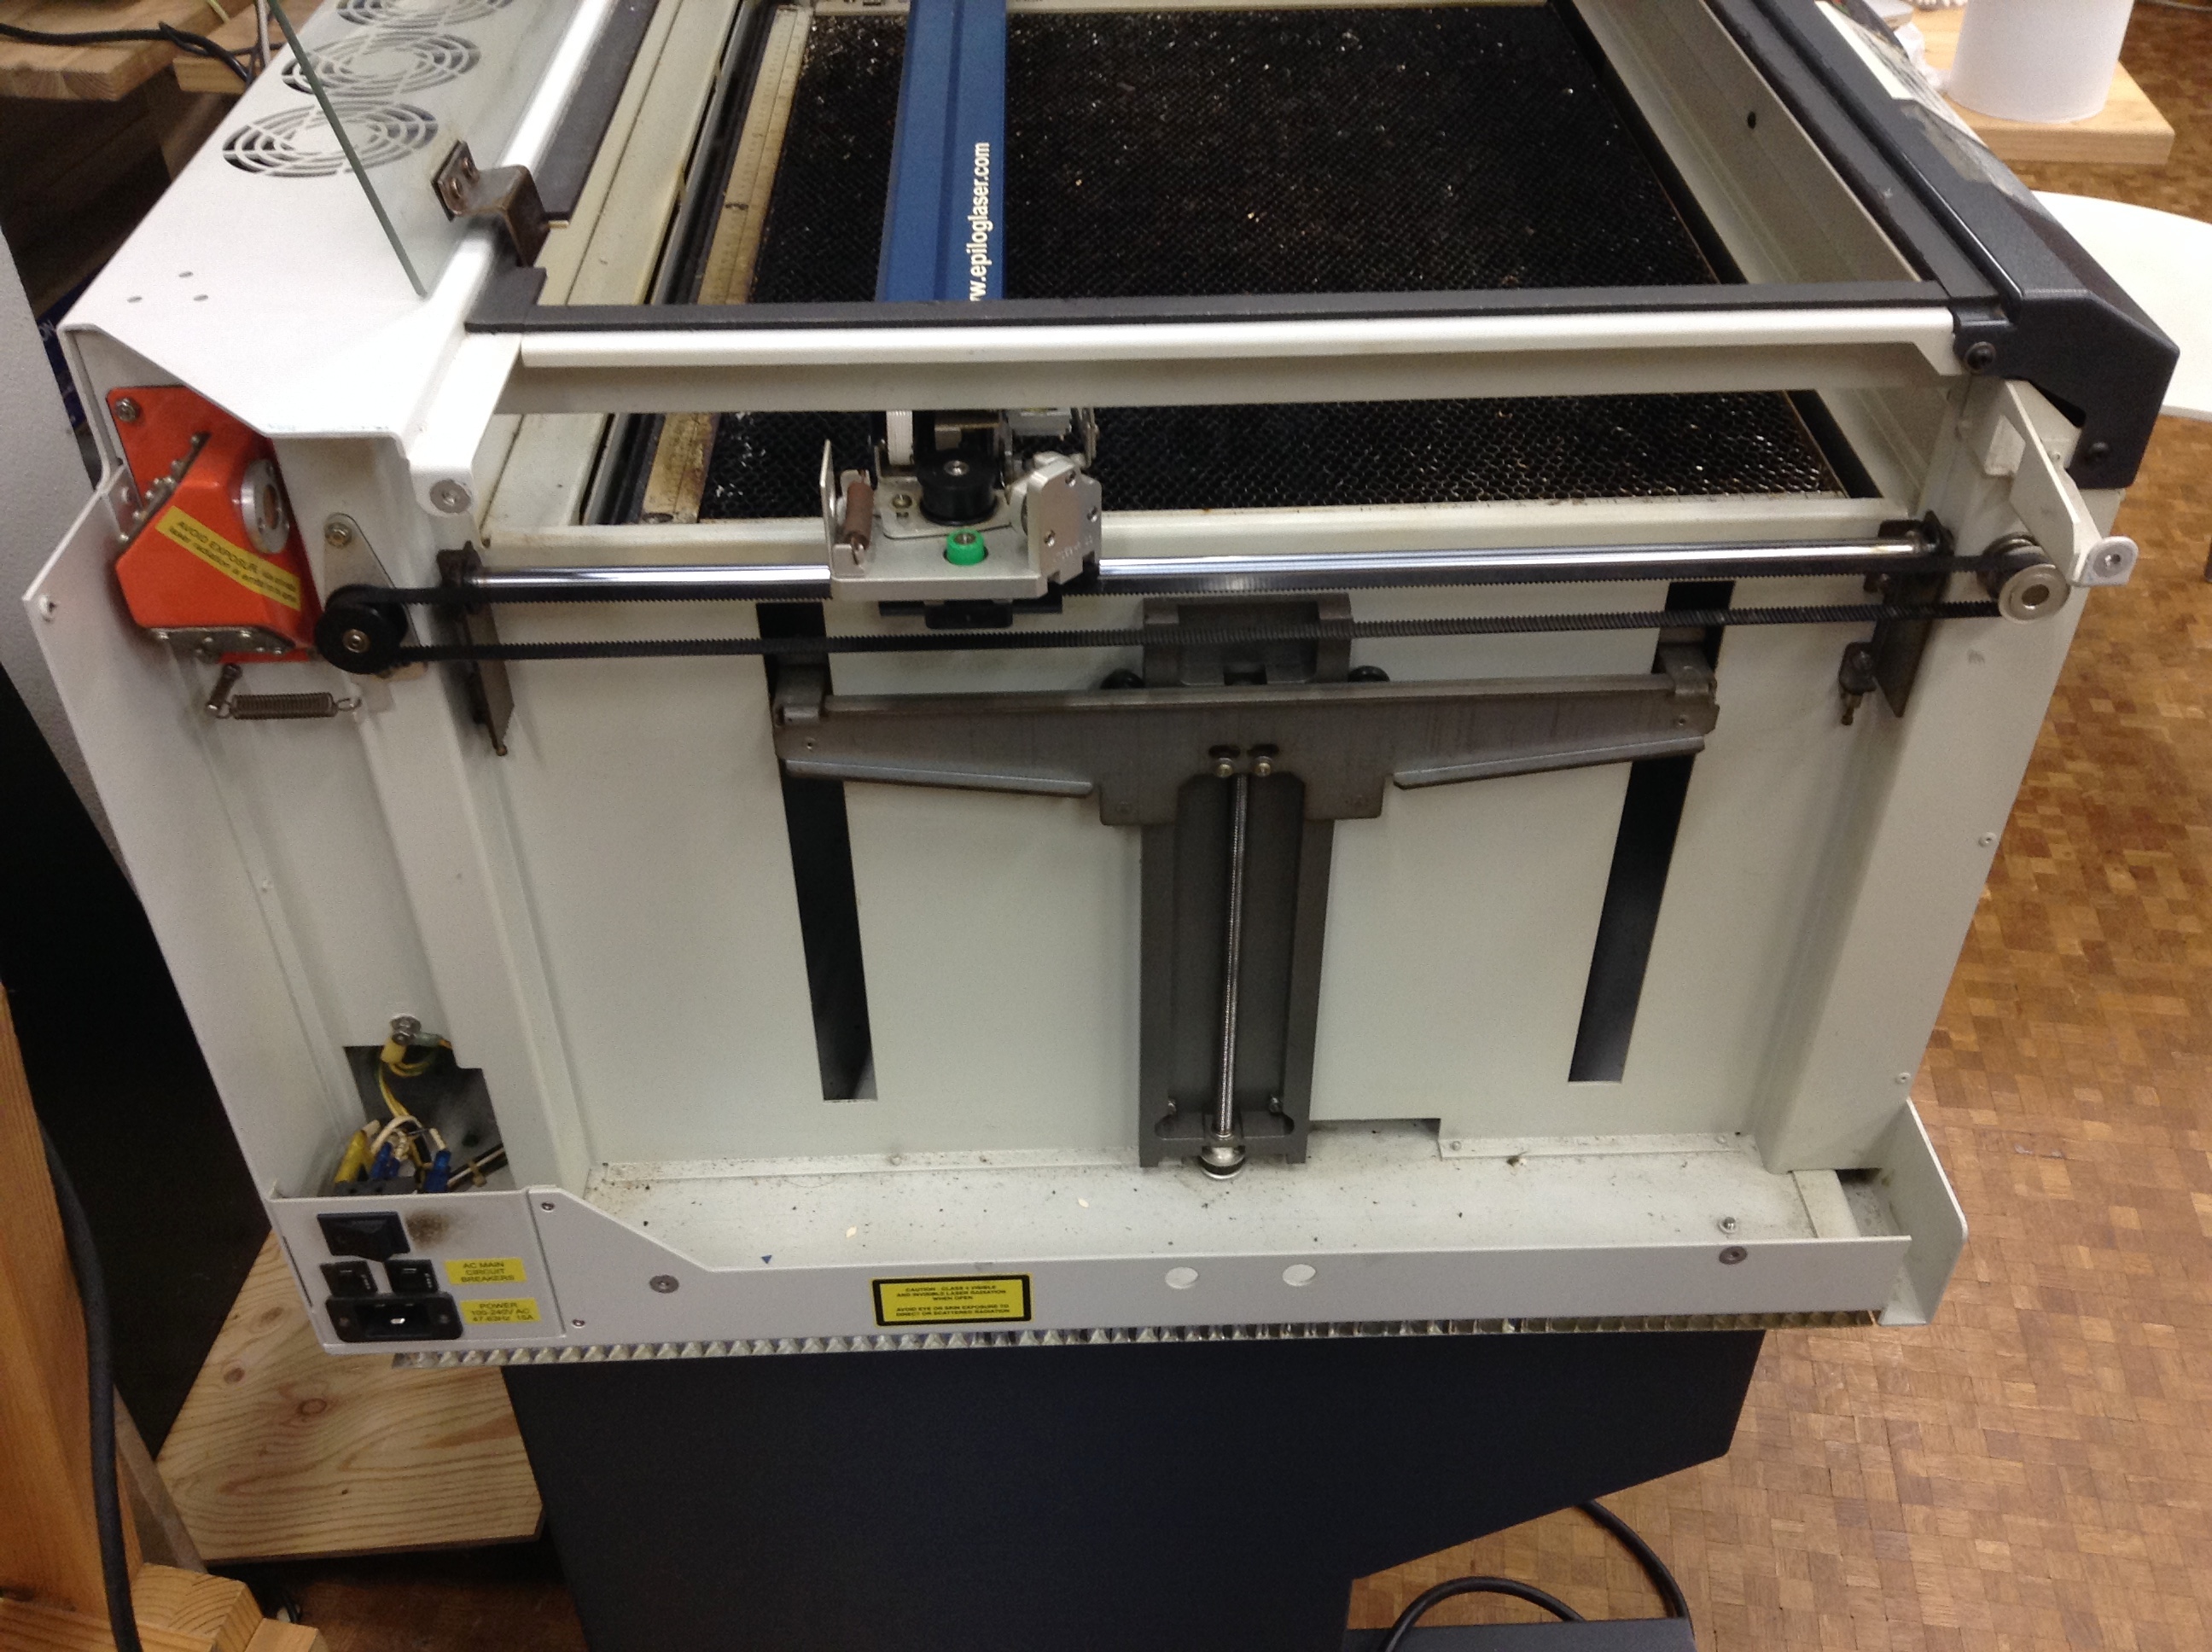
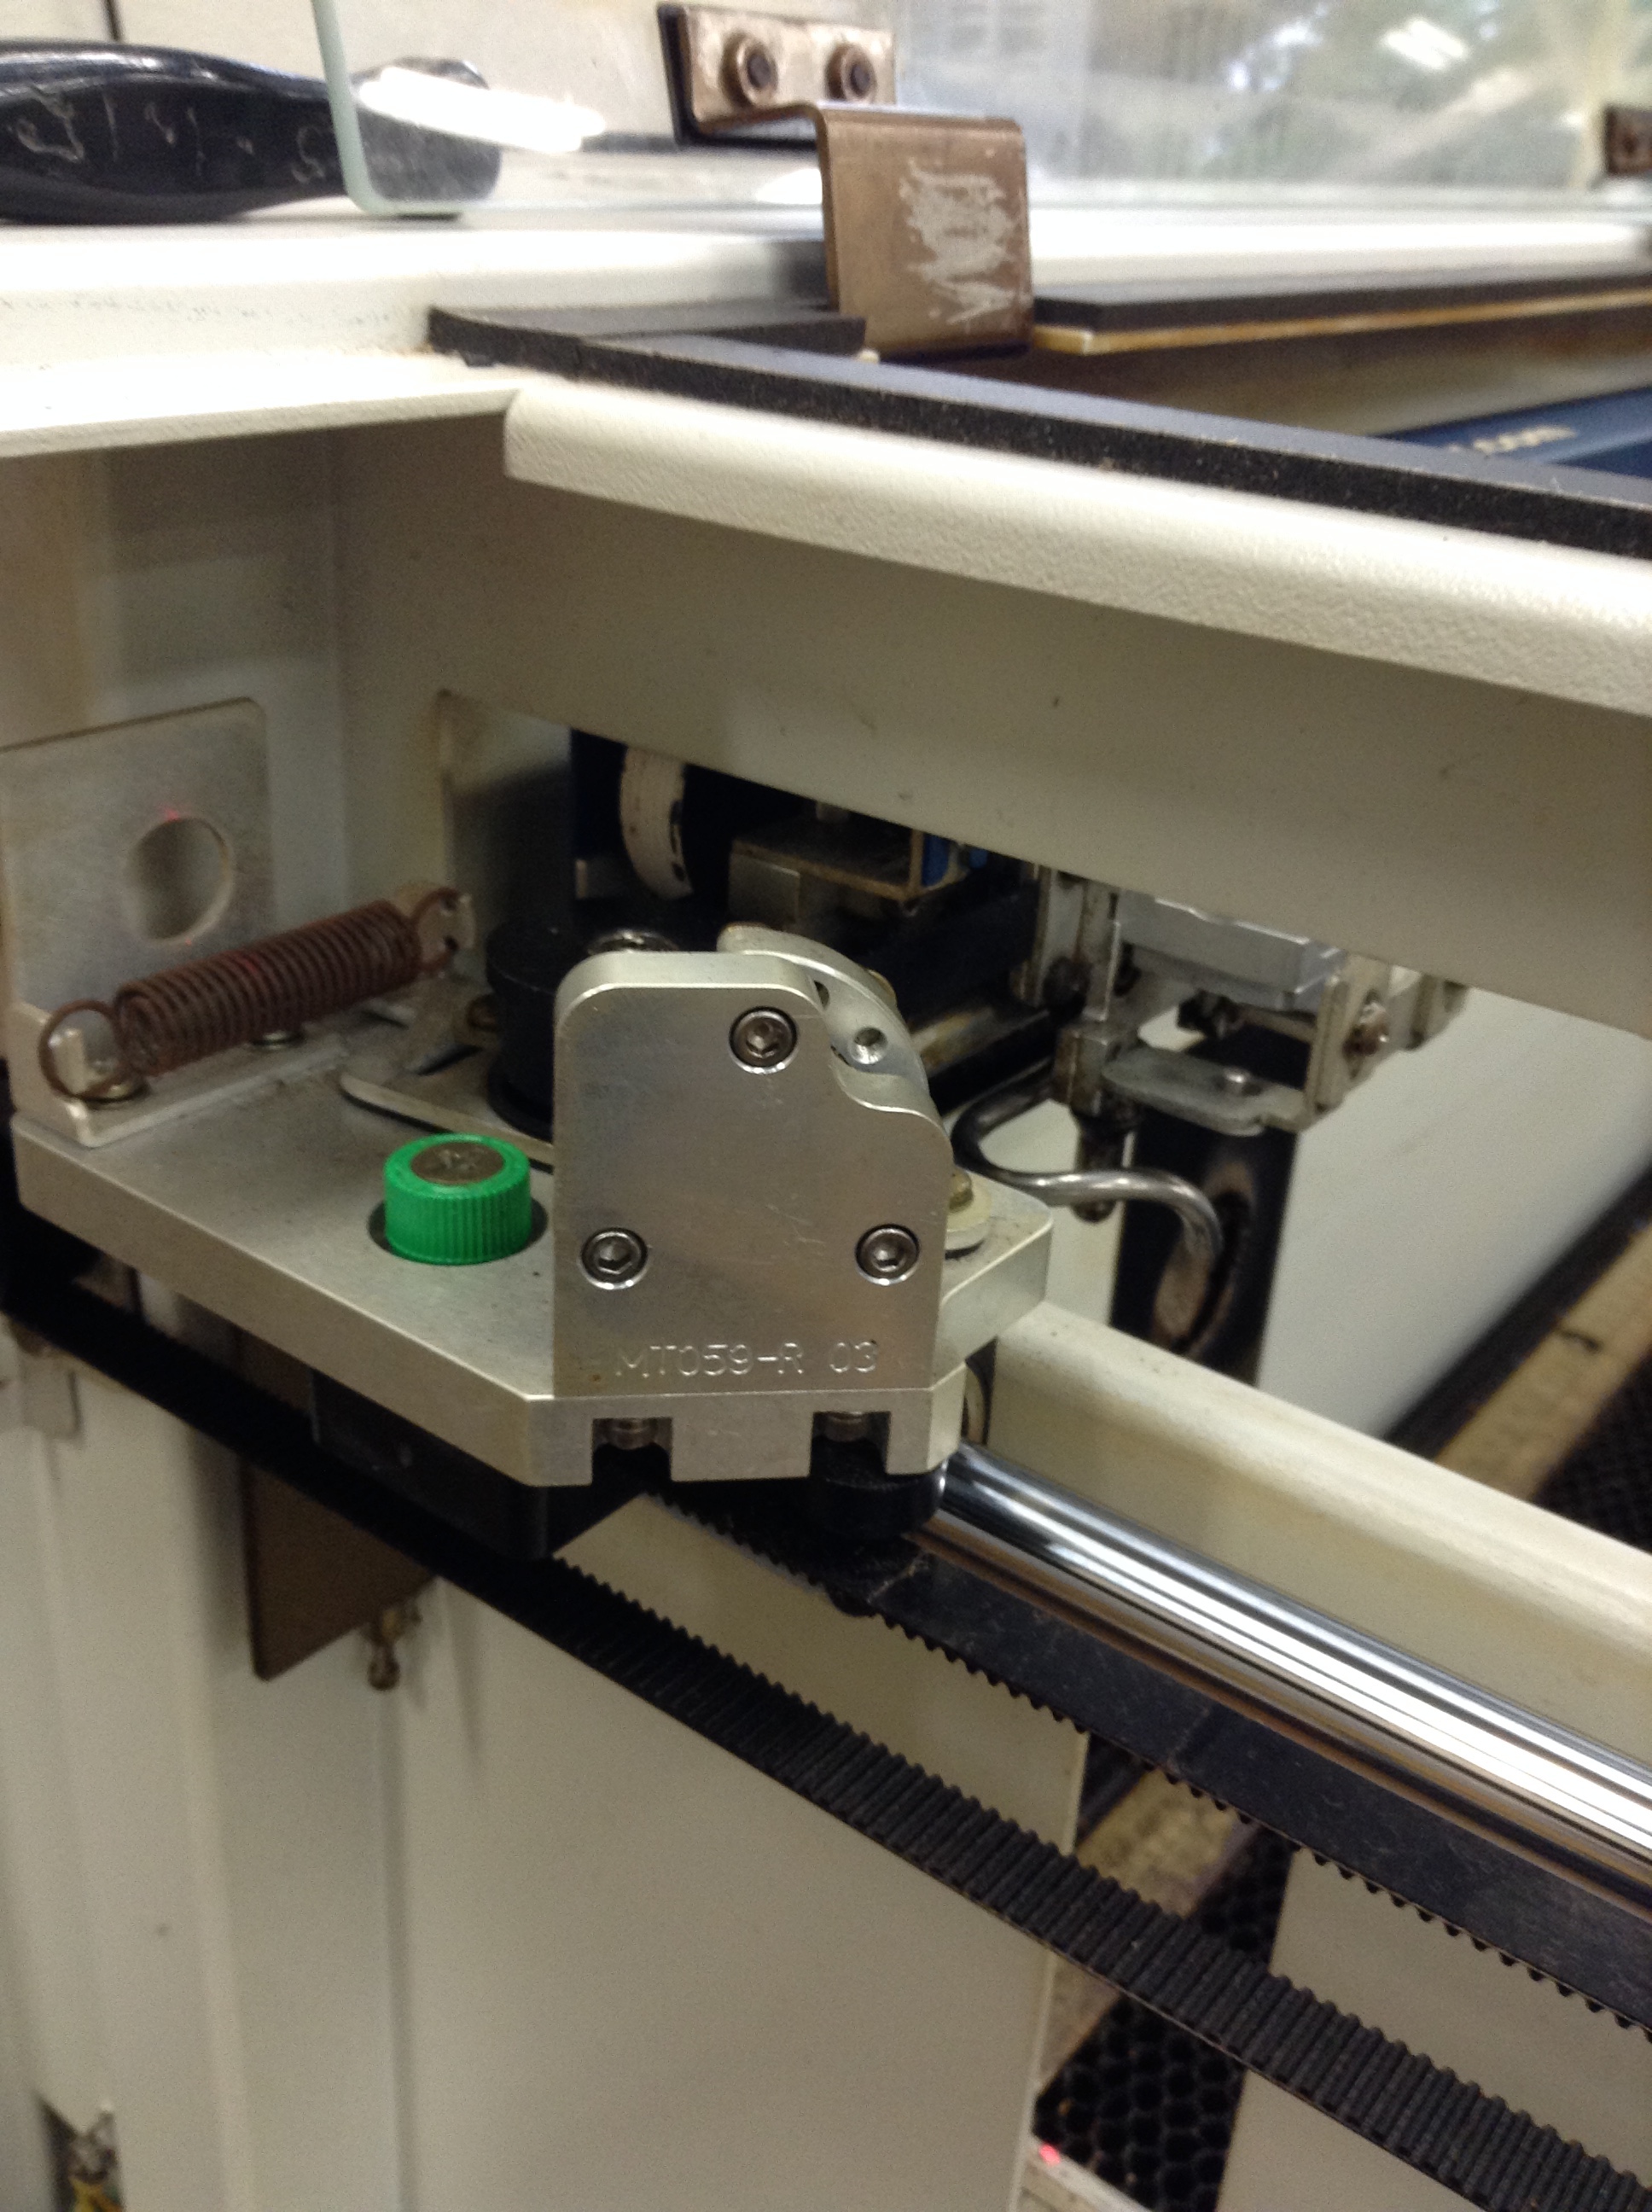
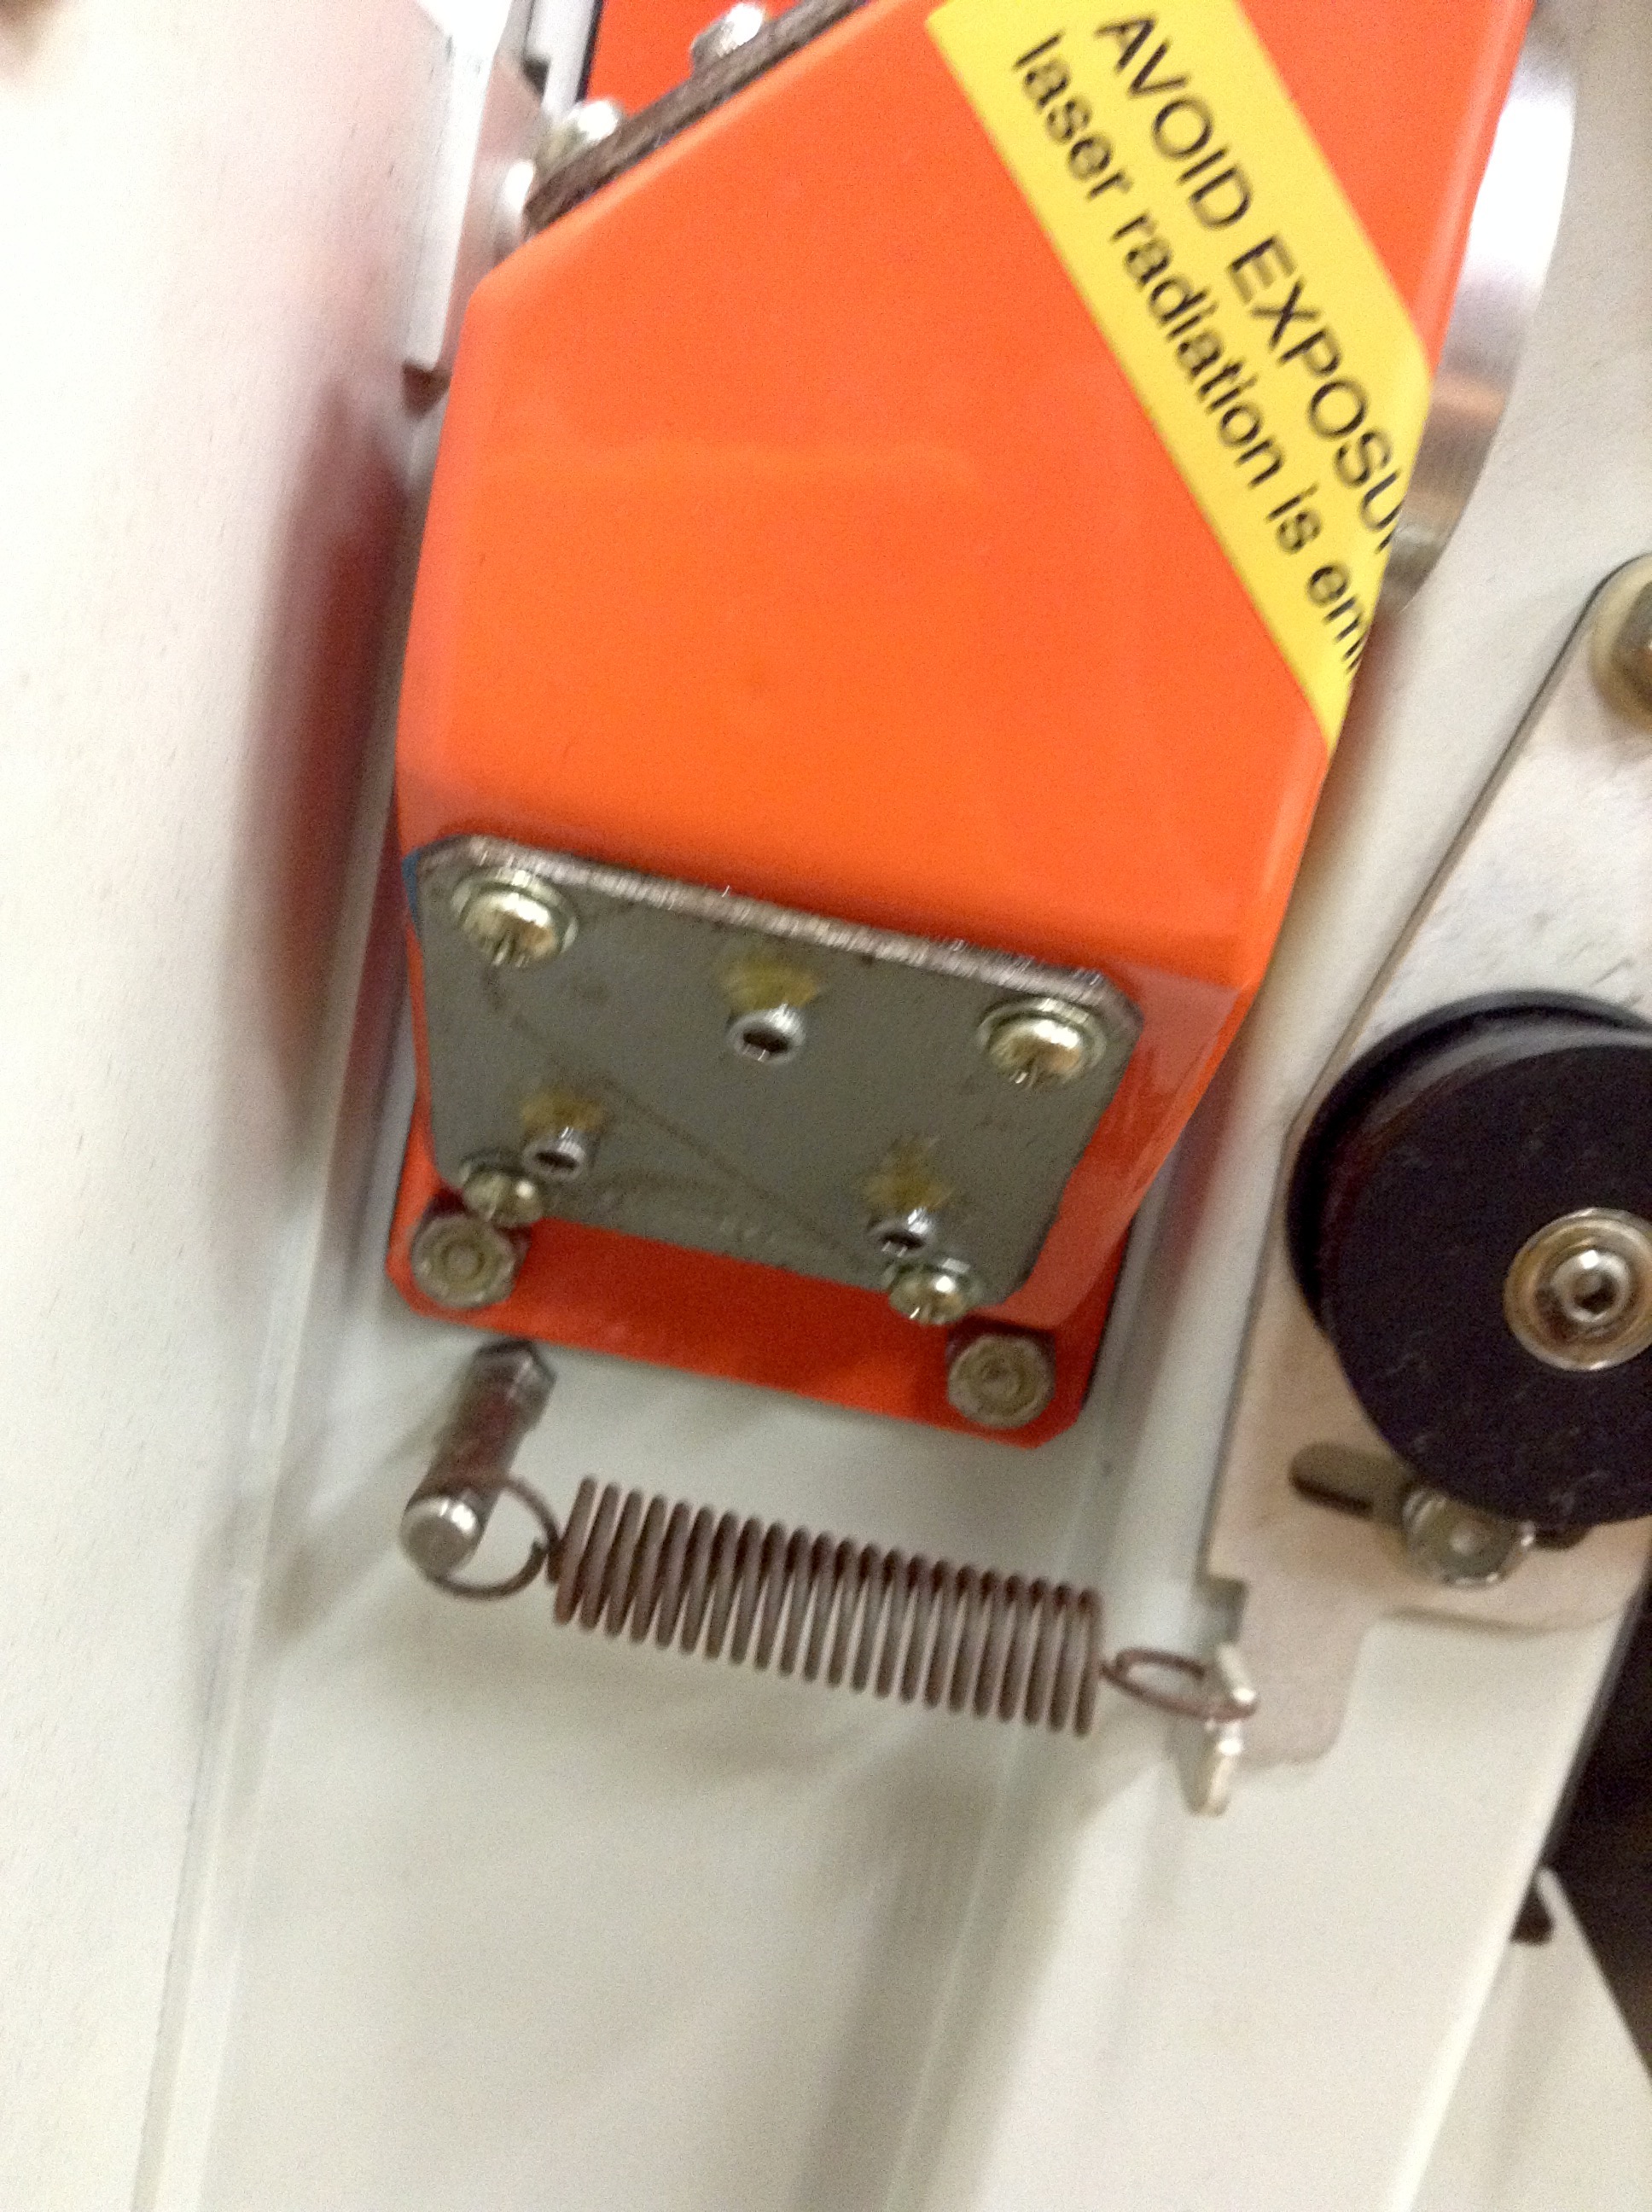
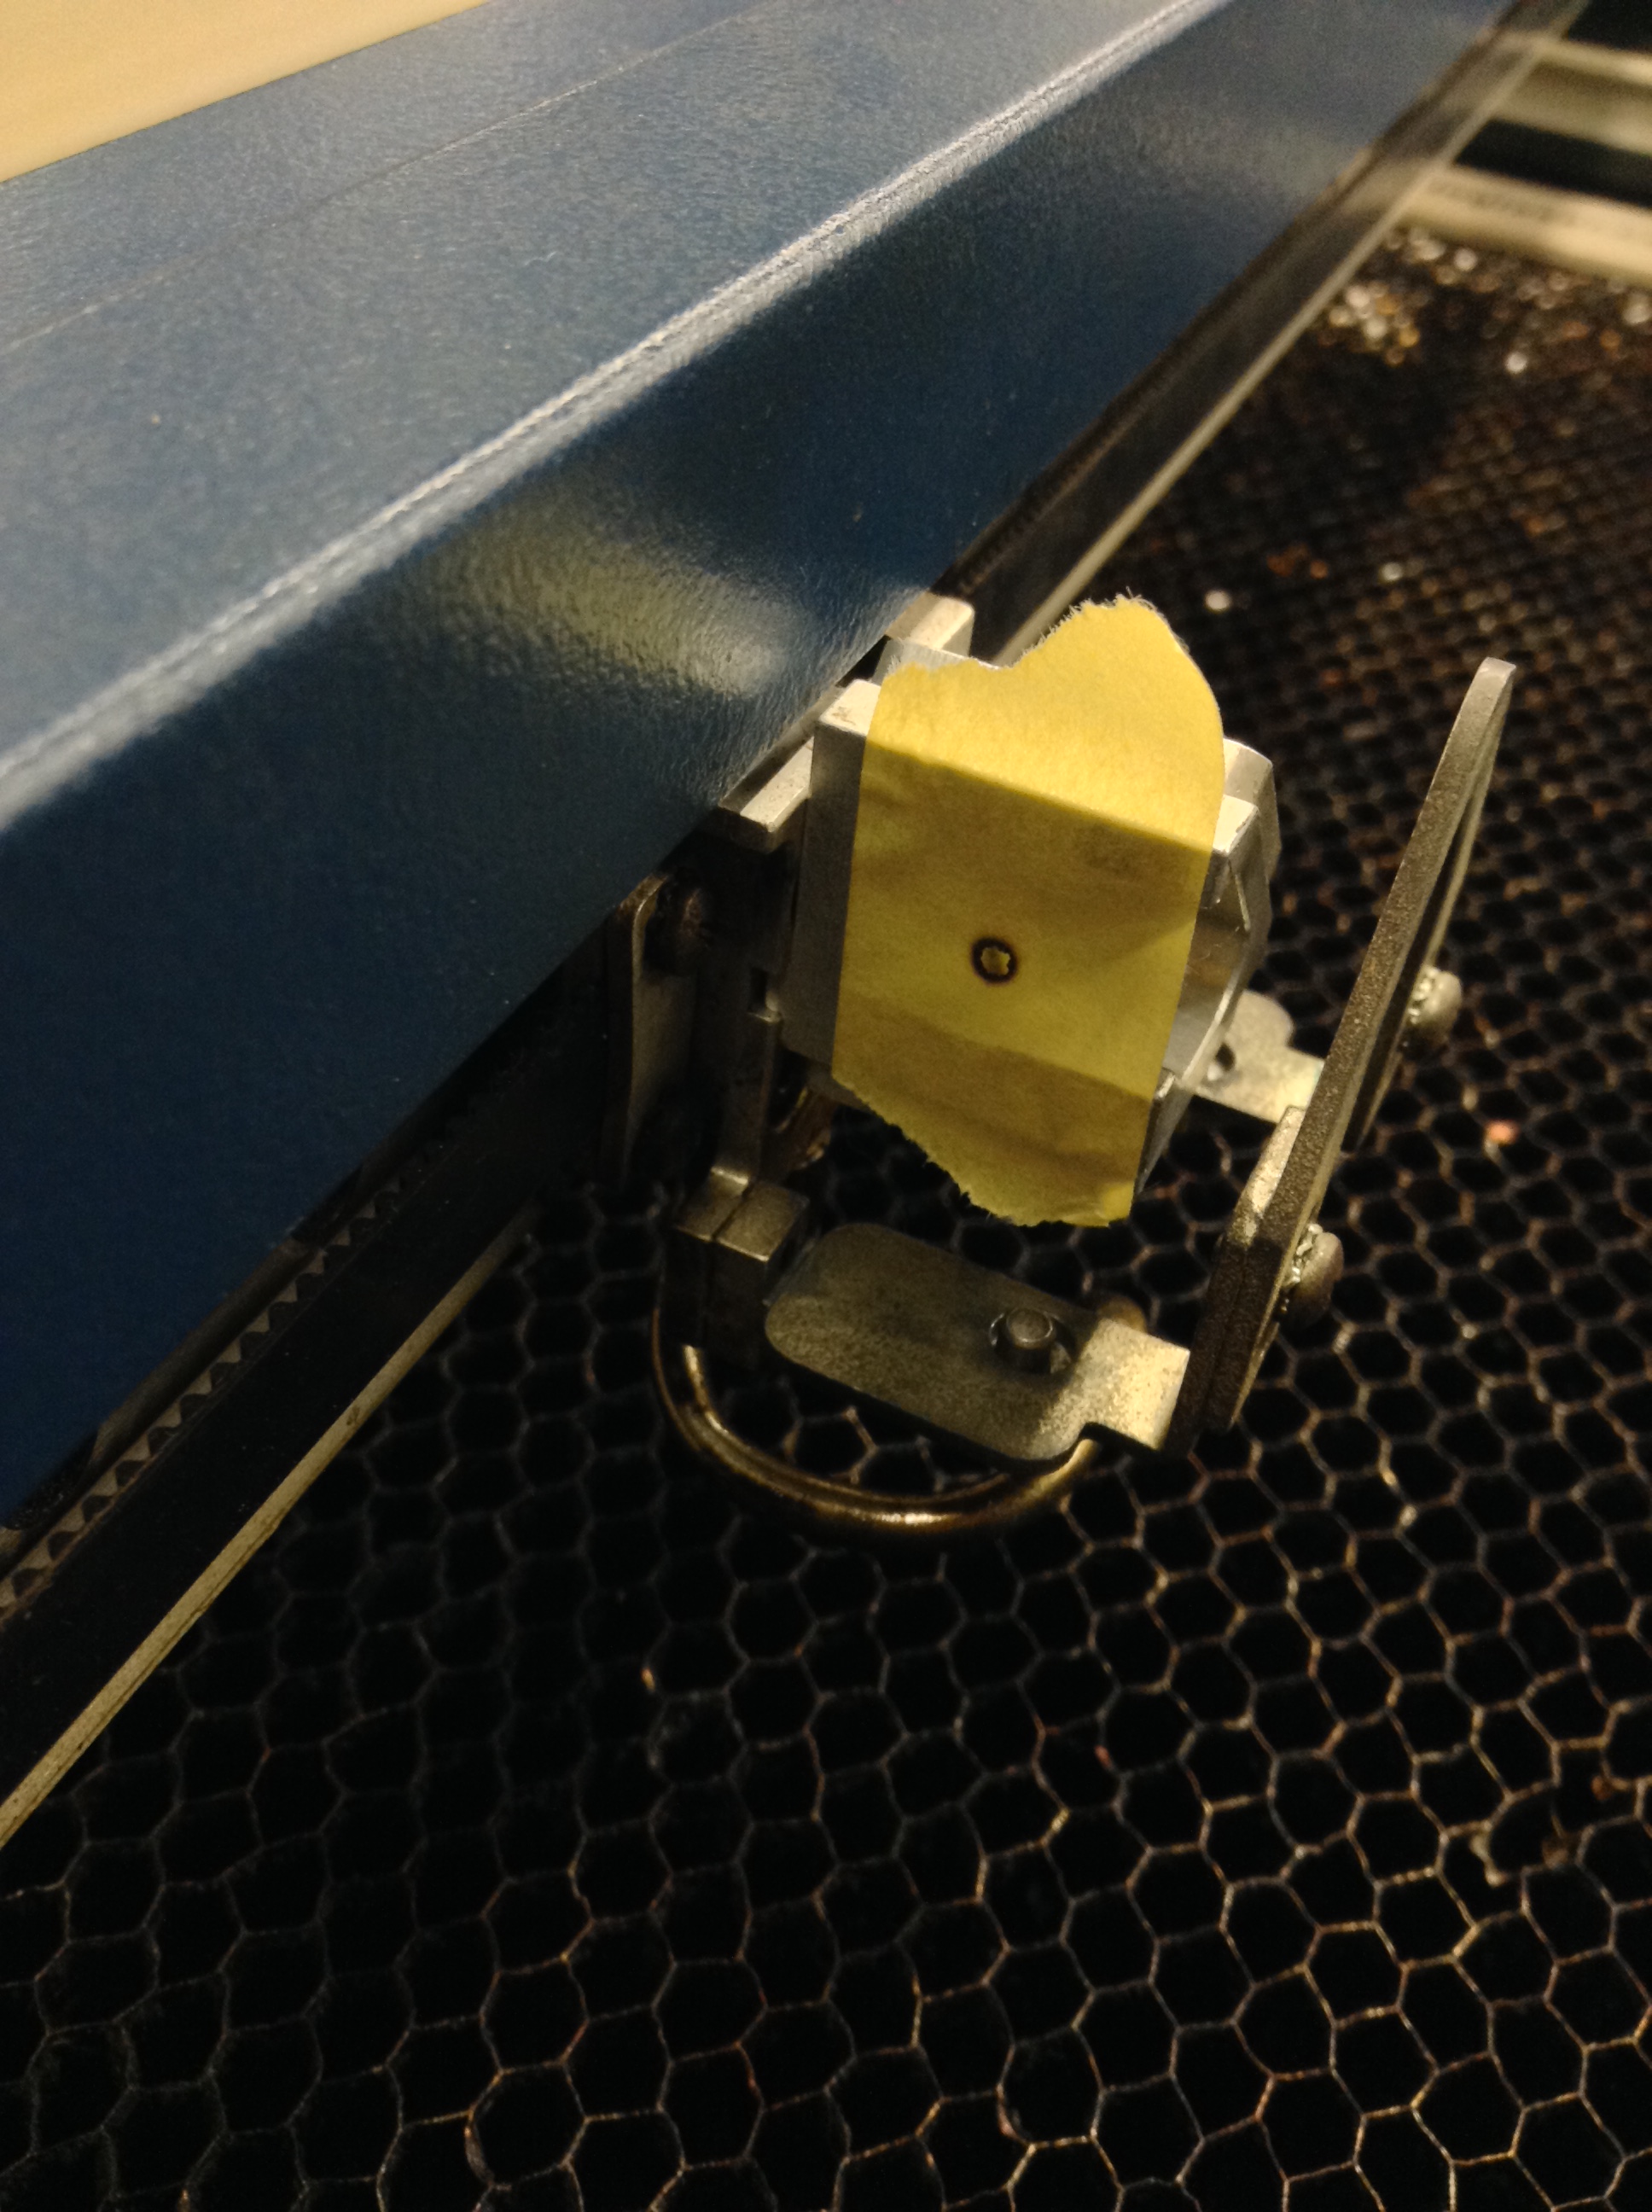
In case they are too loose,
find a part shown in first photo,
loose the screw like second photo,
and just tighten again.
This should be done about every 80 hours of use.
Once a half year
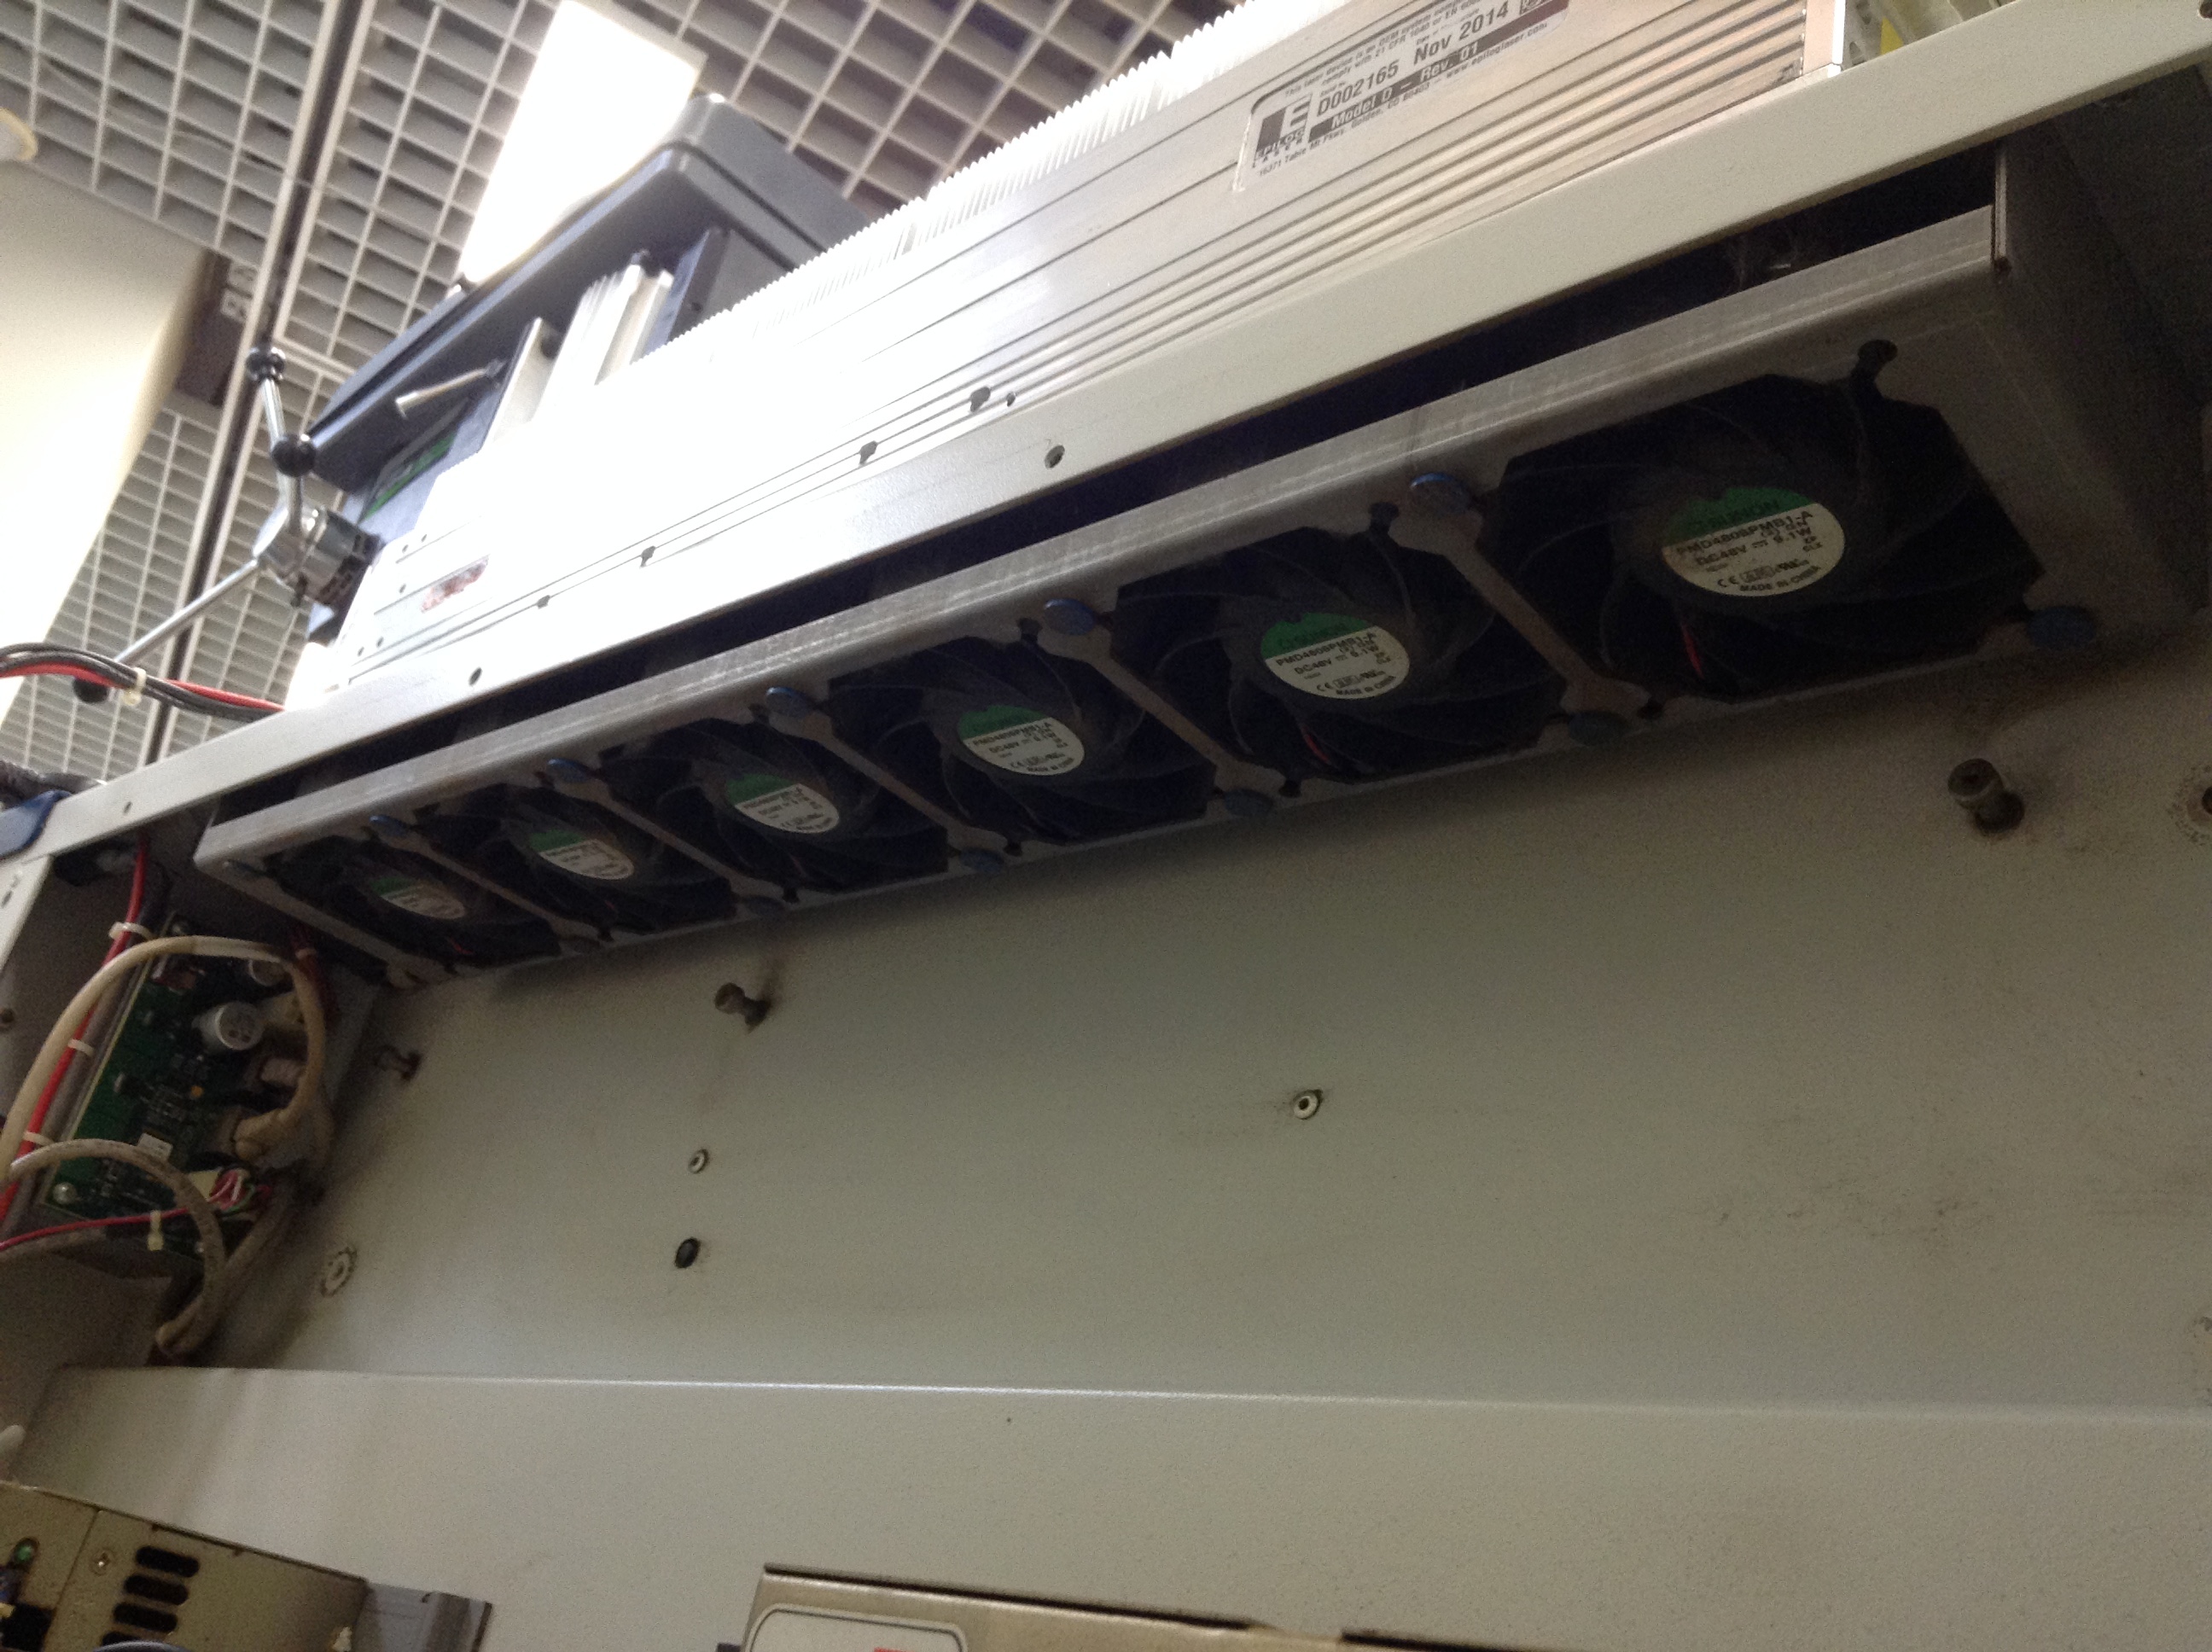
Clean the exhaust ports with vacuum cleaner or something.
This is not very important,
but just clean them sometimes
or it may affect the ability to blow the smoke away.
Once a year - no.1
Clean dust inside the machine.
Remove the exterior by loosing screws,
and clean inside by vacuum cleaner or something.
Once a year - no.2
Adjust the axis of the lens.
If this is not right,
laser doesn't hit where you meant to.
See following annotations since this would be very long.
[[Sorry translation is still in progress]]
1. Set target

レンズの装着されている、
レーザーを露光するヘッド部分に、
ターゲット部品を取り付けます。
ターゲット部品はレーザーカッターに付属しているもので、
照準器のような模様がついています。
特に取り付けるための機構はありませんが、
柔らかいプラスチックでできているので、
ぎゅっと押し込むと嵌めこむことができます。
2. Remove exterior
実際にミラーの角度を調整していくため、
左面に4ヶ所、左後ろに2ヶ所あるねじを
すべてゆるめて外し、左面の外装を取り外します。
3. Switch to "Align Laser" mode
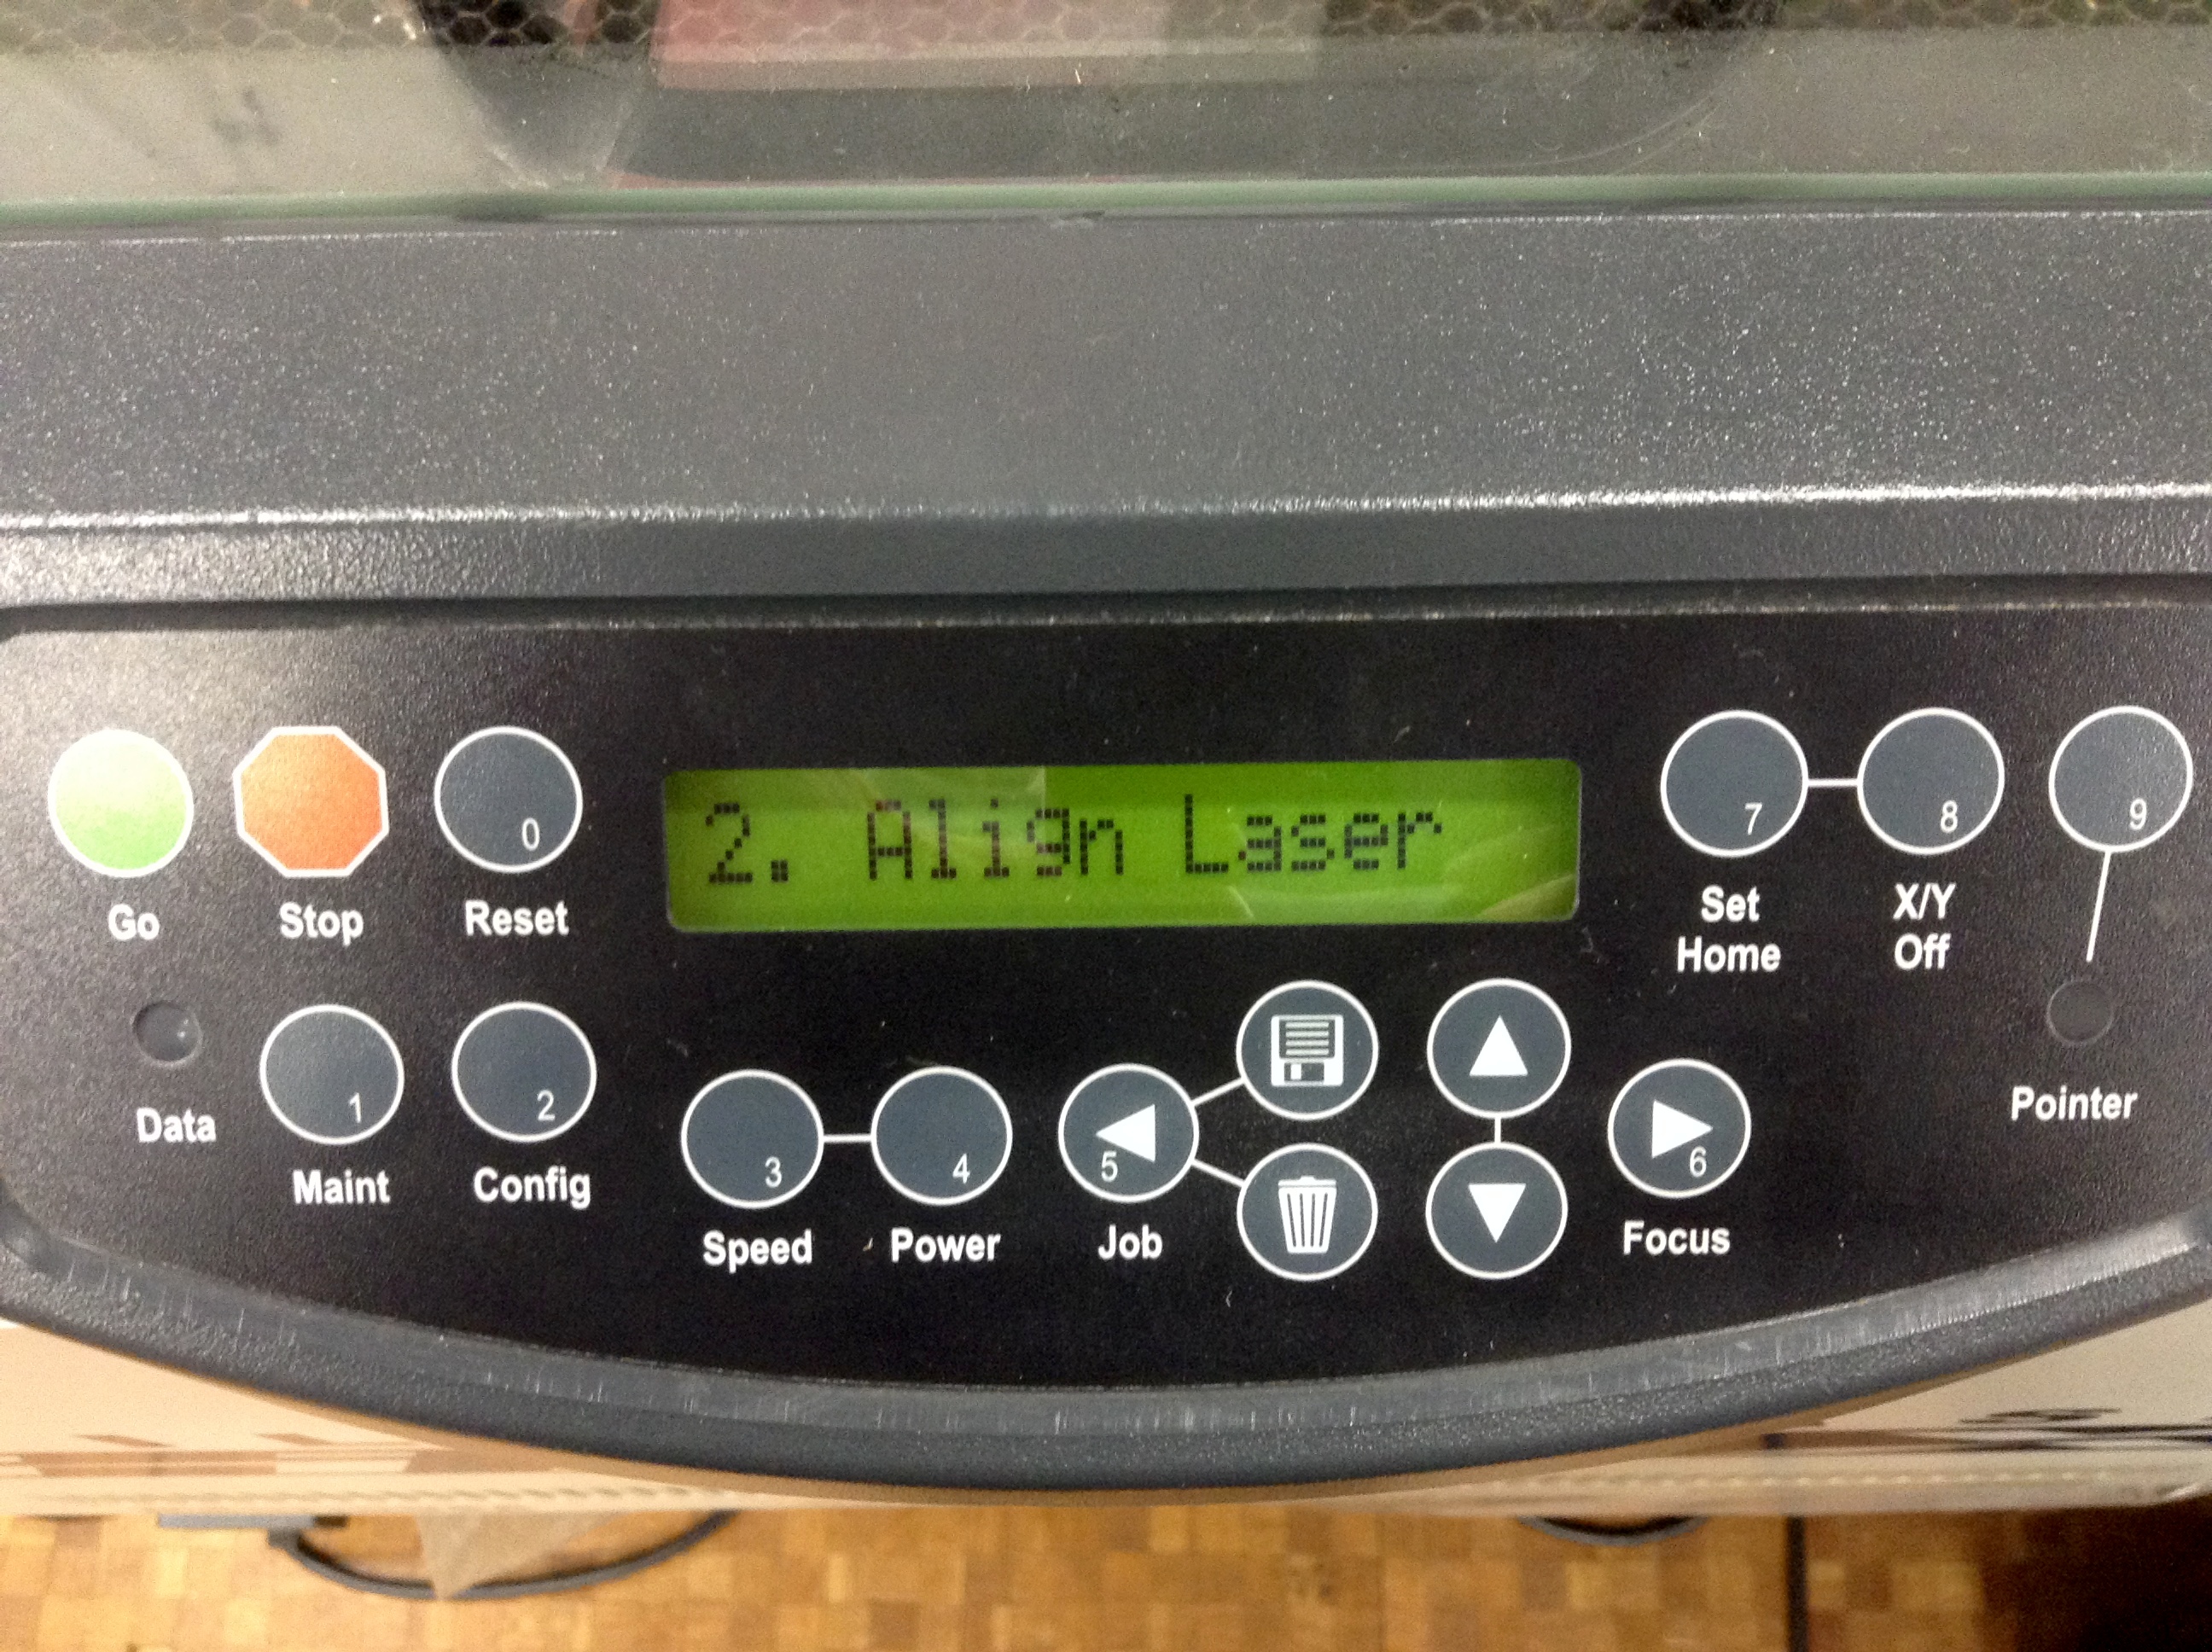

レーザーカッターを専用のモードにします。
maint ボタンを押して出てくるメニューから
align laserを選択し、決定します。
液晶が2枚目の写真のような表示になり、
ターゲット部品に赤いポインターがあたります。
その状態で上矢印キーを押すとレーザーを照射できますが、
ターゲット部品が融けてしまうので、
まだ押さないでください。
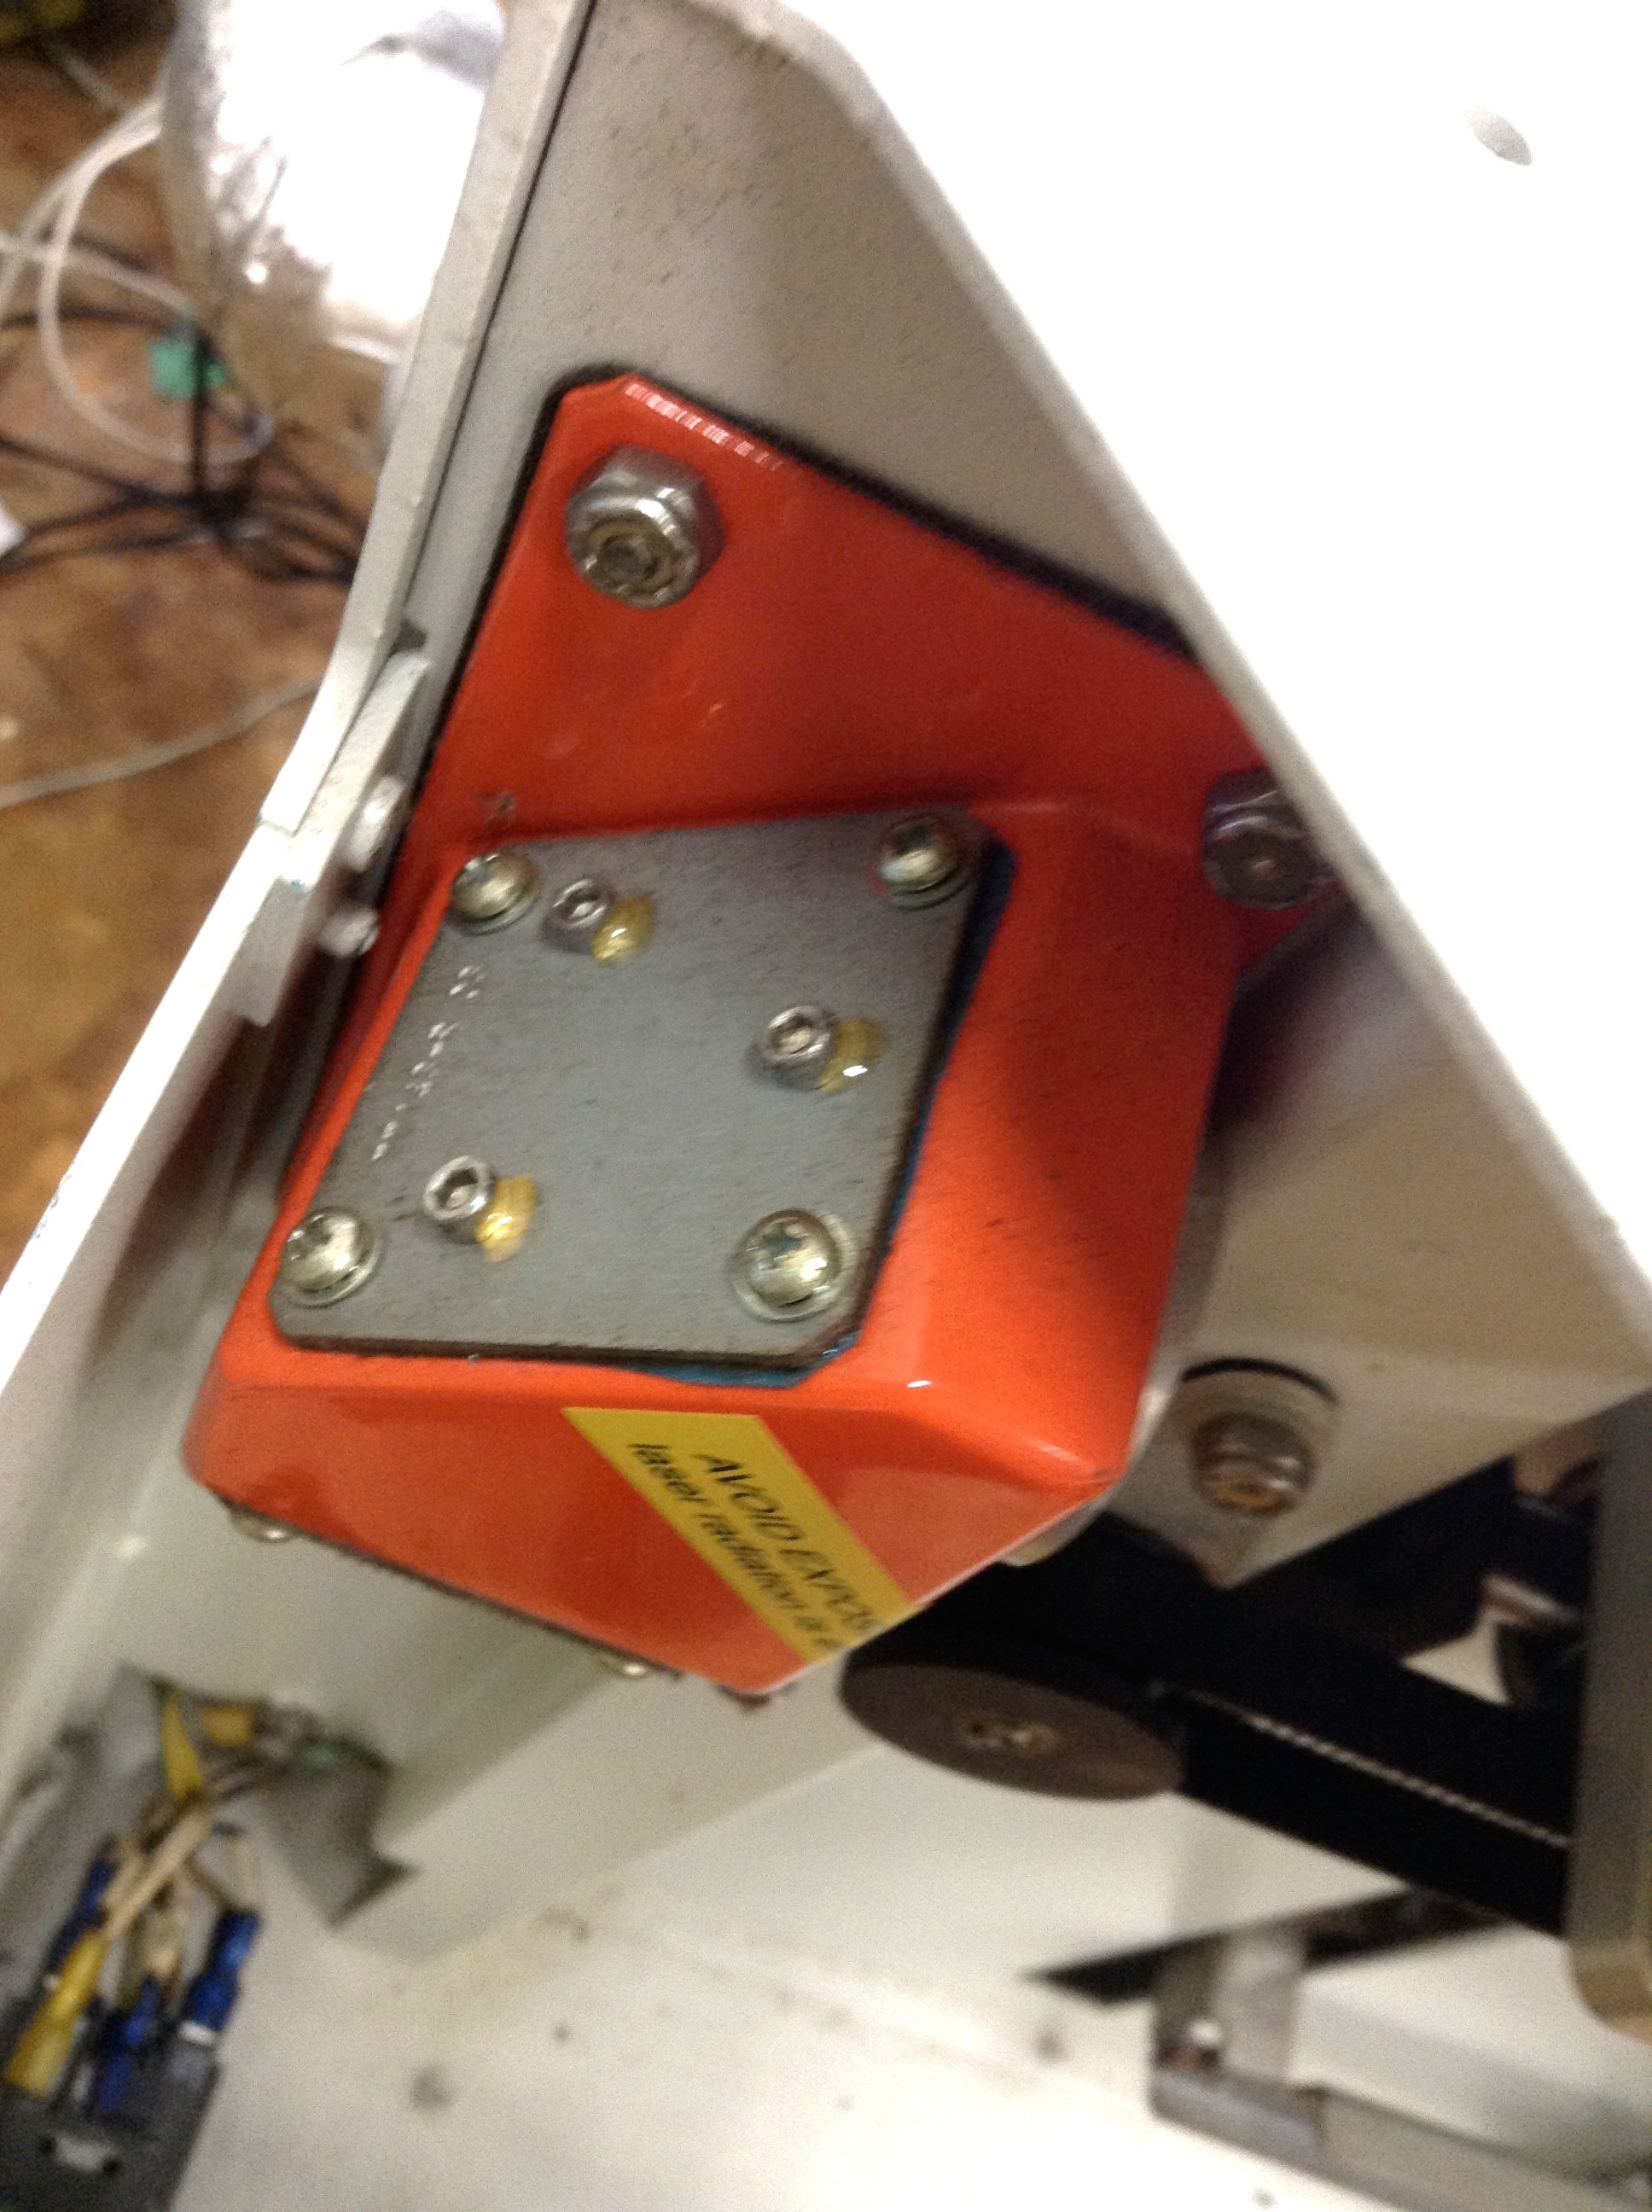
4. Mirror adjustments no.1
第二ミラー(部材側から数えて2番目)から順に
調整を行っていきます。
ヘッドを左上の角(x=min, y=min)に動かします。
(第二ミラー以外によるズレを最小限にします。)
ターゲットの中央からポインターがずれている場合は、
ミラーの裏側にある3つのねじを回すことで、
真ん中にくるように調整します。
5. Mirror adjustments no.2
次はヘッドを右上の角(x=max, y=min)に合わせて、
部材側から3番目にあるミラー(第三ミラー)を、
同様にして調整します。
(第二ミラーの調整は先に終えているので、
第三ミラーのズレだけが変化として現れます。)
その次は、ヘッドを右下の角(x=max, y=max)に合わせて、
同様に第四ミラーを調整します。
そこまで終わったら、
ヘッドをまた各ポジションに動かしてみて、
ズレがあるようなら適宜該当するミラーを微調整します。
6. Pointer Adjustments
ターゲット部品を取り外し、
ターゲット部品がついていた部分にマスキングテープを、
光の通り道を塞ぐように貼ります。
ヘッドを左上の角(x=min, y=min)に合わせ、
機械のガラスドアを閉じた状態で
操作パネルの上矢印キーを押します。
すると、レーザーが一瞬照射され、
マスキングテープに穴があきます。
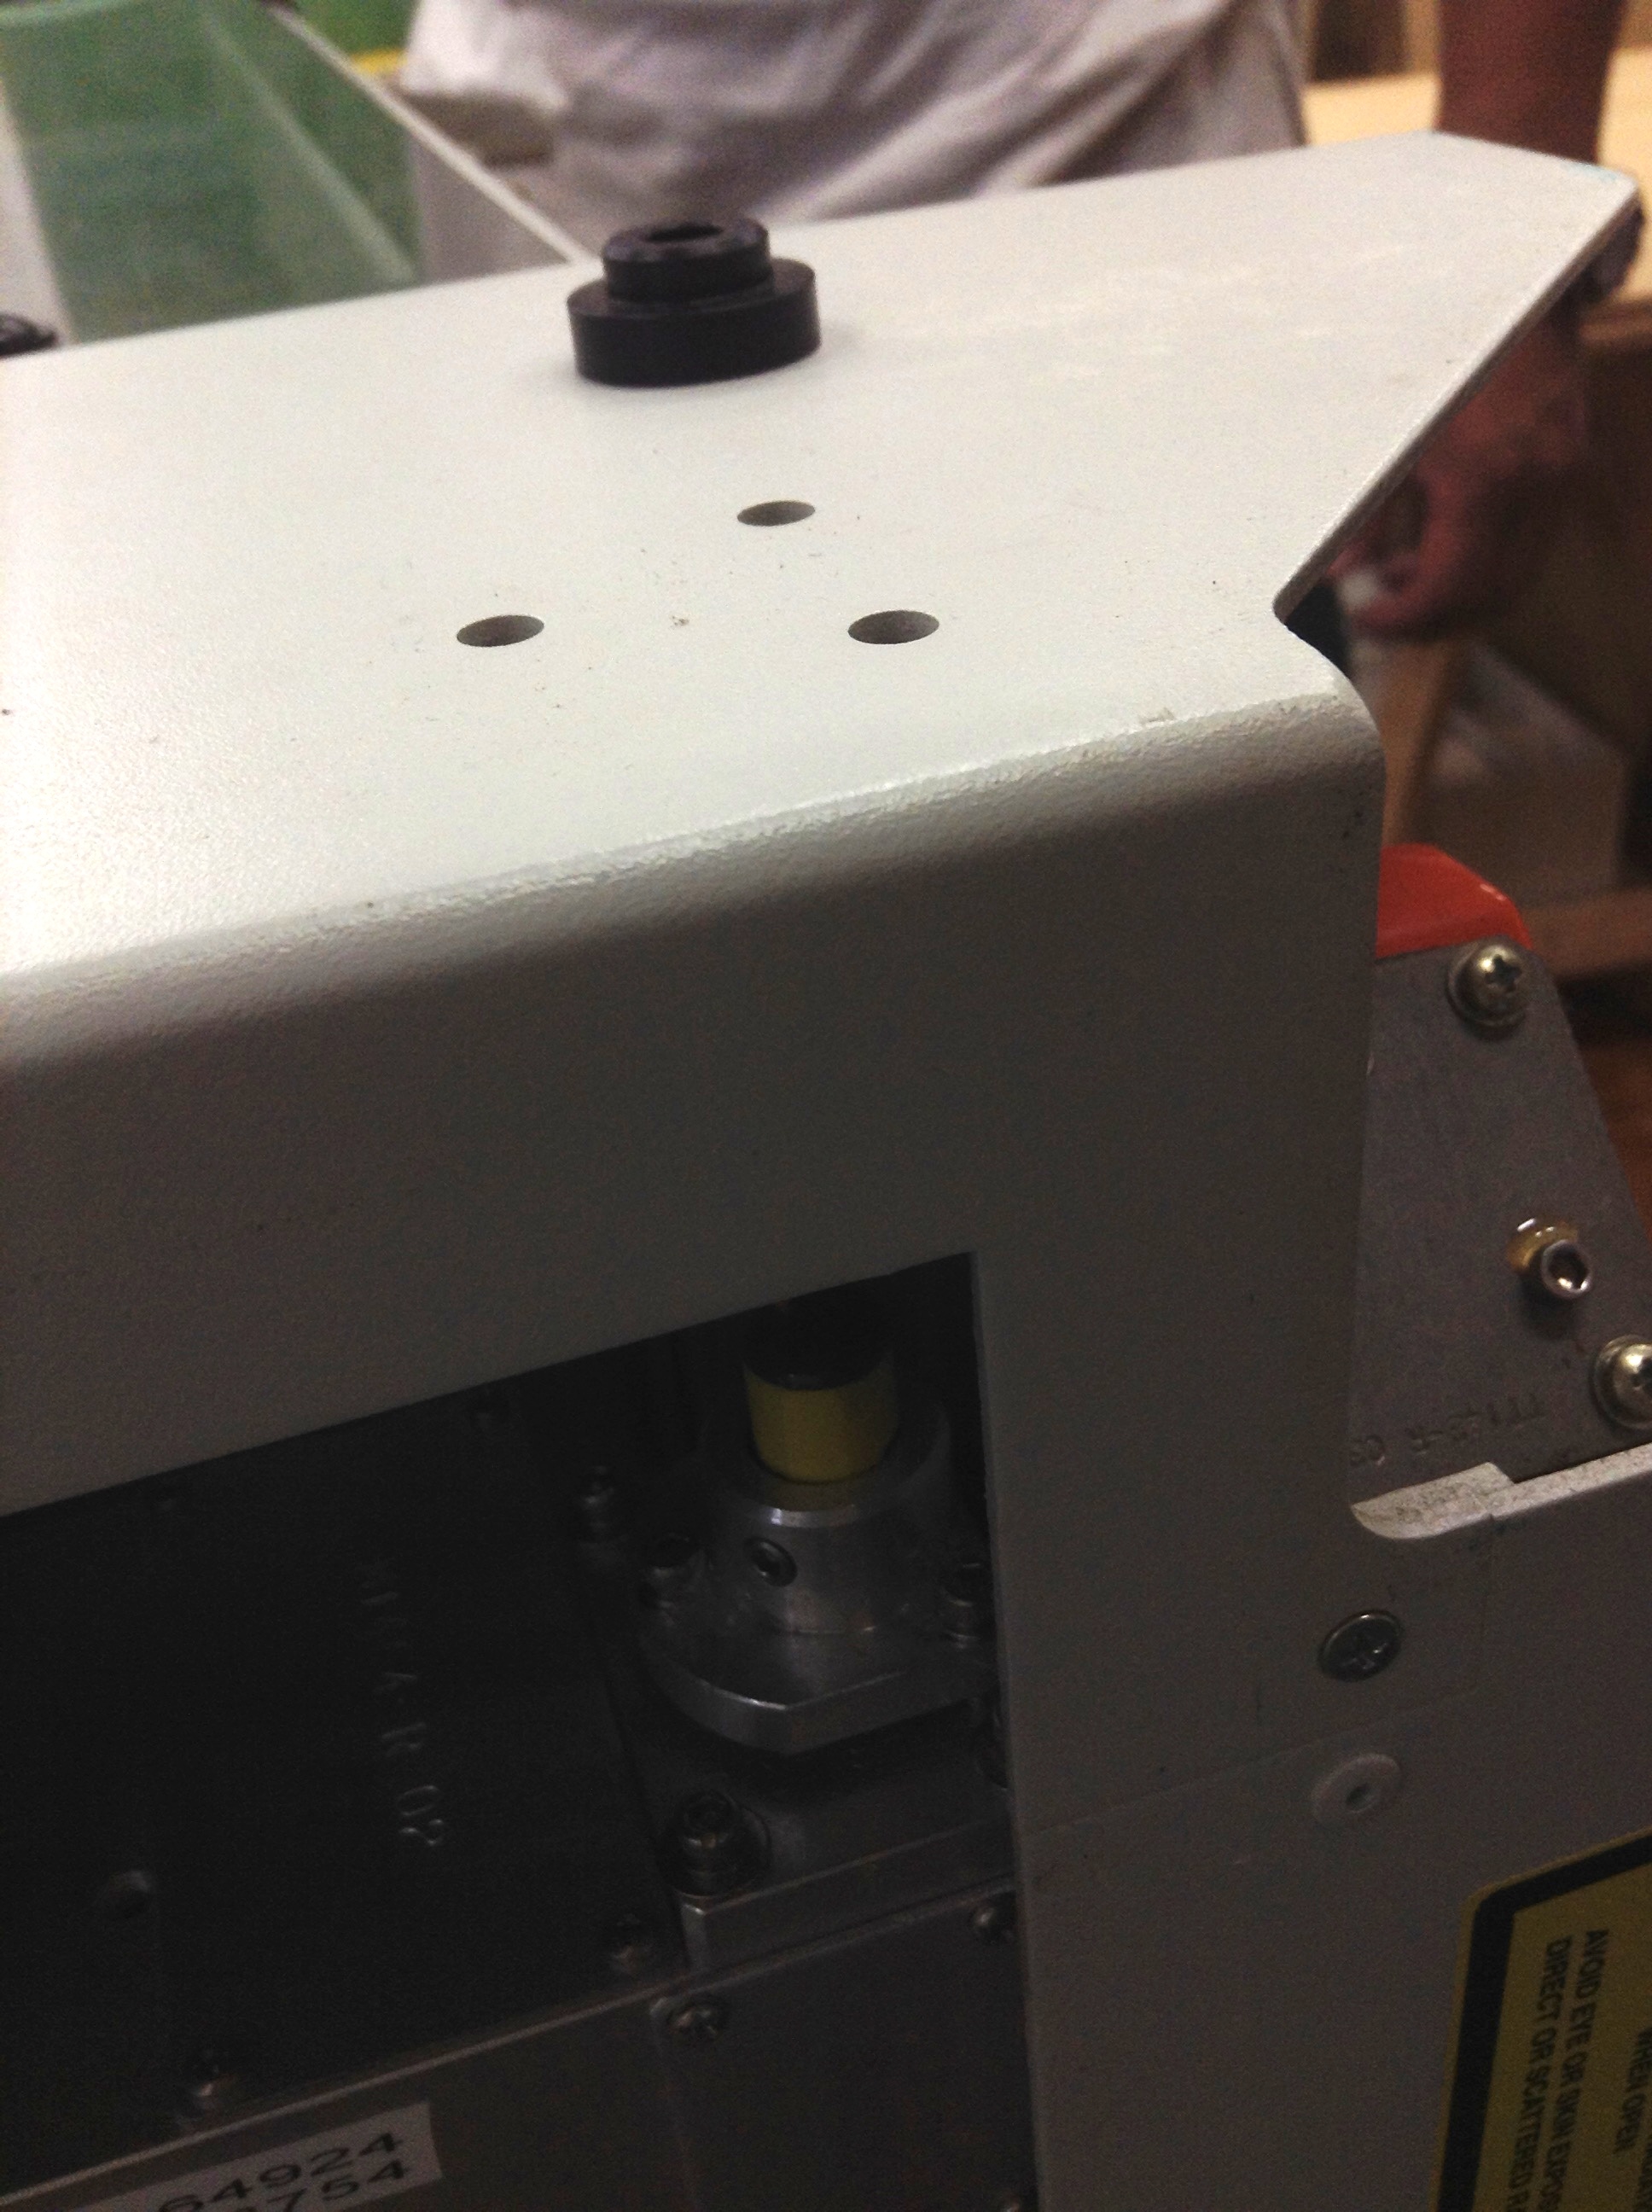
レーザーがあけた穴と赤いポインターがずれている場合は、
機械上面奥にあいている穴からドライバーを差し込み、
ミラーと同じ要領でポインターの位置を調整します。
7. Finish
機械を元の状態に戻して完了です。
外した外装を元通り取り付け、
機械の主電源を入れなおせば、
あとは通常通りにレーザーカッターを使えます。
日々のメンテナンスを忘れずに。