Prerequisites
You need to have polycam app installed in your phone.
We used iPhone 13 as the primary device for scanning. Other than that as equipment, we used masking tape, a Vernier calliper and a scissor.
We used iPhone 13 as the primary device for scanning. Other than that as equipment, we used masking tape, a Vernier calliper and a scissor.
About app
We were thinking about buying a cheap 3D scanner because industrial-level scanners are expensive. But while doing a small research we realized that we could get the same results close to the budget scanner by using Polycam app. It provides lots of features but we used only the free version
Free version is enough?
Yes, it works great but has only a limited number of scans but it gave us good results. Reading this would stop you from wasting a free attempt : ))
Method of scanning
The 3D model is created using images captured of the object. We can take up to 150 photos, so it's important to ensure that all surfaces of the model are covered within that limit. The method we used involved slowly rotating the phone around the object while the app automatically took the photos.
Conditions you should maintain
1. The object should be lighted well and evenly.
2. It should be in a position where you can get a clear view from every angle.
3, Should stay steady while capturing the object.
4. should maintain the same light condition throughout the scanning process.
Objectives
We got a project from our senior to make him a side mirror for his car which is a Honda Civic ES8. Due to an accident, the right side mirror of the car was broken. So we are trying to make a new cover for the mirror using 3d printing at a much lower cost.
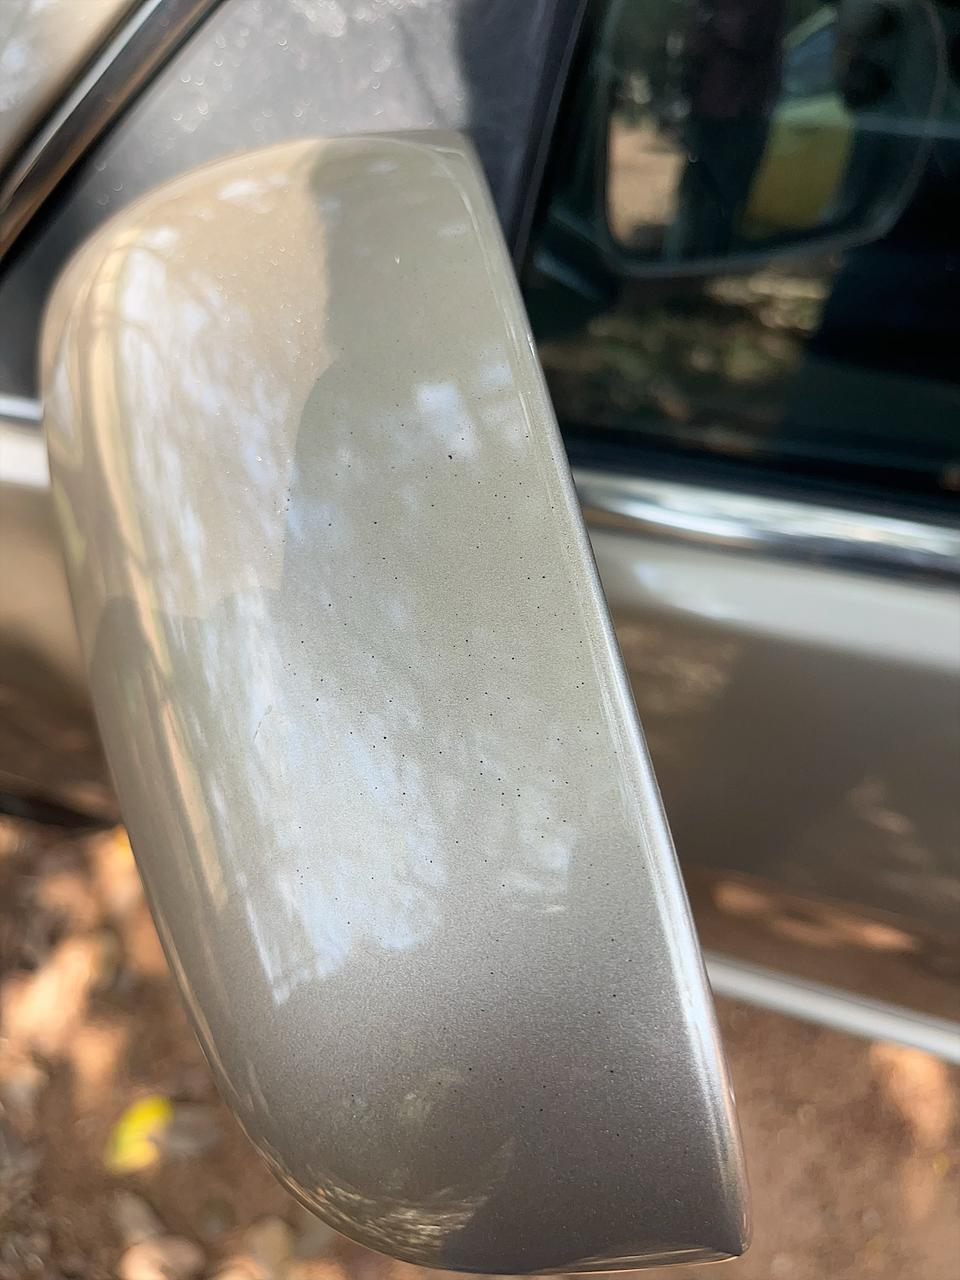
Right mirror
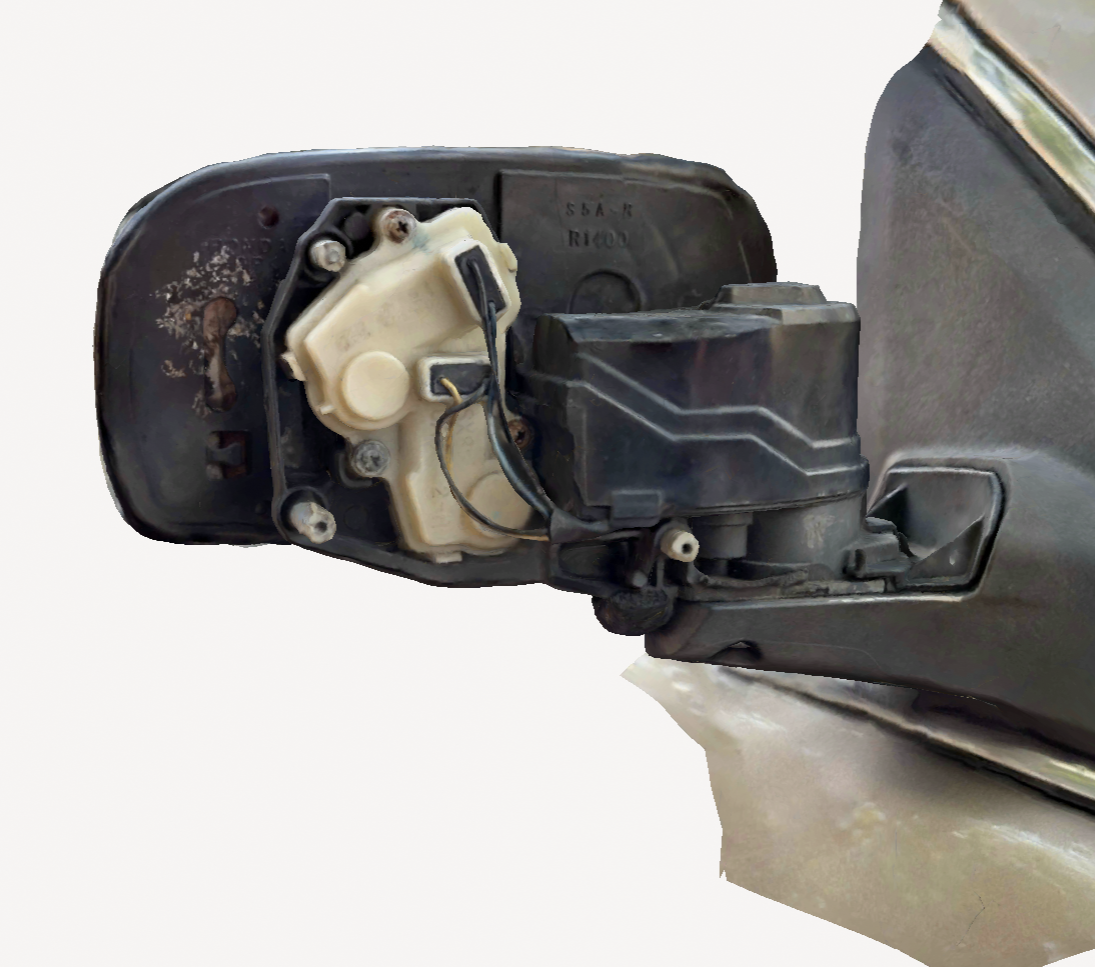
So this is the mirror and it has no cover, we scanned it to take the possitions of the screws.
Solution
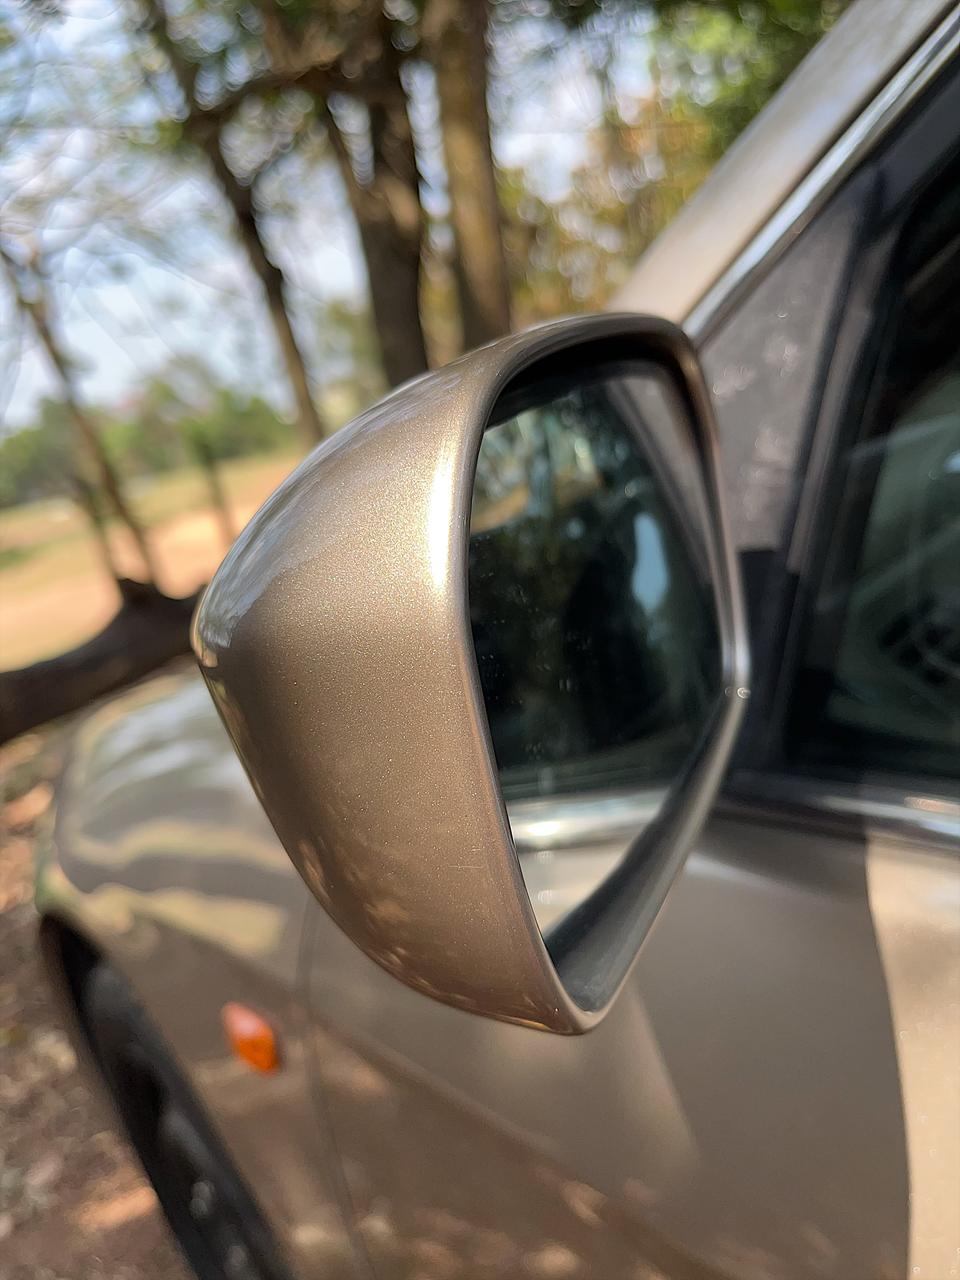
We are trying to take a scan of the Left mirror so that we can flip it to make broken one. But this is where we got in to trouble.
1st attempt
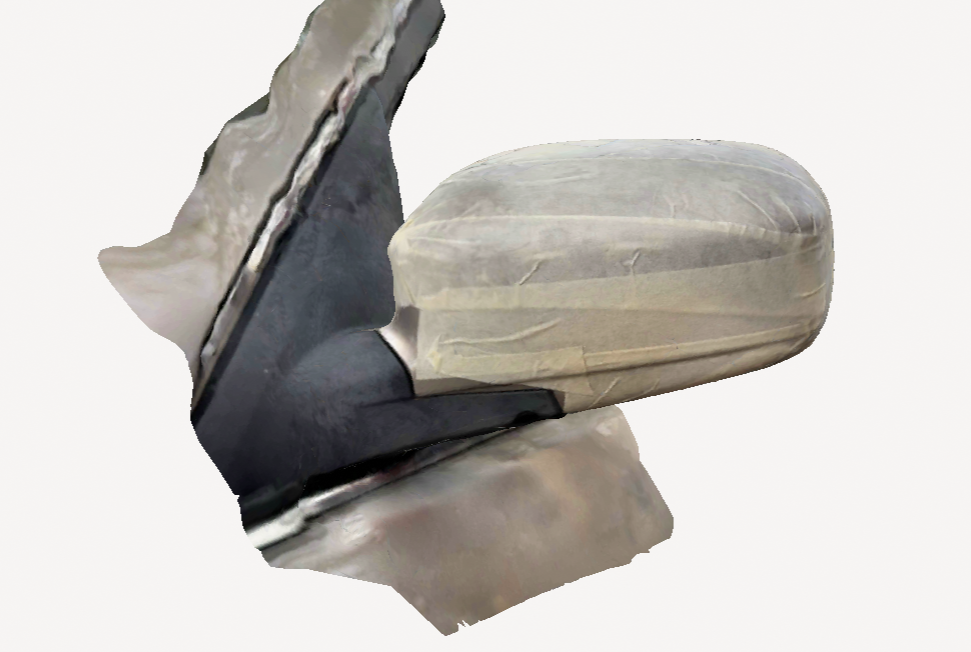
Outcome
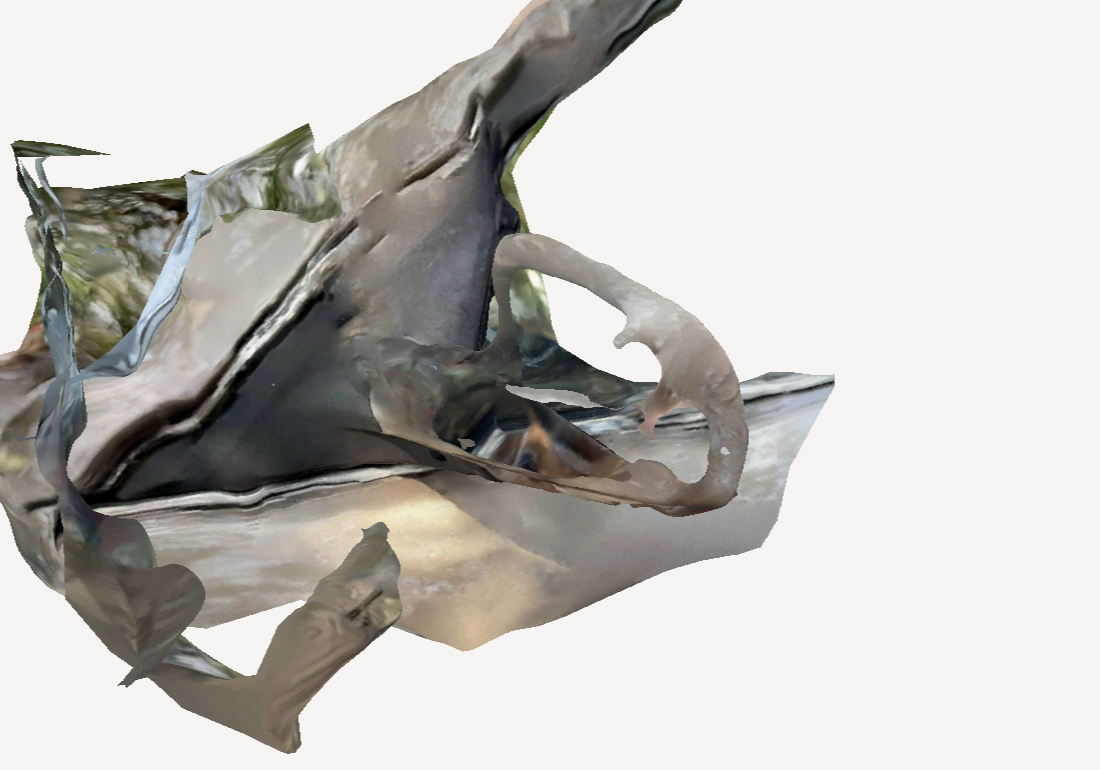
We endedup with an incomplete scan after processing the photos. And the we tryed to troubleshoot it. You can see how the outcome was by looking at the photo, futher you can view the scanned object.
Problem Identification
We need to know that because of the reflection of the glossy surface, the object may not look the same in every photo taken during the scanning process, and therefore, it may not be able to generate the object. So we need to avoid the reflection.
Potential Solutions
We found out there are a few ways to avoid this.
1. Applying a spray paint to the surface
2. Using a chalk spray (need to wash after scanning )
2. Using a chalk spray (need to wash after scanning )
3. There are available sprays that are specially used for 3d scanning and they evaporate after some time(Expensive)
4. Using masking tape.
Our approach and reason
We decided to go with the masking tape option since it is easily accessible and affordable.
Had a doubt of using it.
But the results were stunning.
But the results were stunning.
2nd Attempt

Was successfull because of the masking tape method.
Outcome
We did the scanning process again after applying the masking tape and it was very successful.
Scan:
Scan:
Scaling
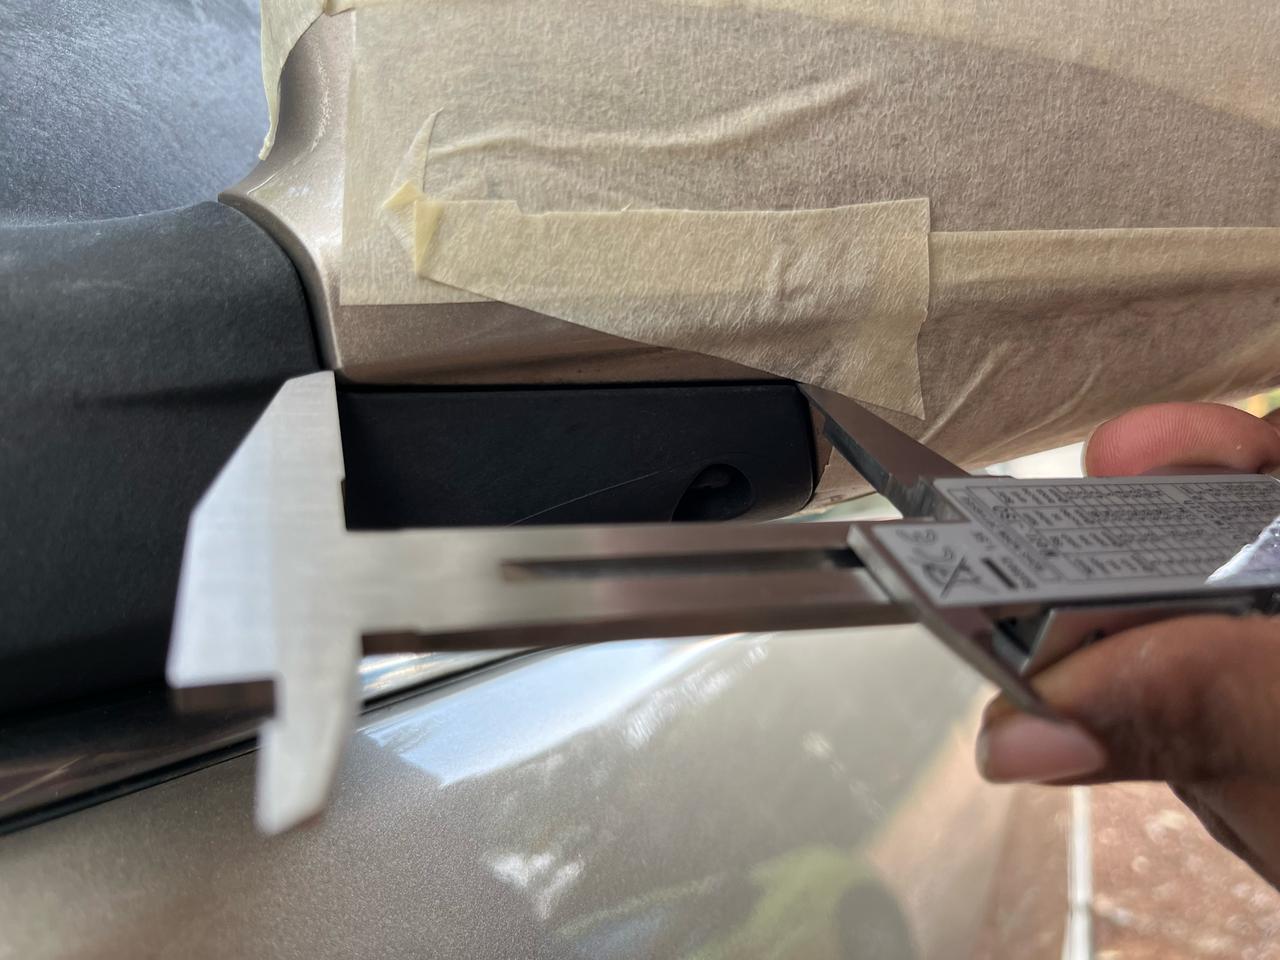

To scale the mirror correctly after scanning we took a few measurements with a vernier calliper.
Steps Forward
The scanned model should be tweaked further using manual editing. Of course, we need to smoothen the surfaces since we used masking tape. But still this is a very cheap but effective method to get a 3d scan.
Remarks
This project shares my experience. I'm not a professional 3D scanner yet, but I aim to share knowledge and raise awareness of this project is dedicated to sharing my personal experiences with 3D scanning technology. My goal is to provide valuable insights based on what I have learned so far.