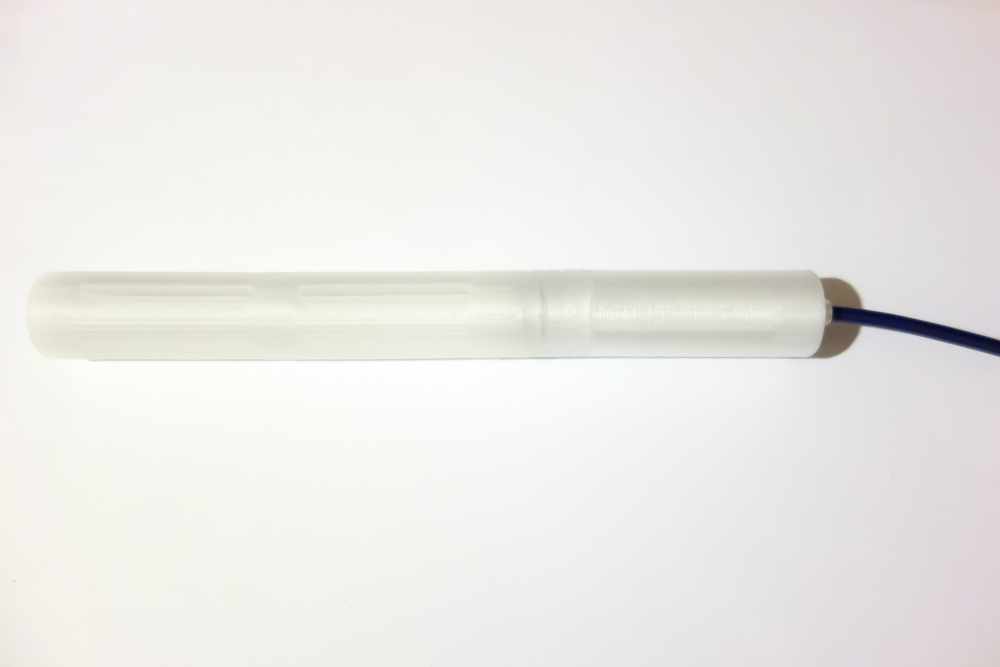
Print Parts

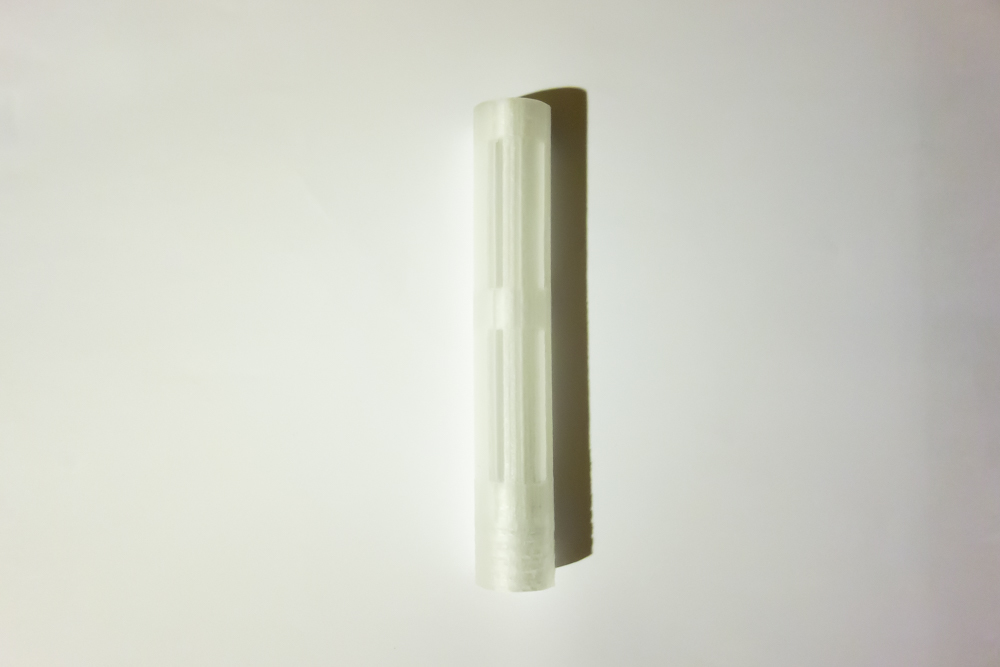
download the model data from project's website,
and print the parts (tube_part, bottom_part, cable_stopper(s)).PLA, Standard Quality or higher is recommended.
Get Parts
get parts from market or your toolbox.
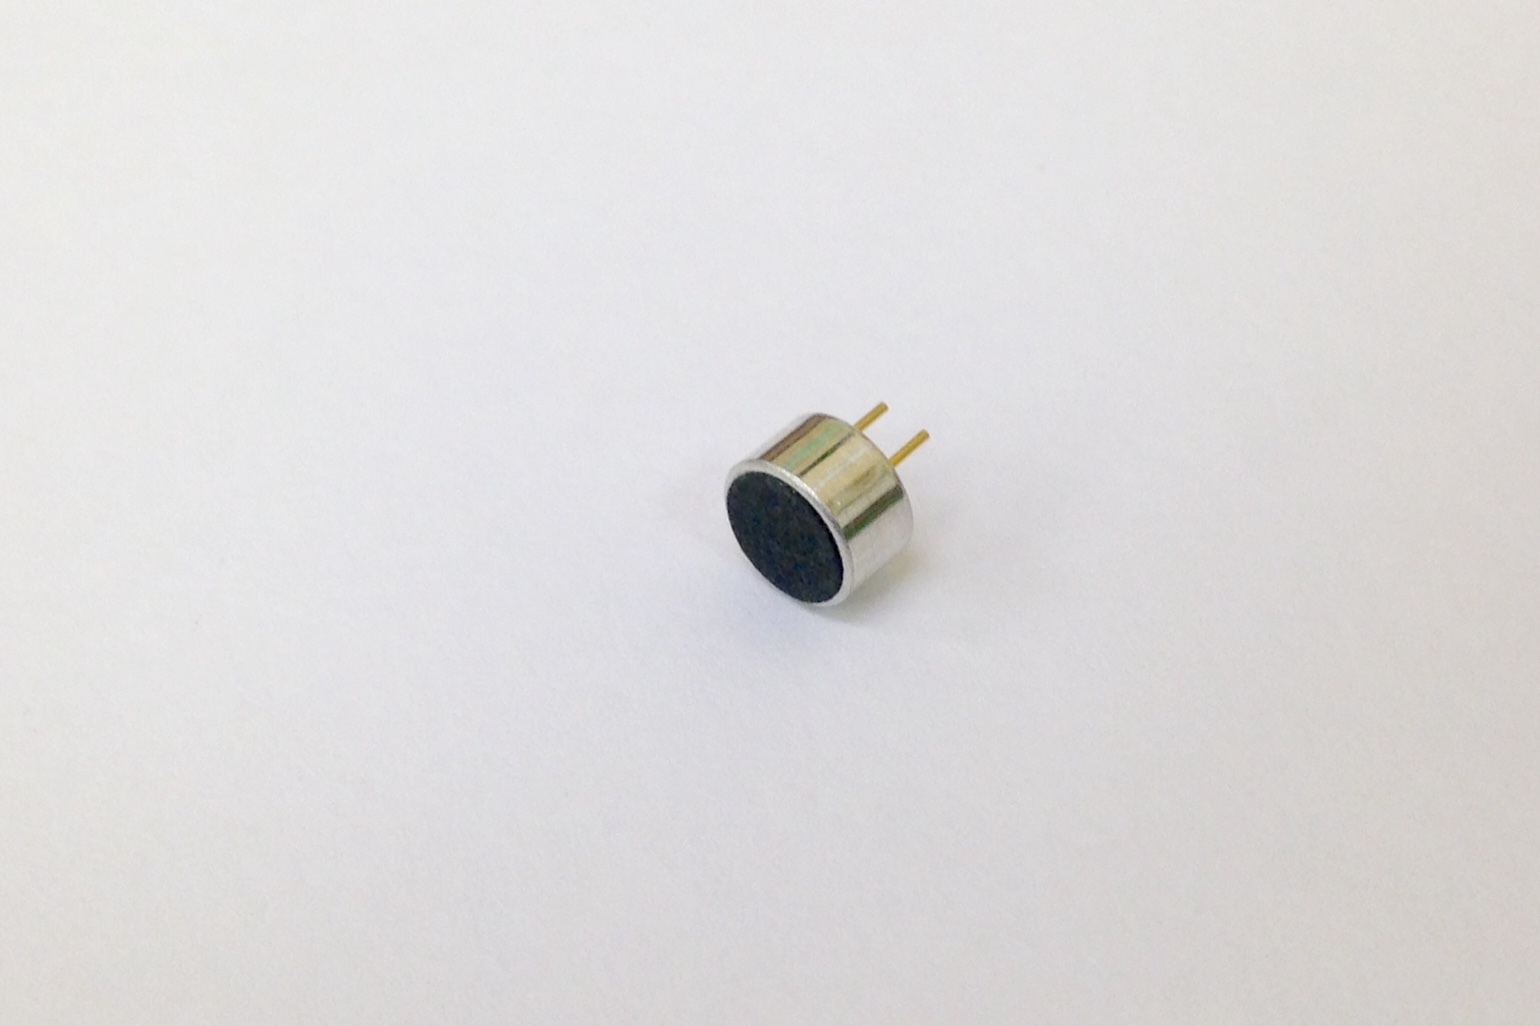
- Microphone Capsule
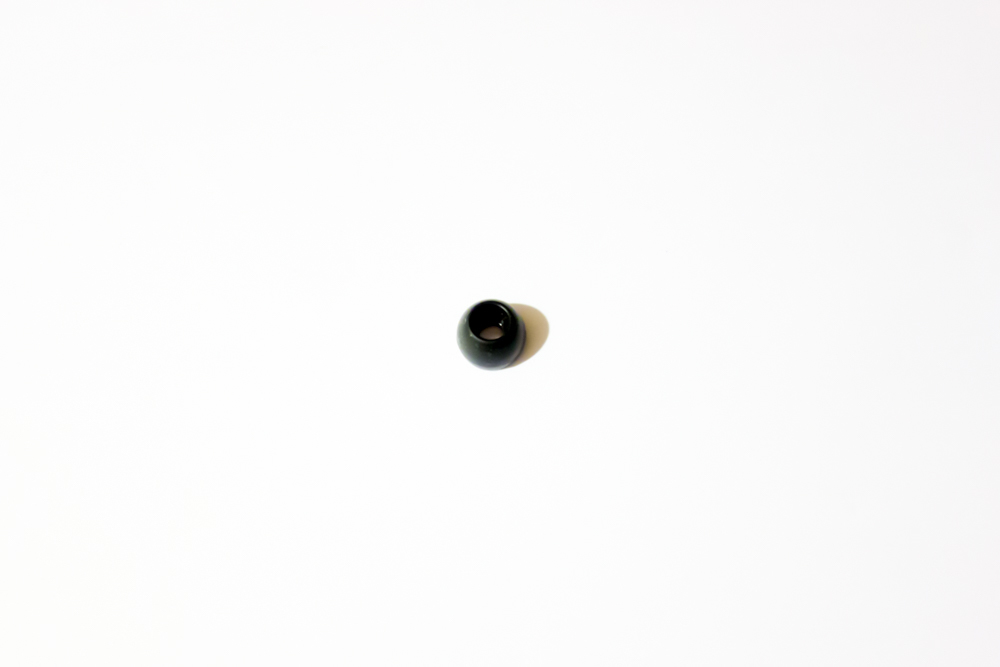
- Ear chip
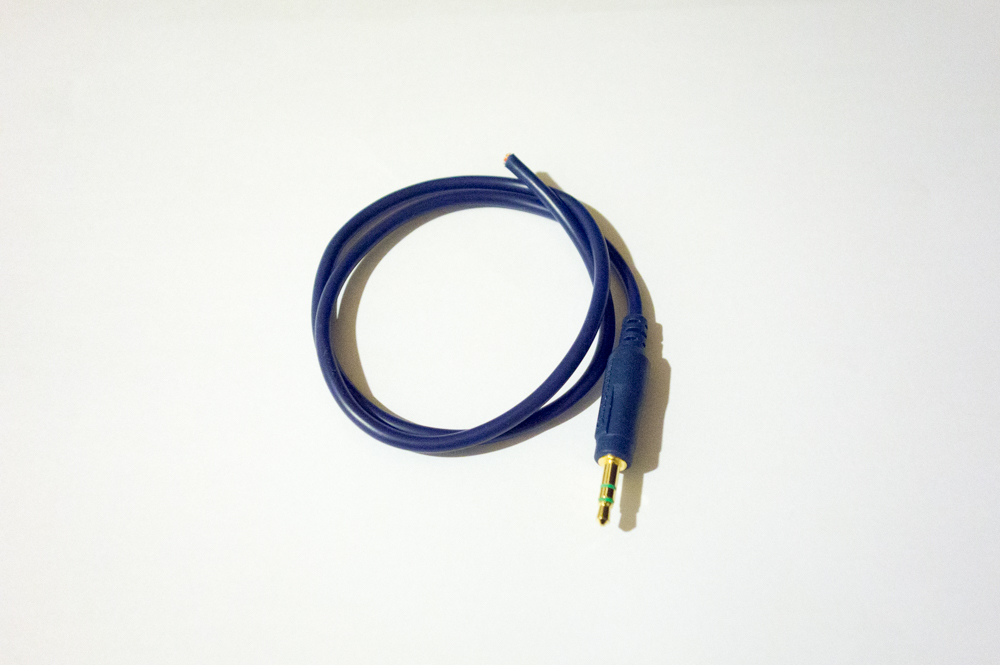
- Cable
Microphone Capsule
It is designed for 6mm diameter microphone capsule.
In this instruction, SPL XCM6035 (WM61A compatible) is used.
Ear chip
Regular size is recommended.
This works as an shock absorber.
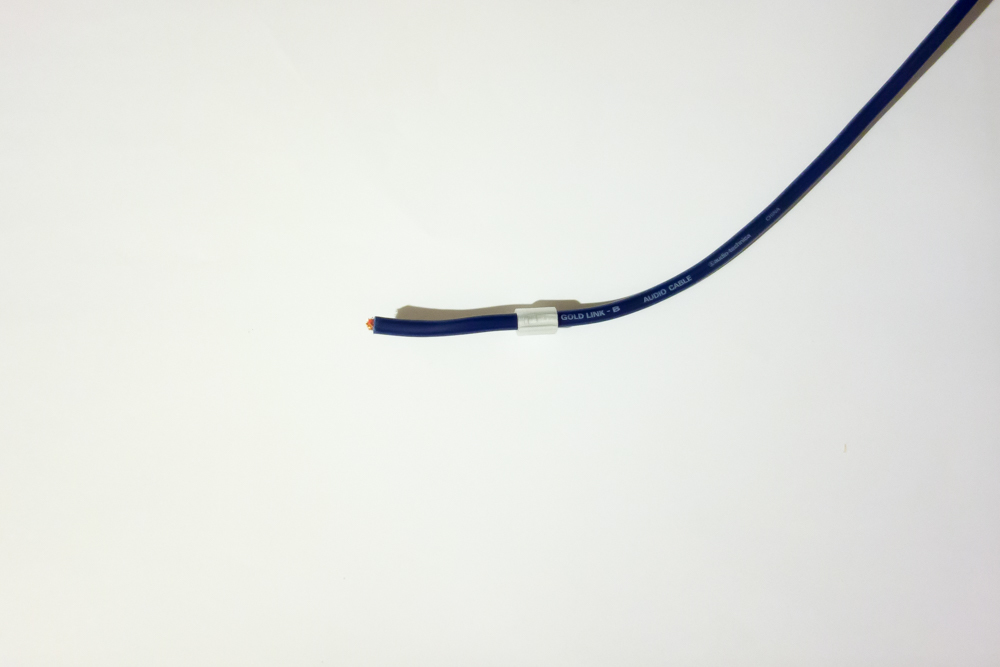
Cable
Cable type depends on your project.
In this instruction, stereo cable is used, for plug-in powered input.
Set Cable, Bottom Part and Cable Stopper
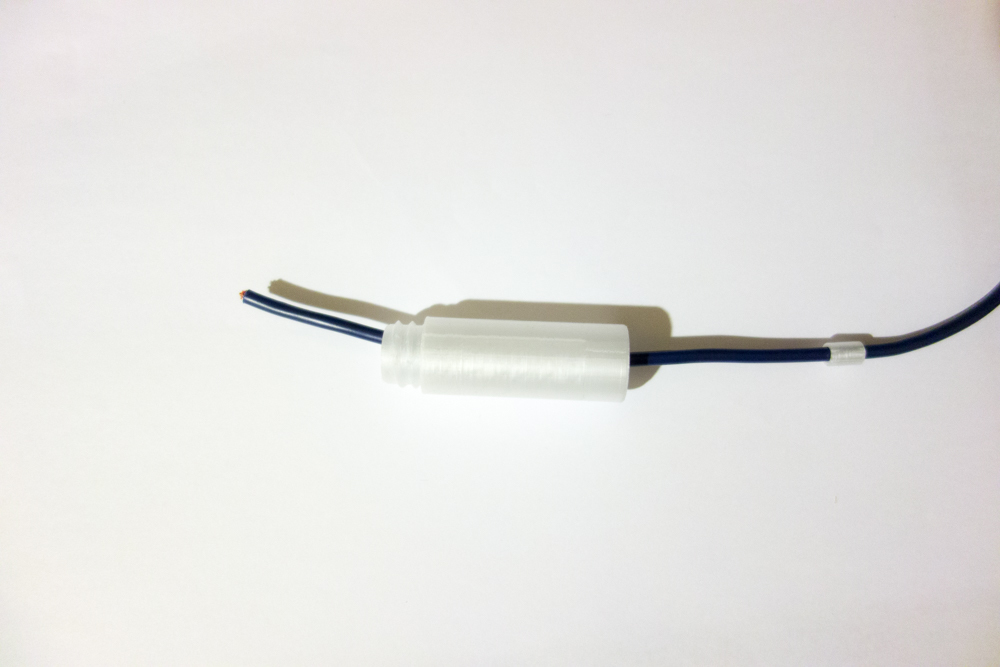
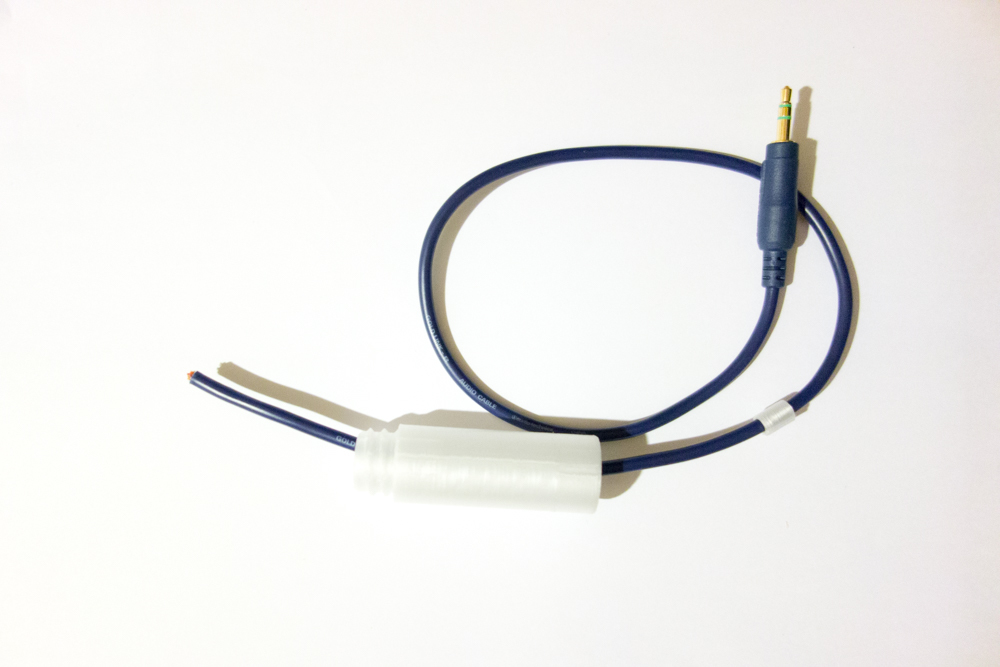
Put the cable through cable stopper at the first, then the bottom part.
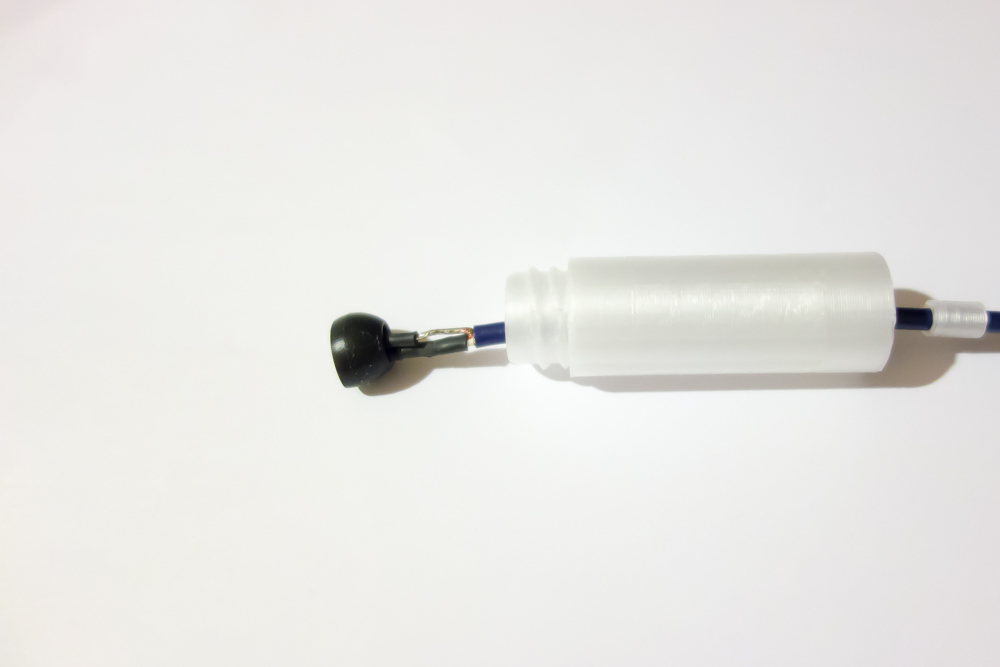
Solder Microphone Capsule


solder the microphone capsule and the cable.
if you want see the diagram for plug-in power microphone, you can search with "plug-in power circuit diagram" and so on.
bottom part has some space inside, so that you can assemble capacitor and register as you like.
Set Earchip and Cable Stopper

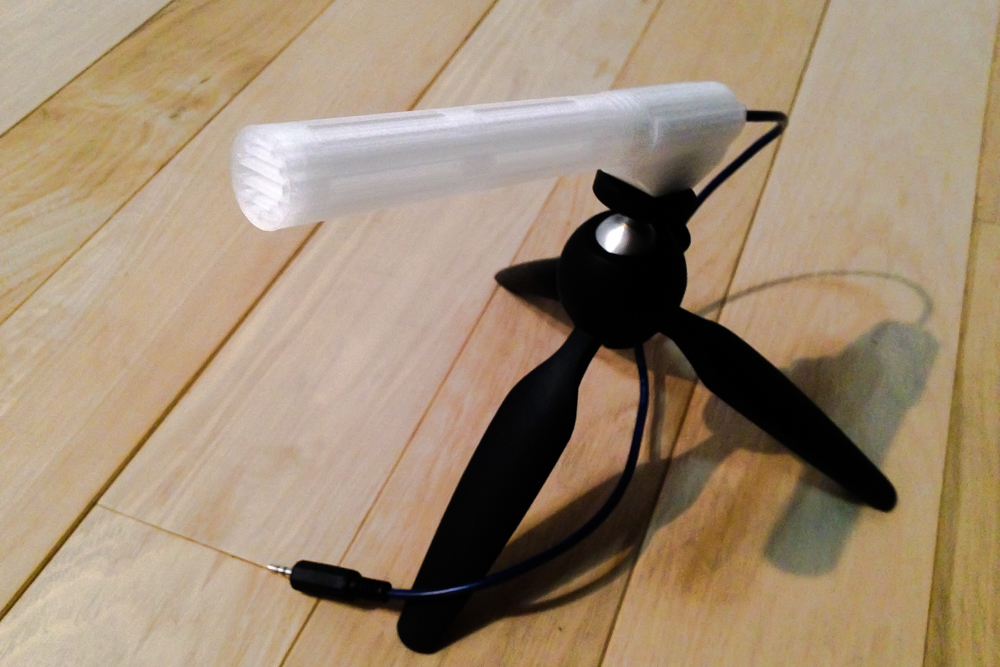
Connect Tube Part and Bottom Part
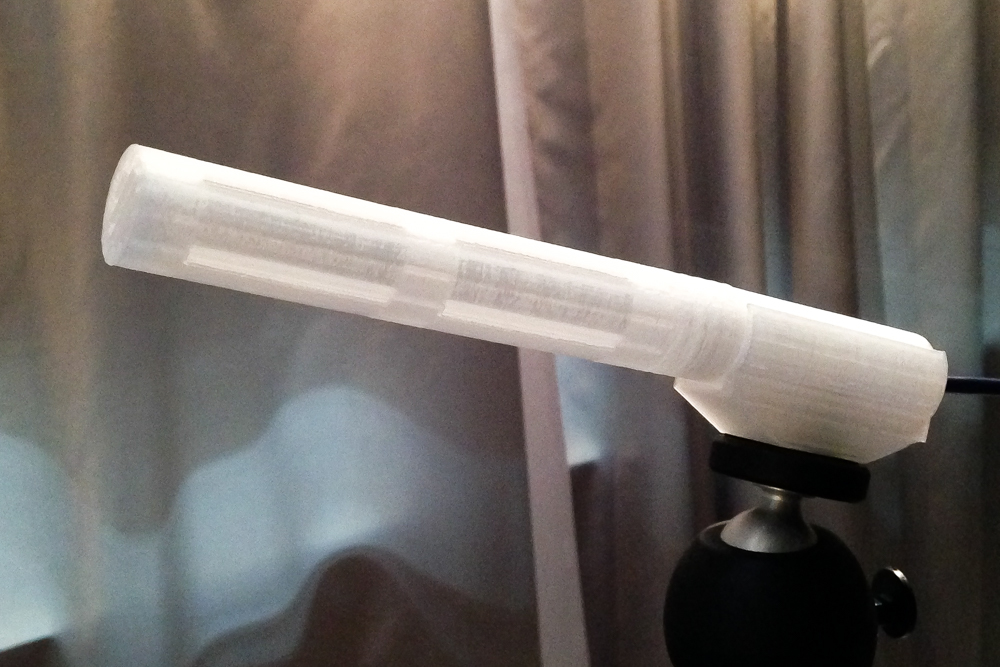
screw the bottom part onto the tube part.
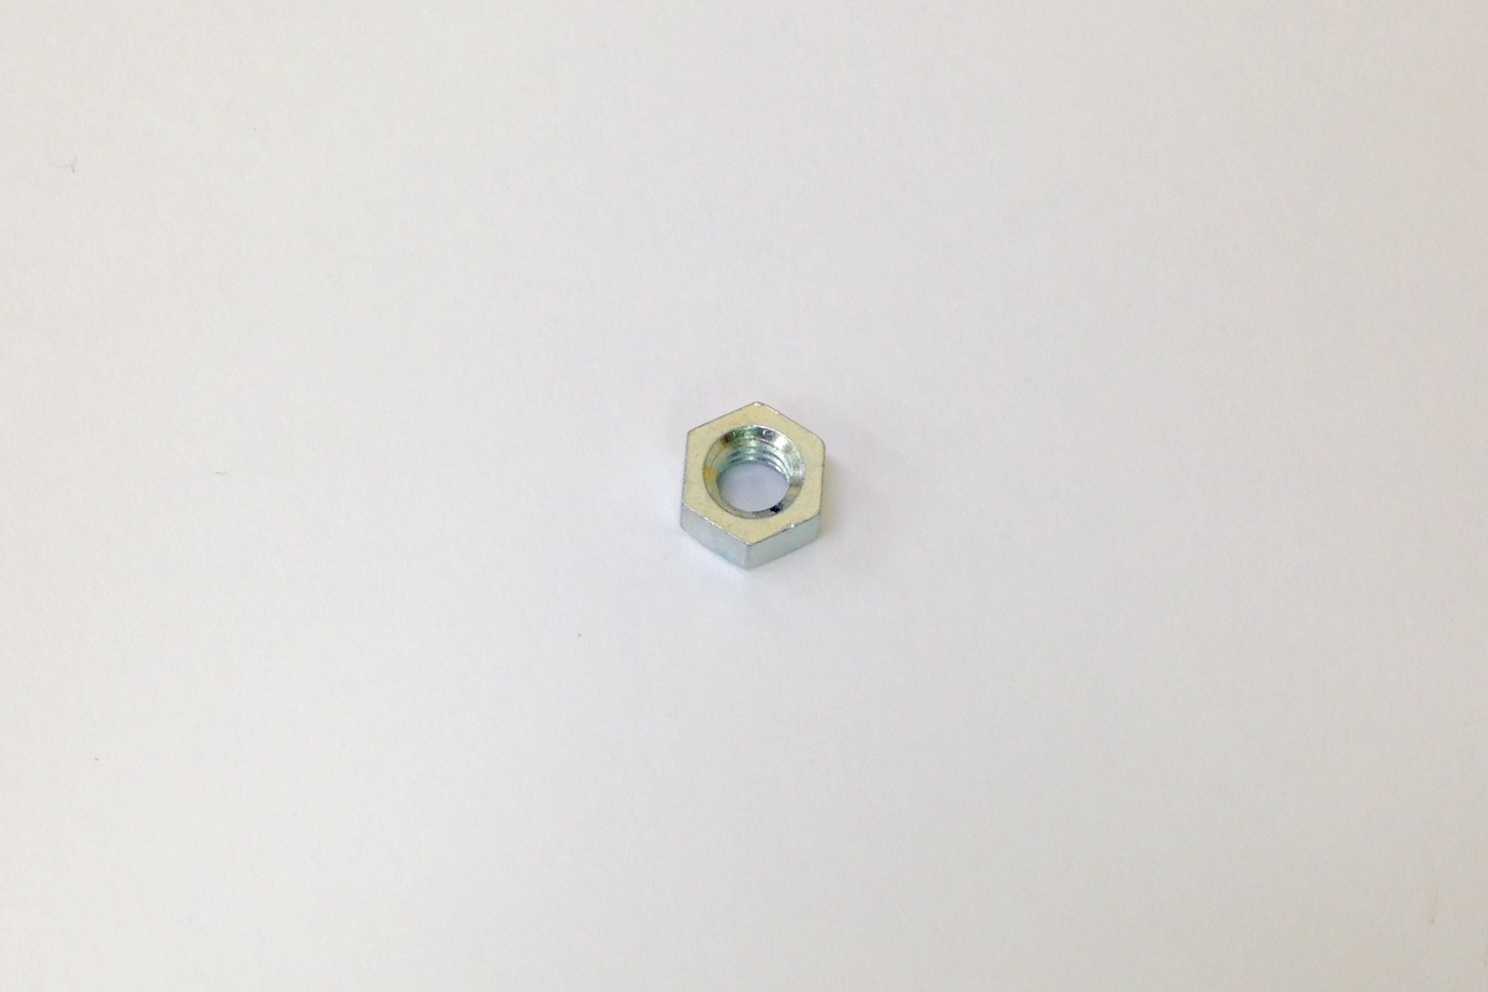
you can make microphone holder (w/ 1/4 inch nut) to attach the microphone on tripod.
the model data of the holder is also available on project's website.
FINISHED!!
TRY RECORDING!
and let us know your use case and arrangement!