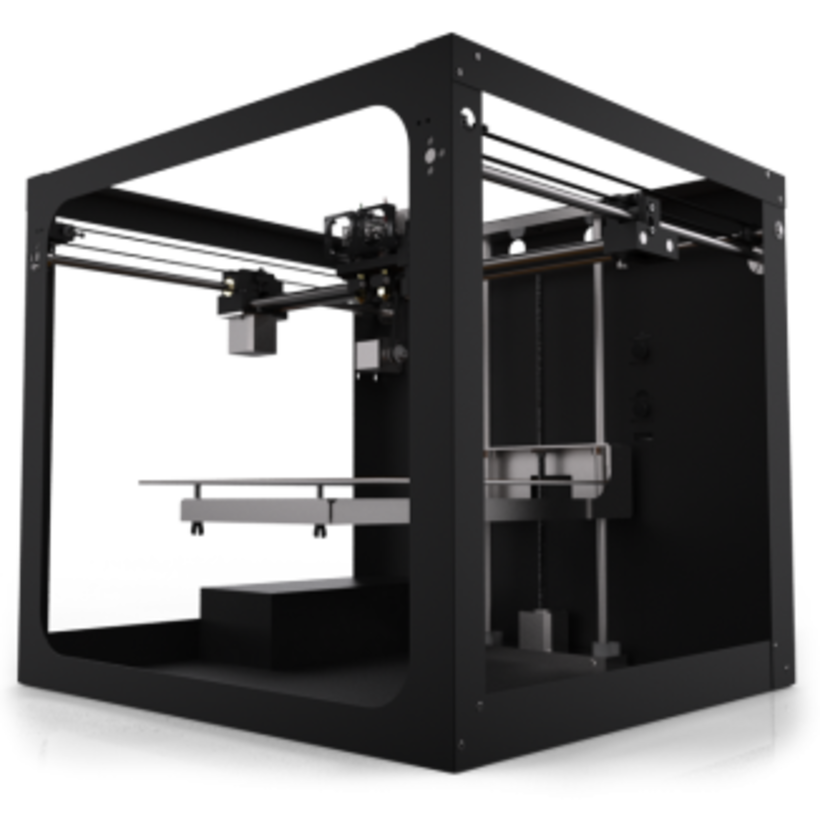
12時間以上格闘している!
キレそ〜〜〜〜
まずは面の平行を取ることが大事。
4つの蝶ナットとボルトは、すこしねじったくらいではあまり変わらない。
結構しっかりと締めて調整しよう。
手前と奥の2列ずつが対応しているイメージだと感じた。
その次、どうしても地面にめり込み続けてしまった。
FirstLayerWidthとか諸々調べて別のページにまとめた。
最終的に一番大きな問題だったのは、
Z軸位置調整の治具がふにゃふにゃだったことっぽい。
調整時にずれないようにヘッド部分と養生テープで固定したところ、
それなりにうまくいくようになった。
http://support.solidoodle.com/hc/en-us/articles/204152194-SoliTouch
SolitouchさんにZ軸調整の方法が書いてある。あともうちょい。
Z offset A Z offset must be used to tell the firmware how much lower the probe is than the tip of the nozzle when it is in the lower position. If the first layer is too high and filament is not sticking properly, the Z offset needs to be increased. If the first layer is too close and filament is either not being extruded or is being squished against the bed too much, the Z offset needs to be decreased.
M851 to edit the Z offset.
M851 view the current Z offset
M851 Z8.5 set the Z offset to 8.5mm
M500 Save current Z-offset
印刷がかすれてしまう。
フィラメント送りの問題?

