Maintenance Essentials for Laser Cutter (Epilog Helix 24)

Owner & Collaborators
License

Maintenance Essentials for Laser Cutter (Epilog Helix 24) by gakuHirota is licensed under the Creative Commons - Attribution license.
Summary
Directions of essential regular maintenances for Laser cutter .
This should be also useful if you have one that is not exactly the same type as this.
Original version in Japanese is here -> http://fabble.cc/gakuhirota/howtomaintainlasercutterepilog
(Since English is not my mother tongue, if you find any mistake about language, please just point it out GENTLY for me)
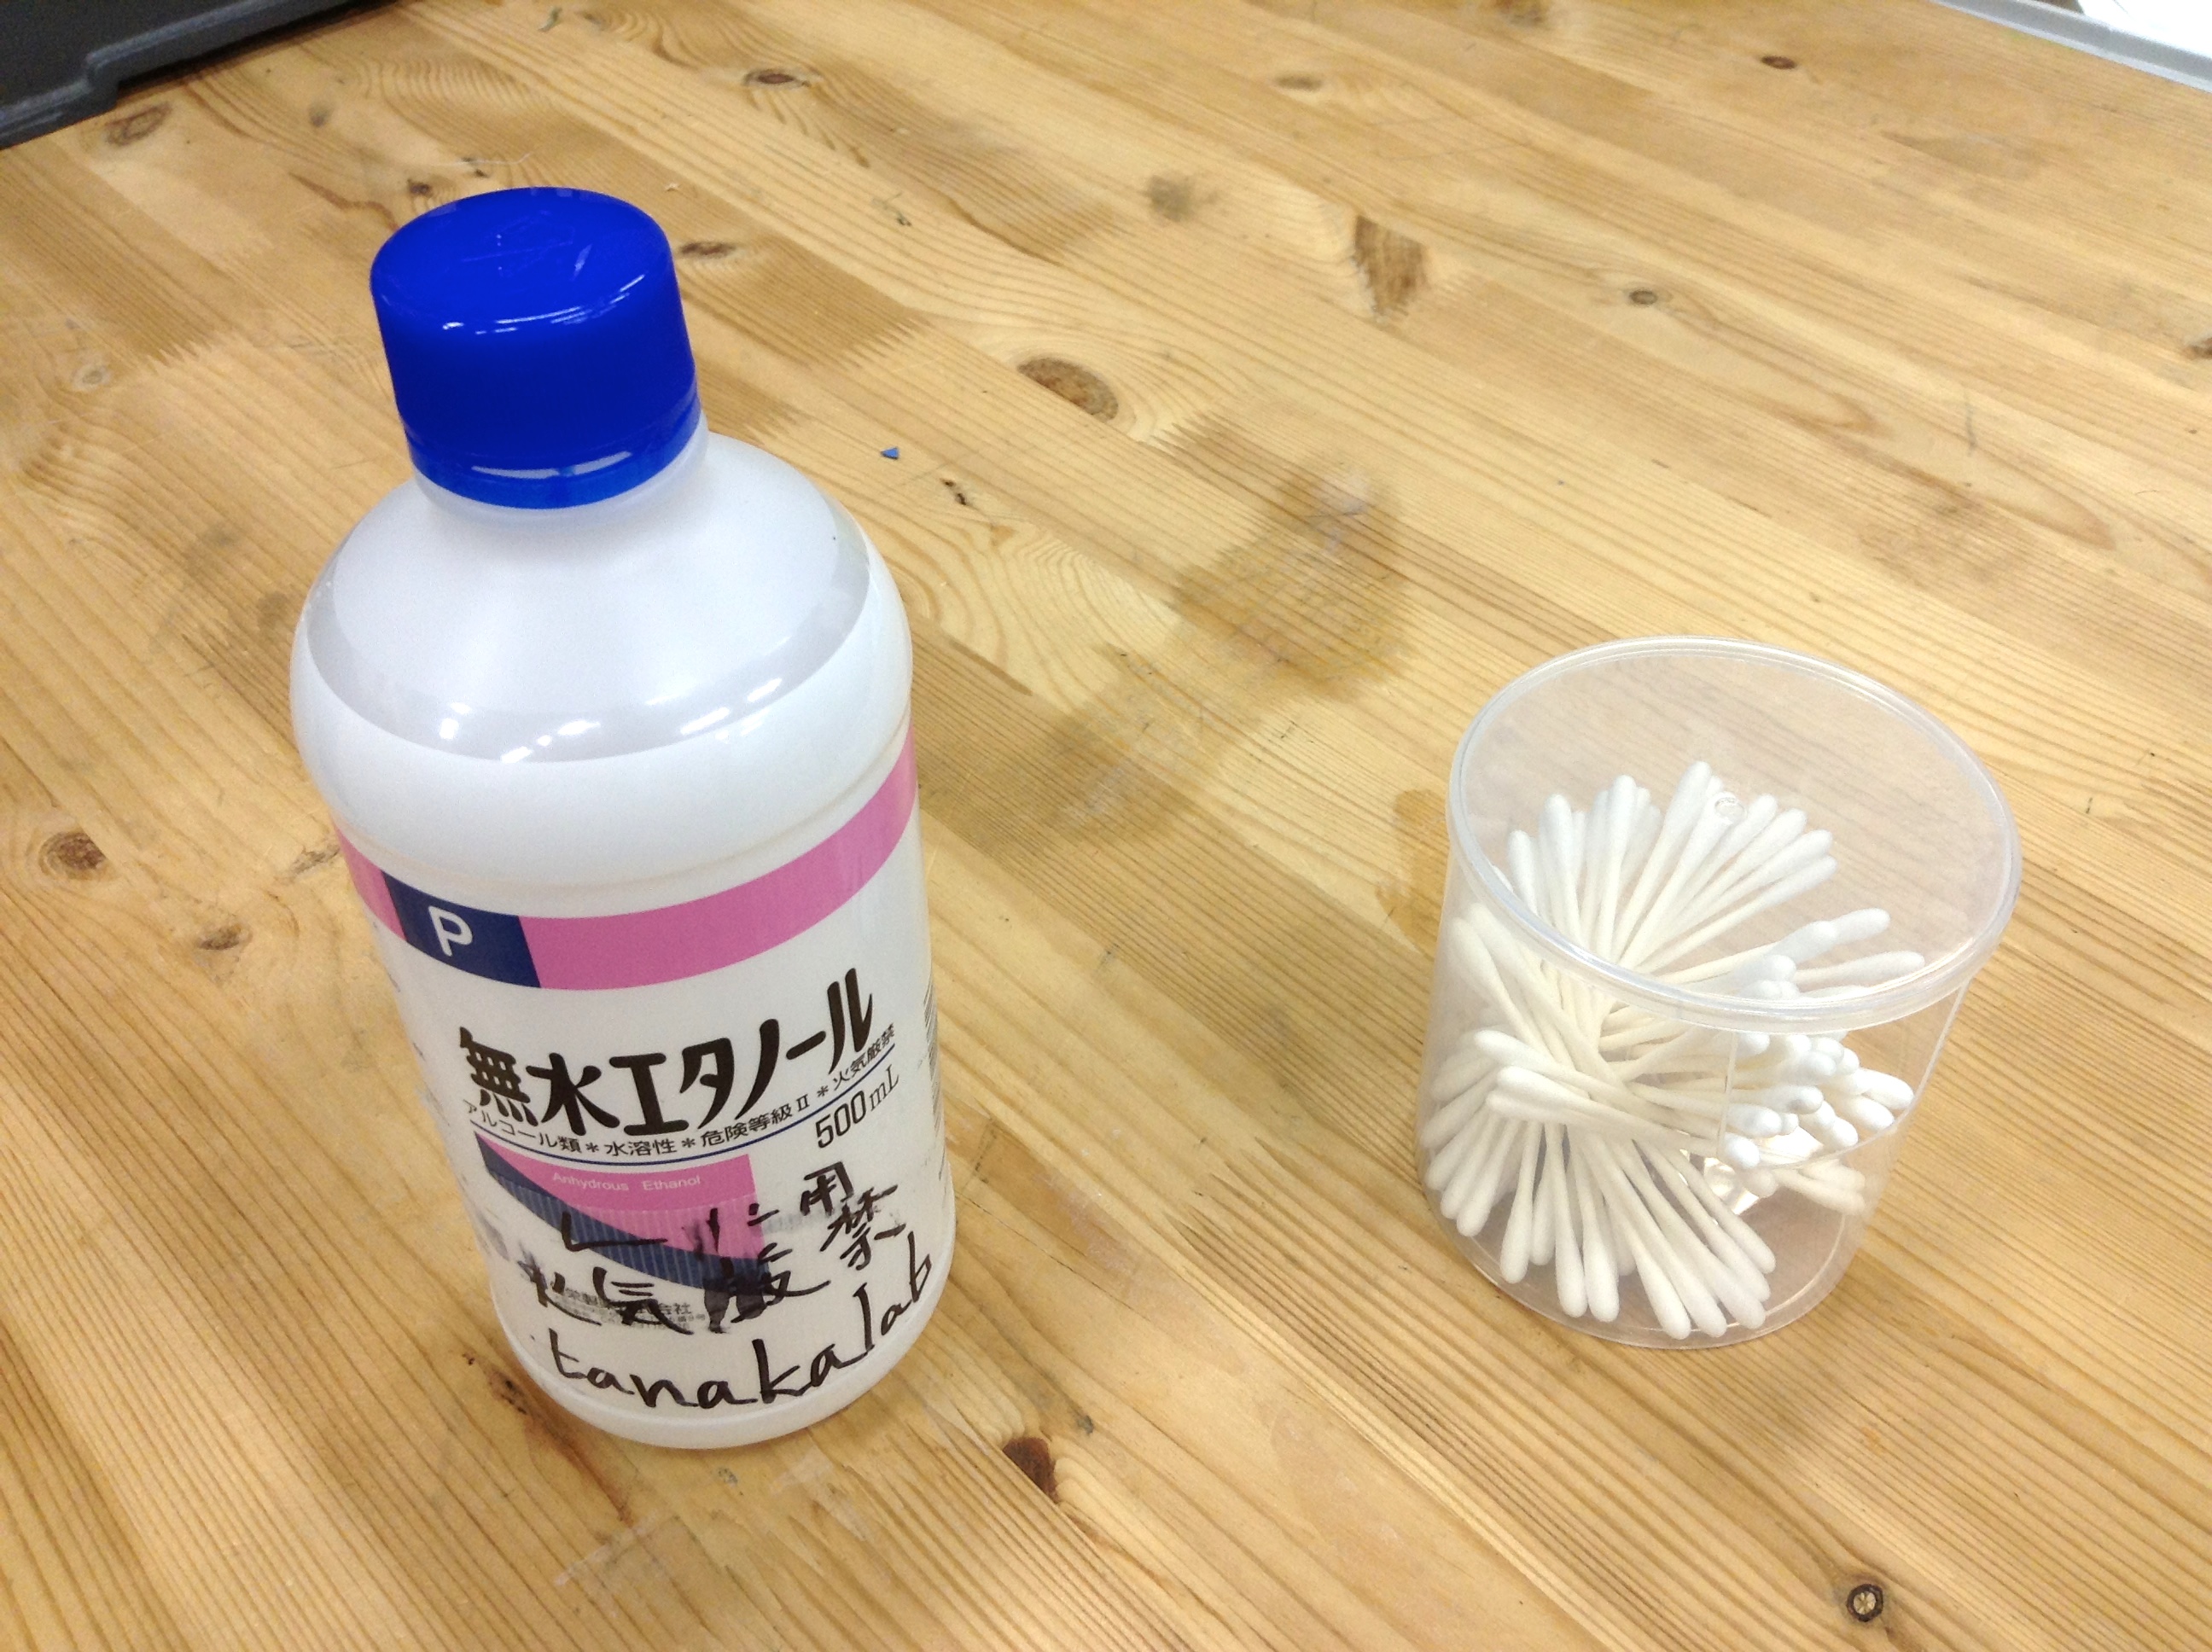
Materials
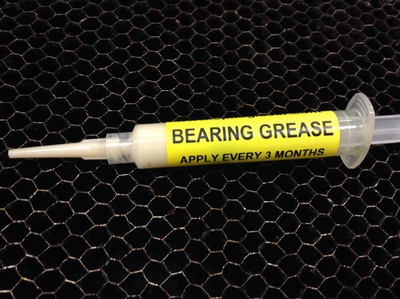
Tools
Blueprints
Making
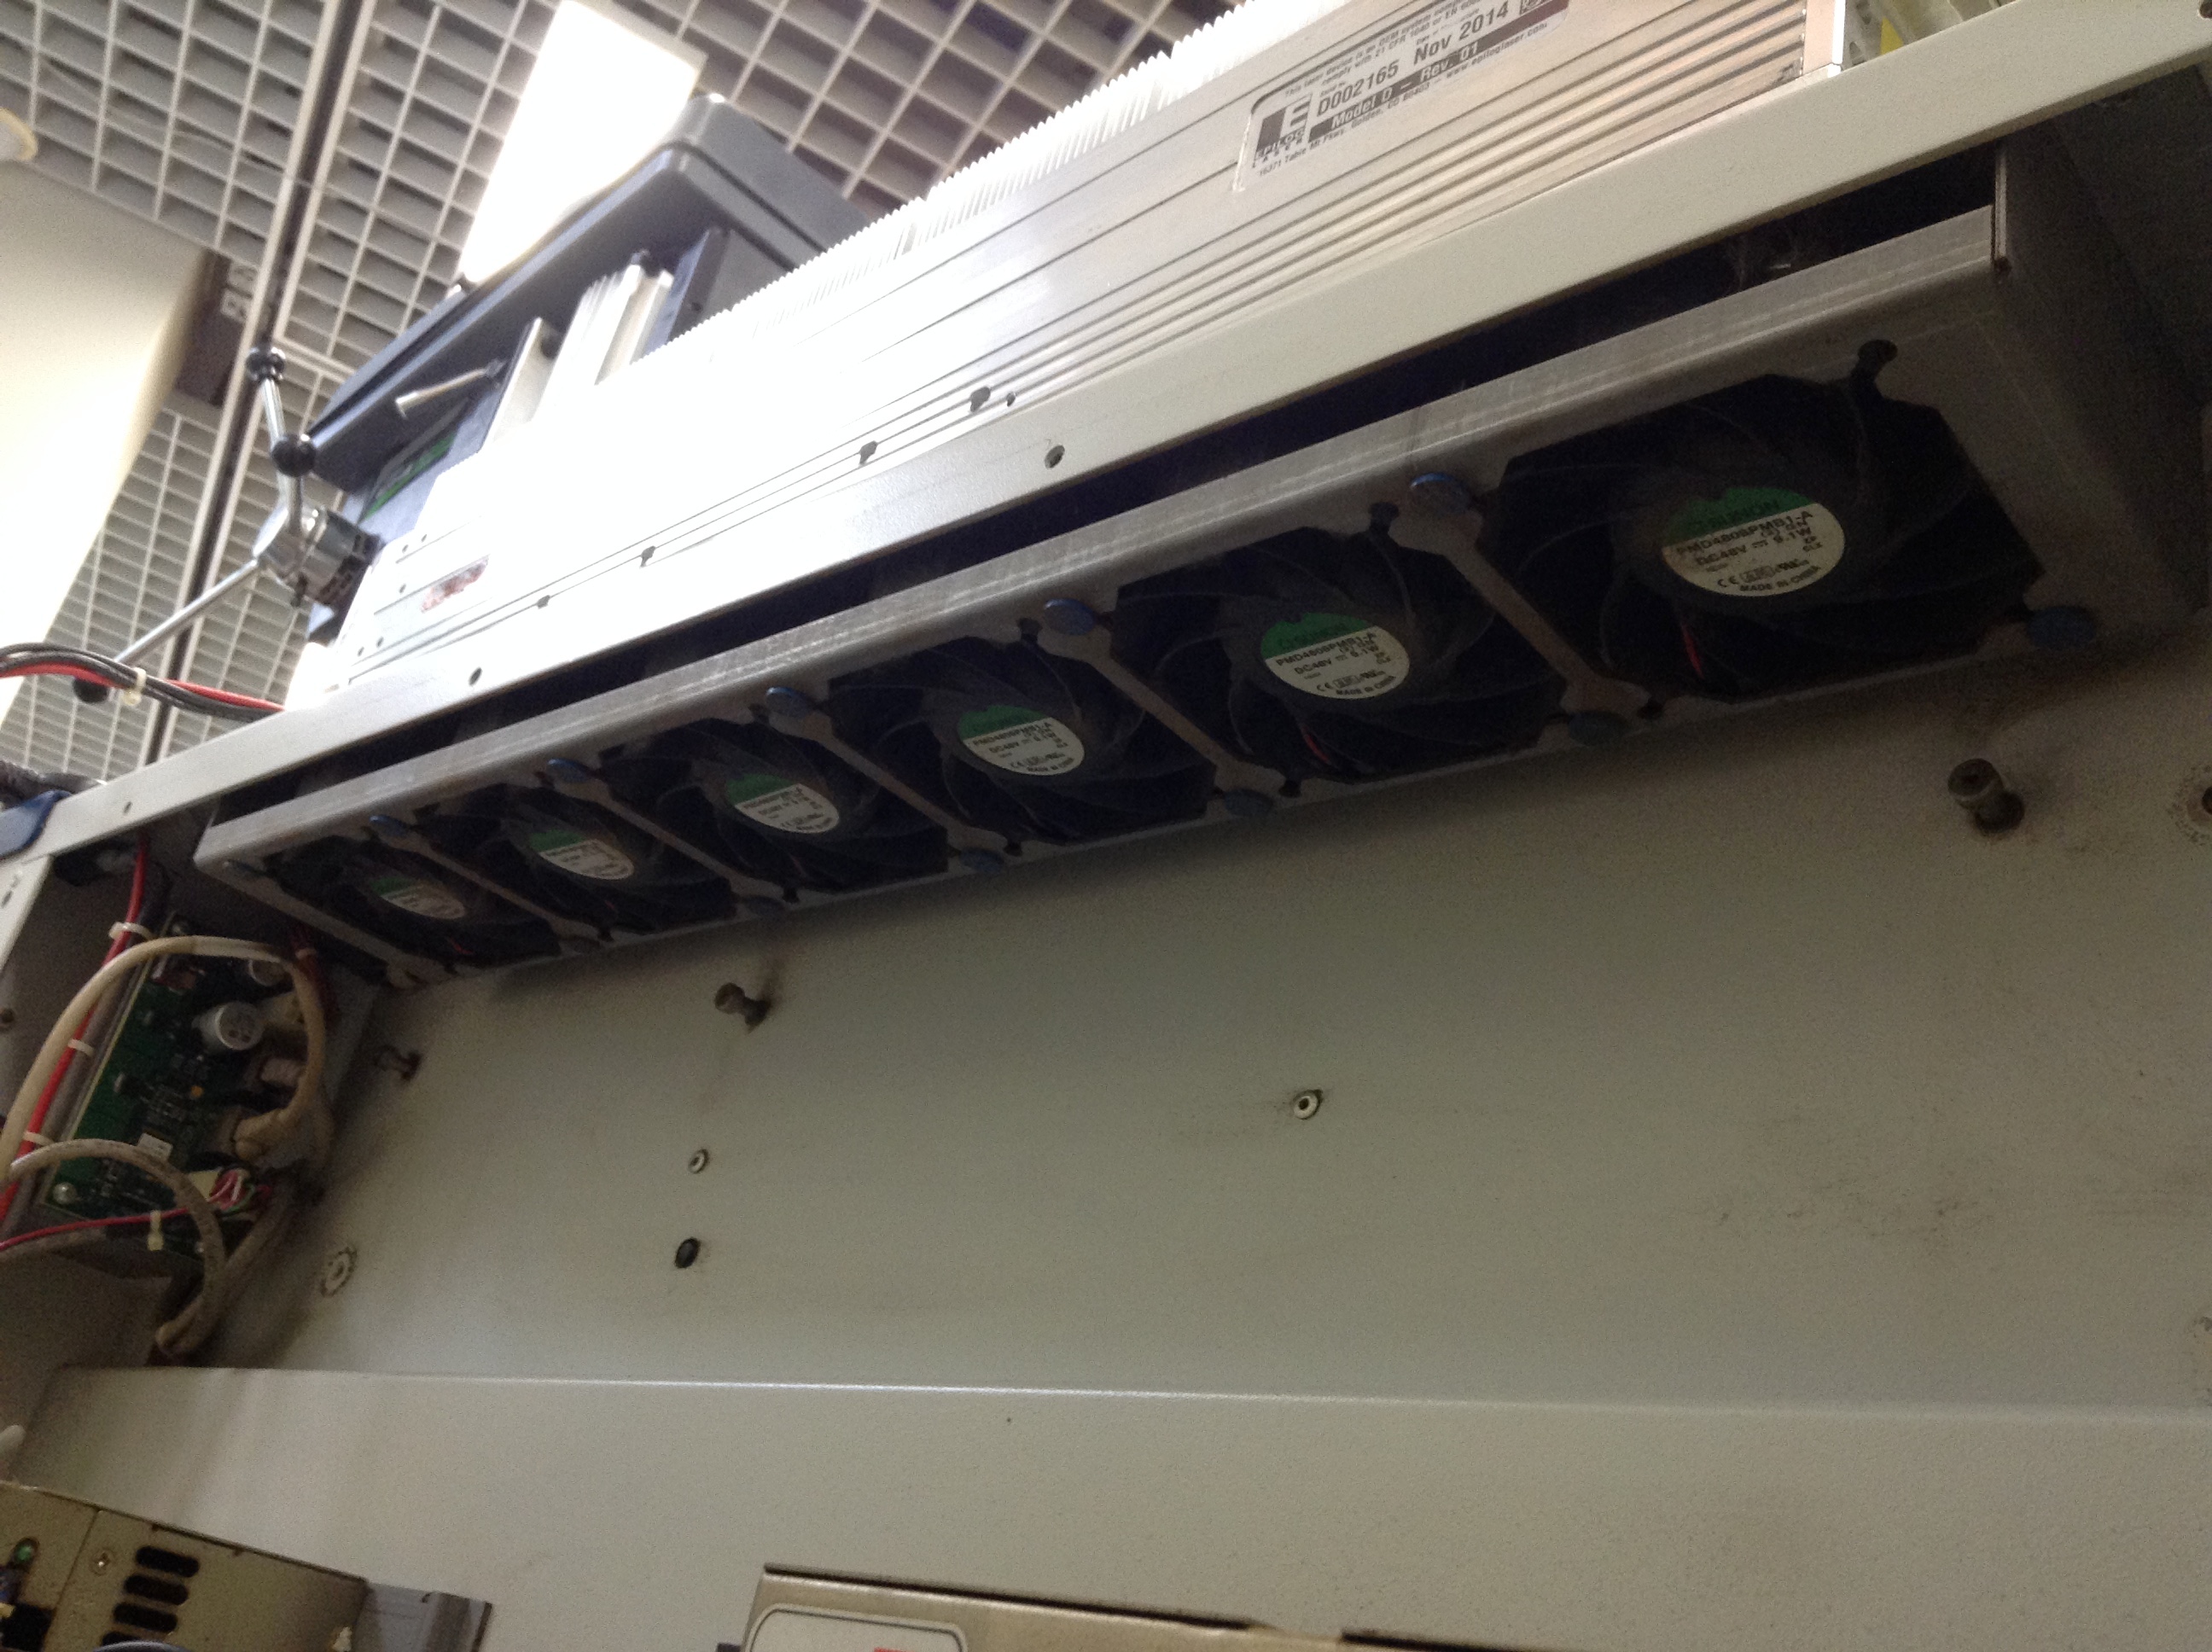
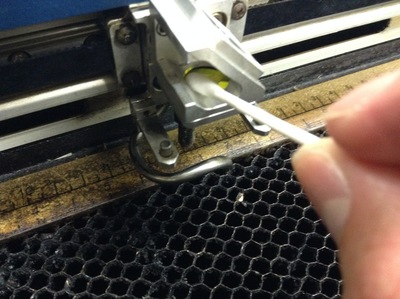
- Clean the exhaust ports with vacuum cleaner or something.This is not very important,but just clean them sometimesor it may affect the ability to blow the smoke away.

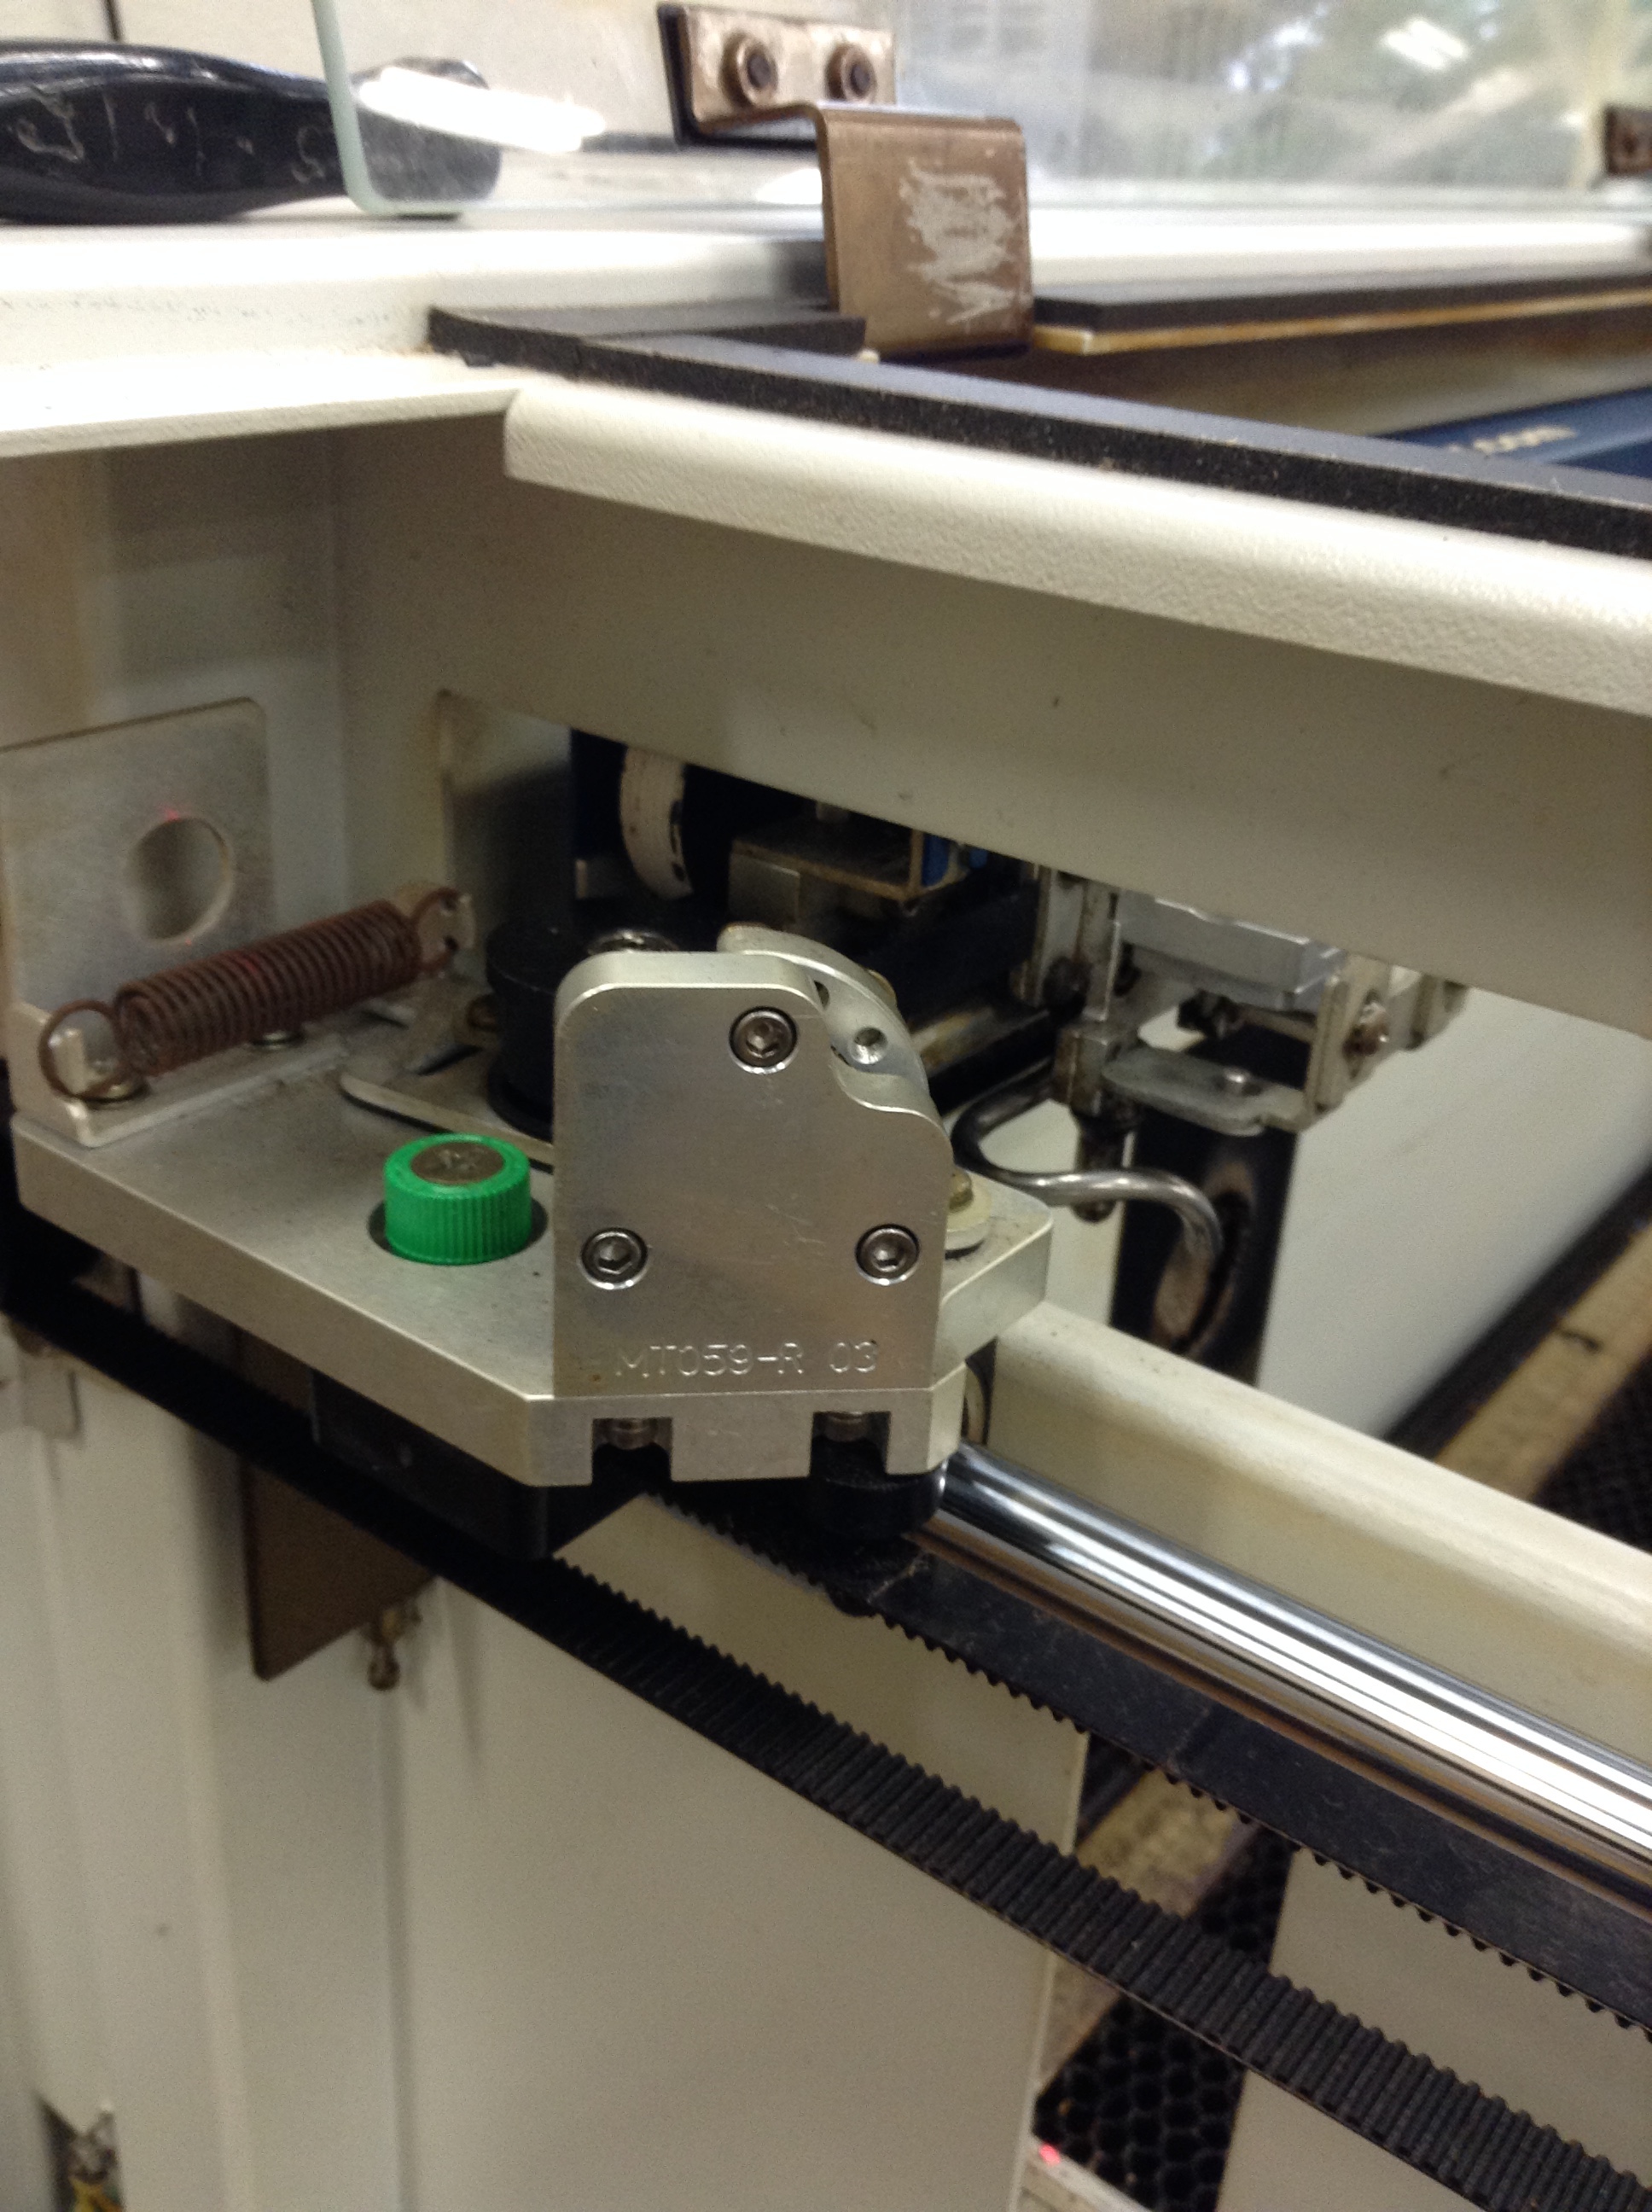
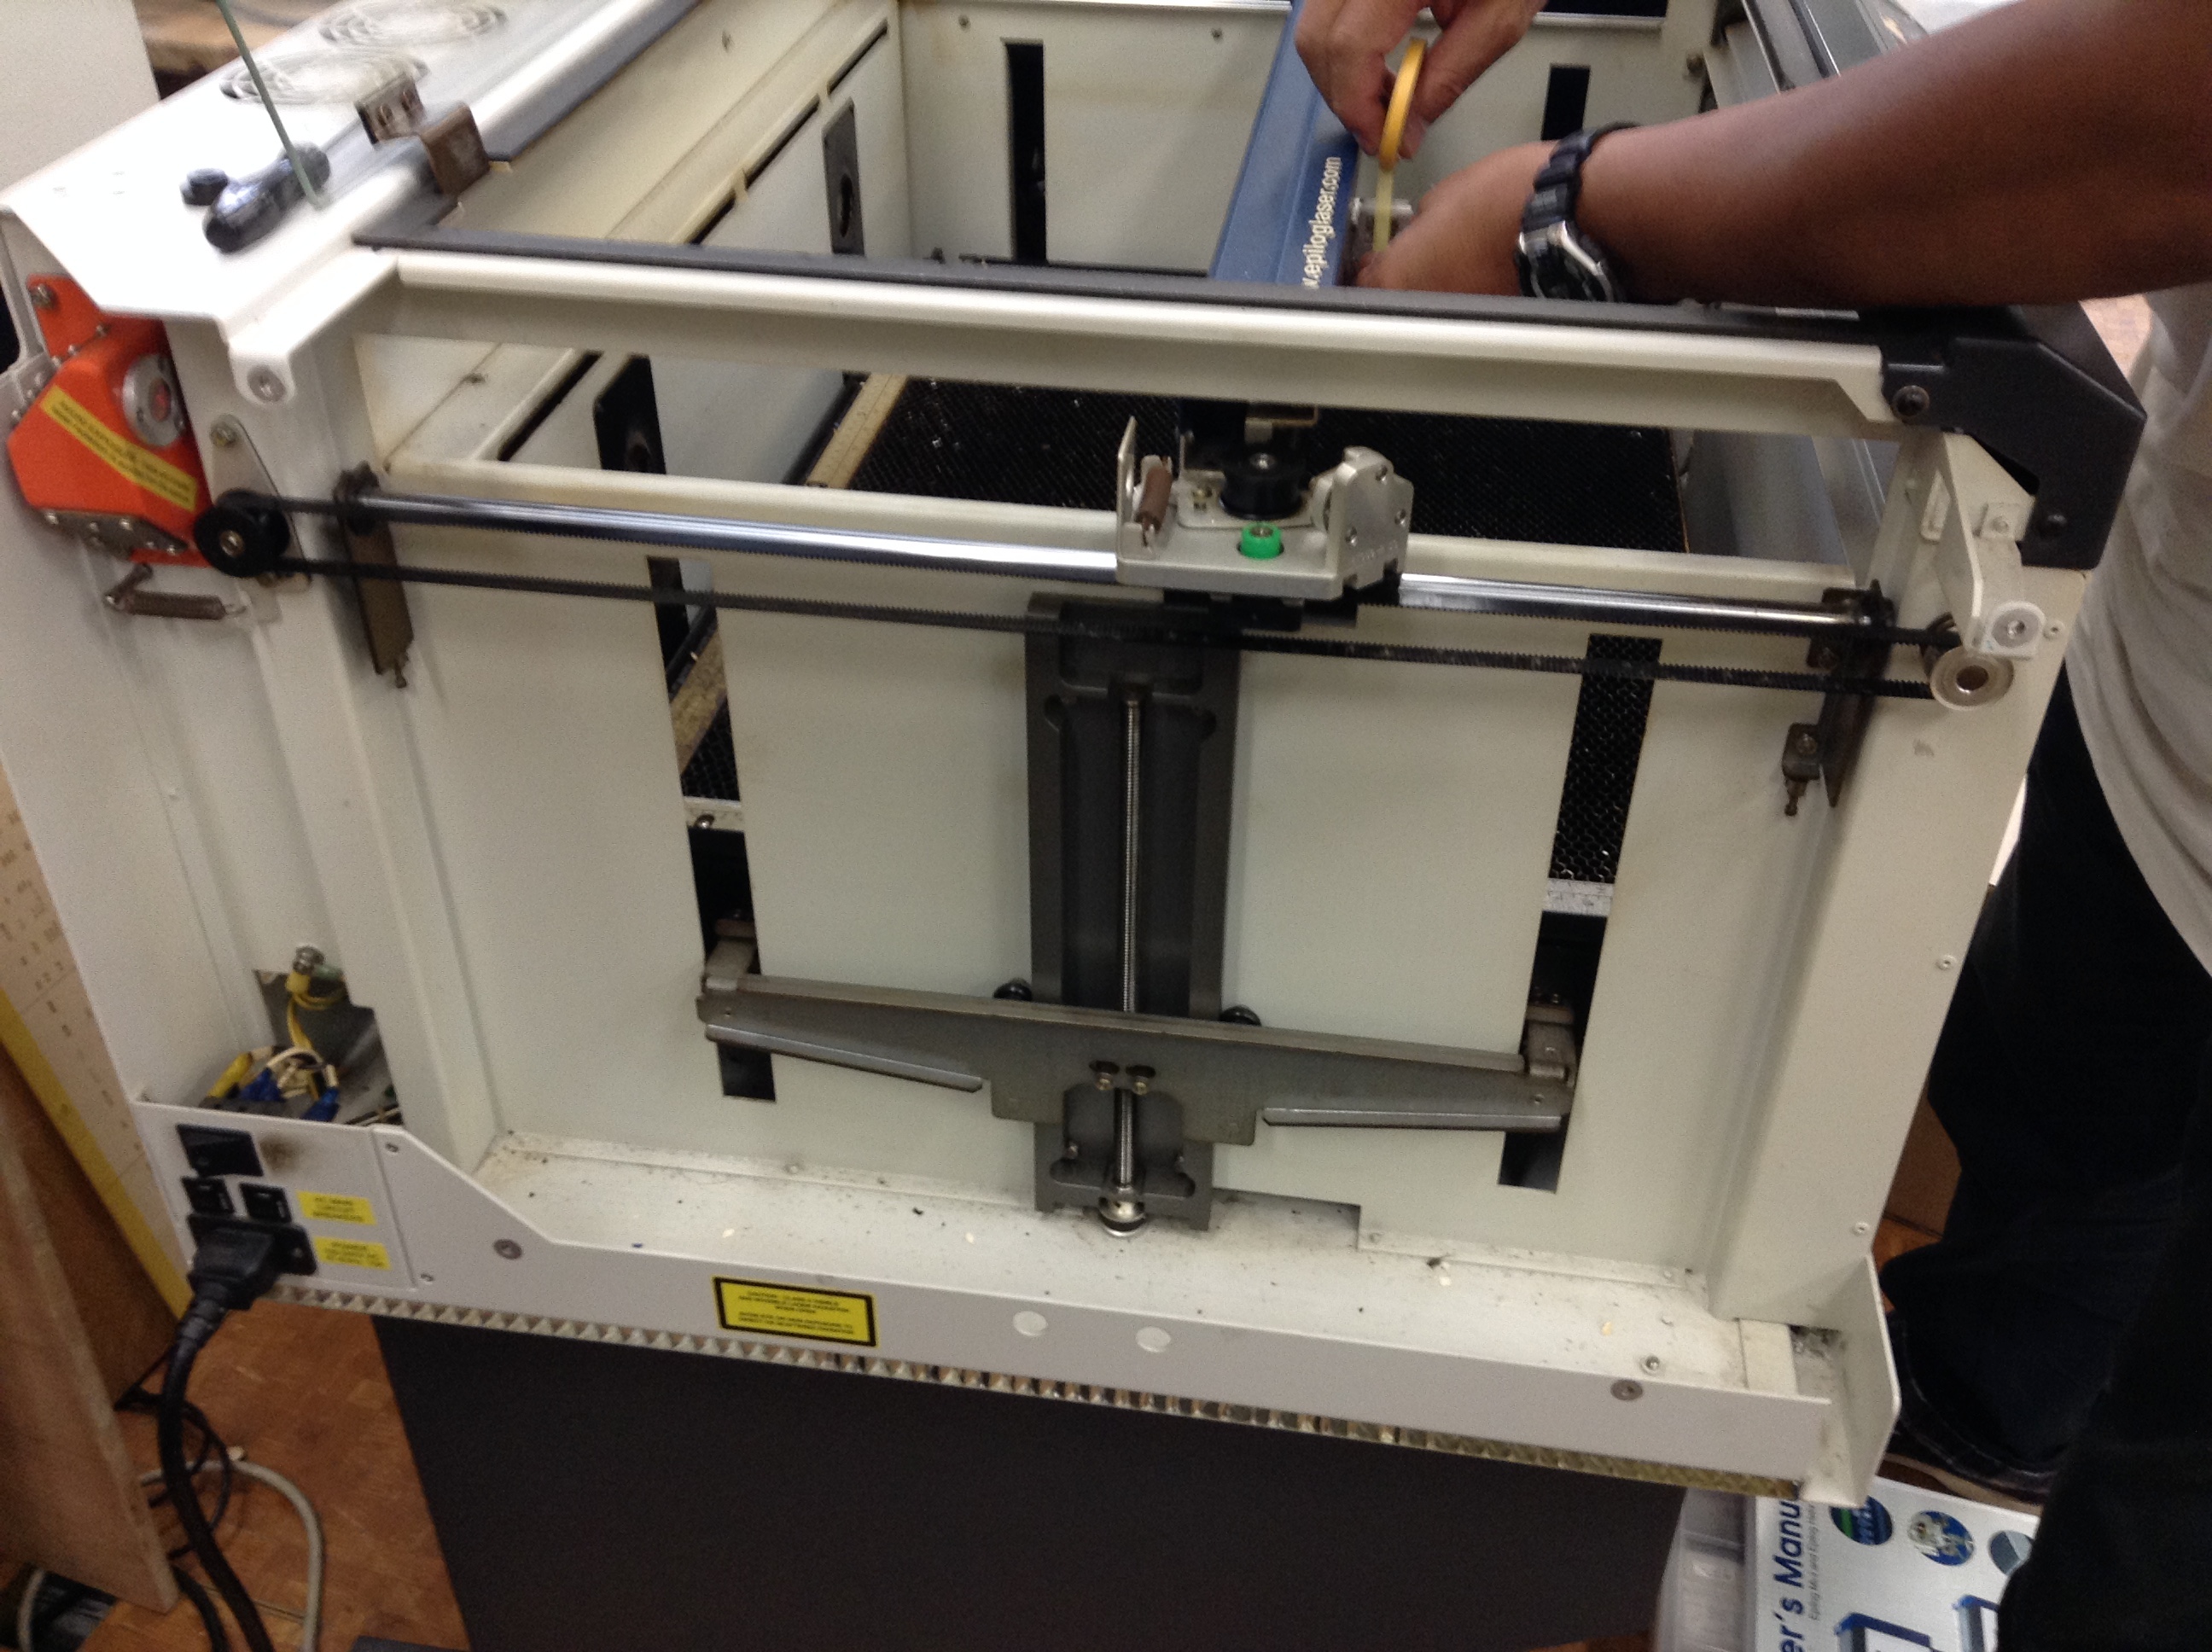
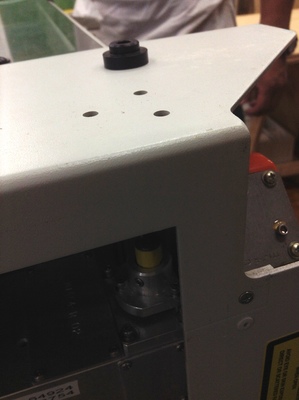
- Clean dust inside the machine.Remove the exterior by loosing screws,and clean inside by vacuum cleaner or something.

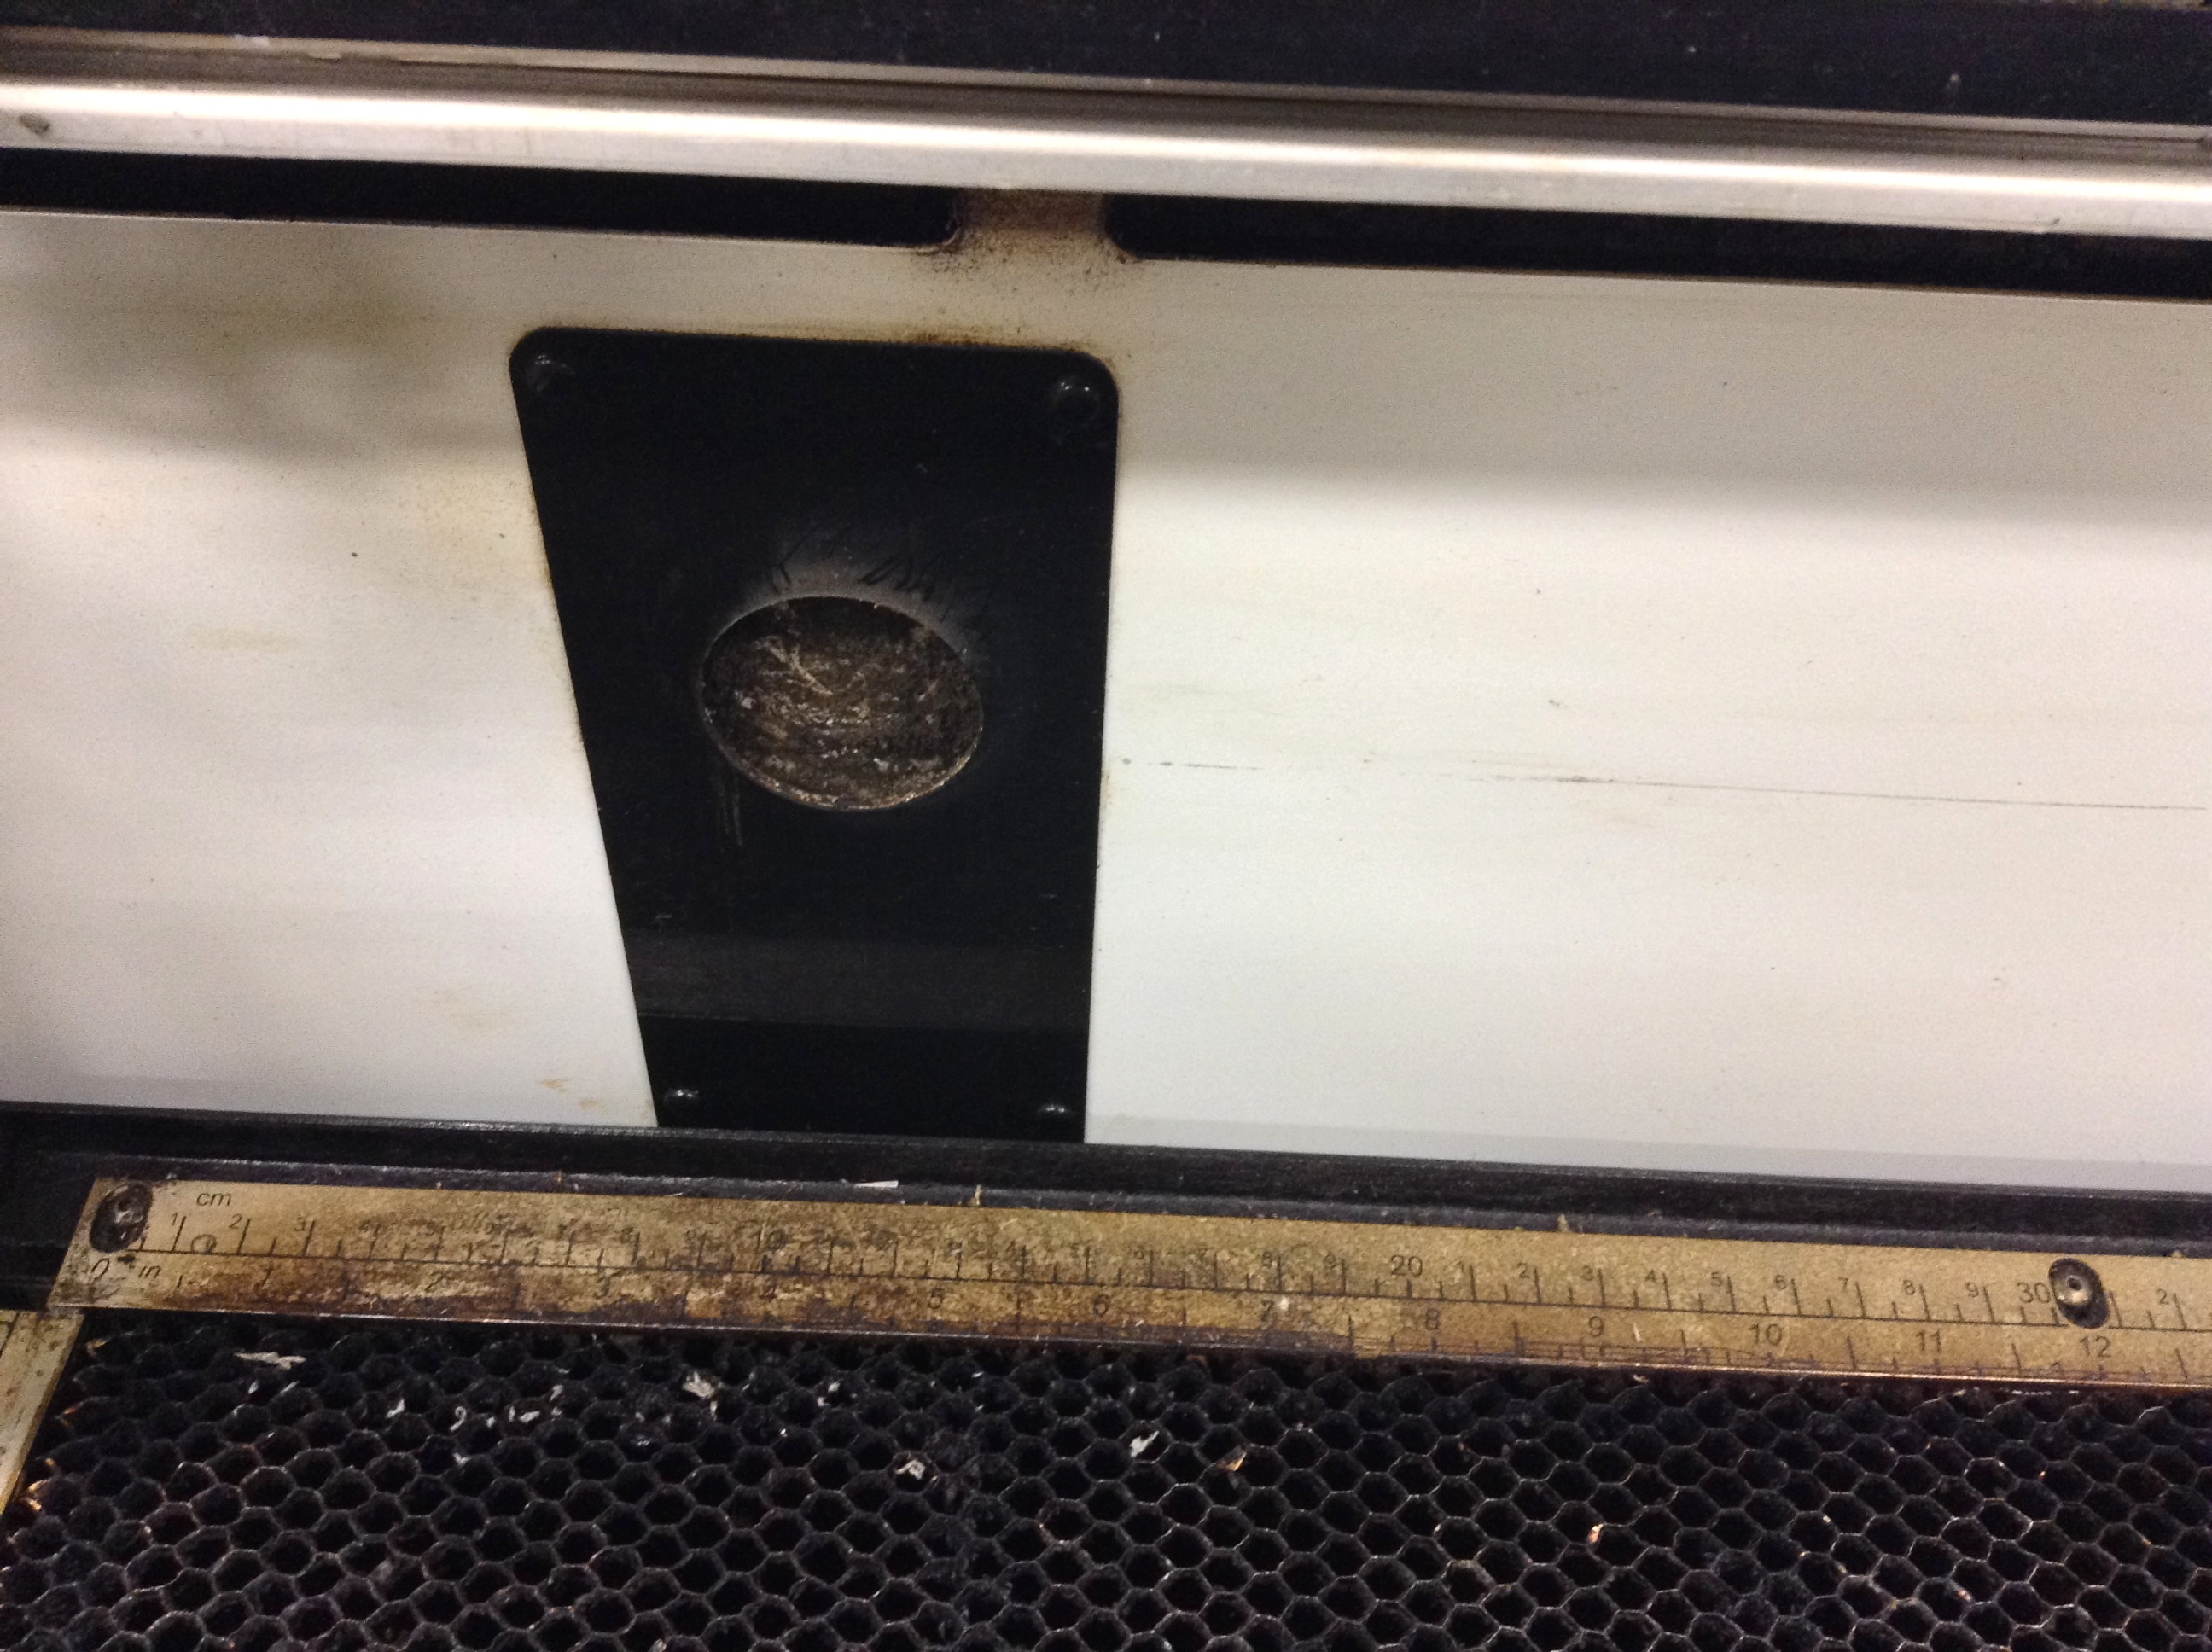
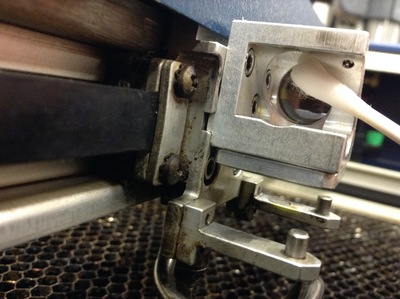
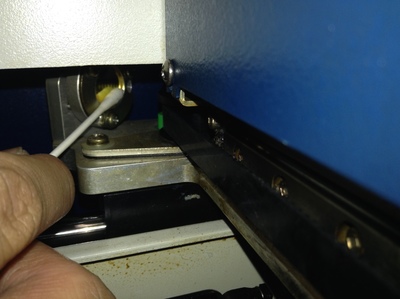
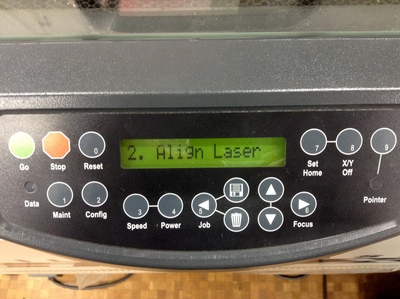
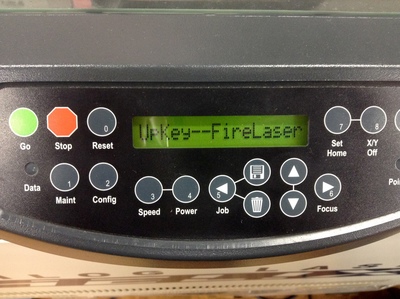
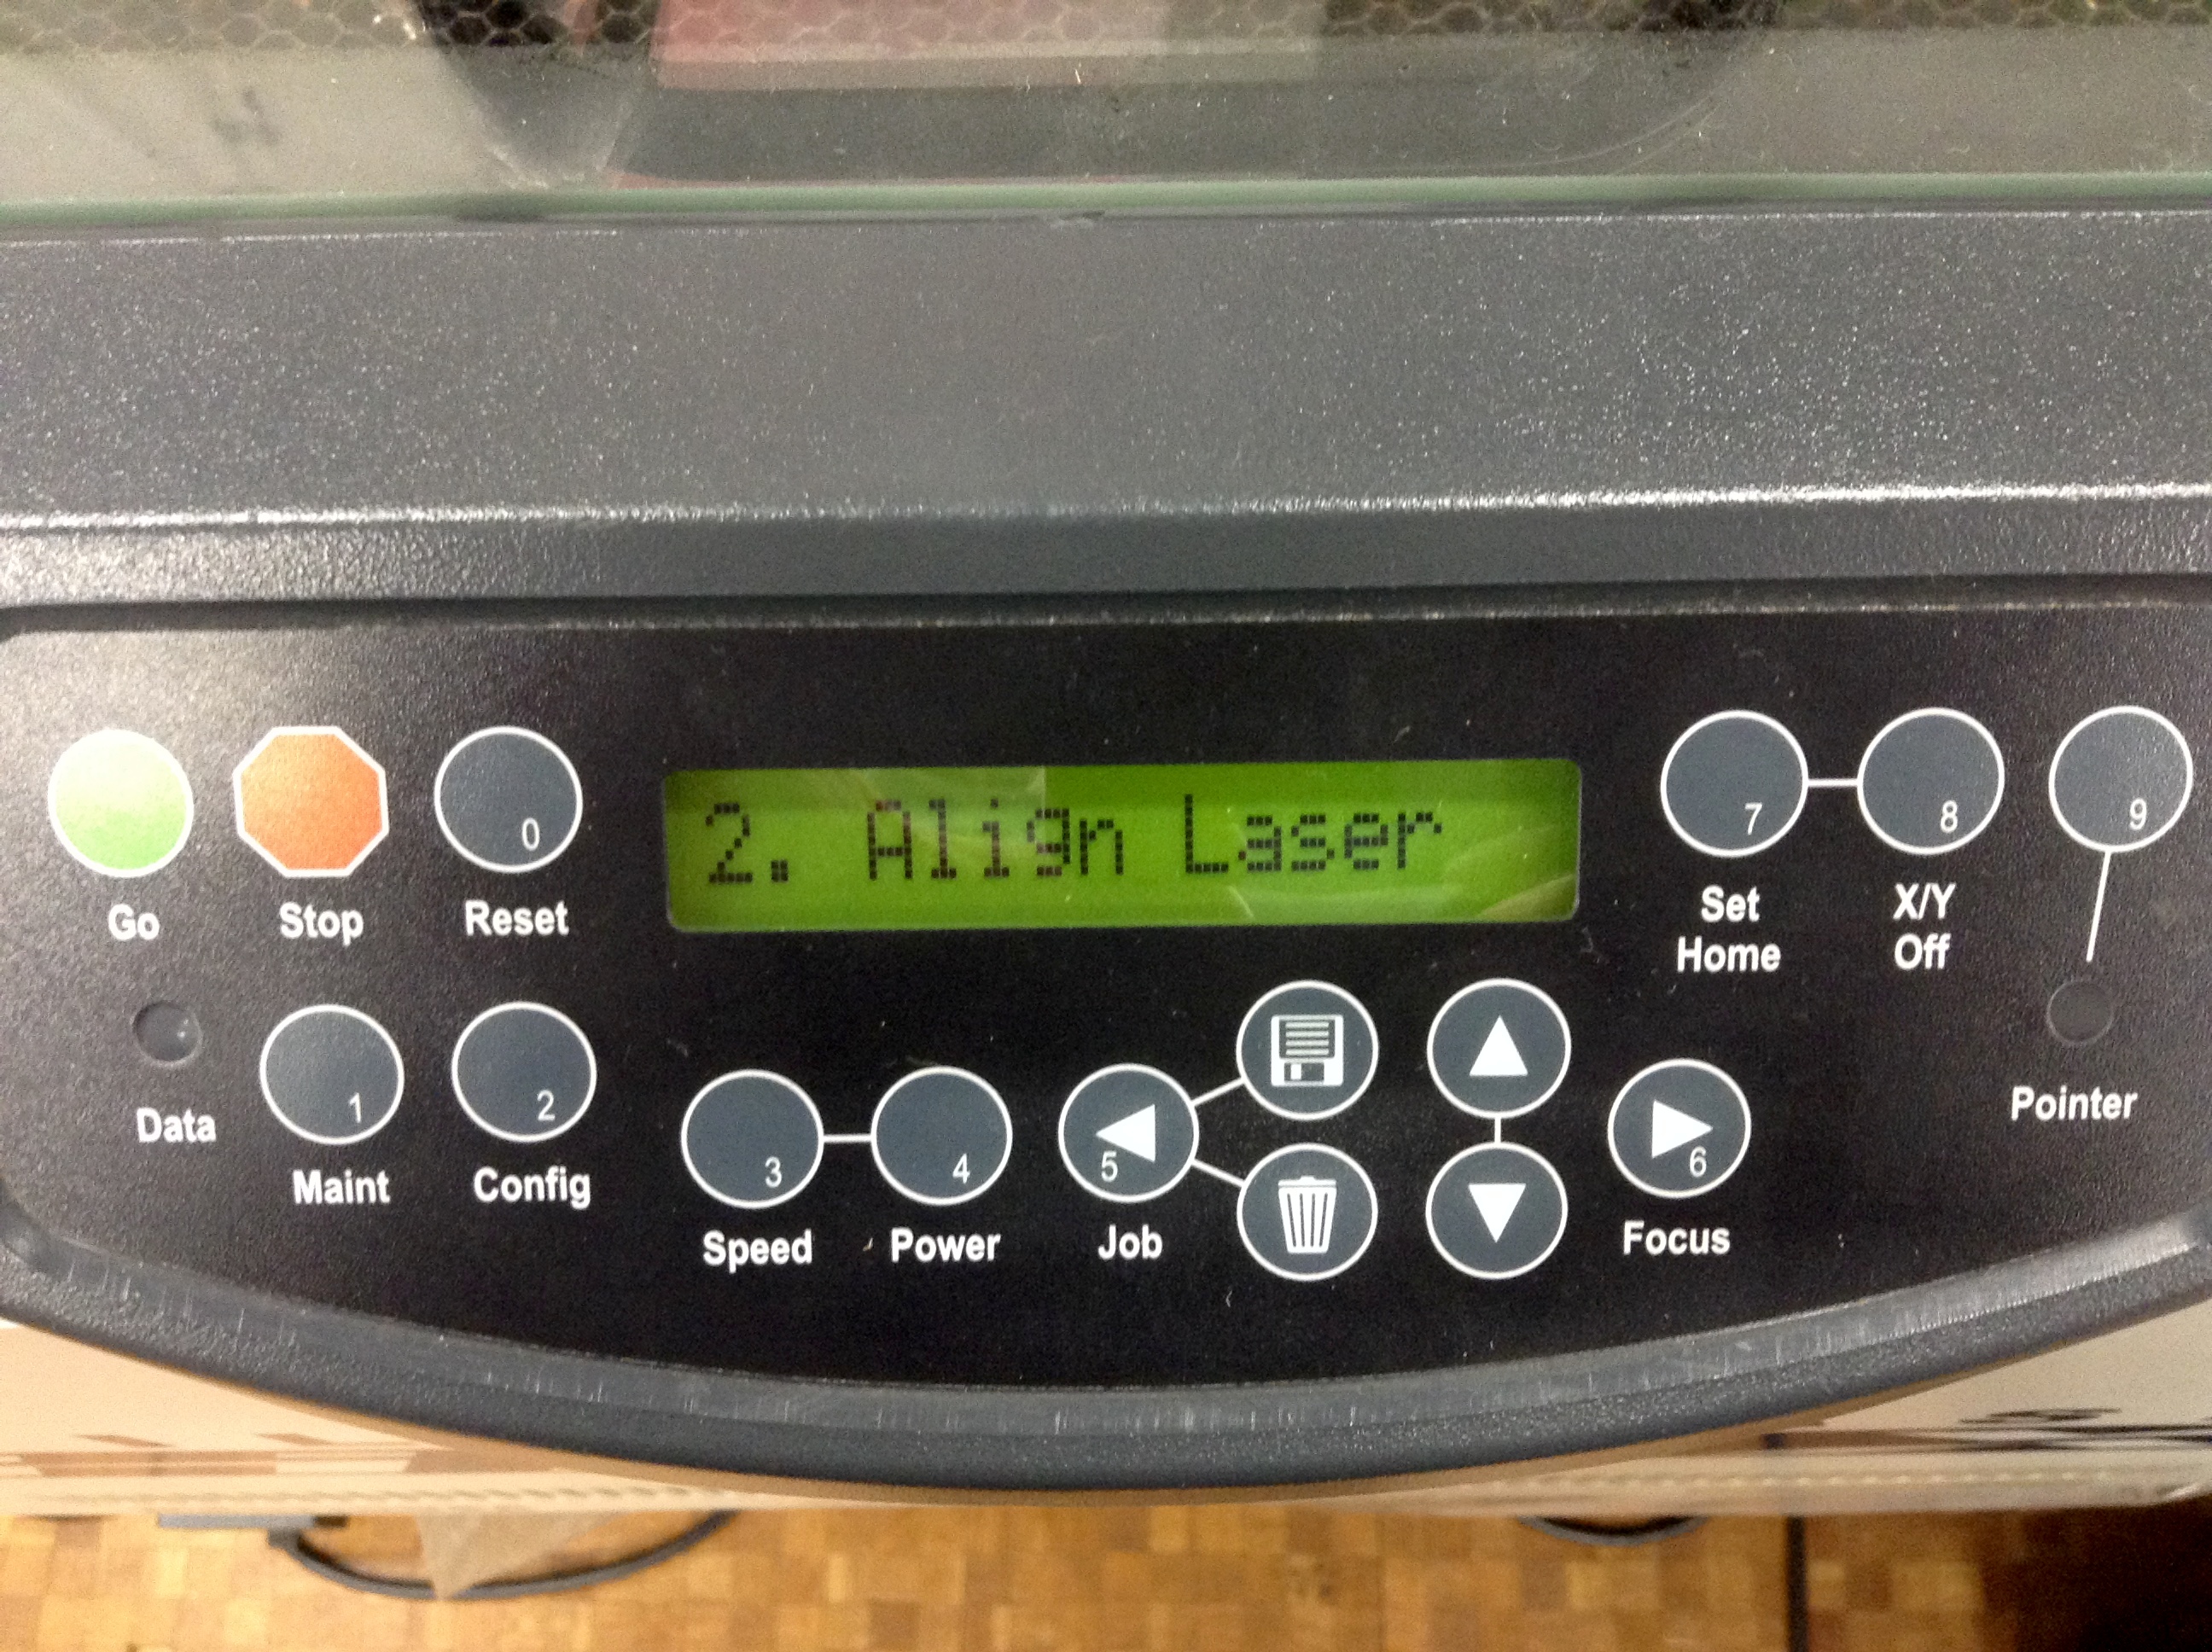
- Adjust the axis of the lens.If this is not right,laser doesn't hit where you meant to.See following annotations since this would be very long.[[Sorry translation is still in progress]]
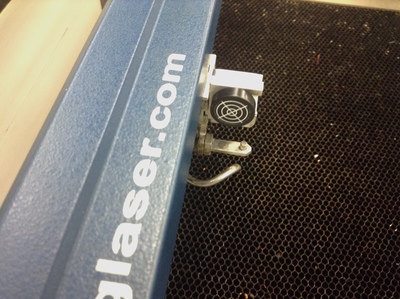
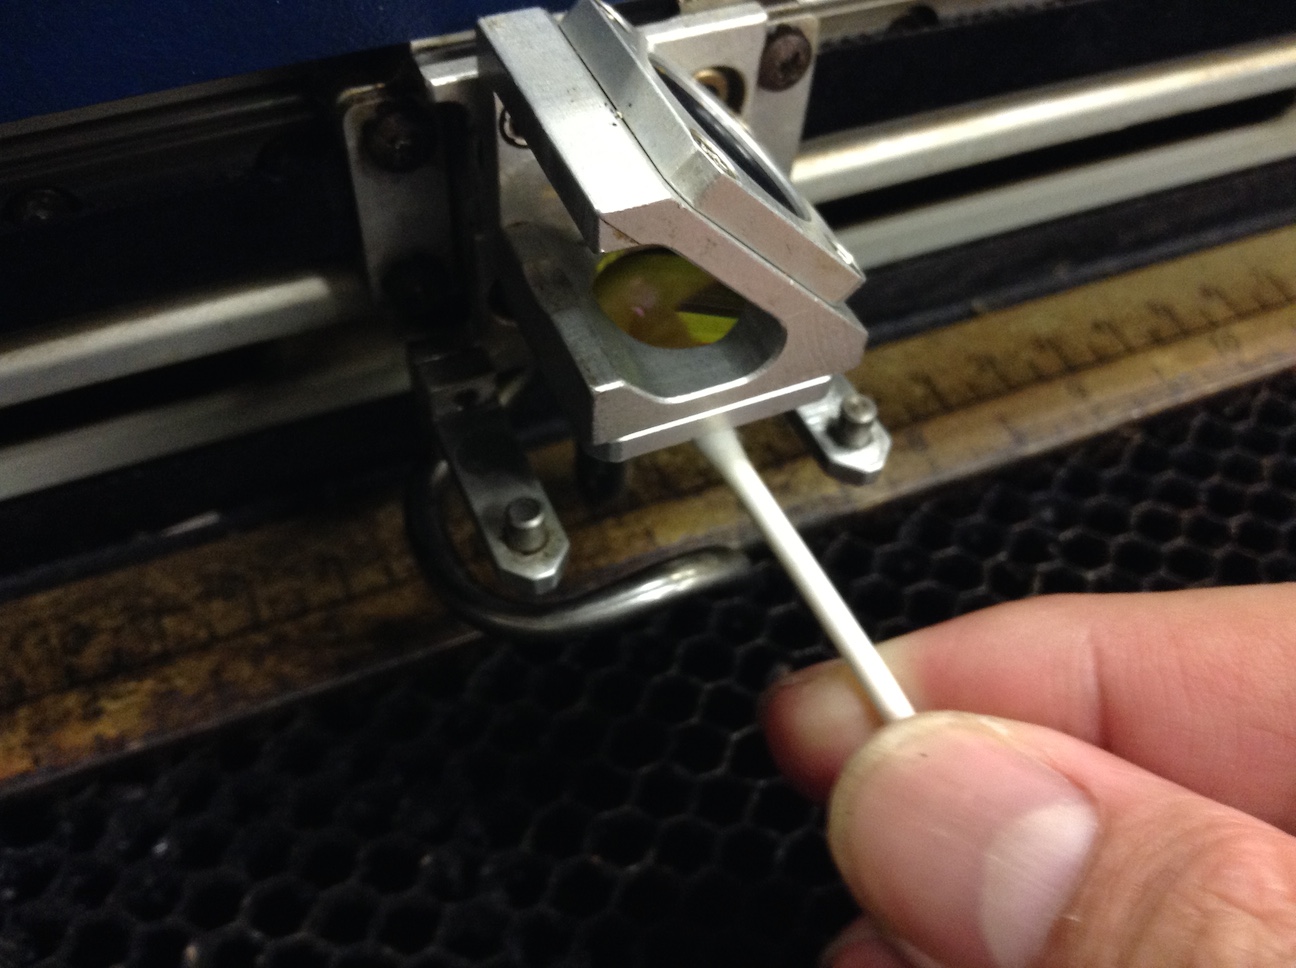
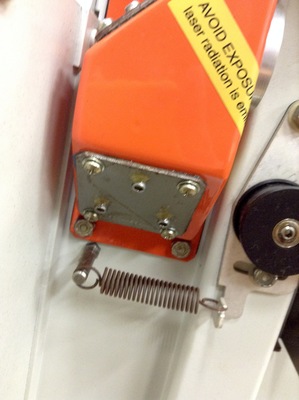
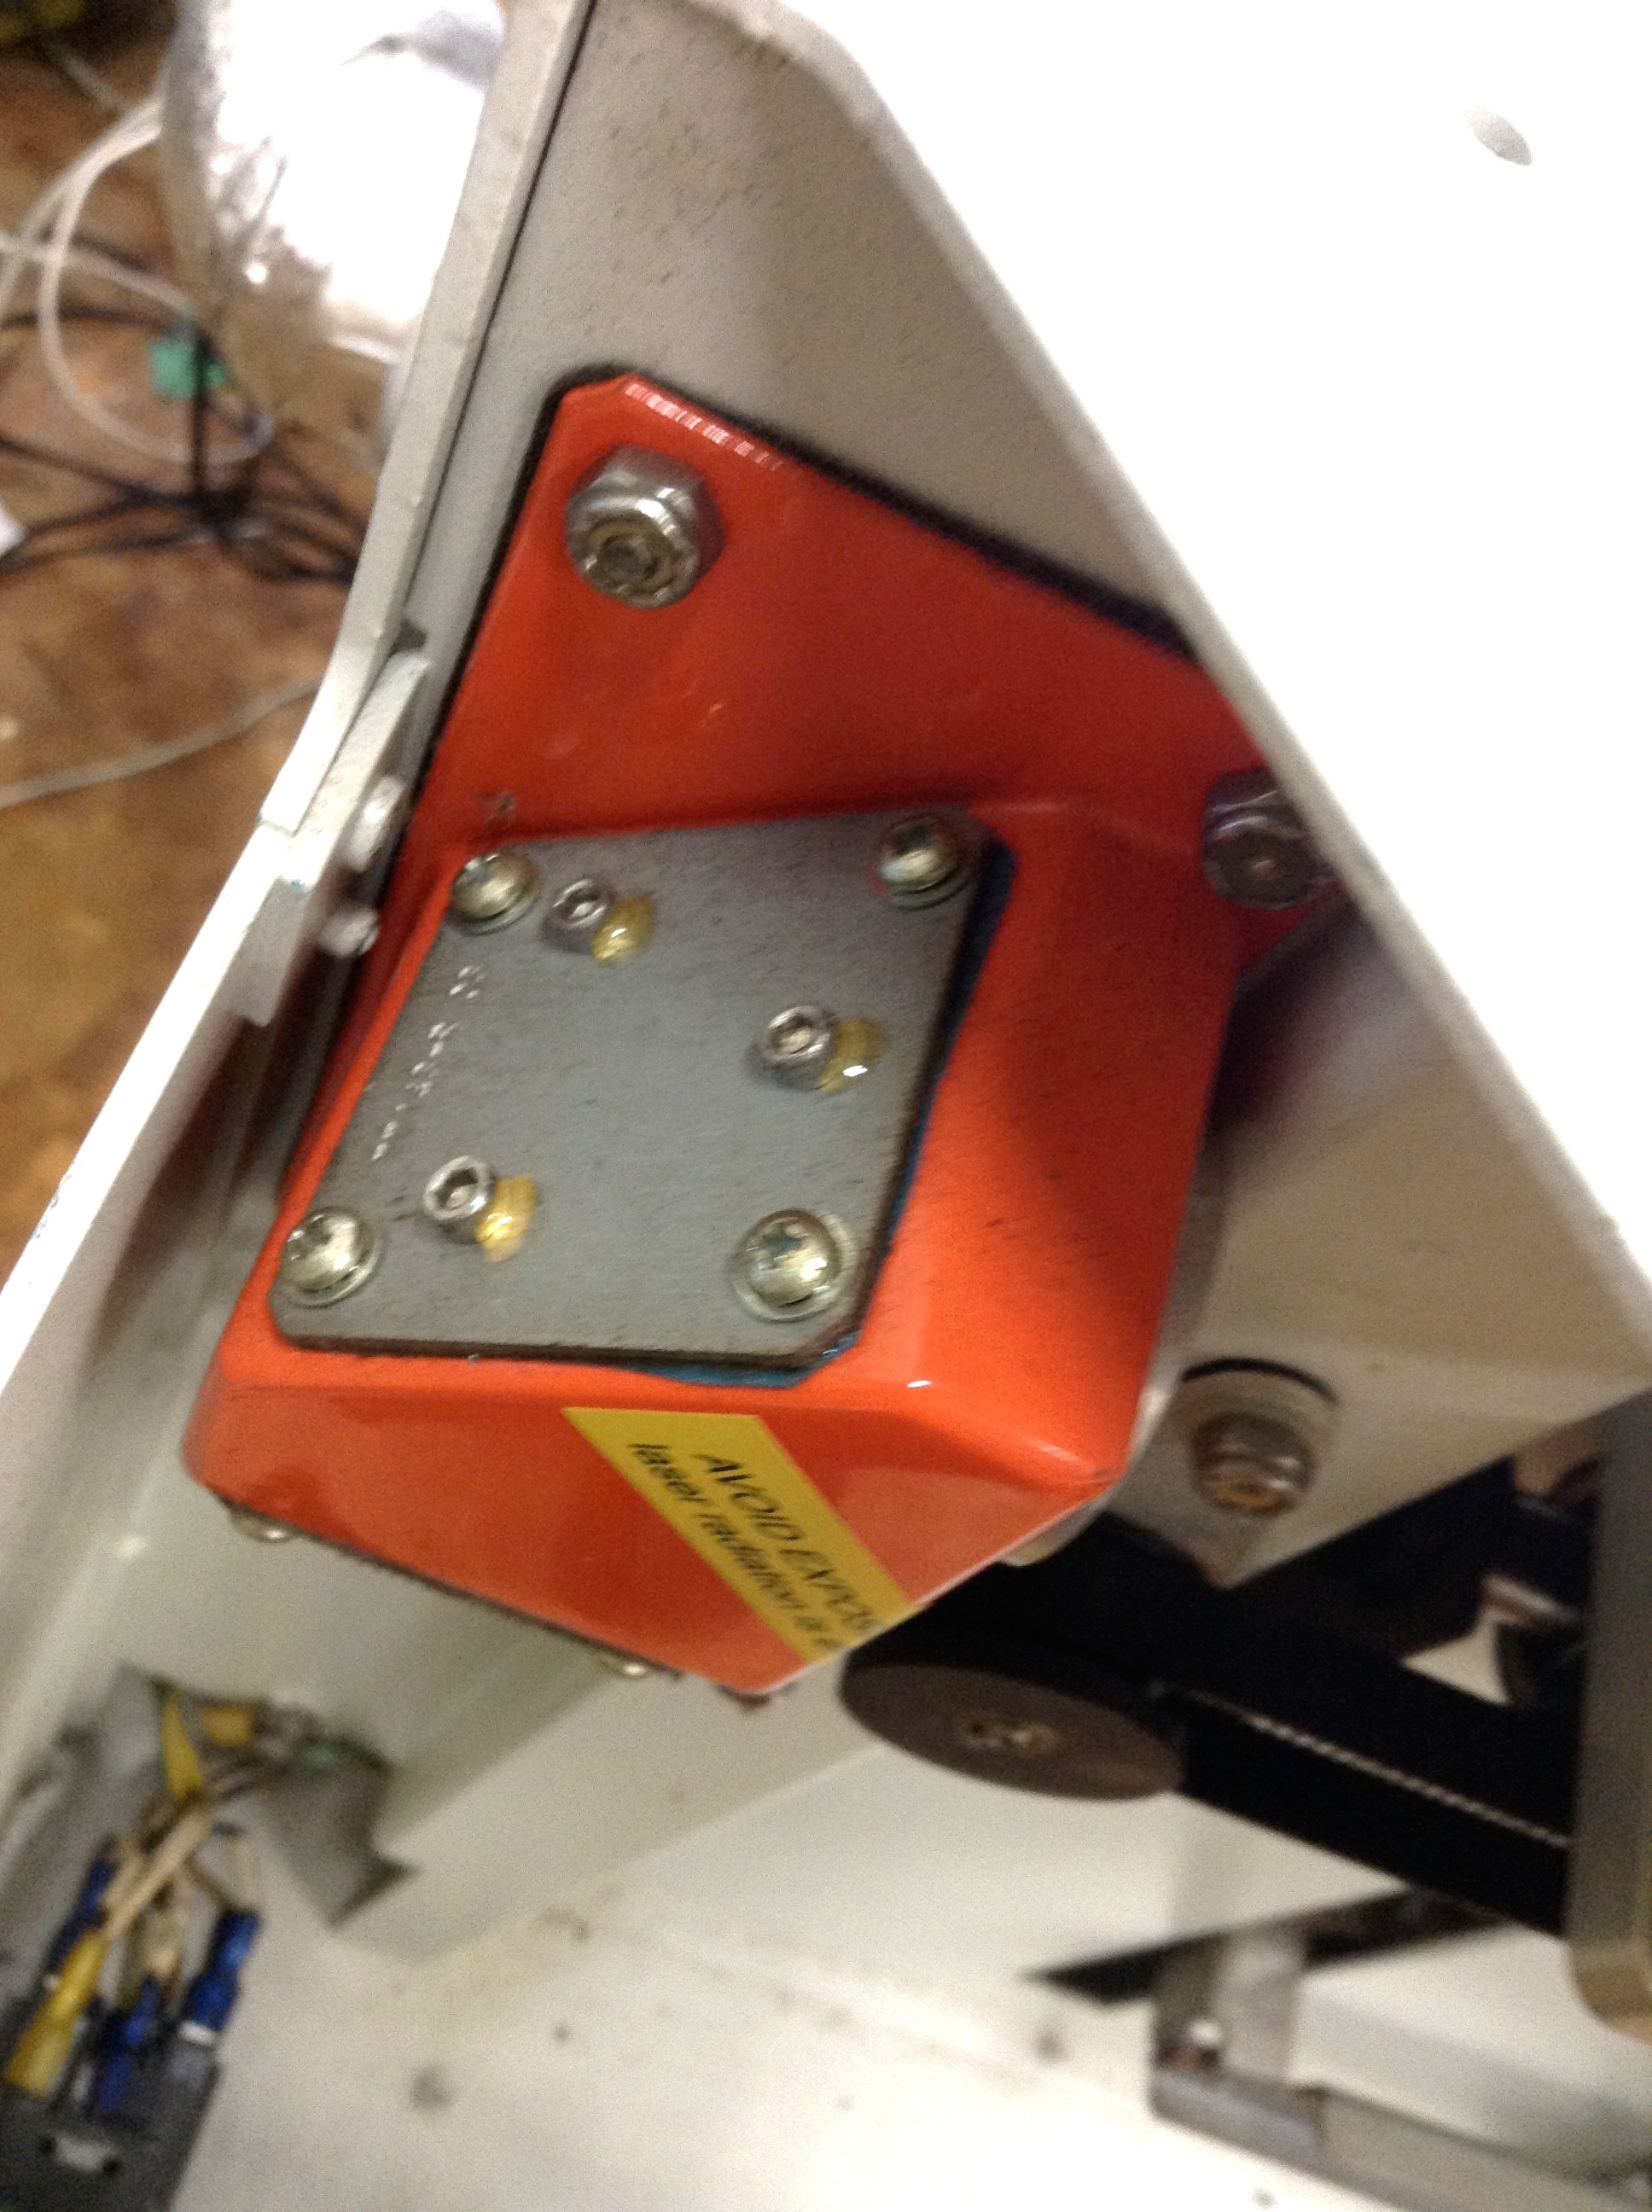
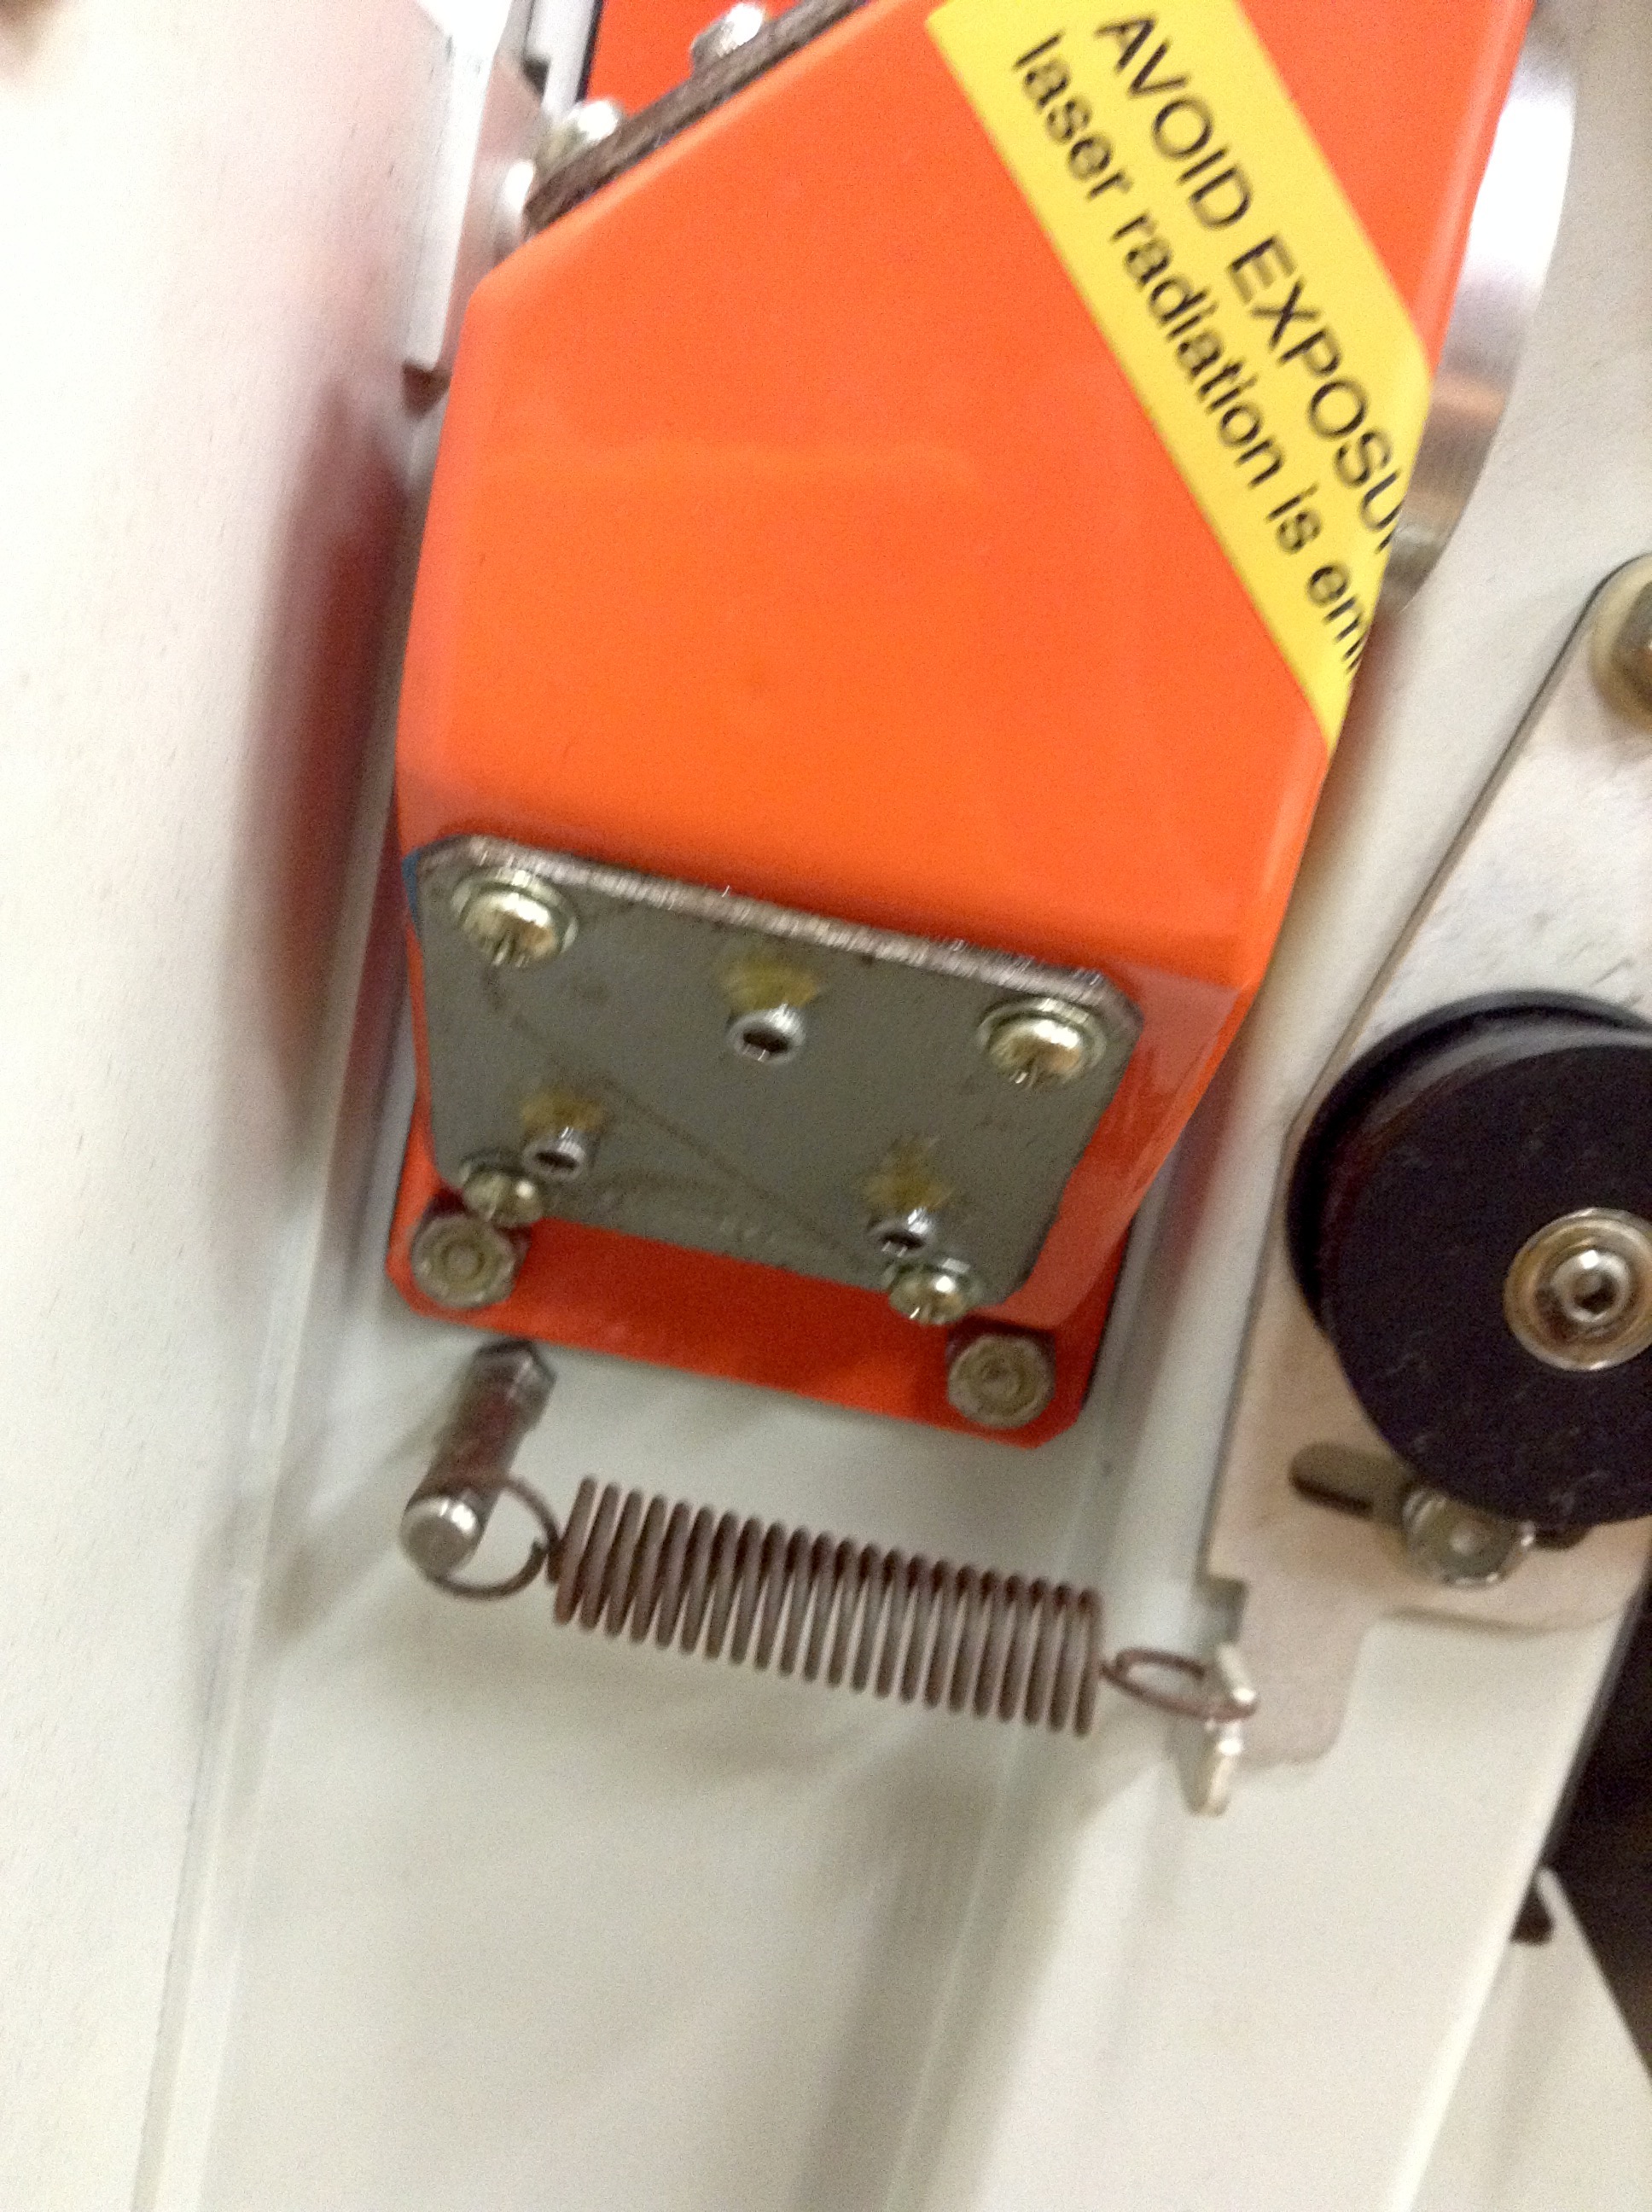
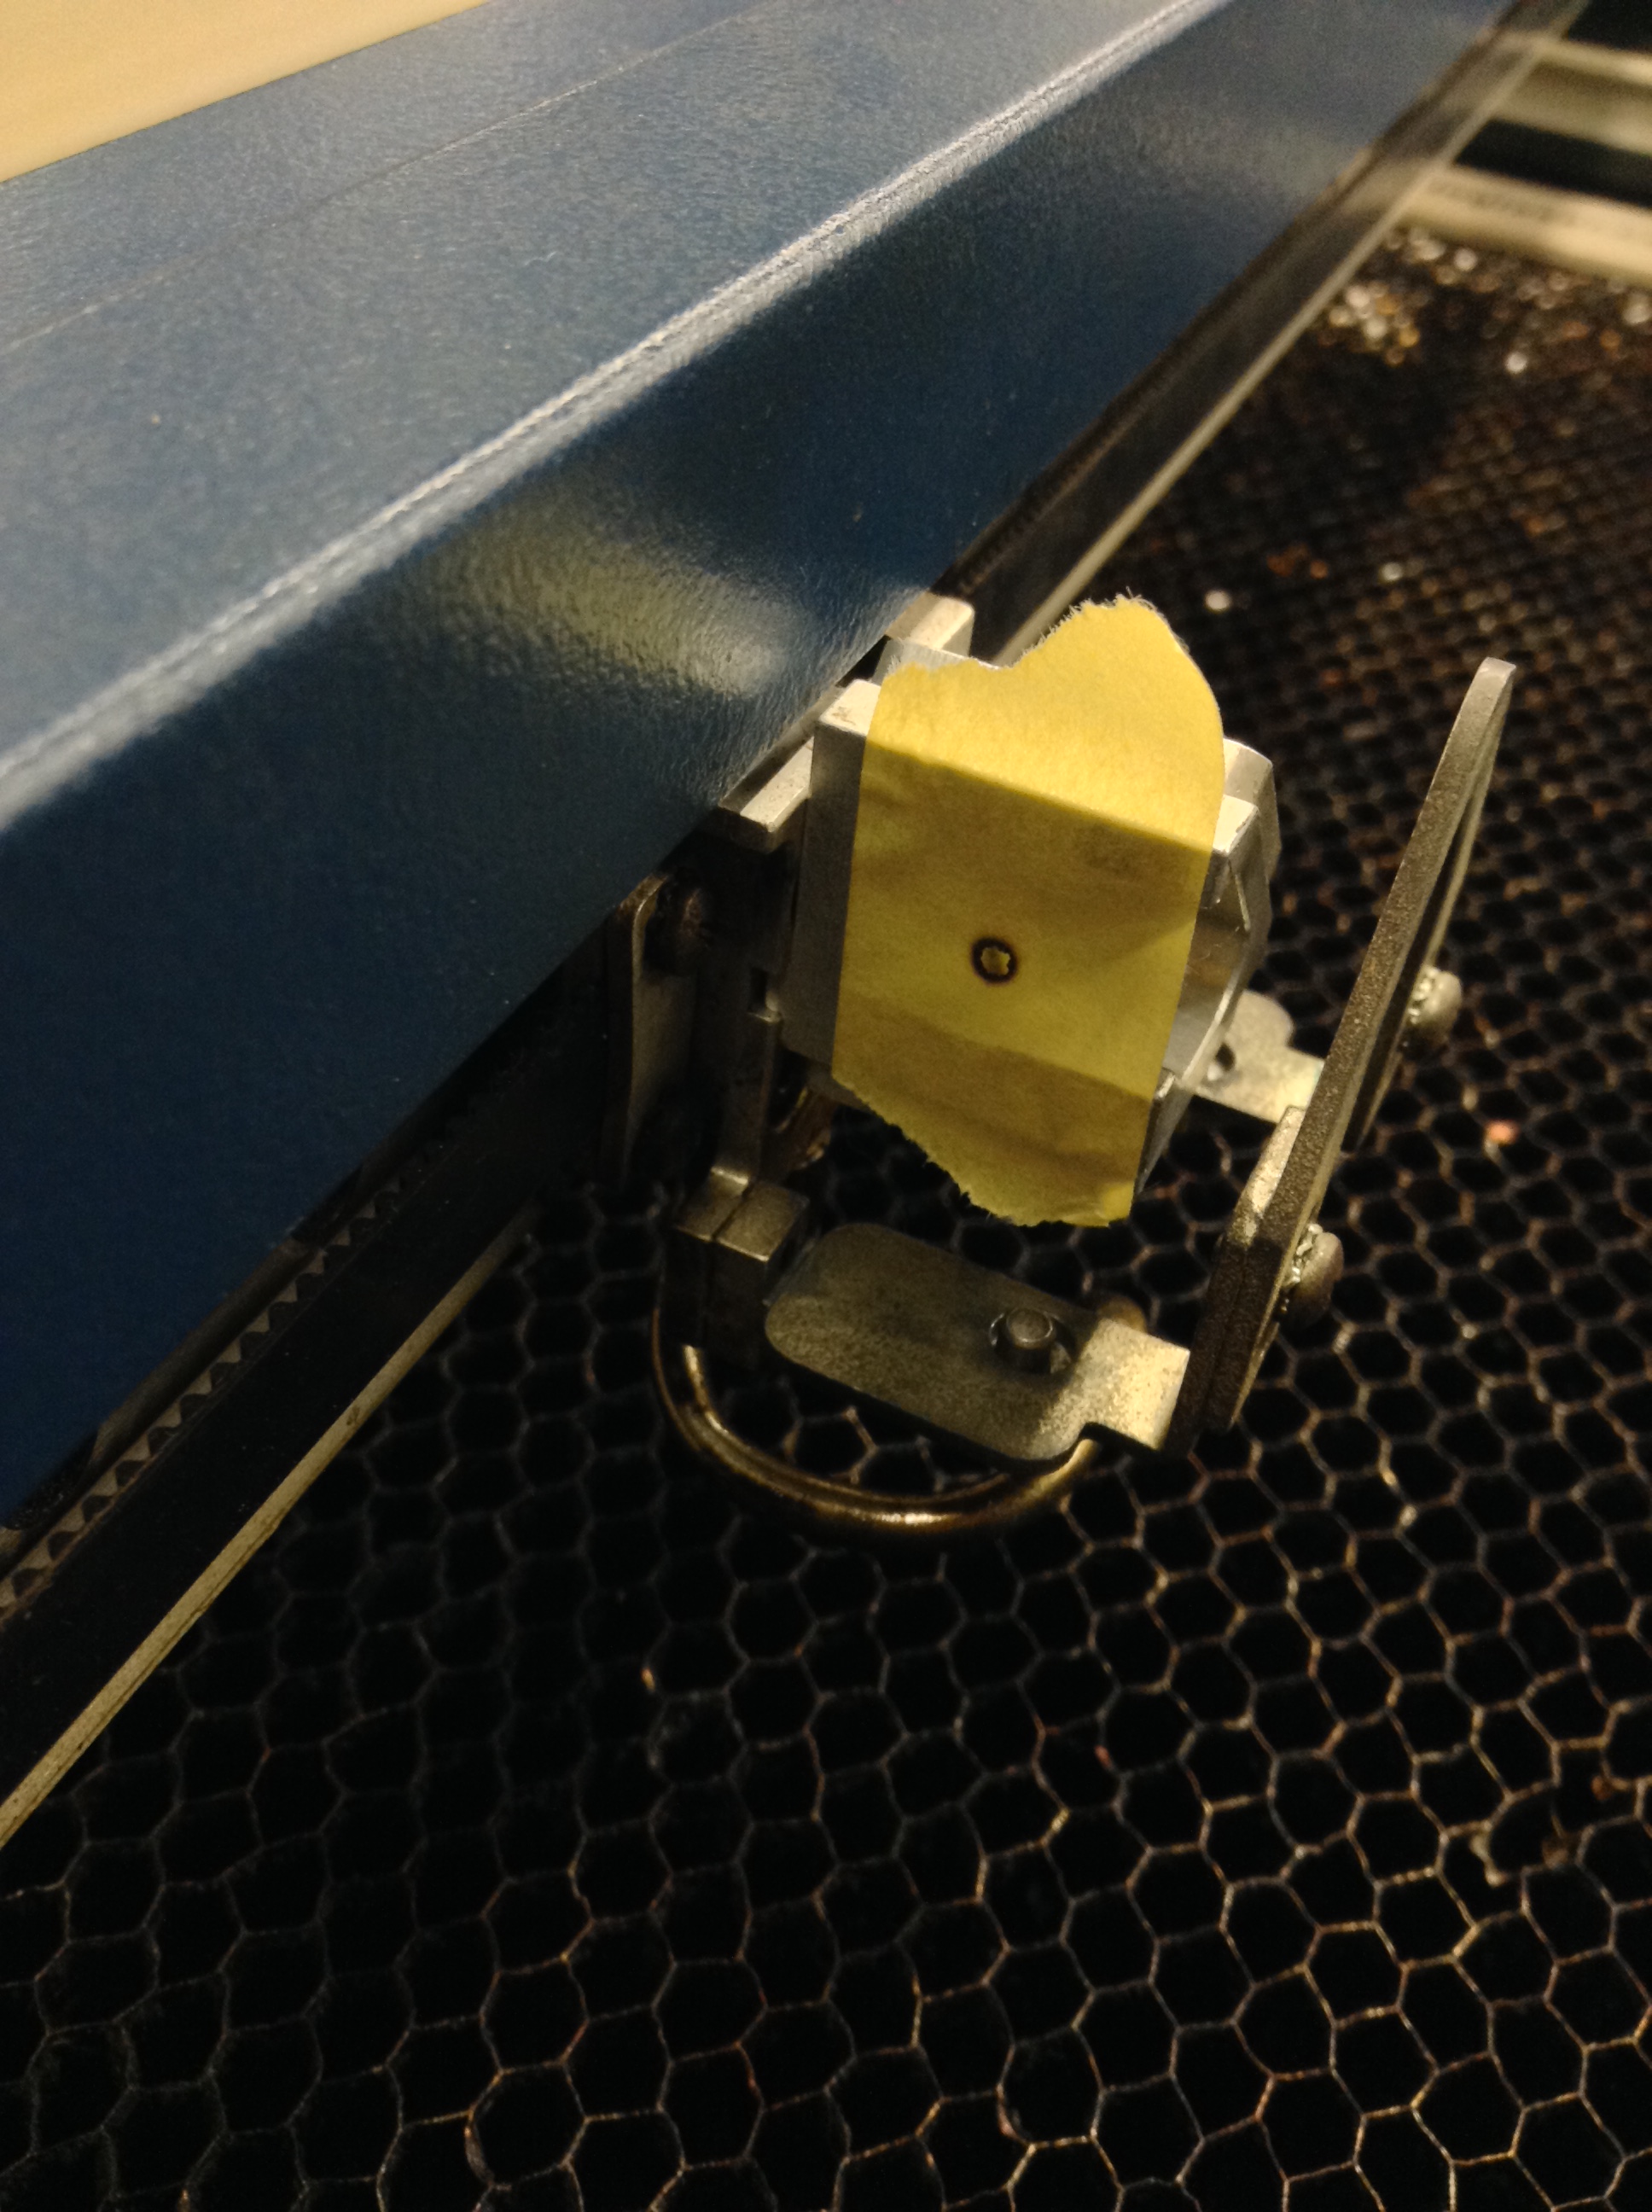
- レンズの装着されている、レーザーを露光するヘッド部分に、ターゲット部品を取り付けます。ターゲット部品はレーザーカッターに付属しているもので、照準器のような模様がついています。特に取り付けるための機構はありませんが、柔らかいプラスチックでできているので、ぎゅっと押し込むと嵌めこむことができます。

- 実際にミラーの角度を調整していくため、左面に4ヶ所、左後ろに2ヶ所あるねじをすべてゆるめて外し、左面の外装を取り外します。
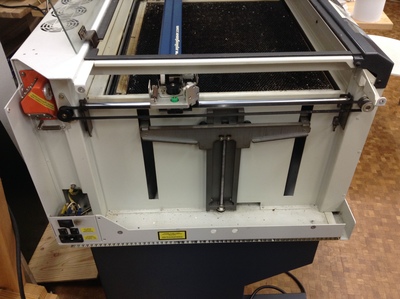

- 第二ミラー(部材側から数えて2番目)から順に調整を行っていきます。ヘッドを左上の角(x=min, y=min)に動かします。(第二ミラー以外によるズレを最小限にします。)ターゲットの中央からポインターがずれている場合は、ミラーの裏側にある3つのねじを回すことで、真ん中にくるように調整します。

- 機械を元の状態に戻して完了です。ヘッドに貼ったマスキングテープをはがし、外した外装を元通り取り付け、機械の主電源を入れなおせば、あとは通常通りにレーザーカッターを使えます。日々のメンテナンスを忘れずに。


References
Usages
Project comments

Comments