at home planetarium

Created Date: 2017-07-10/ updated date: 2017-07-16
    Owner & Collaborators
    License
    Summary
    I decided to make an at home planetarium using a regular light bulb and putting together several wood pieces.

    Materials

      Tools

        Blueprints

          Making

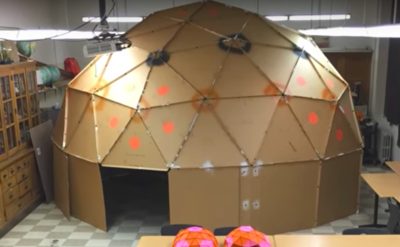
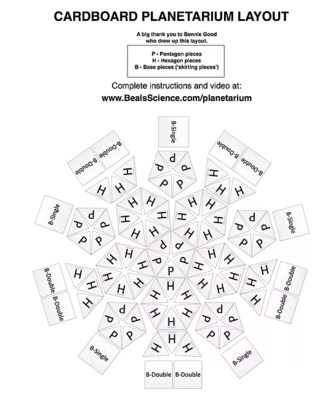
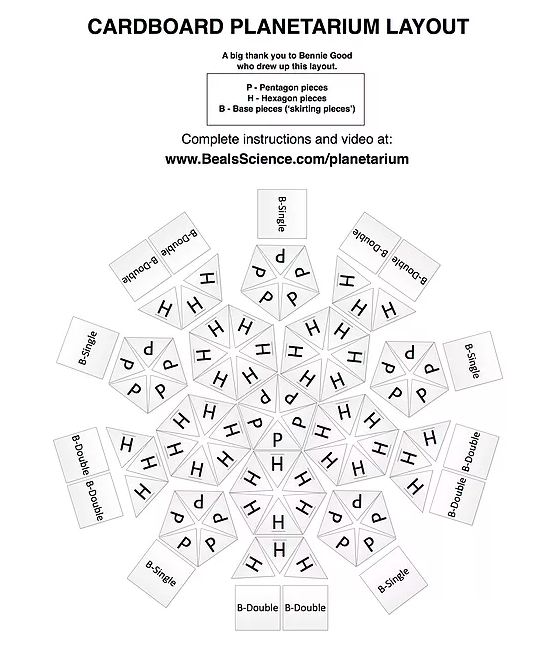
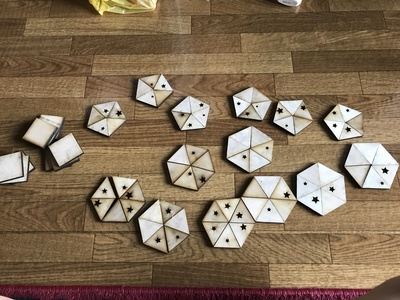
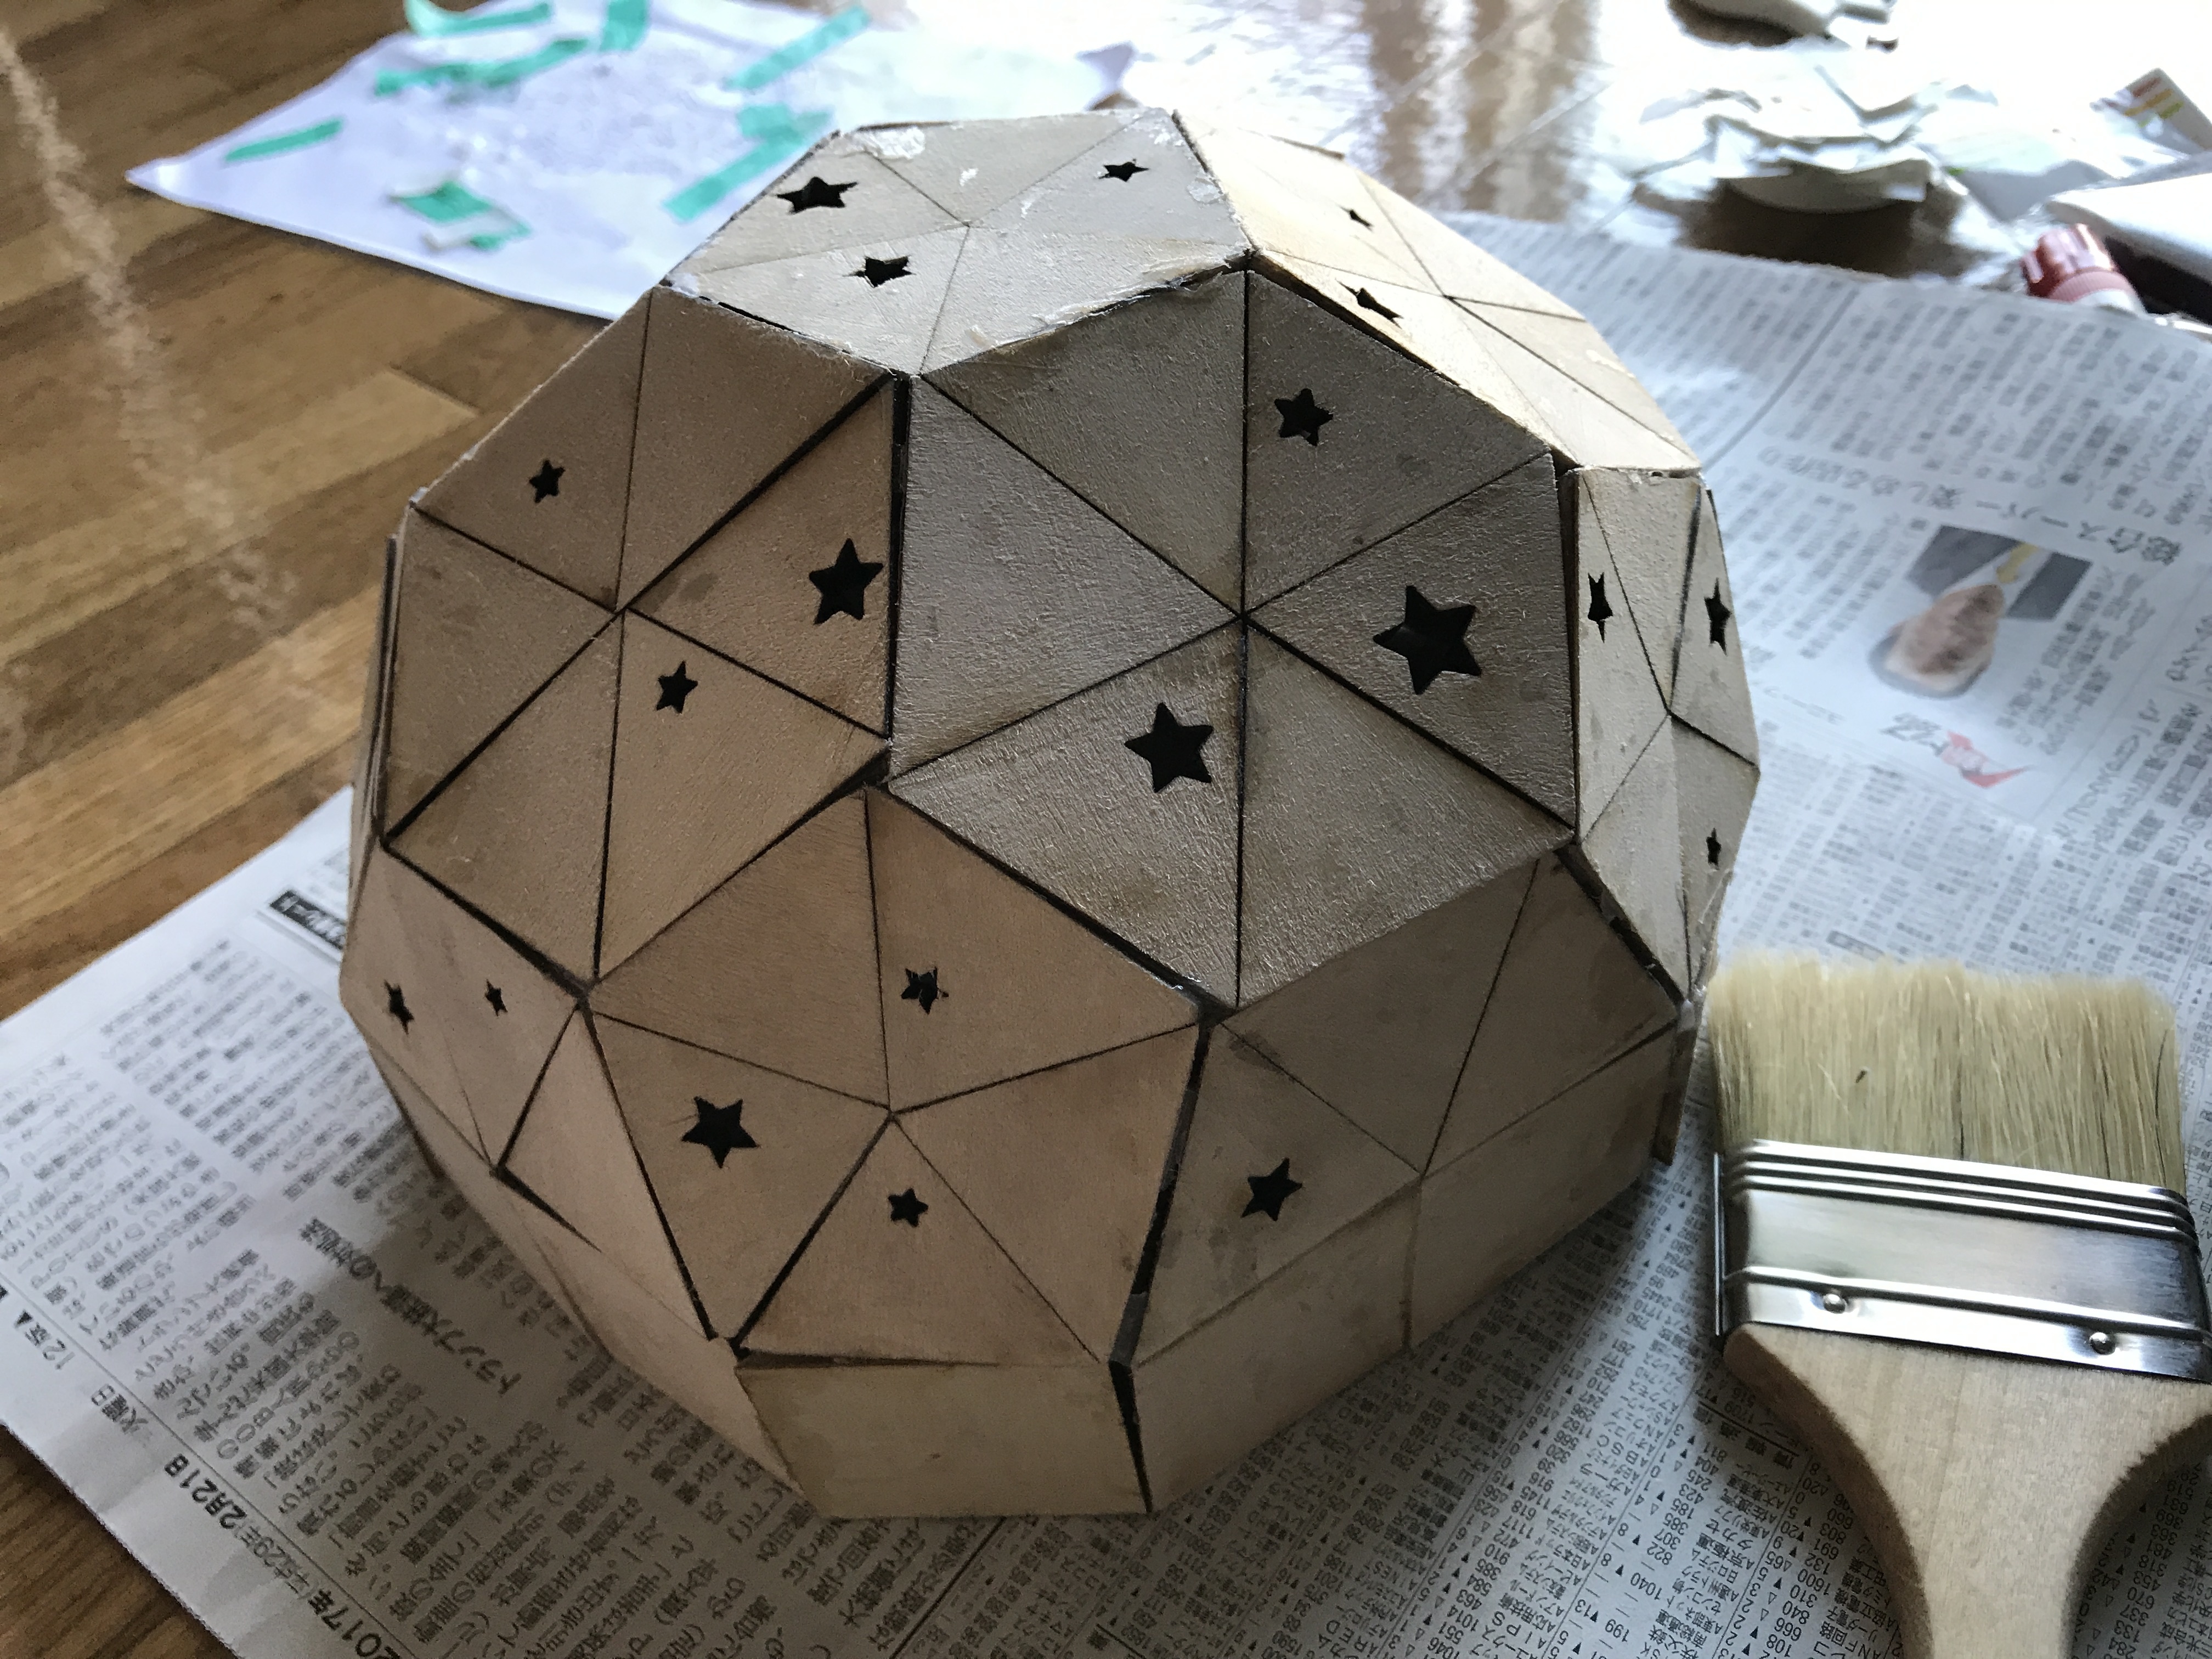
            1. Since I decided to make the at-home planetarium as a polyhedron, I searched online for a good polyhedron model so I can design the net of the polyhedron. 
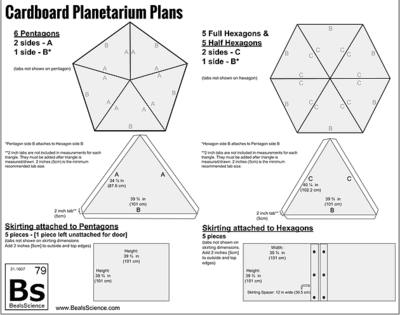
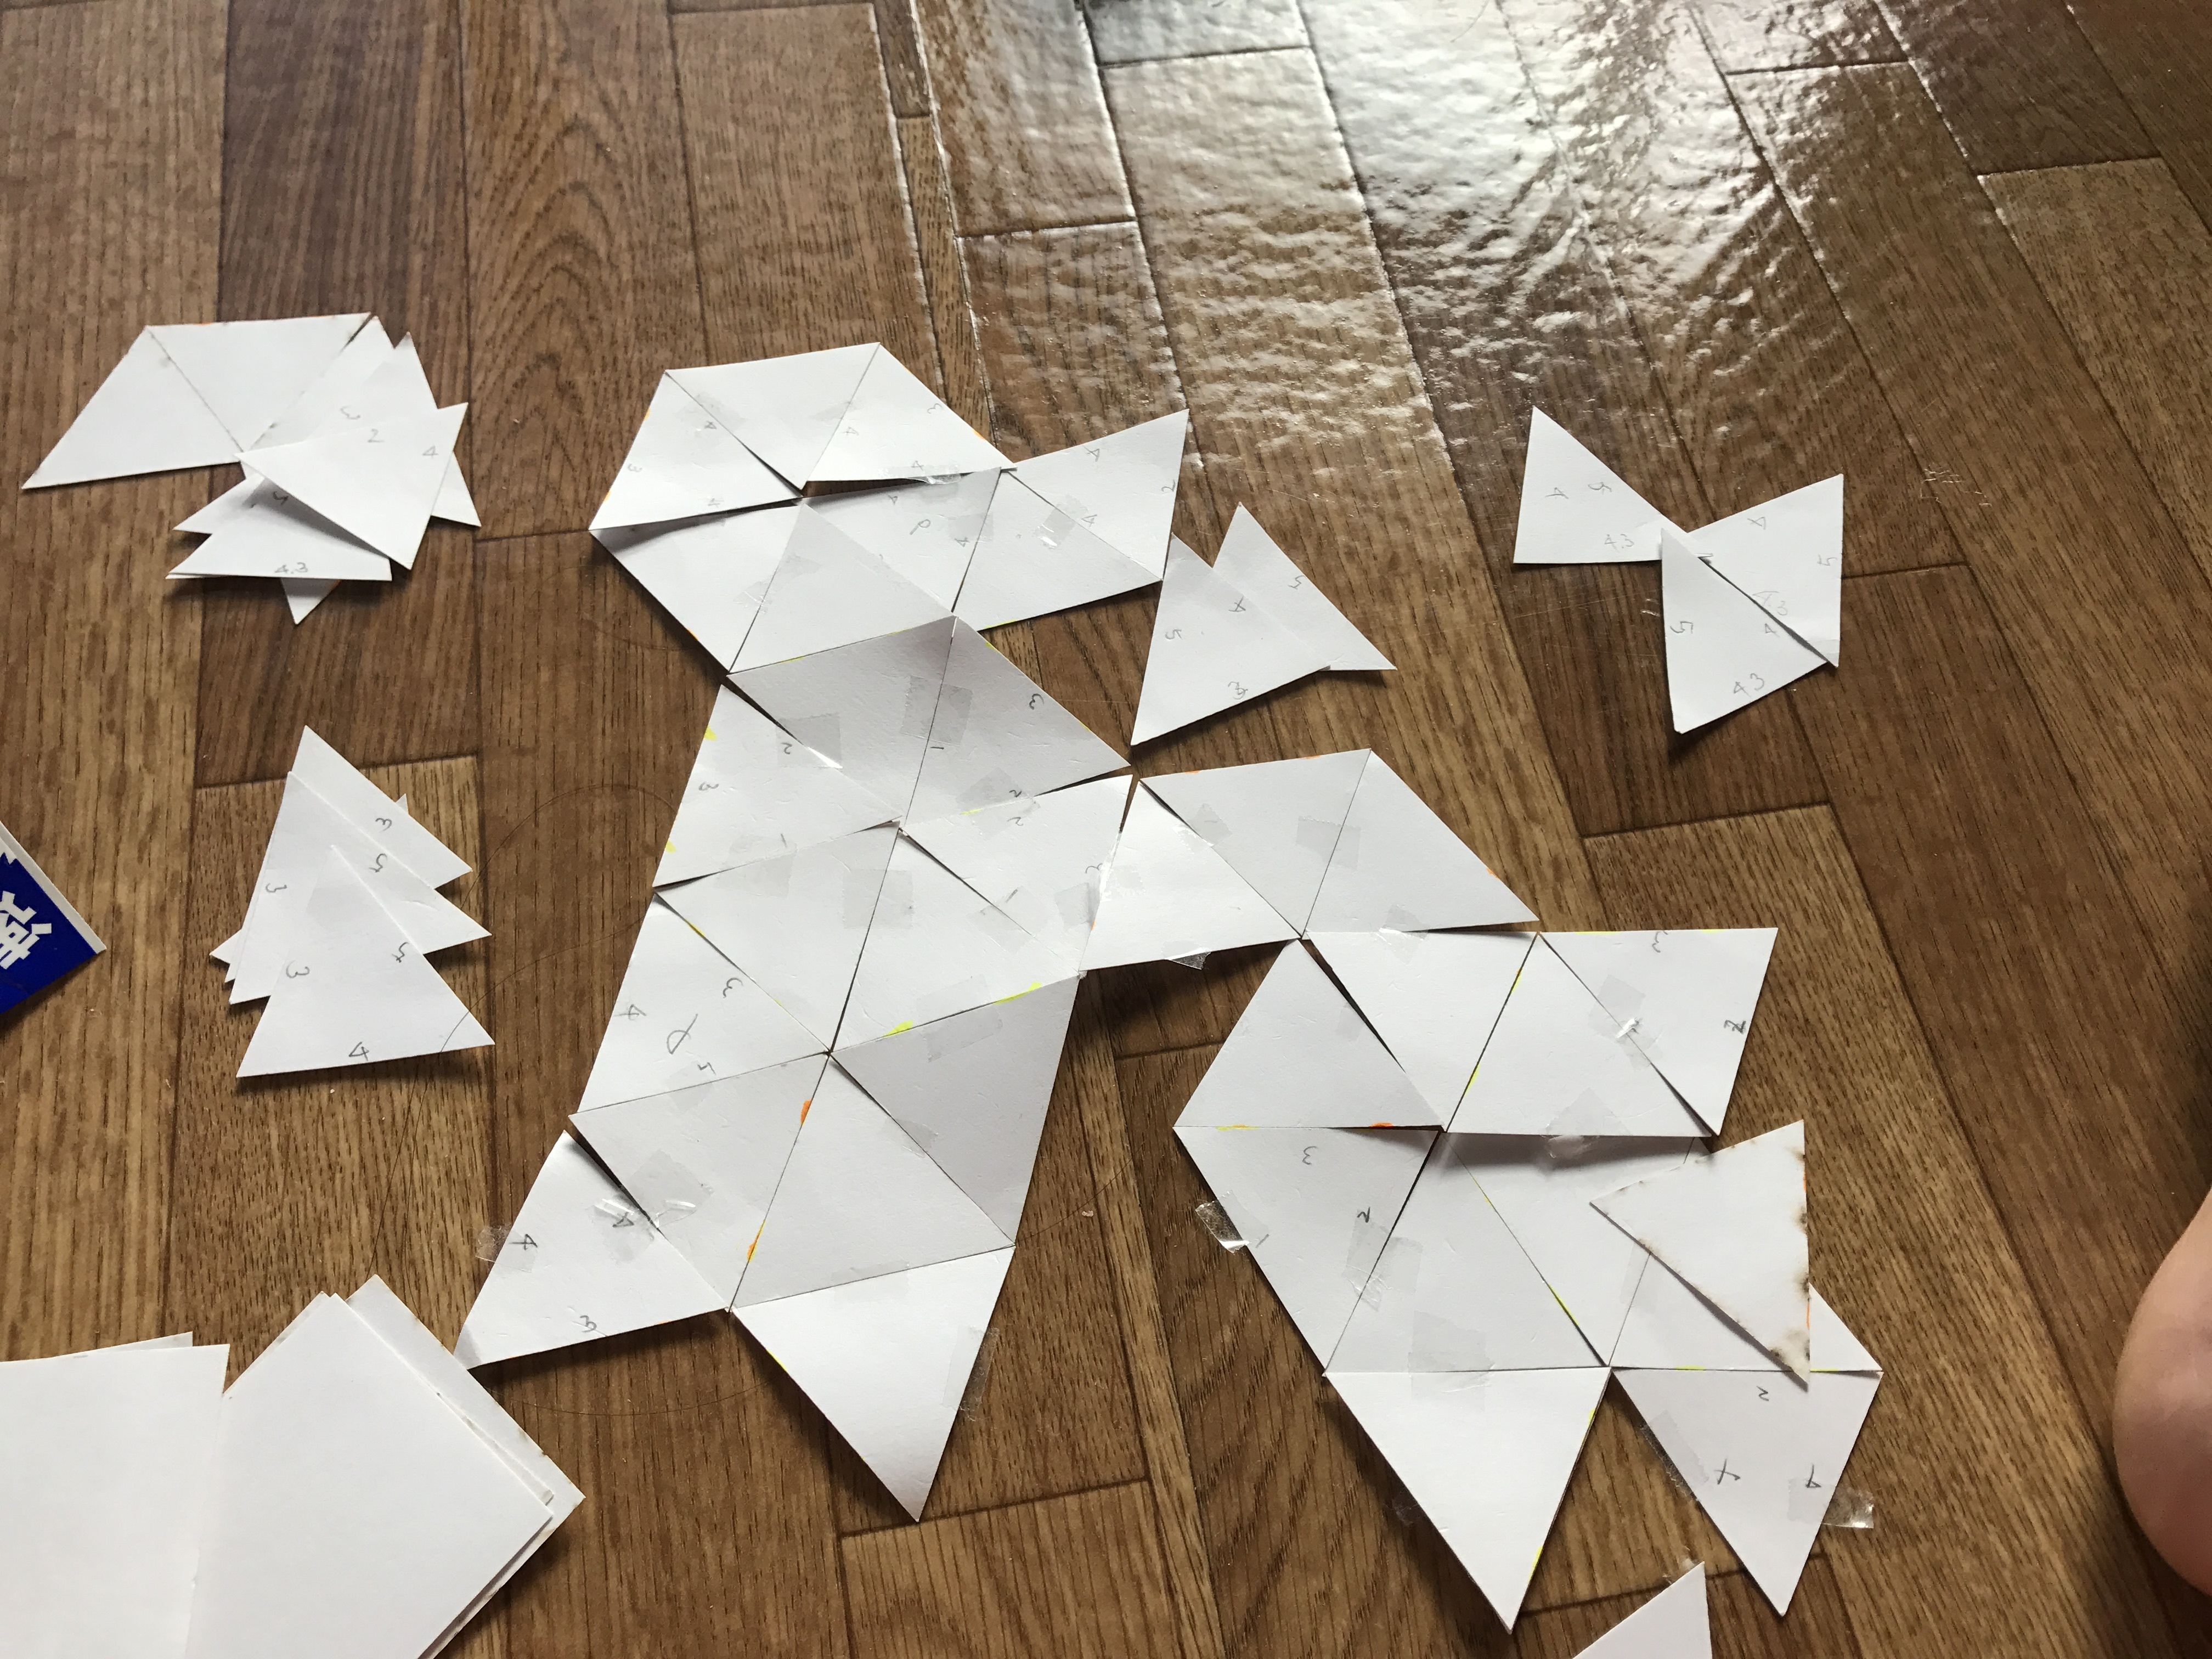
            1. Second, on the Inkscape software, I drew in equilateral pentagons, hexagons, and squares. As the site says, you need to make 6 pentagons, 5 full hexagons, and 5 half-hexagons, and 15 squares.
            • Third, what we need to do is make a prototype to double-check whether this will actually make a partial-polyhedron as intended. I used thick drawing paper to test cut. With the Epilog Helix laser cutter, I had all the pieces cut out. Put them together, and get on to the next step.
              • Fourth, get material. I bought plywood (450x900x5.5mm) from the home center, コーナン. 
                  1. After cutting, I put the pieces back into its original pentagons and hexagons. I glued the pieces together, but with a little bit of an angle so that the finished product will be rather round. 
                  • Then, with some sand paper, I needed to sand half of the edges off, so that the pieces will be able to be glued with an angle. Additionally, I sanded the surface of the pieces to remove the burnt color.
                  1. Again, to make sure the pieces fit together nicely, I connected the polygons in the specified order with tape. This step is important to do before gluing them all at once, because it allows you to make final adjustments. The sand paper comes in handy in this step.
                    1. Now, we finally are ready to construct them all together. Little by little, you glue the pieces together. 
                    • Once we glued it all together, we must check if there are any spaces or gaps in between the small pieces we glued together. We need to fill in this space in order to prevent the light from leaking from the unwanted sides.
                    1. Lastly, we coat the entire project with aqueous varnish. This will finish off the project with a natural glow. You may need to leave it to dry for several hours.
                  • Inside the dome, place a battery-powered light bulb, or any portable light source, and turn it on.
                    You are Finished!!
                    Add Card Order

                    References

                      Usages

                      • Summary

                        Whenever I walk home late after school or from some activity, I like to put my phone away, and just quietly look up at the stars. Ever since I moved to my current apartment, I just can't seem to enjoy the beauty of the stars. Because it's never dark outside, I can't find the stars. 
                      • That is when I remembered how I used to find the stars on the ceiling of my room, and go to bed under the stars. Through this whole thought process, I came to the conclusion of making this at- home planetarium.

                      Project comments