iR Remote Control Servo with Arduino Project

Created Date: 2015-10-08/ updated date: 2016-07-09
Owner & Collaborators
License
Summary
(Goal ) スイッチボックスに納められたトグルスイッチを遠隔操作するシステムを制作します。 任意の赤外線リモコンから発信した赤外線を、Arduinoに接続した赤外線受信モジュールで受信し、信号に応じて、(3つの)トグルスイッチに接続したサーボモータを動かします。 (Goal) This project aims to make a system to controll a toggle switch remotely. A User send iR signal with an arbitrary iR remote controller (Panasonic) to Arduino with iR receiver module, then the Arduino moves servo moter to turn on/off a toggle switch. iR Servo Remote Control with Arduino
https://github.com/yosukesakai/iR_Servo_Remote_Control_with_Arduino

Materials

    Tools

      Blueprints

        Making

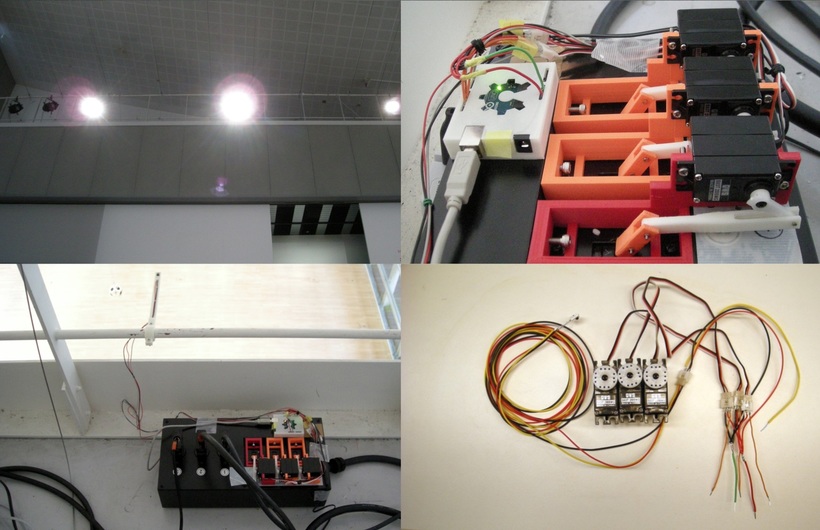
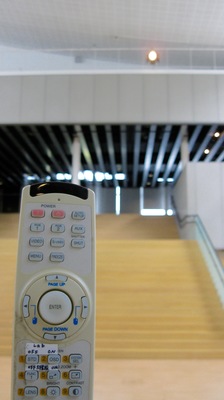
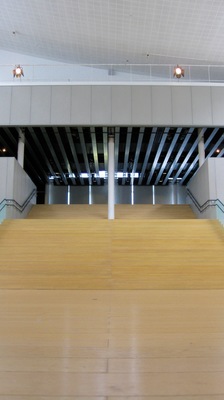
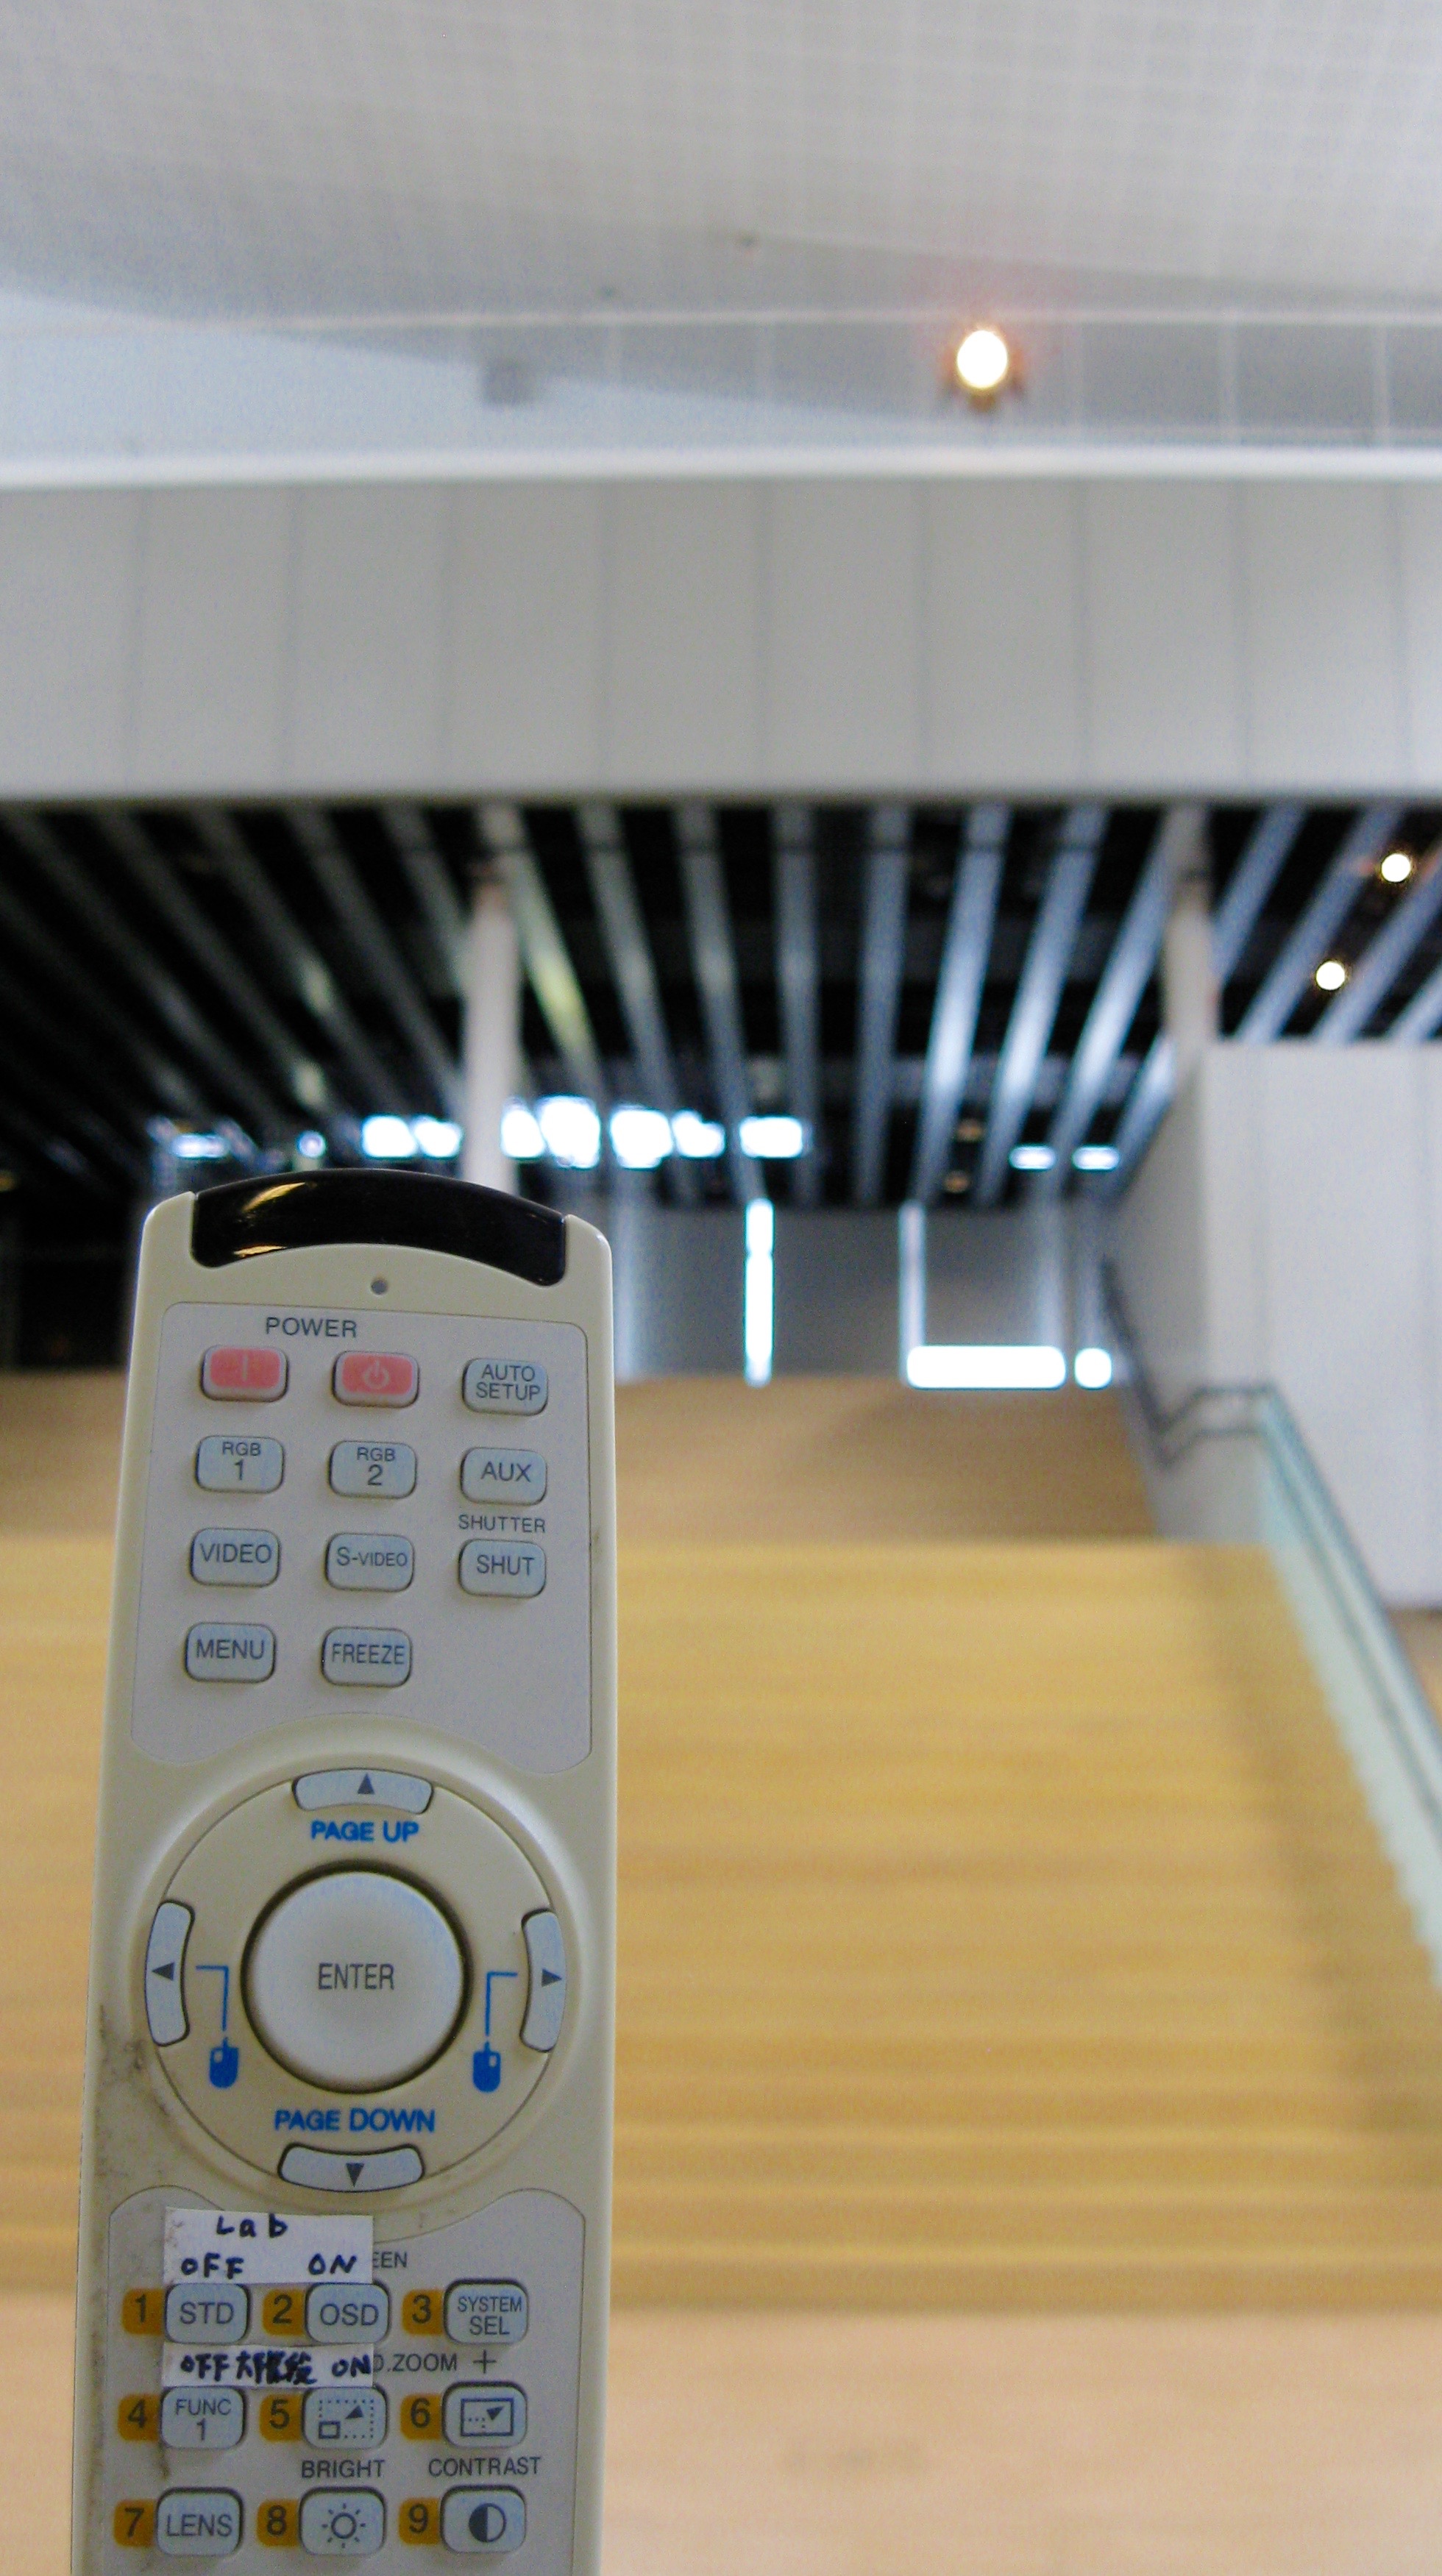
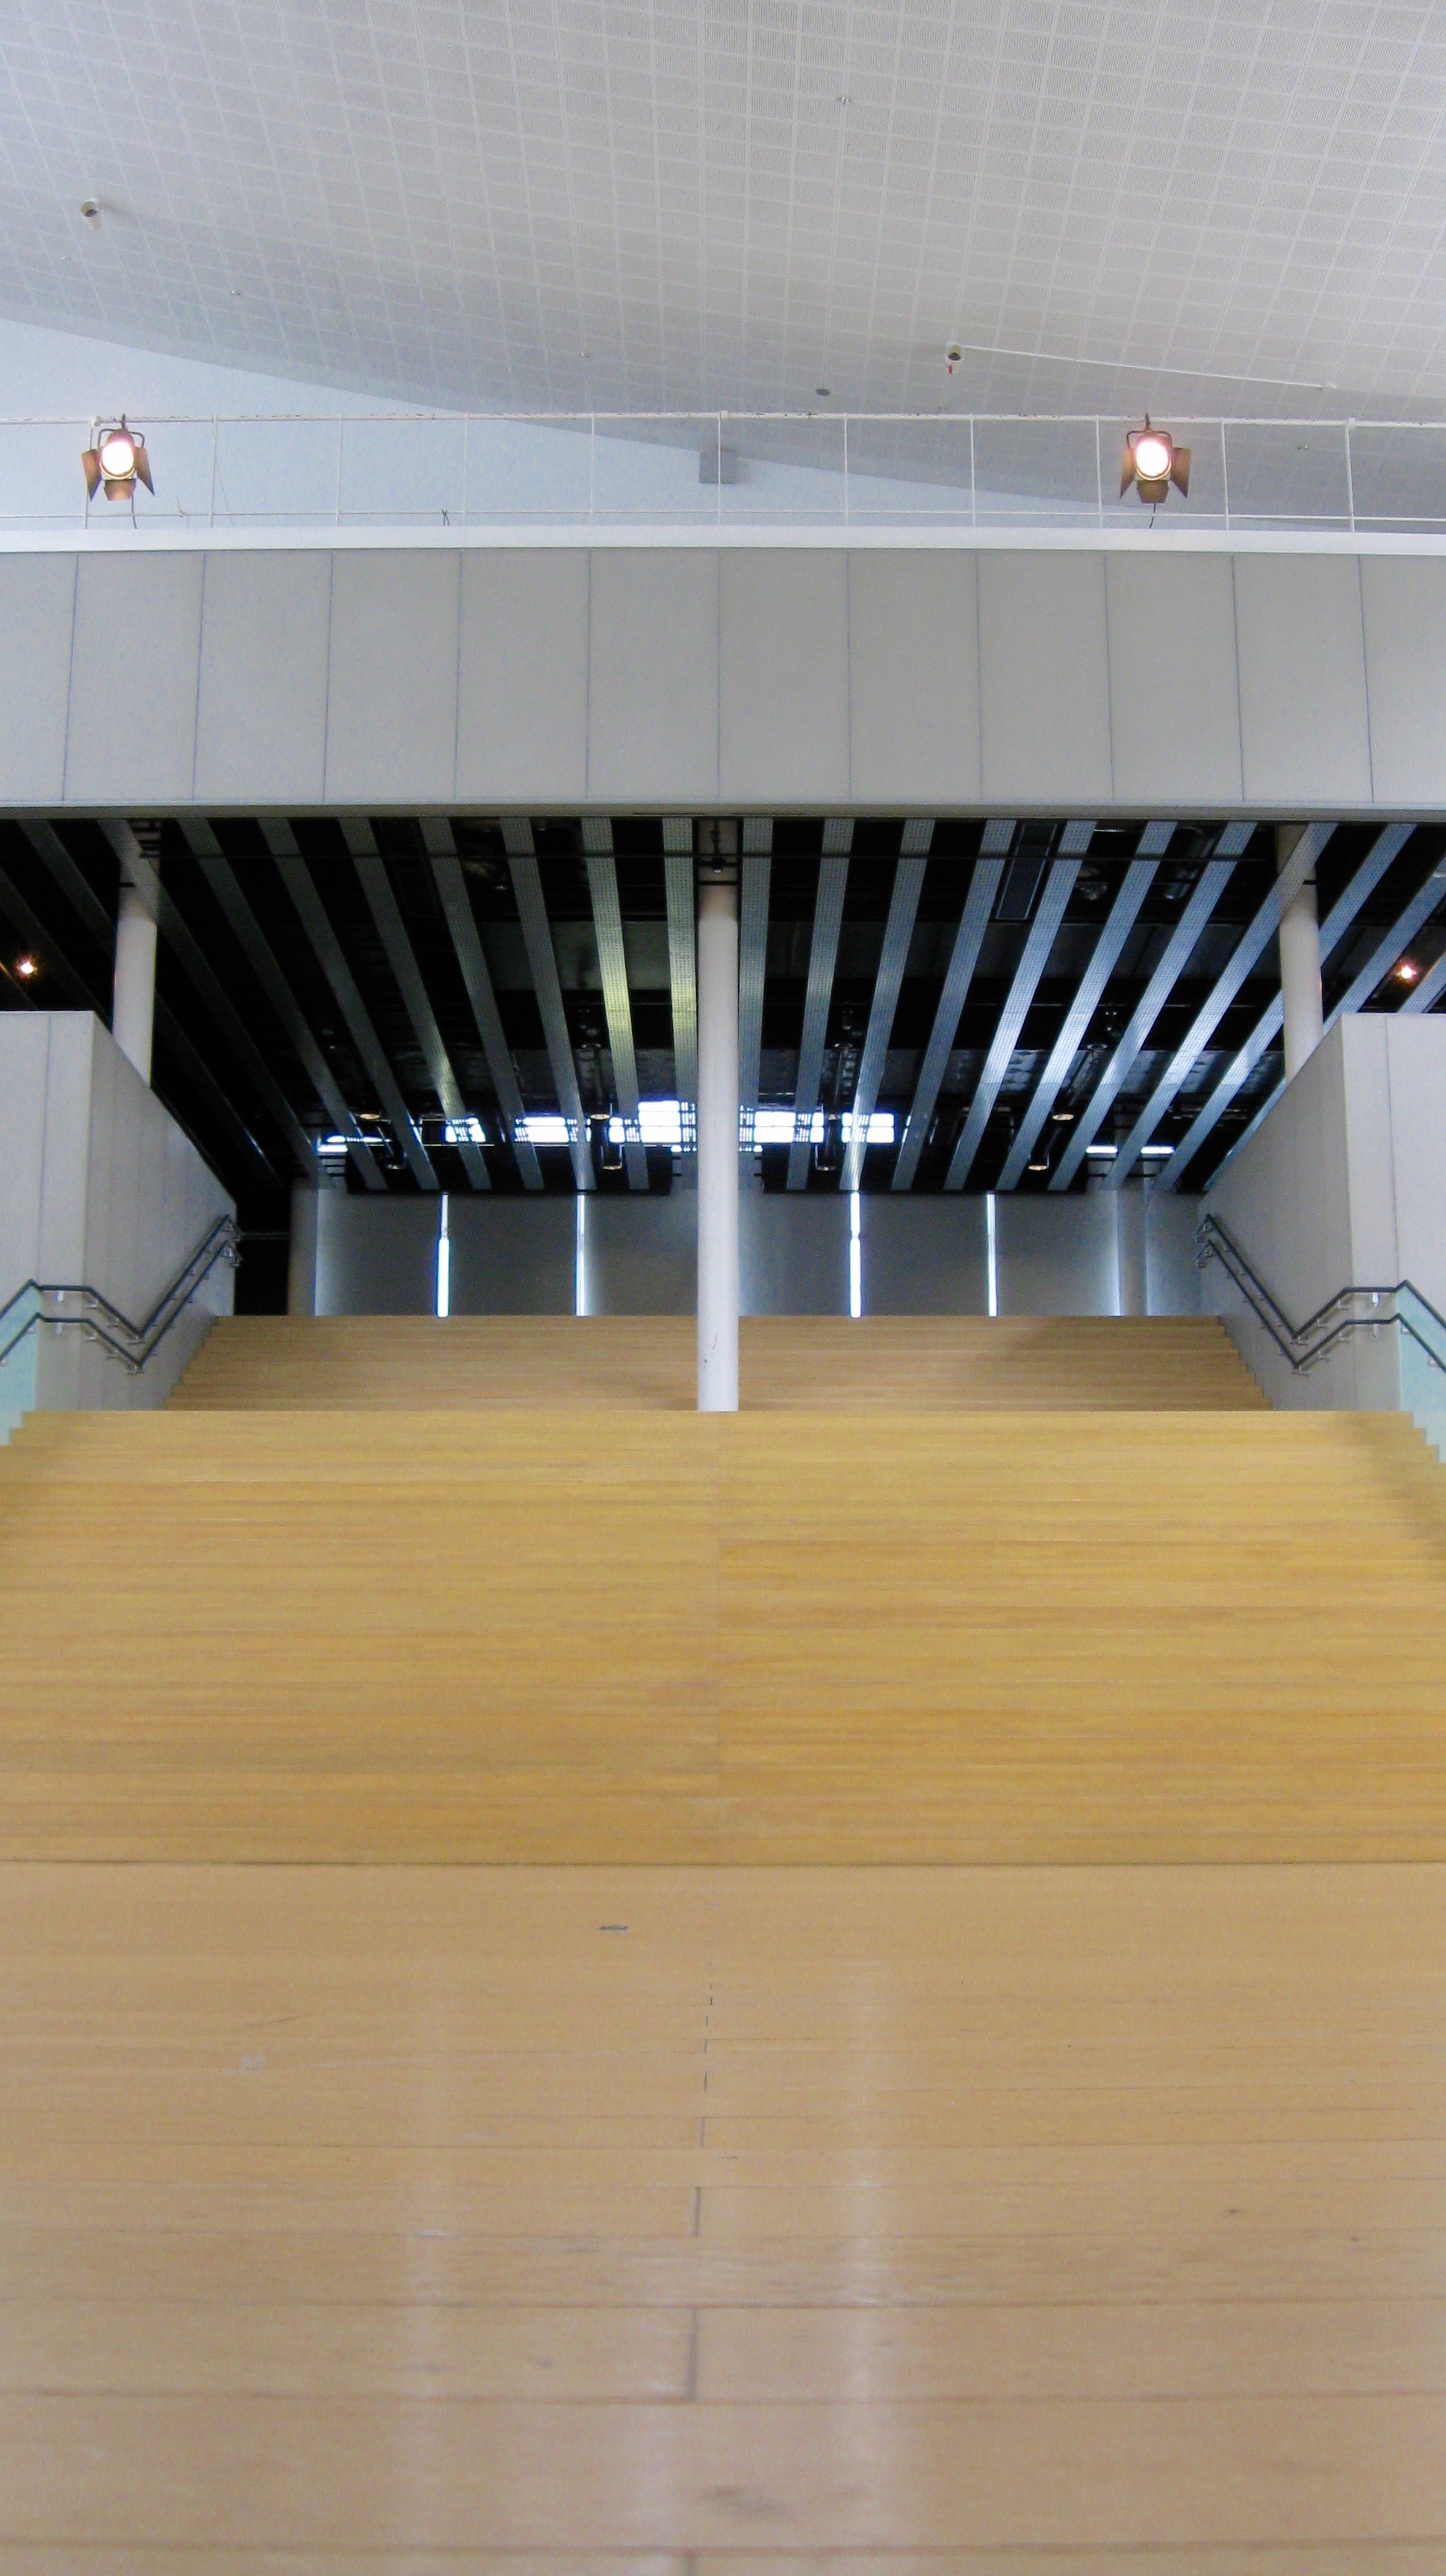
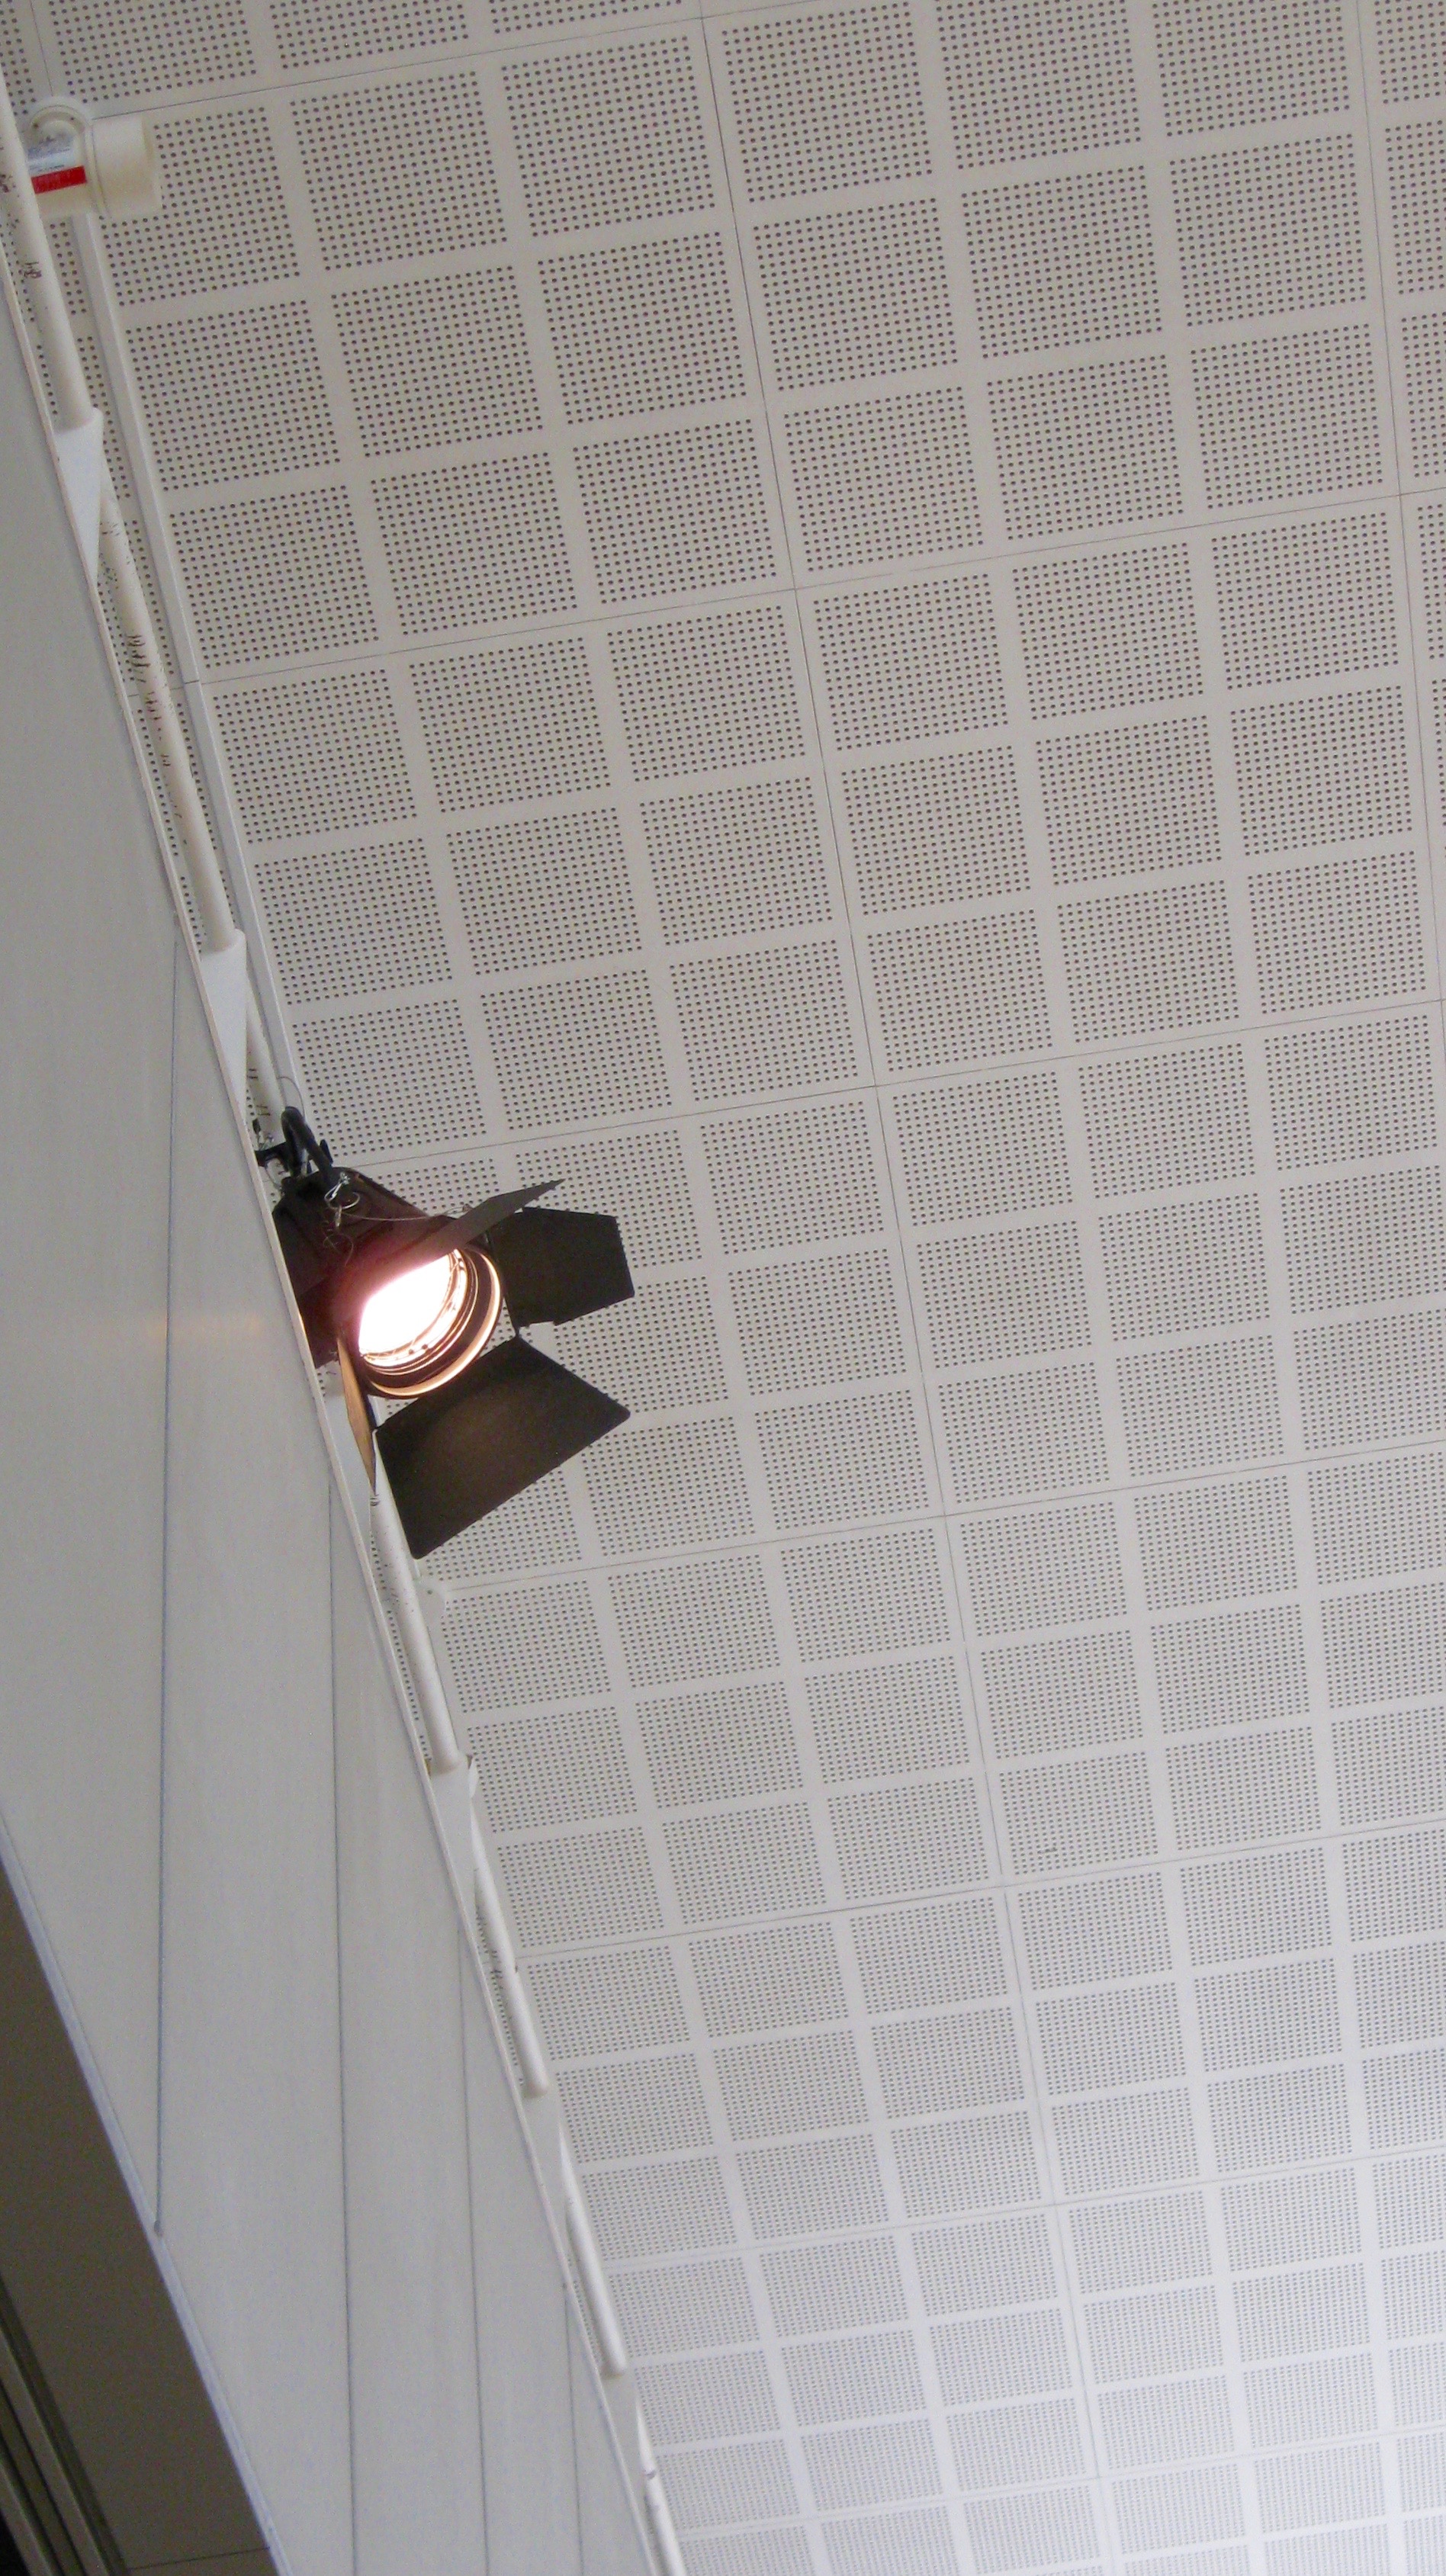
        • 山口情報芸術センター[YCAM]の館内には、ホワイエとよばれる広場があります。 ここでは様々な作品展示やイベントが行われます。ホワイエを照らす備え付けの照明はありません。 3階にあるテラスに設置した仮設の照明をいつも用いています。 仮設照明は舞台用の照明で、on/offは照明のそばにおかれたスイッチボックスで行います。 この操作は手動で行わなければなりません。このため、毎朝毎晩、このスイッチを操作するために、1階にいるスタッフが、3階まで(しかも奥まった場所!)5分以上かけて往復しなければなりませんでした。 この照明を1階から遠隔操作できるようにしよう、というのがこのプロジェクトの目的です。
          • YCAM has a large space called "Foyer". Various exhibition and events are held there. I does not have lights that are permanently-installed. It has only temporary-installed lights on 3rd floor.

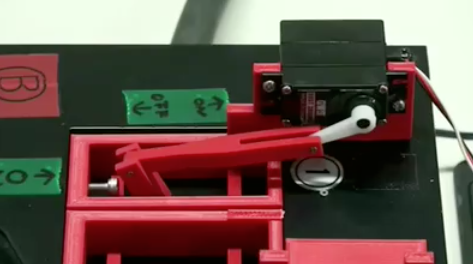
          • temporary-installed lights are for stage and controlled by switch box that is installed close to the lights. It is operated manually. So a staff has to goto 3rd floor (even it is at deep-set! ) from 1st floor in every morning and night to oparate it. It takes more than 5 min!

          • So I decided to make something to controll the lights from 1st floor.
        • スイッチボックスに納められたトグルスイッチを遠隔操作するシステムを制作します。 
          任意の赤外線リモコンから発信した赤外線を、Arduinoに接続した赤外線受信モジュールで受信し、信号に応じて、(3つの)トグルスイッチに接続したサーボモータを動かします。
          • This project aims to make a system to controll a toggle switch remotely. 
            A User send iR signal with an arbitrary iR remote controller (Panasonic) to Arduino with iR receiver module, then the Arduino moves servo moter to turn on/off a toggle switch.
        • サーボモーター(GWS Servo S03T/2BBMG/F)とArduino Uno を準備し、以下のように接続する。    
          --
          Connect servo motor (GWS Servo S03T/2BBMG/F) to Arduino Uno  

          • 1.servo motor's Grand to Arduino's Ground  
            2.servo motor's PWR to Arduino's +5V  
            3.servo motor's signal to Arduino's #9  
          • 1.servo motor's Grand to Arduino's Ground  
            2.servo motor's PWR to Arduino's +5V  
            3.servo motor's signal to Arduino's #10  
          • 1.servo motor's Grand to Arduino's Ground  
            2.servo motor's PWR to Arduino's +5V  
            3.servo motor's signal to Arduino's #11  
        • iR Receiver Module (PL-IRM0101(38kHz)with shield) と Arduinoを、以下のように接続する。  
          --
          Connect iR Receiver Module (PL-IRM0101(38kHz)with shield) to Arduino  
          • 1.iR Receiver's Grand to Arduino's Ground
            2.iR Receiver's PWR to Arduino's +5V
            3.iR Receiver's signal to Arduino's #2
        • "iR_Servo_RemoteControl.ino"をダウンロードします。  
          調べた赤外線リモコンの信号を、適切な場所に貼り付けます。  
          (サーボの角度も設定できます。)  
          --
          Download "iR_Servo_RemoteControl.ino"
          And set the signal code that you want to use for control the servo motor
          in proper place in the code "iR_Servo_RemoteControl.ino"  
          (angle also)

        • そして、Arduinoに転送します。  
          これで、赤外線リモコンでサーボをコントロールできます。
          --
          Send the Code to Arduino     
          then you can controll servo motor with your iR remote controller   
          • 以下のパーツをプリントします。

            Basement
            Lever
            NobExtender
            SensorSupport_Upper SensorSupport_lower


            --
            Print parts below

            Basement
            Lever
            NobExtender
            SensorSupport_Upper SensorSupport_lower


            • iR_Servo_Remote_Control_with_Arduino/MachineryParts_stl
              https://github.com/yosukesakai/iR_Servo_Remote_Control_with_Arduino/tree/master/MachineryParts_stl

          • パーツをねじ止めし(M1.7, M3, M4)、組み立てれば完成!

            --
            Install parts with proper screw (M1.7, M3, M4)
            then finished!
            Add Card Order

            References

              Usages

              • 実運用 Actual Use

                2013年からYCAMで実稼働しています。
                --
                it is actually used  in YCAM from 2013.


              Project comments

              • No.001MyrticeBassPosted date: 2023-12-15
                Your project is so interesting. Thanks for sharing geometry dash lite which is interesting
              • No.002LavernePosted date: 2024-03-11
                Your article has helped me broaden my horizons, I appreciate your efforts, it's amazing, thank you very much. Stickman Boost