
- Name: Shaini
Age: 10
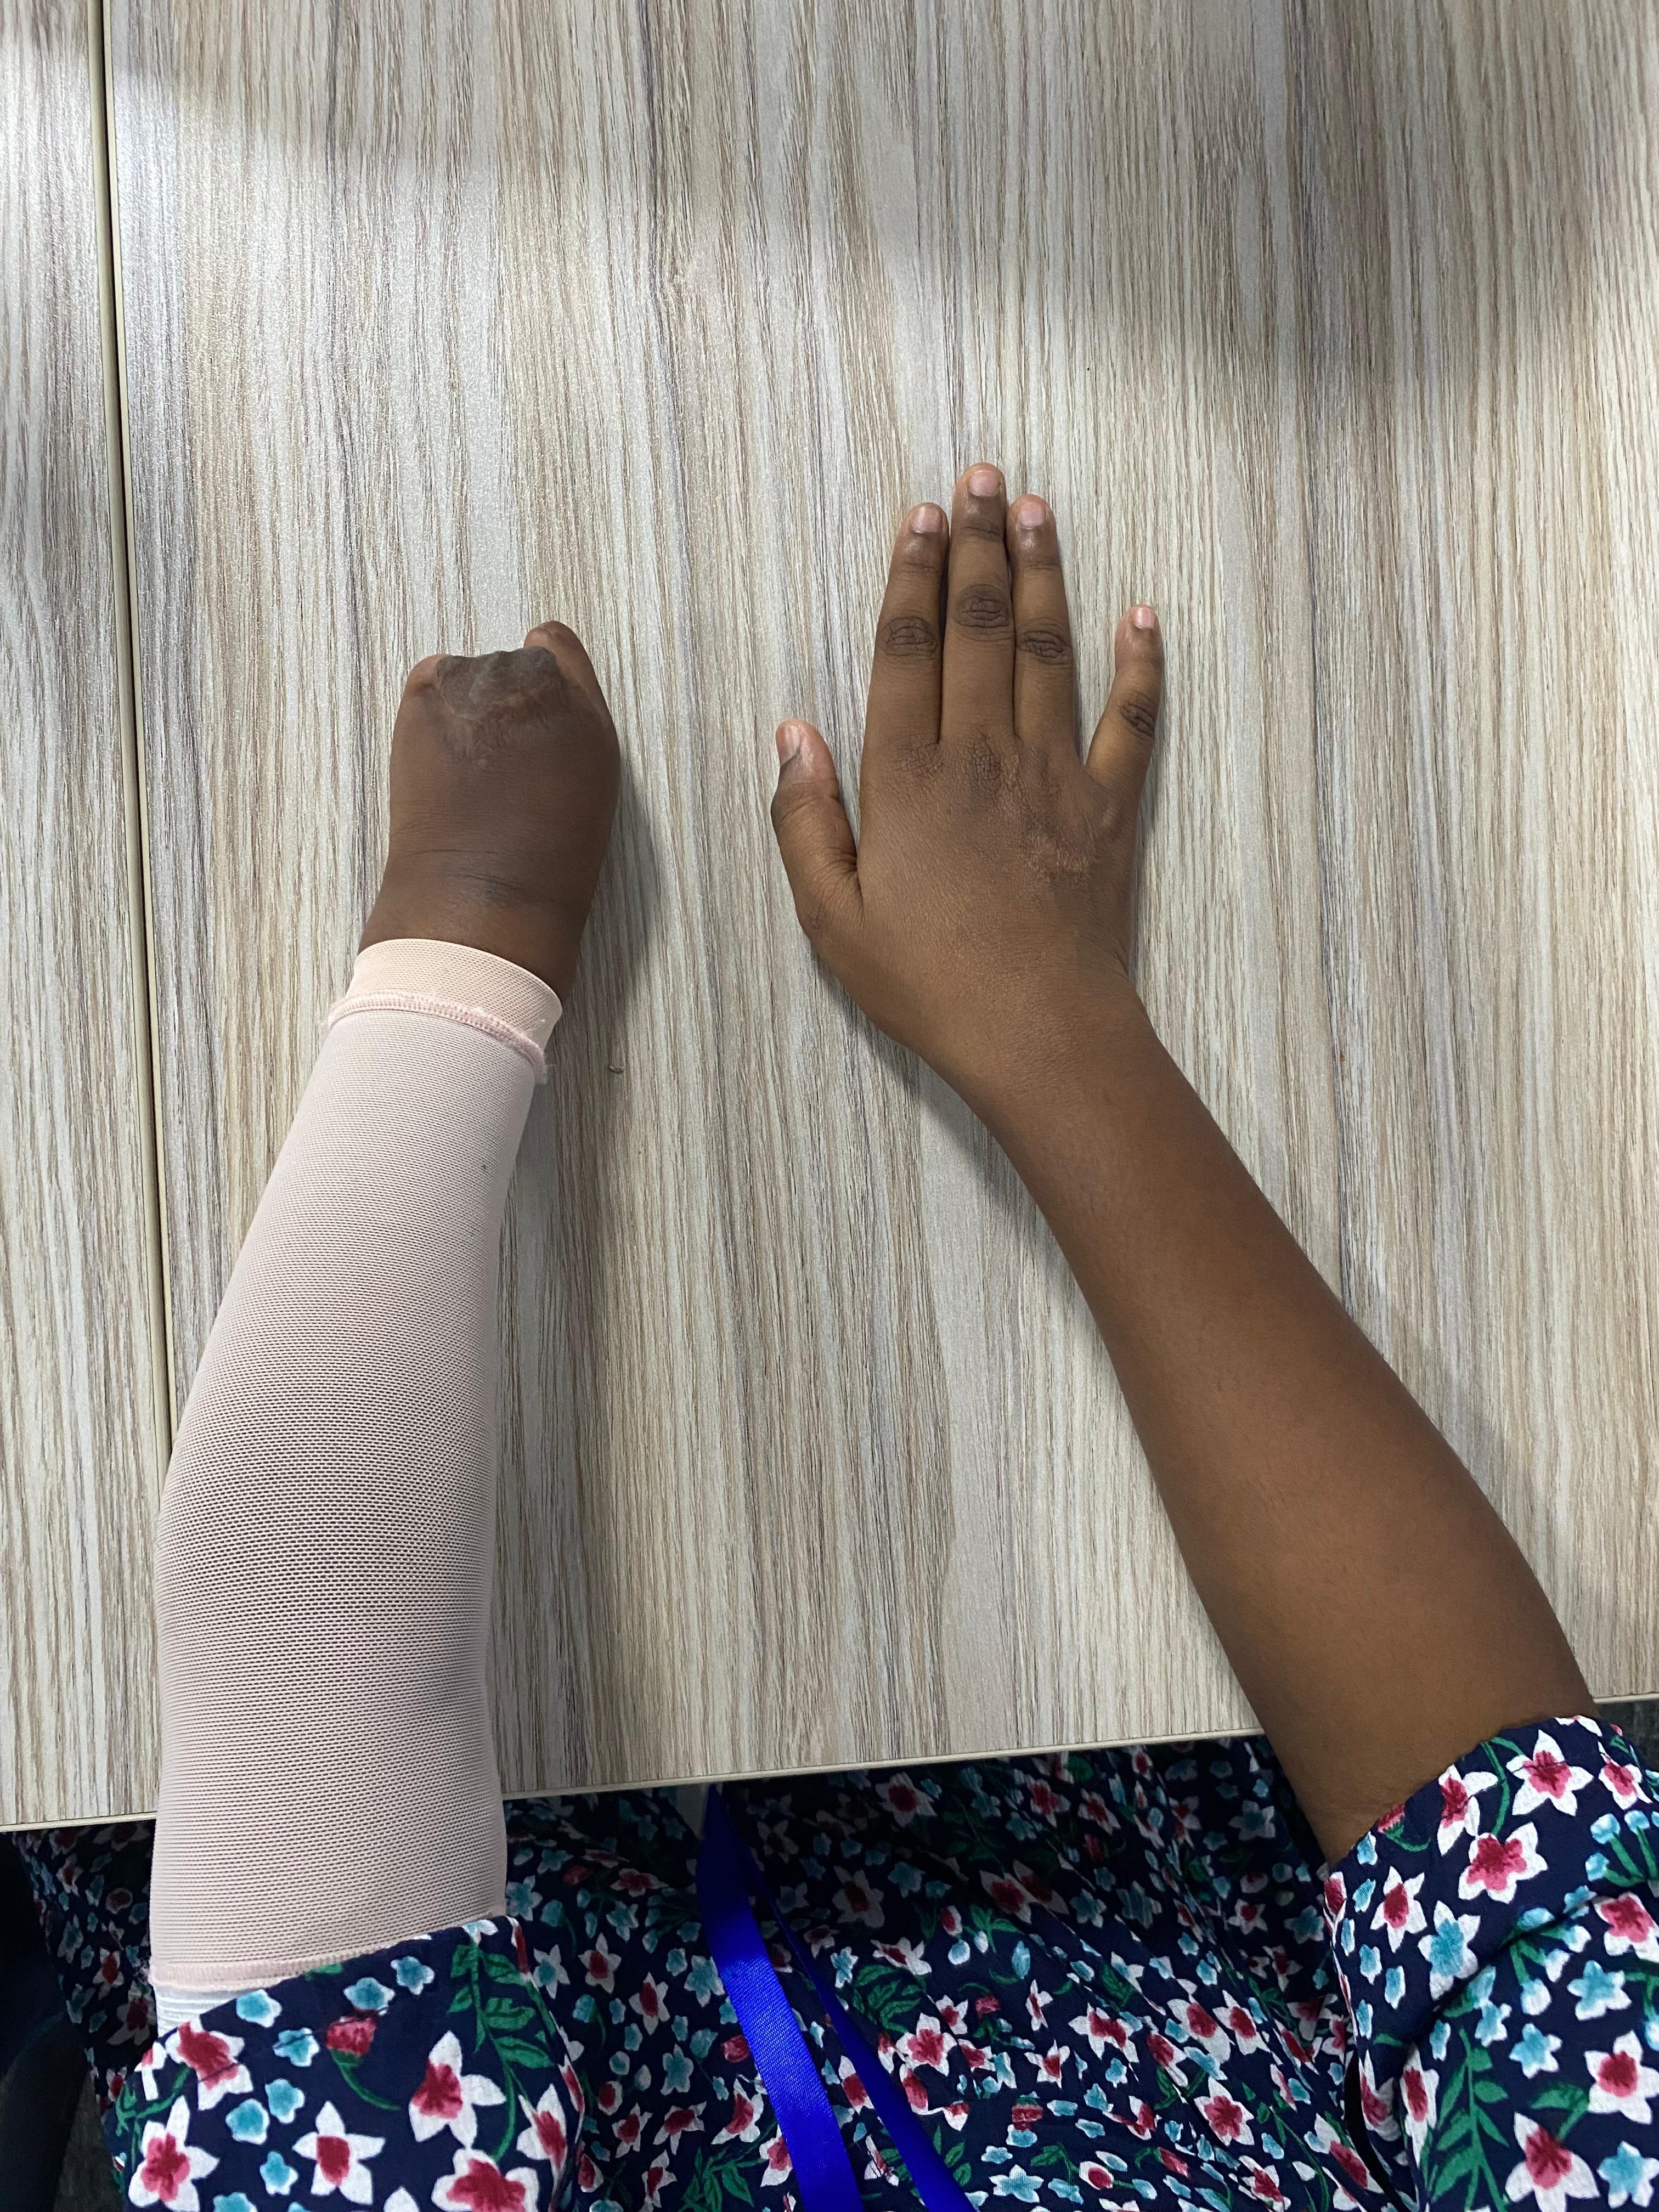
Background: Shaini is a bright and determined child who lost four fingers on her left hand, making precise control difficult. Despite this, she remains active and engaged, with a strong passion for music and learning.
SARMA in Sri Lanka-Team13: CAREBOT:
Owner & Collaborators
License

SARMA in Sri Lanka-Team13: CAREBOT: by FablabShinagawa, ishara, dilanka, NisharaPerera, YasithRandima, DasunDevinda, UdeeshaRavishan is licensed under the Creative Commons - Attribution license.
Summary
Materials
Tools
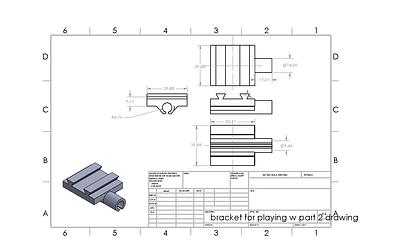
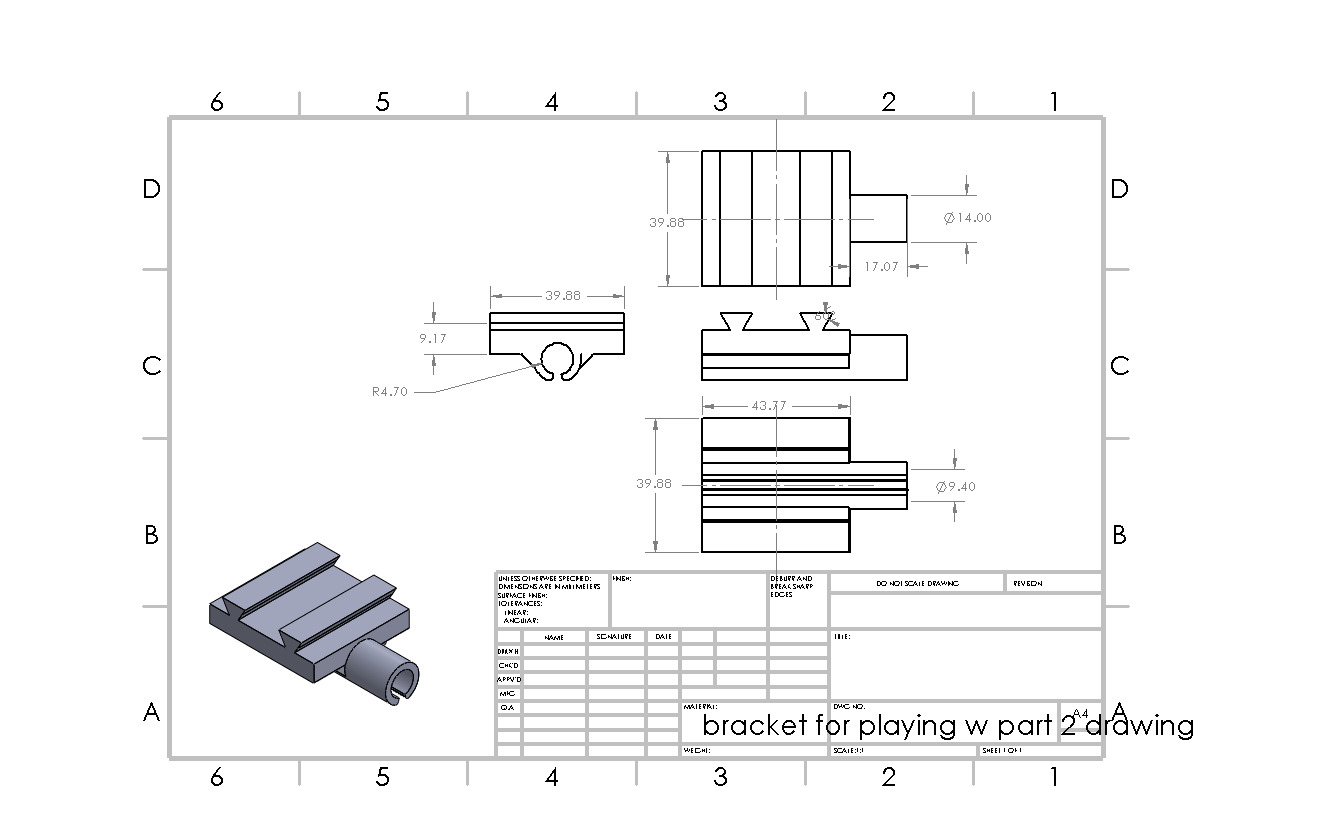
Blueprints
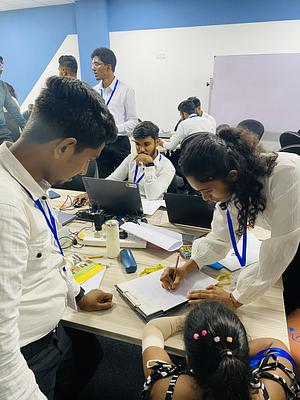
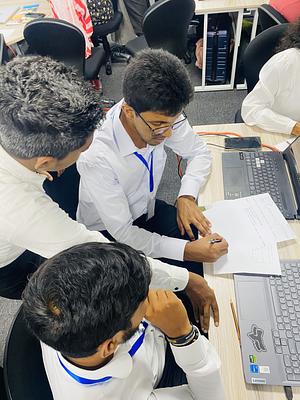
Making
- Shaini enjoys a variety of activities, including:
- Playing the violin: She loves expressing herself through music.
- Learning new things: Always curious, she enjoys exploring and trying new activities.
- Creative hobbies: Drawing and crafting are ways she explores her artistic side.
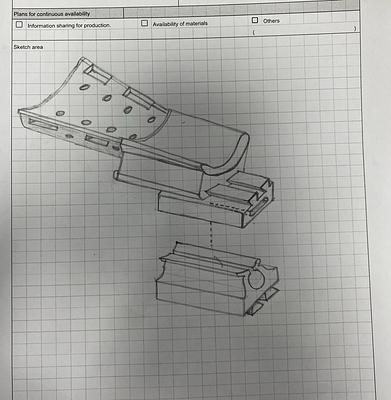
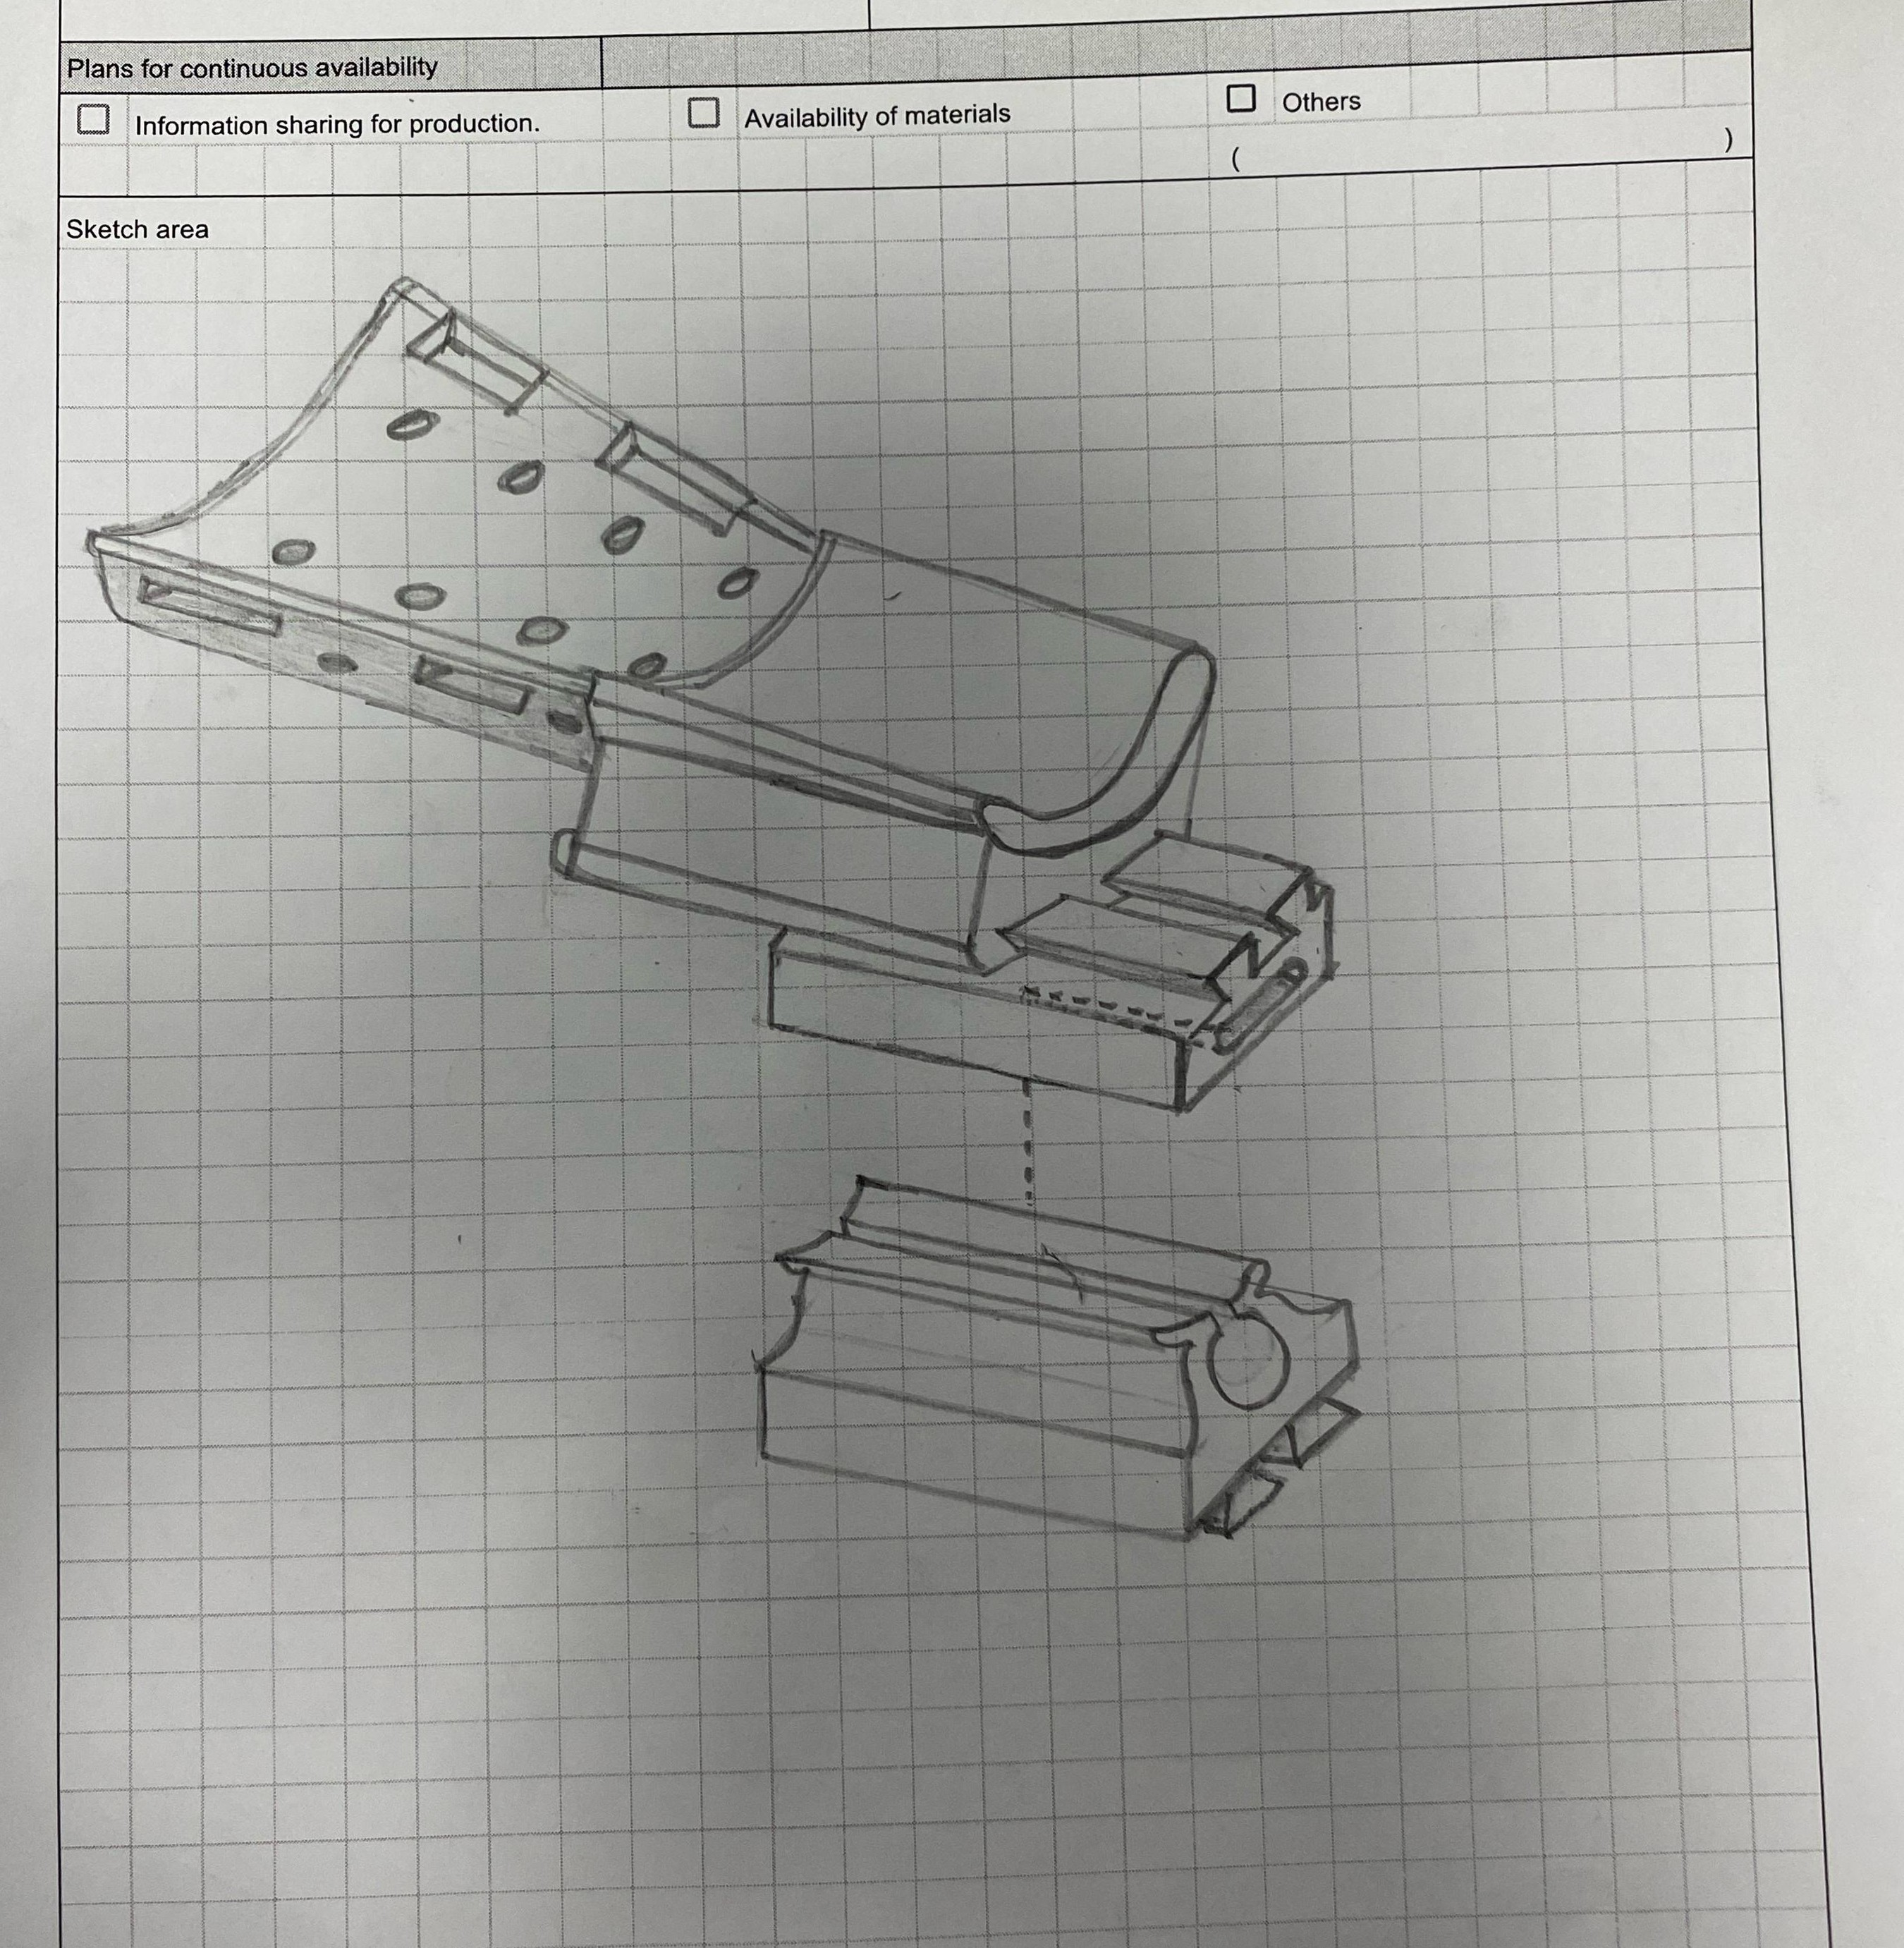
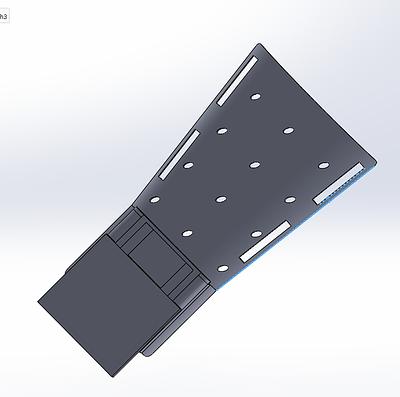
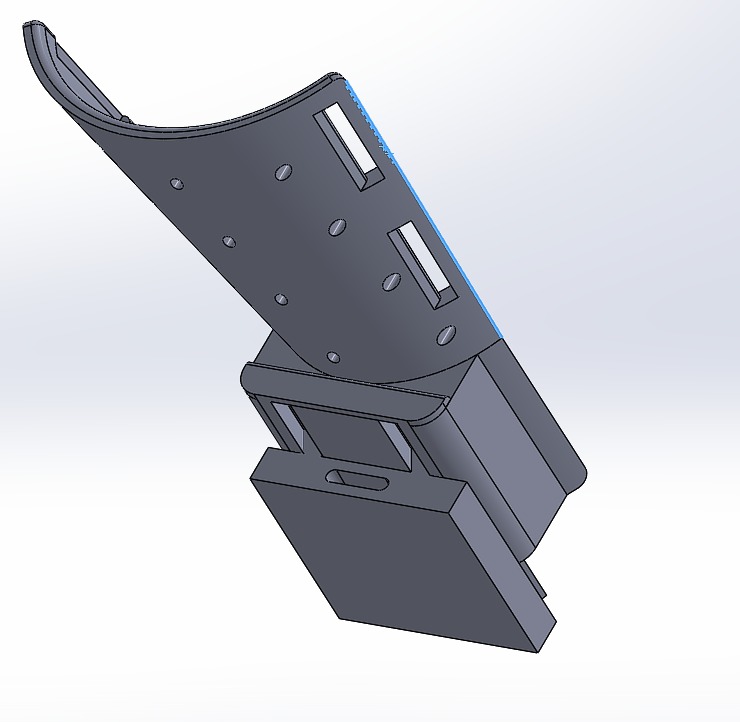
- A modular, 3D-printed hand mount that allows interchangeable attachments for different tasks. It can securely hold tools, giving Shaini control over her self-care activities with ease. The mount is designed for comfort, flexibility, and long-term usability.
- Specialized clothing with Velcro fasteners, elastic shoelaces, and button hooks can make dressing easier. Magnetic or loop-based zippers help her manage clothing adjustments independently.
- Touchless soap dispensers, pump-free toothpaste holders, and bidet attachments reduce the need for precise hand movements, making personal hygiene more manageable.
- The Adaptive Hand Mount is a flexible, 3D-printed solution that helps individuals with limited hand mobility use everyday tools. Its adjustable design ensures comfort and independence for tasks like self-care and creative activities.
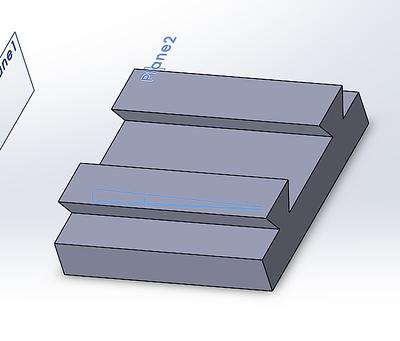
- Creating a modular attachment system with easy interchangeability.
- Using adjustable straps to ensure a snug and comfortable fit.
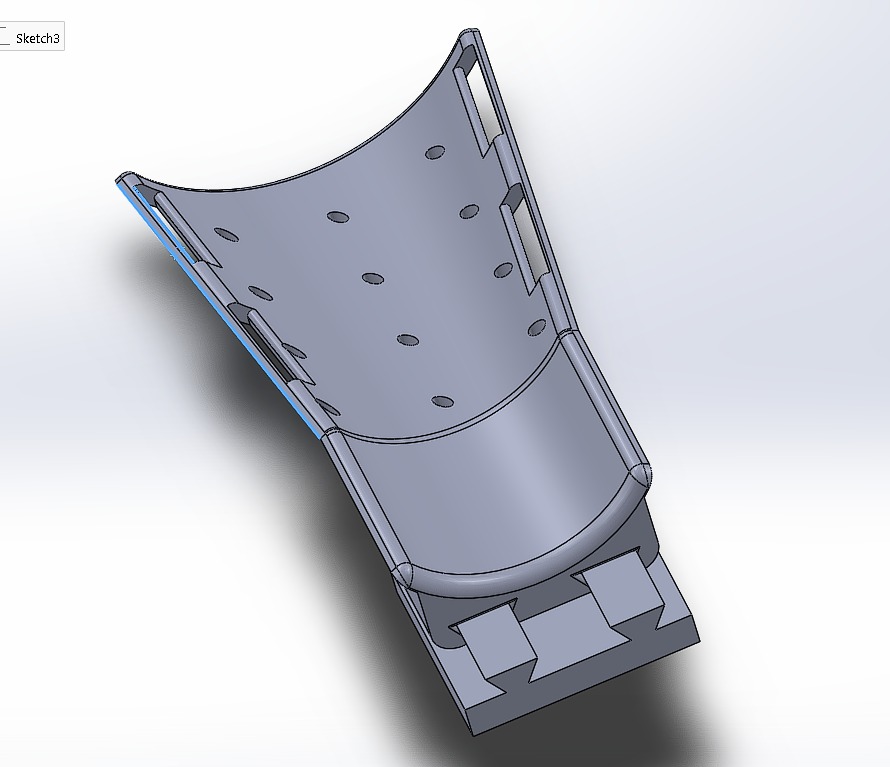
- Designing an ergonomic grip structure to enhance usability.
- Incorporating a lightweight frame to minimize strain.
- Using different materials for flexibility and strength.
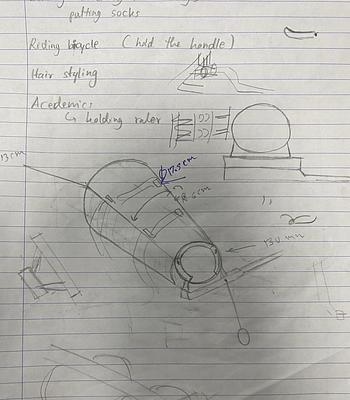
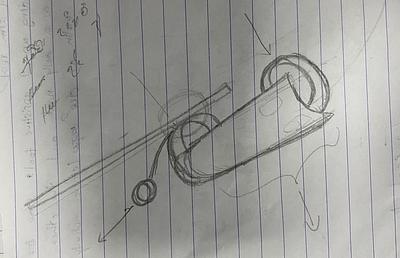
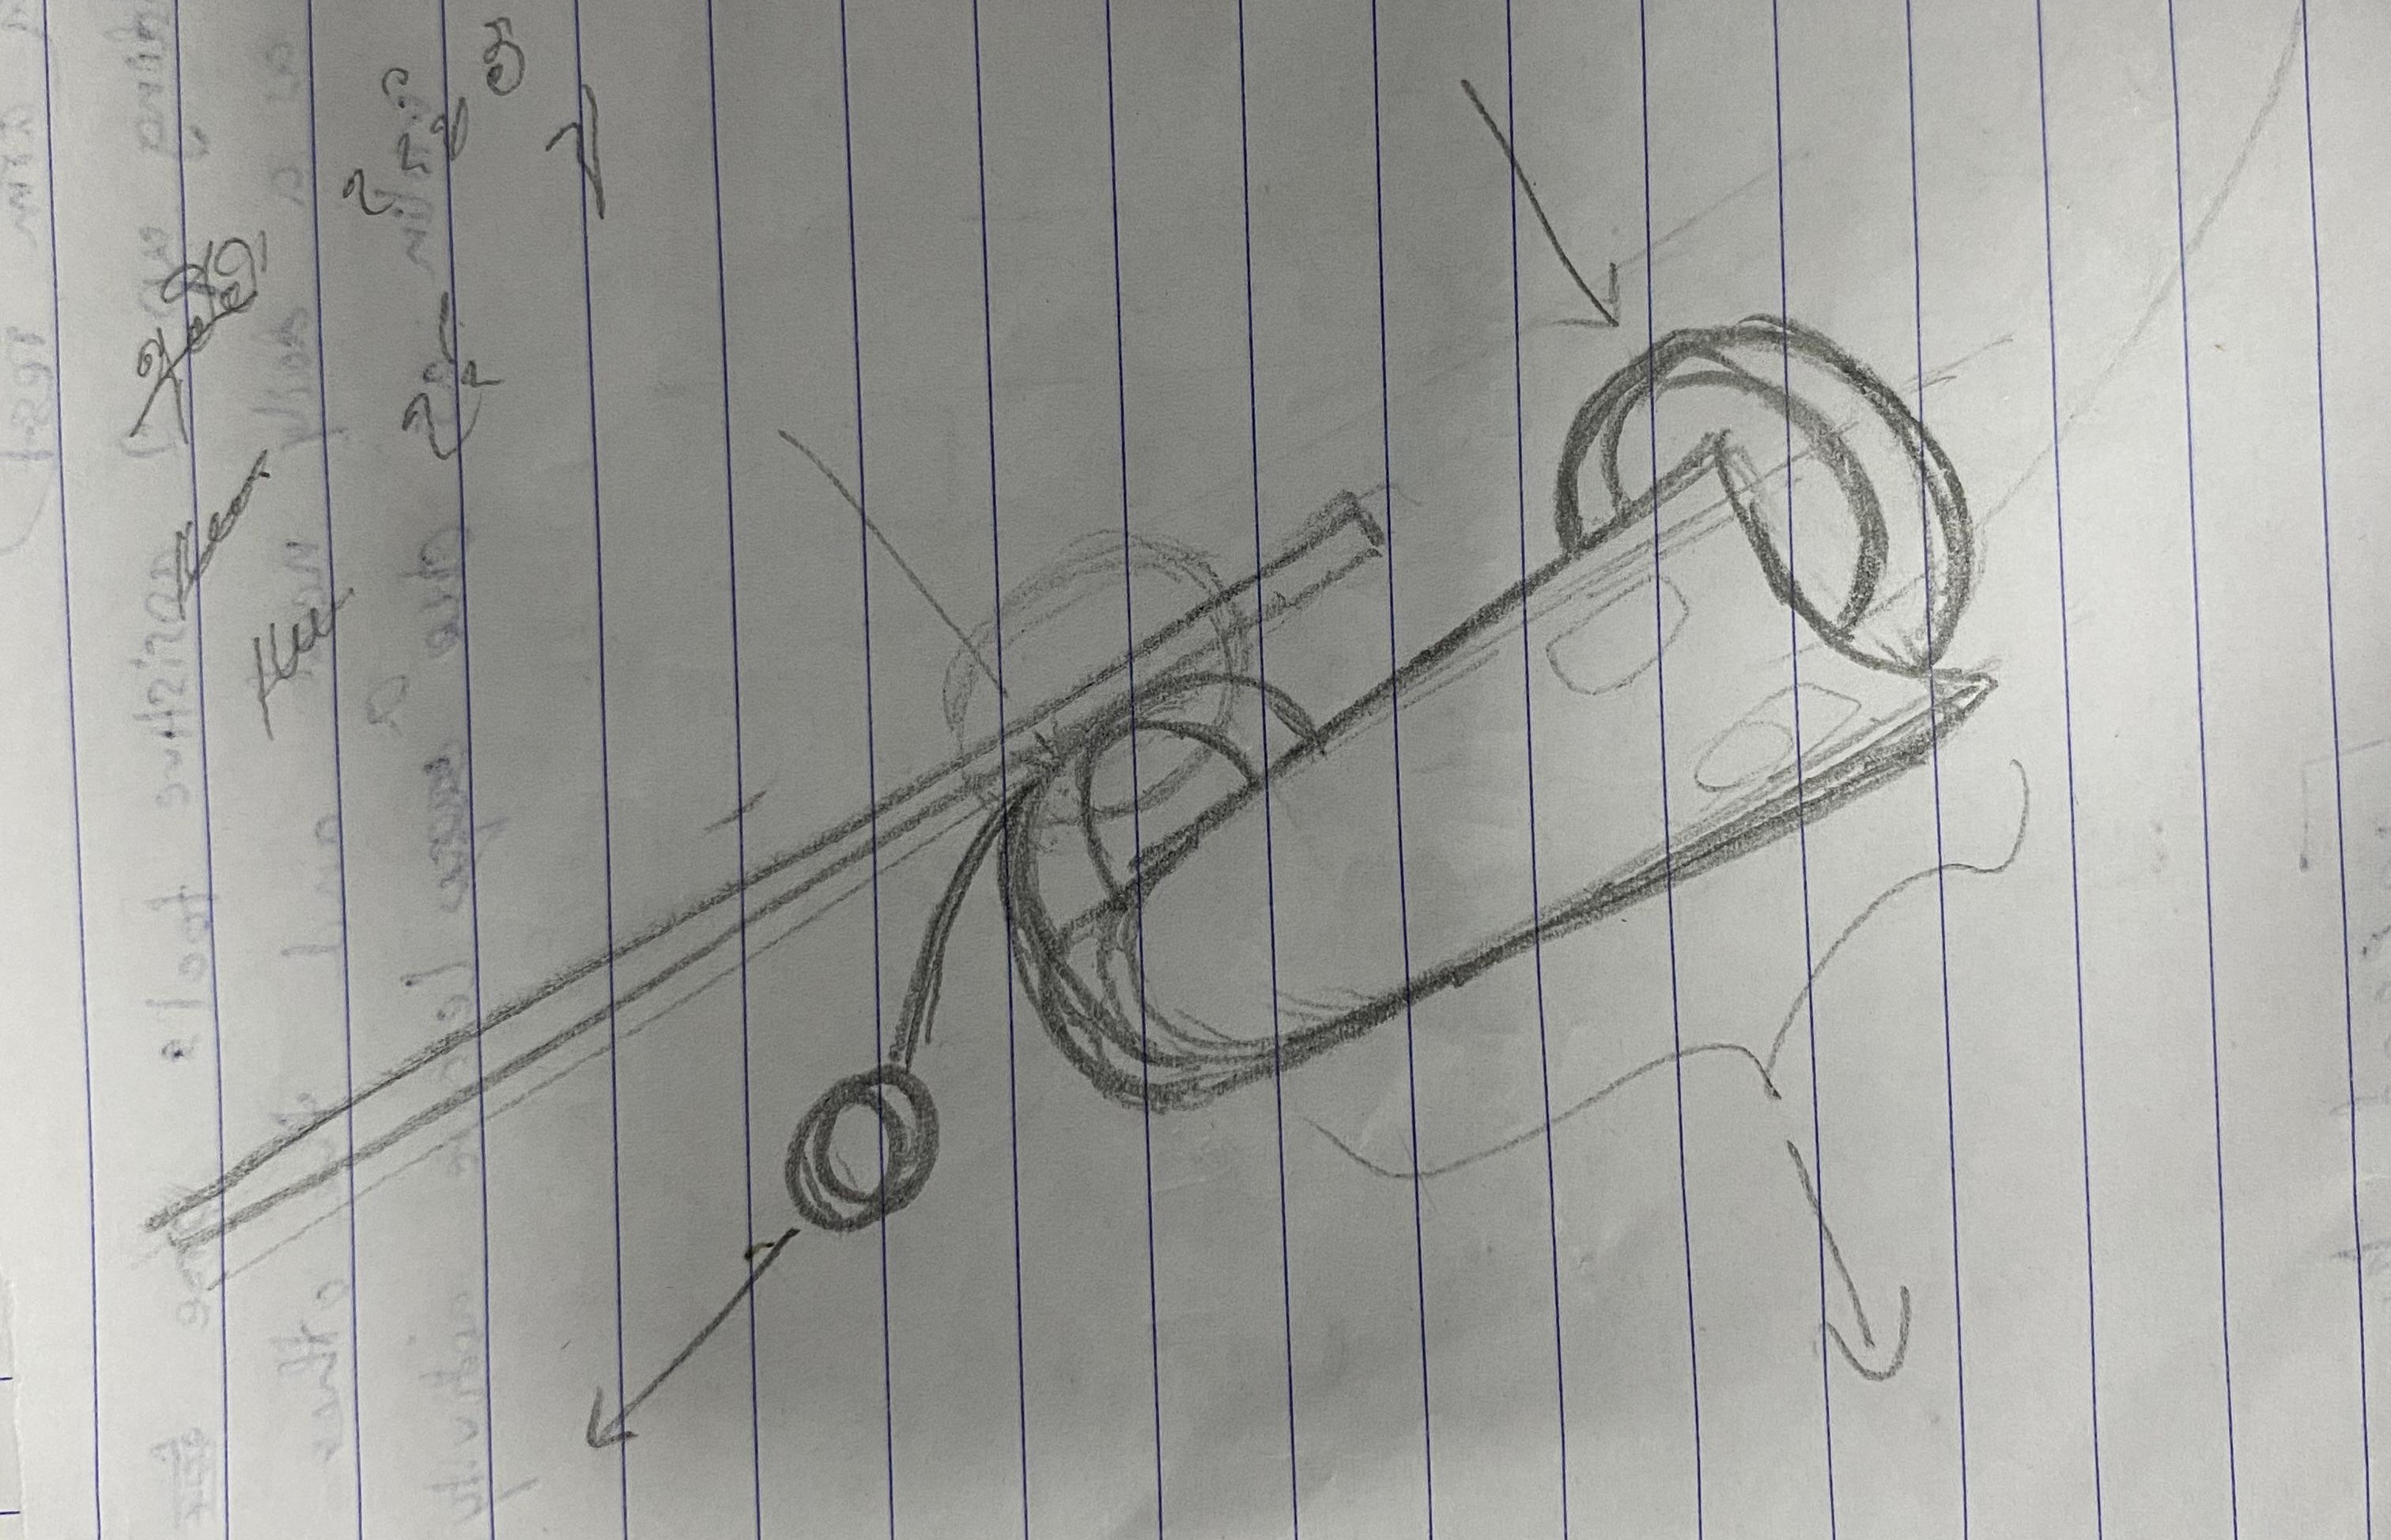
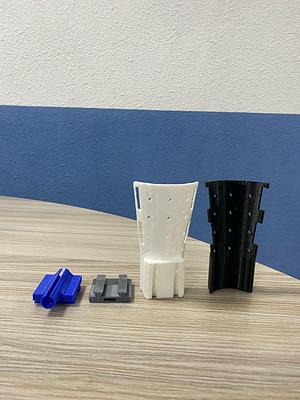
- The mount is a custom-fitted device that attaches to Shaini’s hand, allowing her to securely hold and use different tools. It features a modular attachment system, where different tools—such as a violin bow mount or a comb mount—can be easily connected and swapped as needed.
- Our initial design lacked flexibility because we only had rigid printing materials. This made the mount uncomfortable and difficult to use for precise tasks. Without a soft, adaptable material, it couldn’t provide the comfort and control needed for Shaini’s independence.
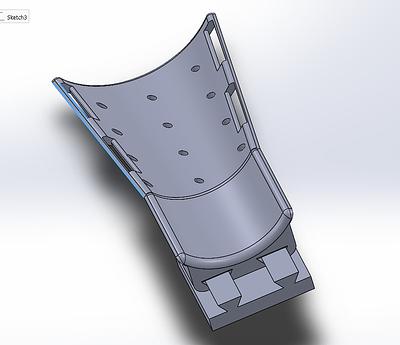
- The second prototype introduced TPU, a flexible material that greatly improved adaptability. This change allowed for a more secure and comfortable fit while ensuring better control over attached tools. With this upgrade, the design became more effective and user-friendly.
- Improve design for better efficiency and durability.
- Replace Velcro with a more secure, adjustable belt system for stability and comfort.
- Simplify the attachment mechanism to make tool changes quicker and easier, ensuring better usability for daily tasks.
- We welcome anyone interested in improving this design! If you have ideas or want to enhance the Adaptive Hand Mount, we’d love to support you. If you’d like to work with us, we’d be more than happy to collaborate and make this solution even better together! 😊
- 3D Printer – Preferably one that supports flexible filament.
- Filaments:
- TPU – for flexibility and comfort.
- PLA/ABS – for structural support (if needed).
- Straps or Fasteners – for a secure, adjustable fit.
- Basic Tools – Sandpaper if needed
- Soft Padding – For comfort and to prevent skin irritation.
- I have provided some assistive tool designs for the hand mount. If you need any additional designs or modifications, feel free to ask me!
- xport the 3D model as an STL file.
- Open it in slicing software (Cura, PrusaSlicer, or Simplify3D).
- Recommended print settings:
- Layer Height: 0.2mm for fine details.
- Infill: 30-50% for durability.
- Supports: Enable supports if the design has overhangs.
- Material: Use TPU/PLA/ABS for parts as need
- oad TPU filament into the 3D printer (preferably a direct drive extruder for TPU printing).
- Start printing and monitor the first few layers to ensure proper adhesion.
- Printing time depends on the size and complexity (may take several hours).
- Remove support structures and smooth edges with fine-grit sandpaper.
- Attach fastening straps or other securing mechanisms.
- If needed, apply heat treatment or adjustments for better fit.
- Attach different tools and check usability.
- Adjust strap tightness and tool positioning for better control.
- If improvements are needed, modify the 3D model and reprint the updated version.
- We are offering our SolidWorks 3D model to help others create their own Adaptive Hand Mount. You can customize it based on individual needs. Let us know if you're interested in accessing the file!


References
Usages
Project comments

Comments