SARMA in Sri Lanka-Team1: RYSERA

Created Date: 2025-02-21/ updated date: 2025-02-24
    Owner & Collaborators
    License
    Summary
    This project focuses on designing and developing a 3D-printable assistive device that empowers individuals with below-wrist amputations to perform both daily activities and specialized tasks independently.

    Materials

      Tools

        Blueprints

          Making

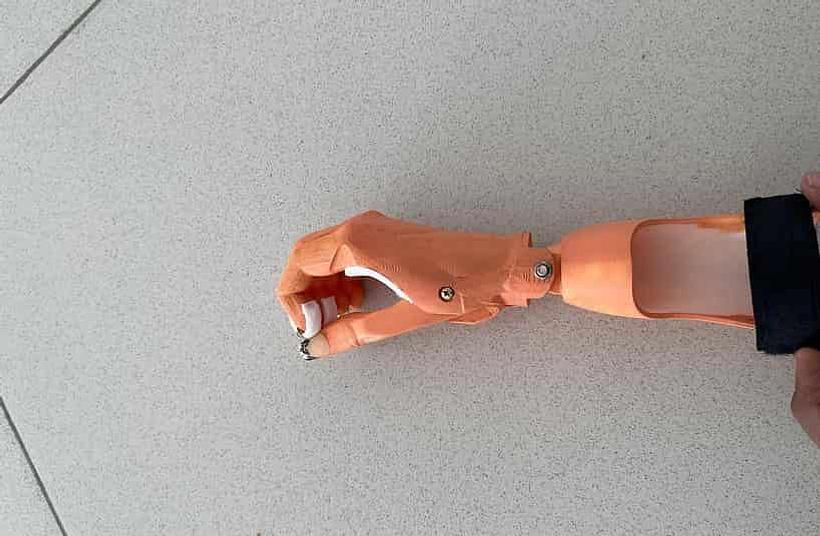
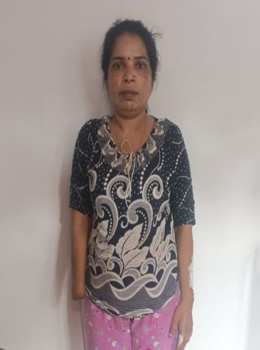
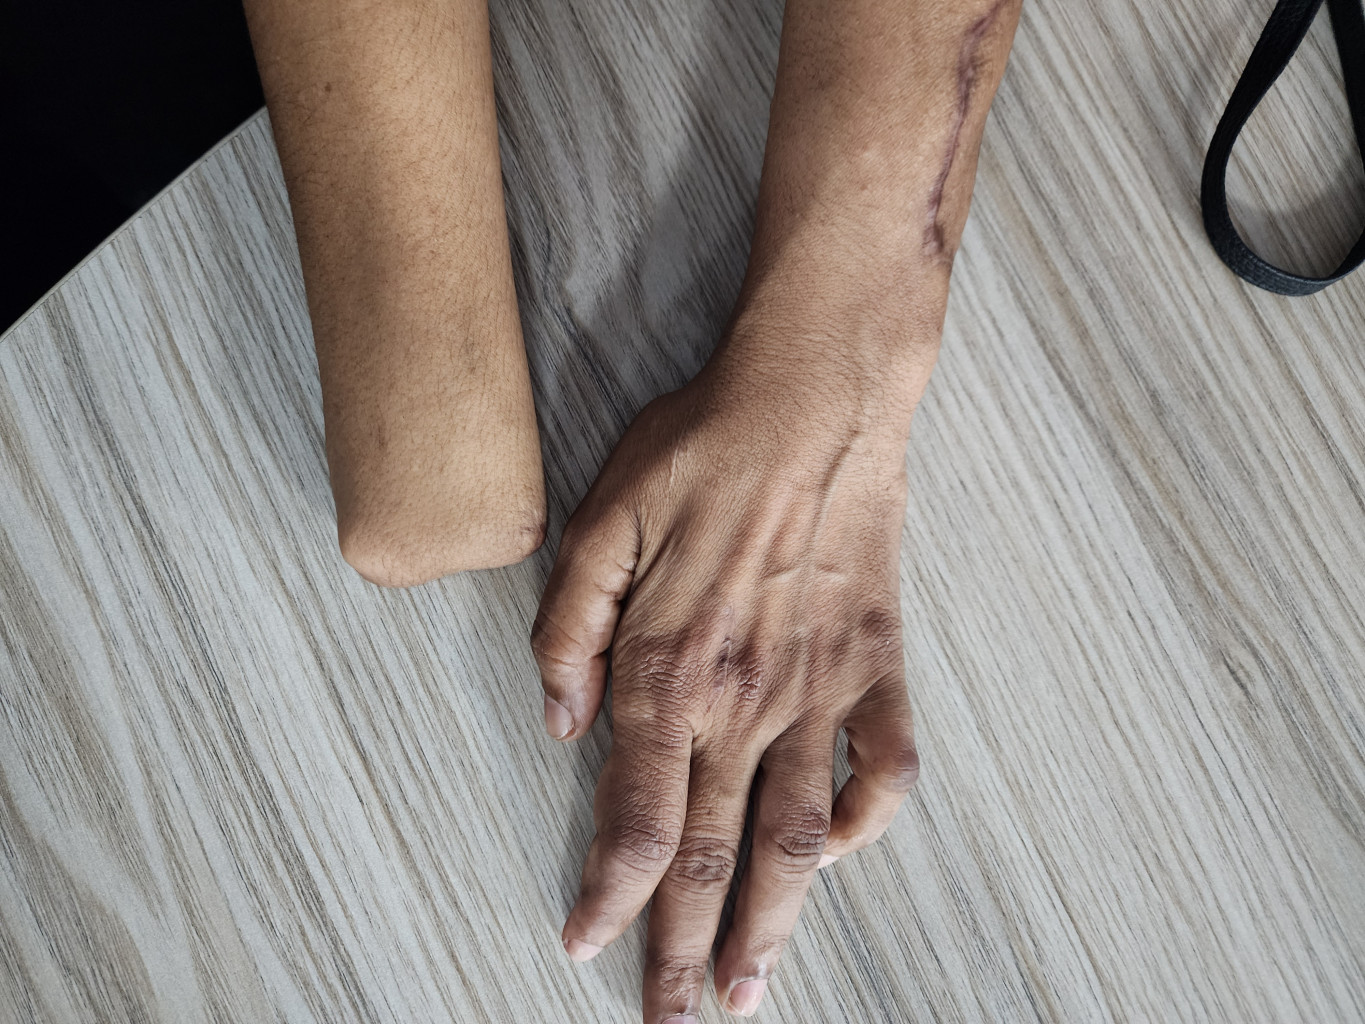
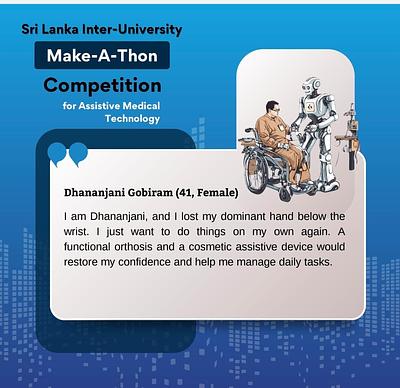
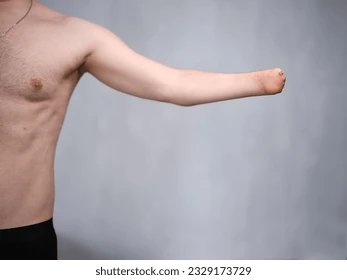
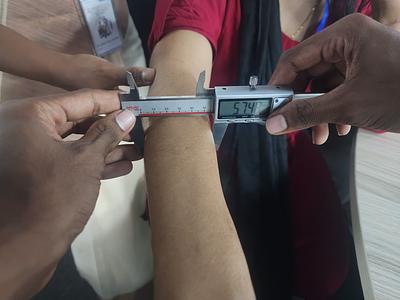
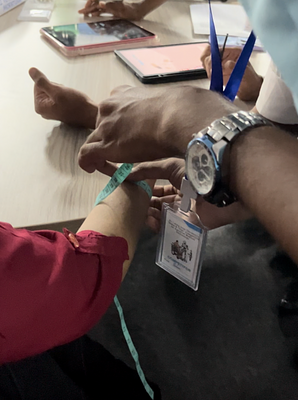
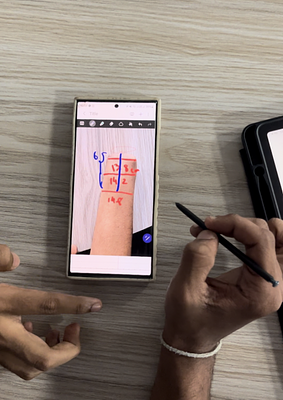
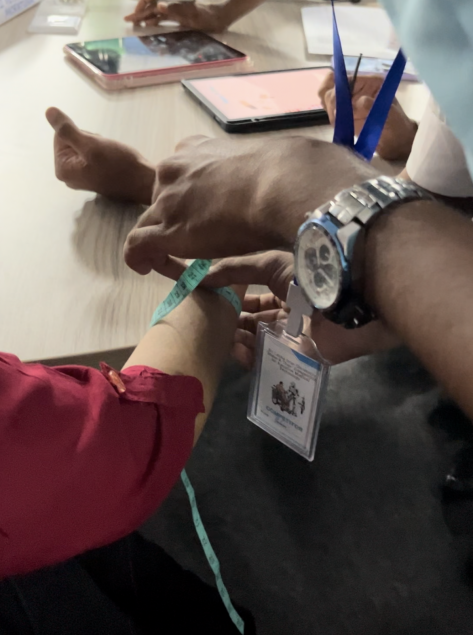
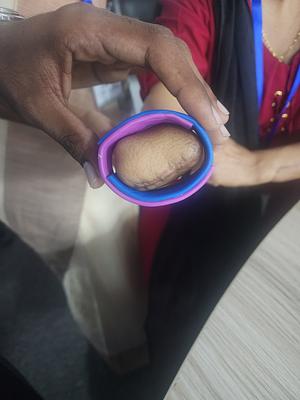
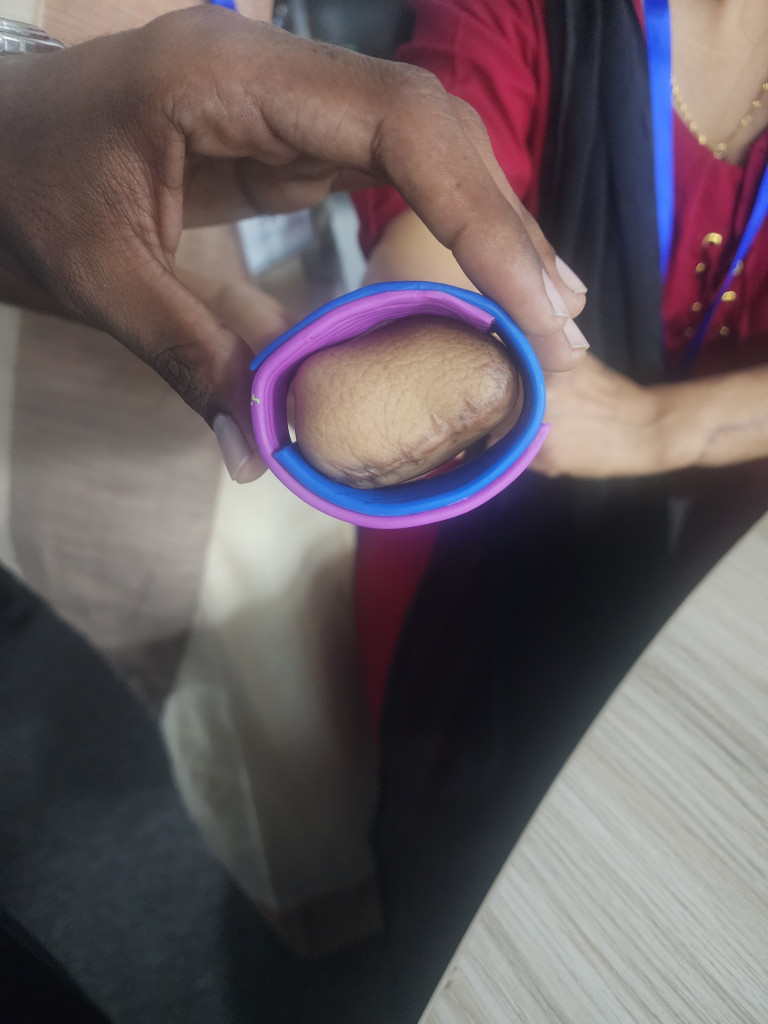
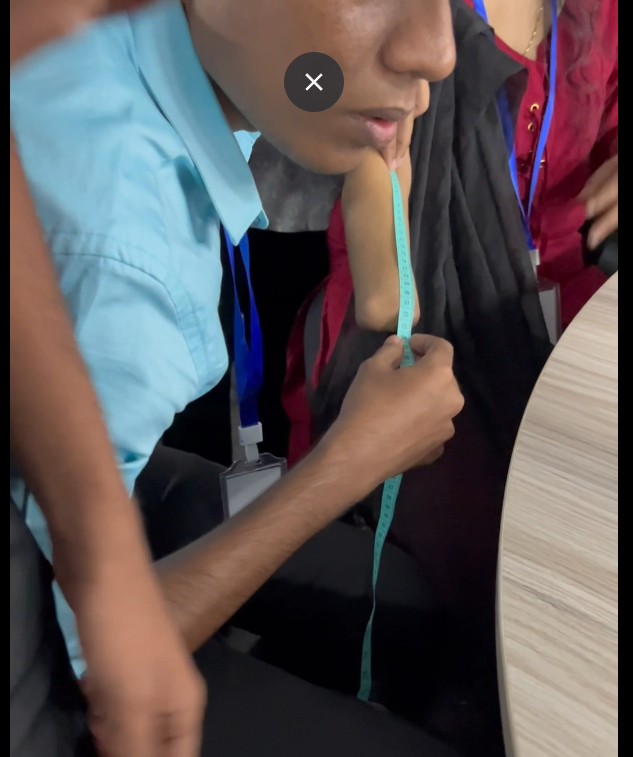
          • Our need-knower, Mrs. Dhananjani, lost her dominant right hand below the wrist in an accident on September 18, 2024. As she is still adjusting to this change, regaining independence and performing daily tasks remains a crucial challenge.
              • Name: Dhananjani Gobiram
              • Language: Tamil
              • Hobbies: Making Garlands,Cooking

              Background

              Mrs. Dhananjani, originally from Jaffna, She now resides in Modara and is supported financially by one of her two daughters living abroad.

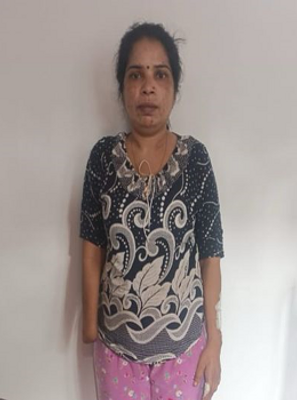
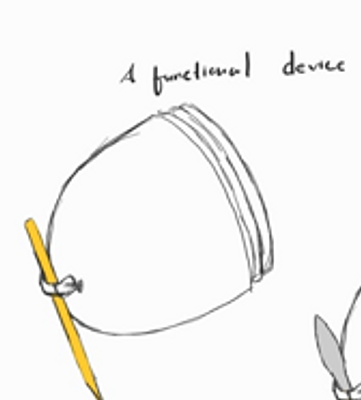
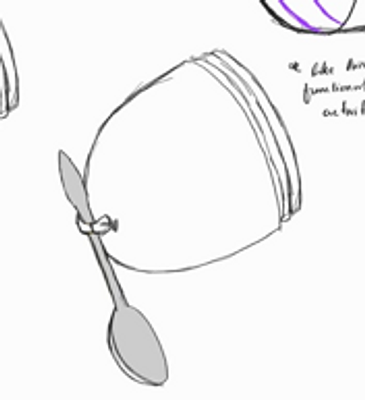
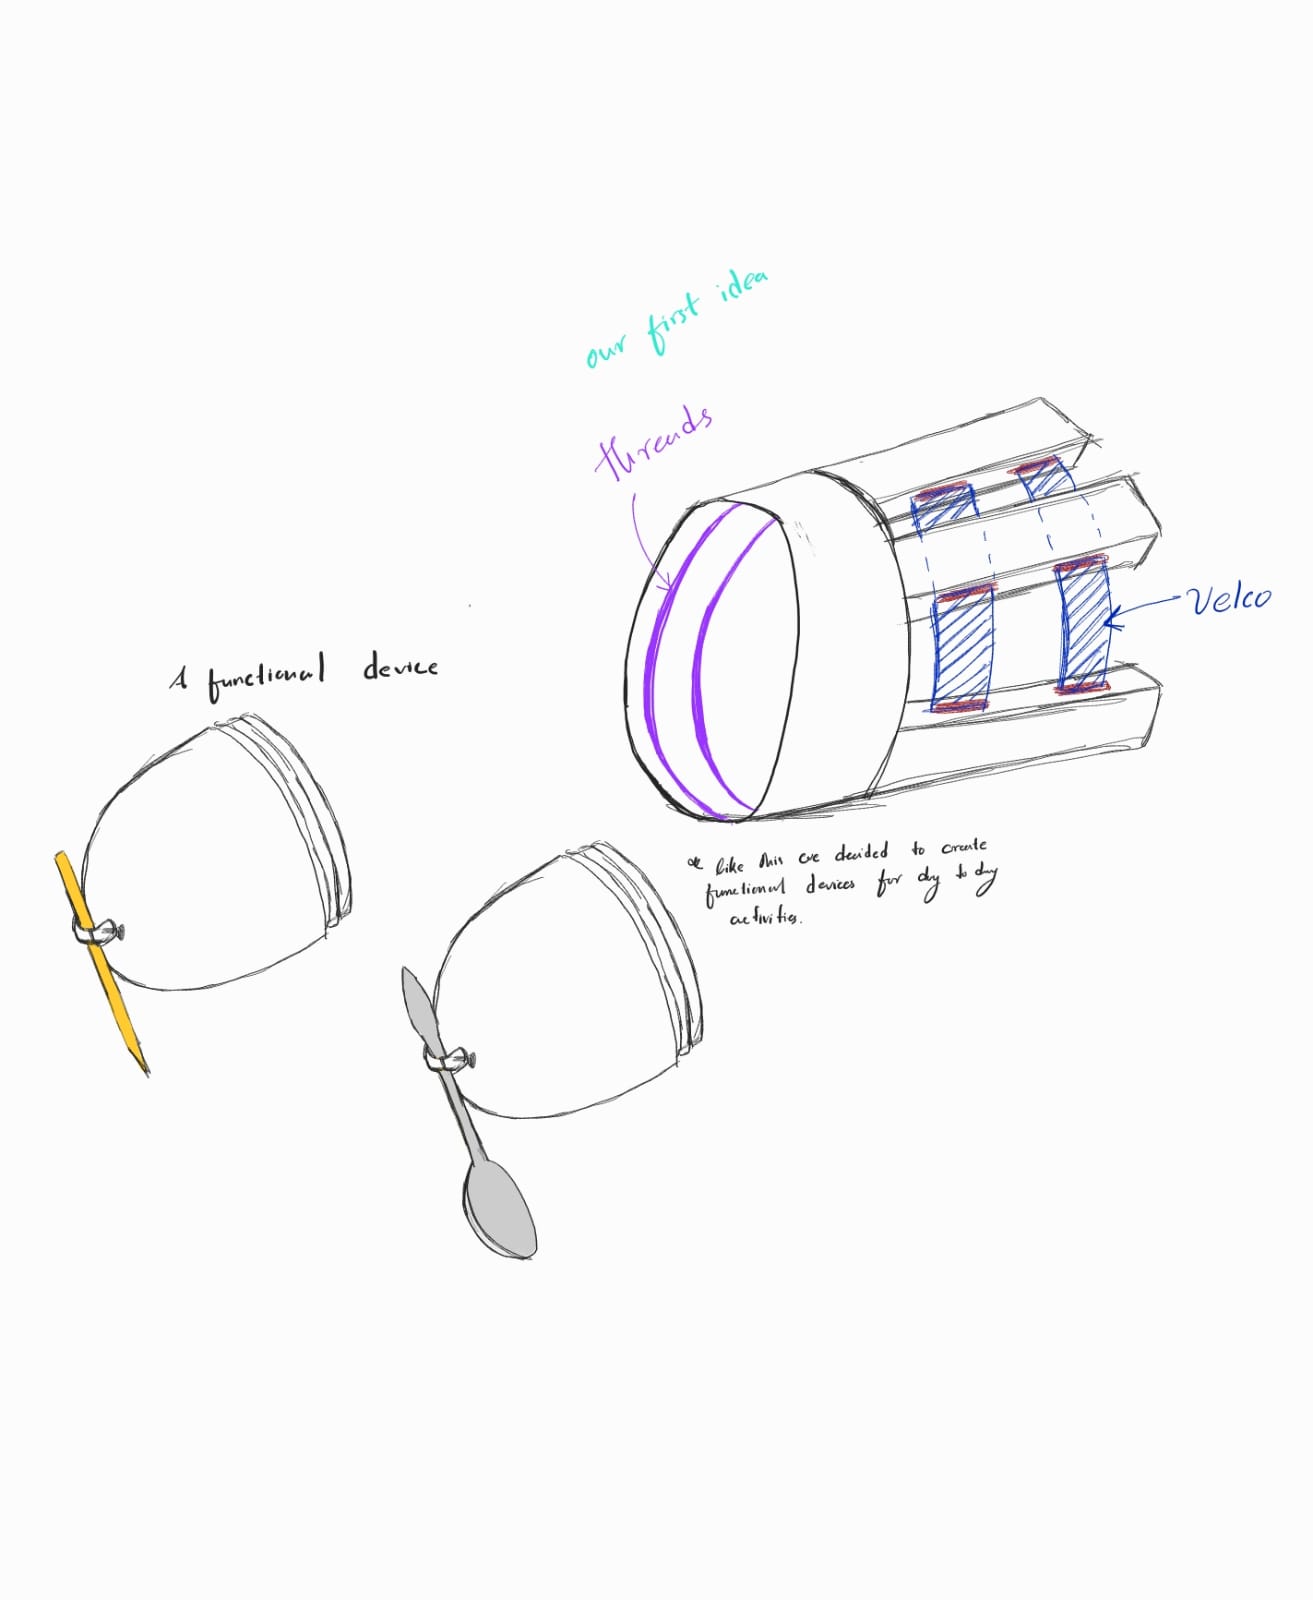
            • Her dominant hand, essential for daily tasks like eating, sweeping, writing, cooking, and spiritual activities, is now lost. Though not formally employed, she ran a small business making garlands for the Kovil, which has also come to a halt.
            • Emotional struggles due to her right-hand amputation. Finds it difficult to be in public, often covering her hand in social settings to avoid attention. The loss of her independence is another mental challenge, as everyday tasks now require constant assistance, leaving her feeling reliant on others.
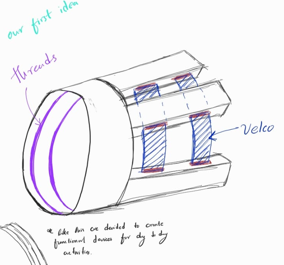
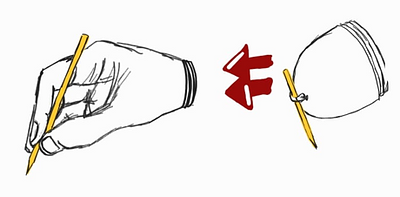
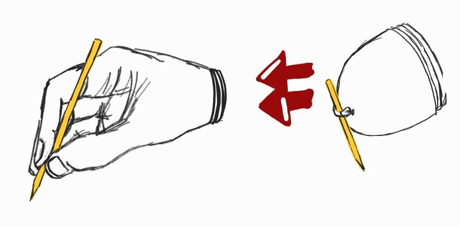
            • Right now she relies on her sister who takes care of most of her tasks. She has lost her independence in most of the day to day tasks like eating, cooking,  even sanitary needs. She needs to regain this independence in a variety of day to day activities
          • Though we spoke different languages, 
            excellent translators and the need-knower’s
            family helped us understand her needs 
            and develop accurate need statements.


            • "A 3D-printed prosthetic that restores independence by enabling daily and specialized tasks while providing a real, cosmetic appearance for confidence in public"
            • "I am Dhananjani, and I lost my dominant hand below the wrist. I just want to do things on my own again. A functional orthosis and a cosmetic assistive device would restore my confidence and help me manage daily tasks."
            • Problem: Limited access to affordable, functional, and cosmetic prosthetics for individuals with above-wrist amputations.
              Population: 30–50 million people worldwide with above-wrist amputations.
              Outcome: Greater independence, functionality, and confidence with a cost-effective 3D-printed prosthetic.
          • Lorem ipsum dolor sit amet, consectetur adipiscing elit. Nulla facilisi. Integer malesuada, nulla in tincidunt laoreet, eros sapien pharetra felis, at condimentum sapien turpis vel odio. 
            • The initial idea we were brainstorming was to make a brace that fits the amputated arm. This brace comes with some type of mechanism that different functional units can be attached. 
            • The need analysis revealed us that the need knower had the crucial need that she needs her hand to look  like a realistic hand for a cosmetic appearance. In the second phase of the ideation we thought of combining the two ideas and adding the functionality to a realistic looking hand 
          • Here we were fully committed to satisfy our need owner so we took the approach of 3D scanning the stump(amputated arm) to make a brace that would exactly fit that. Here we did without using any high-end 3D scanners but just with an Iphone and an app.

            • 3D scanning usually involves very expensive tools , scanners. But don't worry, there's a way that doesn't cost you anything but only you need someone with an Iphone. 
              This video tutorial explains how a 3D scanning can be done in a 3D printing context using an iphone.
            • App to download: Polycam
              scanning

              How to scan : Follow the video
              https://youtu.be/w4LSScFM1FM
              Important points: 
              • Should be done in a well lit place
              • Have to scan the hand in every angle all around the arm
              • Do it in a precise speed. Not too fast. Not too slow
              • Iphones give the best performance

            • The 3D scanning only generates a mesh that cannot be printed. So there's a somewhat of a complex procedure to covert this to a 3D printable STL file.As the procedure is too complex to type We will upload a video tutorial. This is the approach we took and there could be multiple better ways.
            • We took precise measurements of the need-knower’s arm to design a perfectly fitting brace. Using measuring tapes and vernier calipers, we recorded:
              • Circumference at multiple points (tape)
              • Forearm width at several points (calipers)
              • Length from elbow (tape)

                Also these measurements should be noted down
          • In the initial stage we prototyped two main devices 
            • The 3D printed arm with the cosmetic appearance
            • The arm brace where the wrist is connected 
            • This real looking 3D printed hand does not provide any functionality to the hand but serves just as a prosthetic to cover up the the amputation. 
              • This prototype gave us an idea about the ideal dimensions to use
              • The dimensions to use in the attachment for the stump
              • Not having any functionality 
              • Static position & having 0 degrees of freedom could be improved by adding movements to the wrist
          • In the second prototyping phase we gave more attention to giving the functionality still while maintaining a life like appearance.

            • The life like cosmetic appearance was retained while adding a functional thumb that the user could manipulate using simple movements to do multiple tasks. 
              After finalizing this is colored with Fabric paint to match the skin tone and then finally coated with a Varnish
               
              • A thumb with a simple mechanism that the user could use to grip multiple object. This Thumb is movable with hand and is always in the pinching position when assembled. The Thumb is always under a tension to pinch. You can use your other hand to move it away and grab things when it moves back
            • With the mechanical attachment the device provides the need-knower with multiple wrist positions that the user could adjust into to suit the the position she likes the most

            • Purchasing the Required components

              3D printer
              Filament - PLA/ABS (white preferred)
              Velcro, Thread, needle
              5mm nut and bolt(length 2.5 inches)
              medical stocking 
              Zip tie - 2
              Thick Rubber bands
              Measuring tapes, Vernier calipers

            • Take the following measurements

              1.Width of the of the Stump(use caliper)
              2.Width of the Forearm(use caliper)
              3.Circumference of the arm from several places (tape measurement and this is for checking purposes)
            • Before the print You should scale this print to match your hands measurements. For that you can use the measurements you took and then the Functionalities of the 3D printing slicer software for to scale it up or down to fit your arm. We have embedded a video tutorial explaining the process
               
            • To give 3D prints the maximum strength and durability the slicing settings are very important. We have embedded a video about slicing and 45 degree slicing that you should use to slice the hand.
              We will update the documentation with our own tutorial on how to slice these STLs if time permits
            • Next you should assemble the above printed files using the components you bought for assembling. Gather up the Zip ties, Nut and Bolts and Follow our Video Tutorial

            • Next step is to make  hand stocking using the a clean hand stocking cloth brought from a pharmacy.
              Sew this to cover up the stump and to fit the arm without falling off. the length should be around 7 cm from the stump head
            • To increase the usability, gripping and giving a life like grip to the finer tips, the finger tips(only the tip) can be covered by silicon molded parts. This step is optional

            • Thightner_FINAL

              You don't Have to scale this up like mentioned in the tutorial. This is a tightener for the M5 nut and Bolt. This is a very ergonomic design we came up with and can be used by many disabled people to tighten up nut an bolts
            • One the activities the need knower used to do is flower garland making. Our design is well suited for this as well as this involves the  pinching position of the hand. To do this we have to design a pedal mechanism that is connected to the assistive device to do this task only.
            • We are planning to add an array of assistive add-ons to be connected with the 3D printed hand unit

          Add Card Order

          References

            Usages

            Project comments

            • No.001hebemileyPosted date: 2025-03-04
              I found Escape Road to be an excellent exercise in lateral thinking and problem-solving.