
Steps, page four:
posted by  FabLabWgtn on June 06, 2015

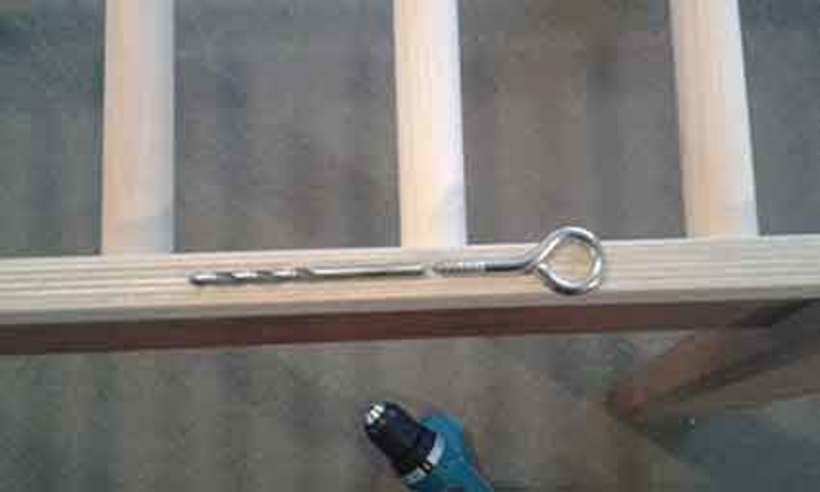

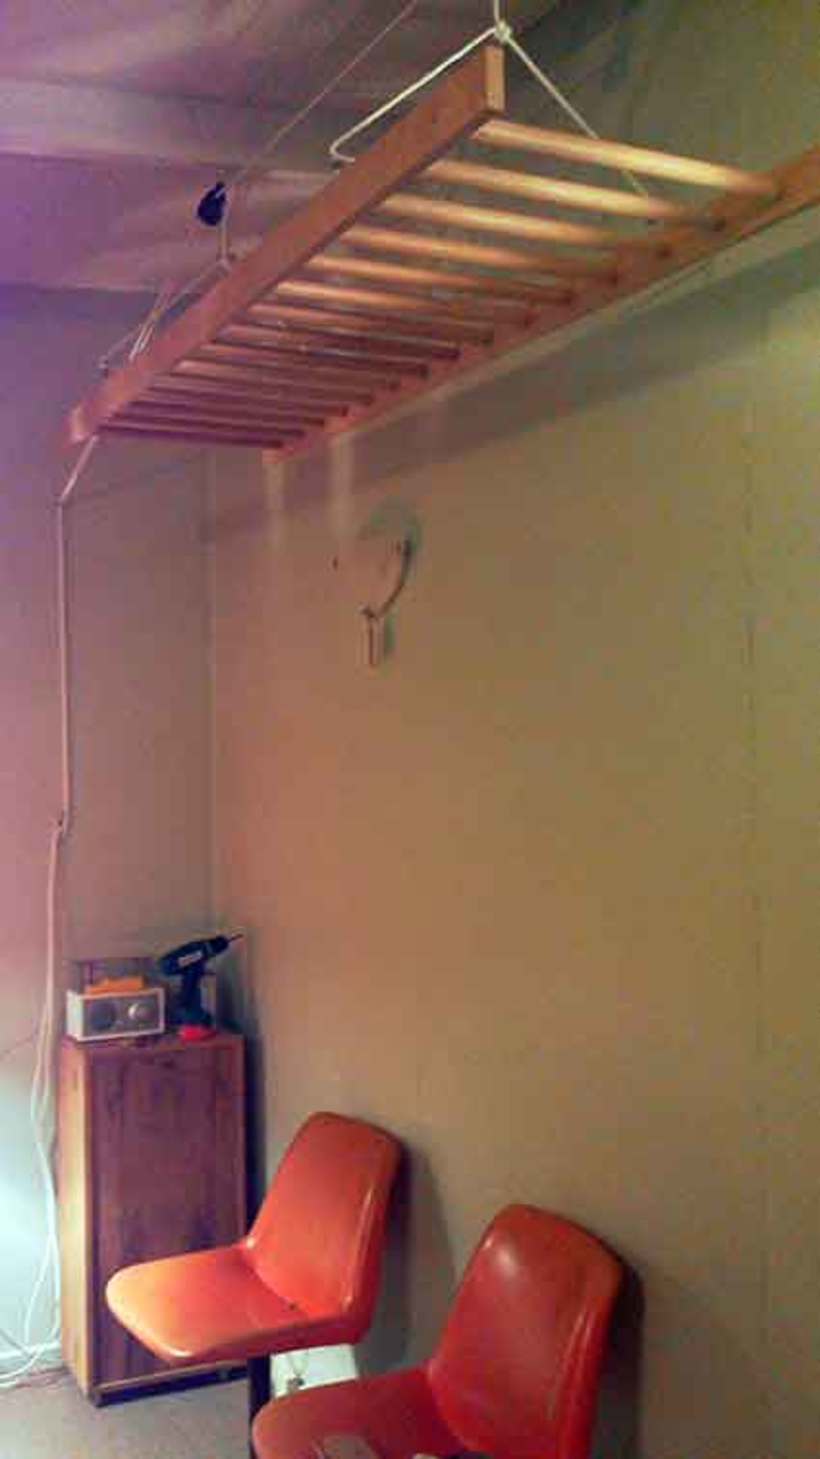
After the urethane dried (about 2 hours) I drilled the pilot holes for the four eye
hooks. My ceiling joists/bearers are 980mm apart so I put the eye hooks about
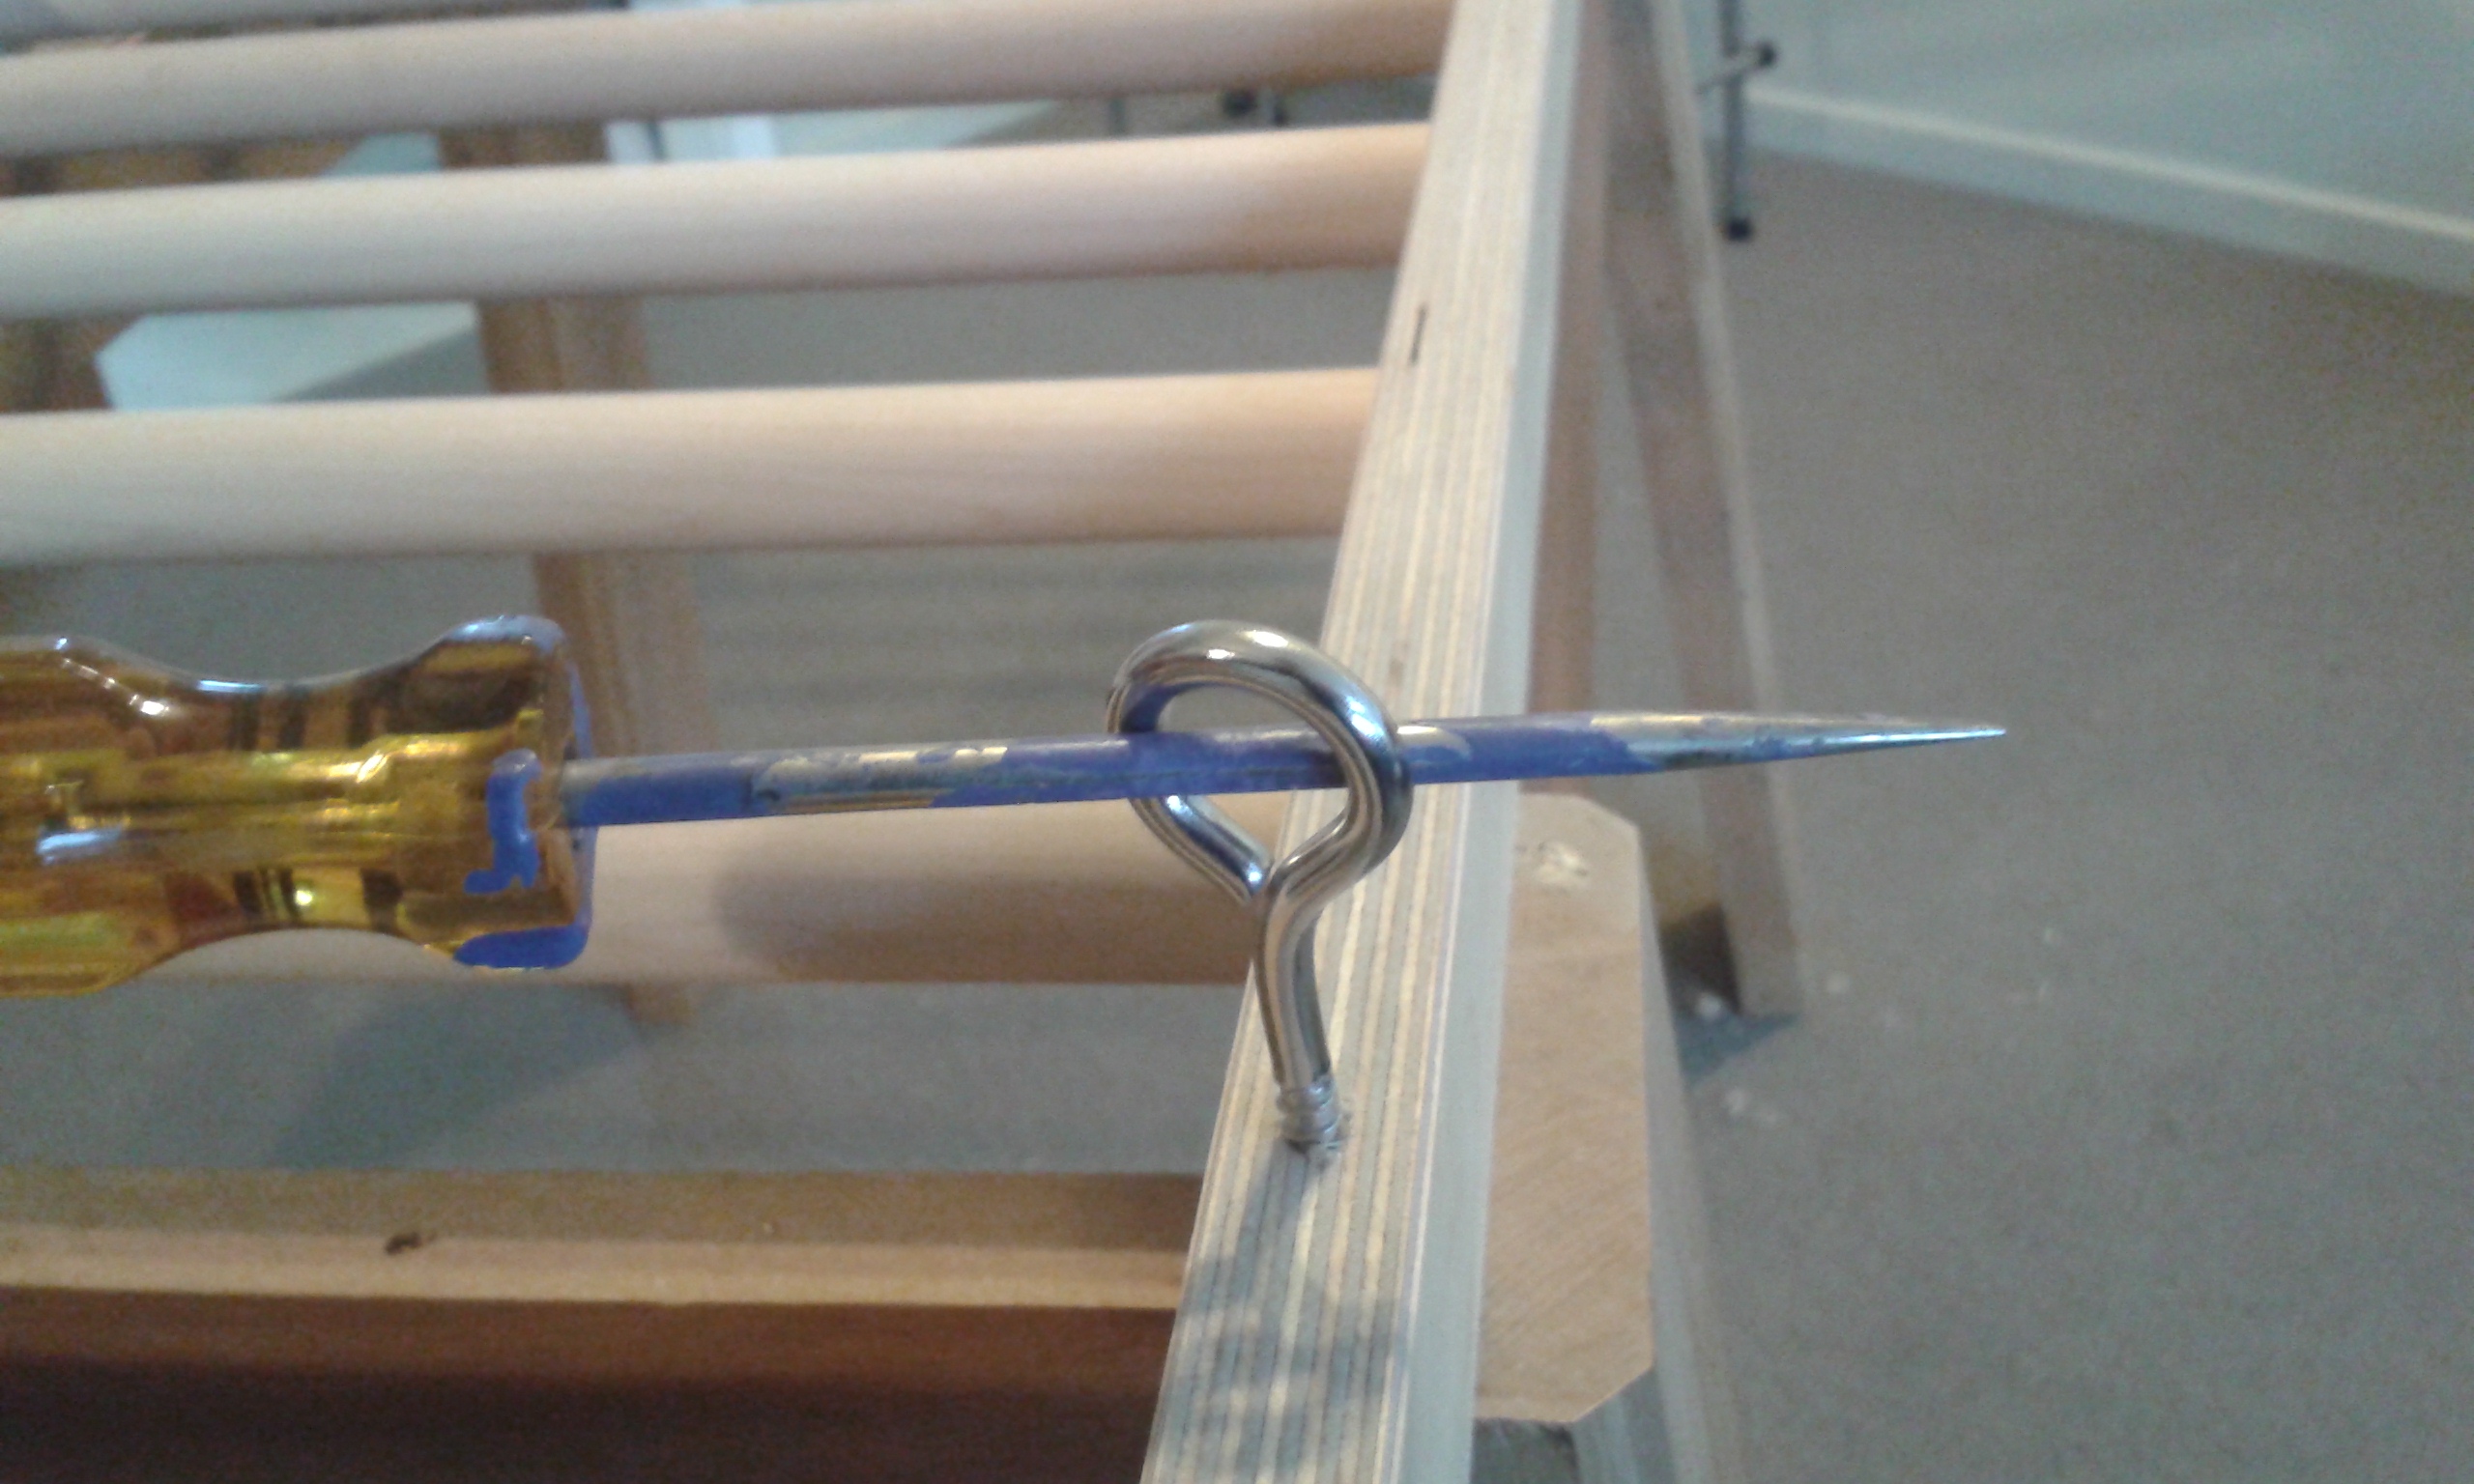
1000mm apart, 2 on each side. When my hands got tired from hand turning the eye hooks to screw them in, I used that that/slot screwdriver to finish them off.
You could also ‘de-nib’ the urethane if you feel like it. When you apply a finish, the
grain of the wood is raised creating ‘nibs’, so then the surface is a little scratchy/lumpy.
Your clothes might catch on it. Get some fine sandpaper (240, 320 grit) and lightly go over your surface with it. You’re not sanding the wood, you’re just trying to take off the ‘nibs’ or raised lumpy bits on the surface of the wood.
hooks. My ceiling joists/bearers are 980mm apart so I put the eye hooks about
1000mm apart, 2 on each side. When my hands got tired from hand turning the eye hooks to screw them in, I used that that/slot screwdriver to finish them off.
You could also ‘de-nib’ the urethane if you feel like it. When you apply a finish, the
grain of the wood is raised creating ‘nibs’, so then the surface is a little scratchy/lumpy.
Your clothes might catch on it. Get some fine sandpaper (240, 320 grit) and lightly go over your surface with it. You’re not sanding the wood, you’re just trying to take off the ‘nibs’ or raised lumpy bits on the surface of the wood.