Inspired by a great hanging dryer, but put off by high cost and long distance shipping, I decided to make
my own, low-budget version. There are components that could be higher quality, and prices are indicative
only - it depends what your local suppliers have available for you. I got most of the components from
Bunnings and Pete’s Emporium in Porirua (NZ).
I also decided to do something Low Tech instead of designing with digital fabrication in mind. Some simple tools and you're away with this project.
Take as much time as you want to. I made this over two weekends, not rushing, and in between other activities. But I don’t have to tidy up if I don’t feel like it...
Fineprint:
All measurements are in millimetres unless otherwise stated. All attempts have been made to keep
jargon to a minimum. ‘Usual’ in New Zealand may not be ‘usual’ globally. Do everything safely. The instruction pages are in the Memo section, not the Recipe section.
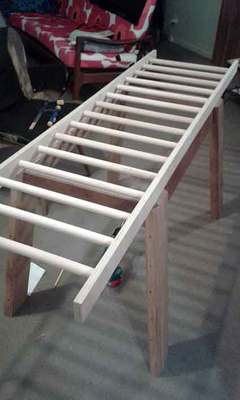
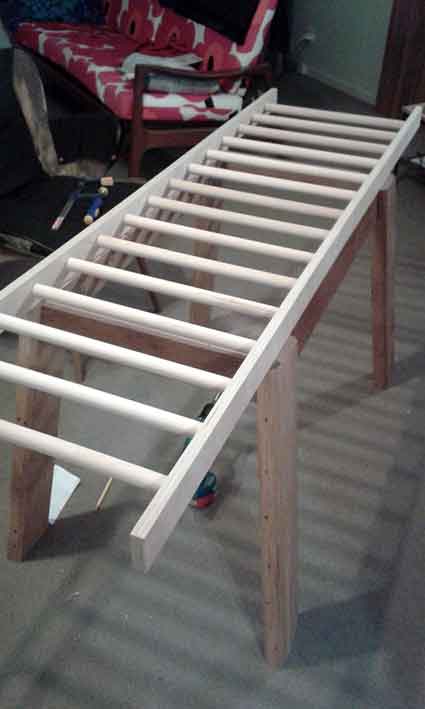
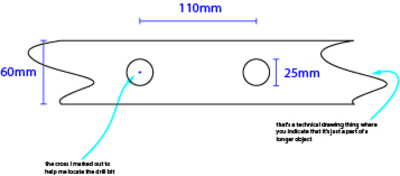
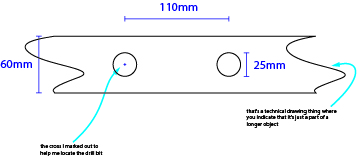
As above, measure and drill 15 holes in both pieces of plywood with the forstener bit or spade bit. I spaced them 110mm apart (from the centre of each hole)…
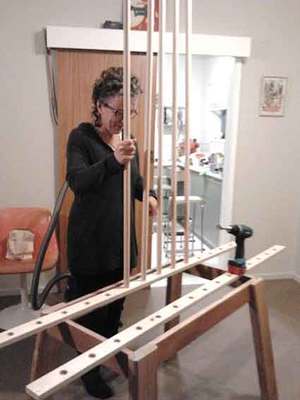
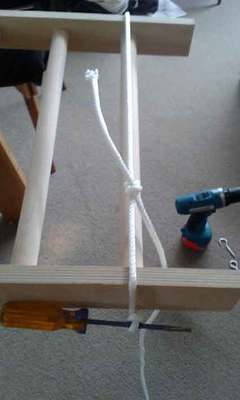
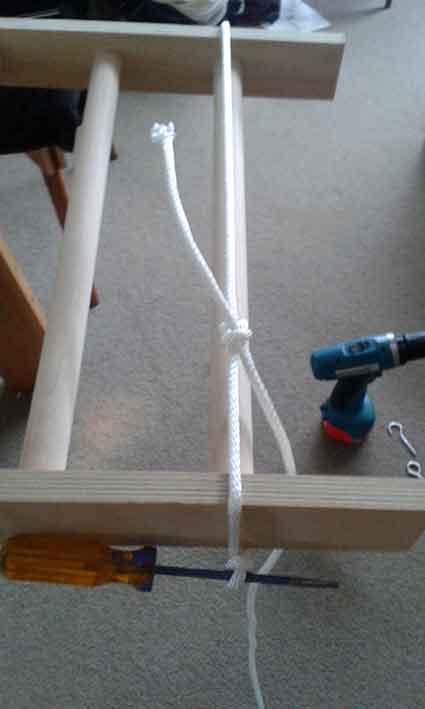
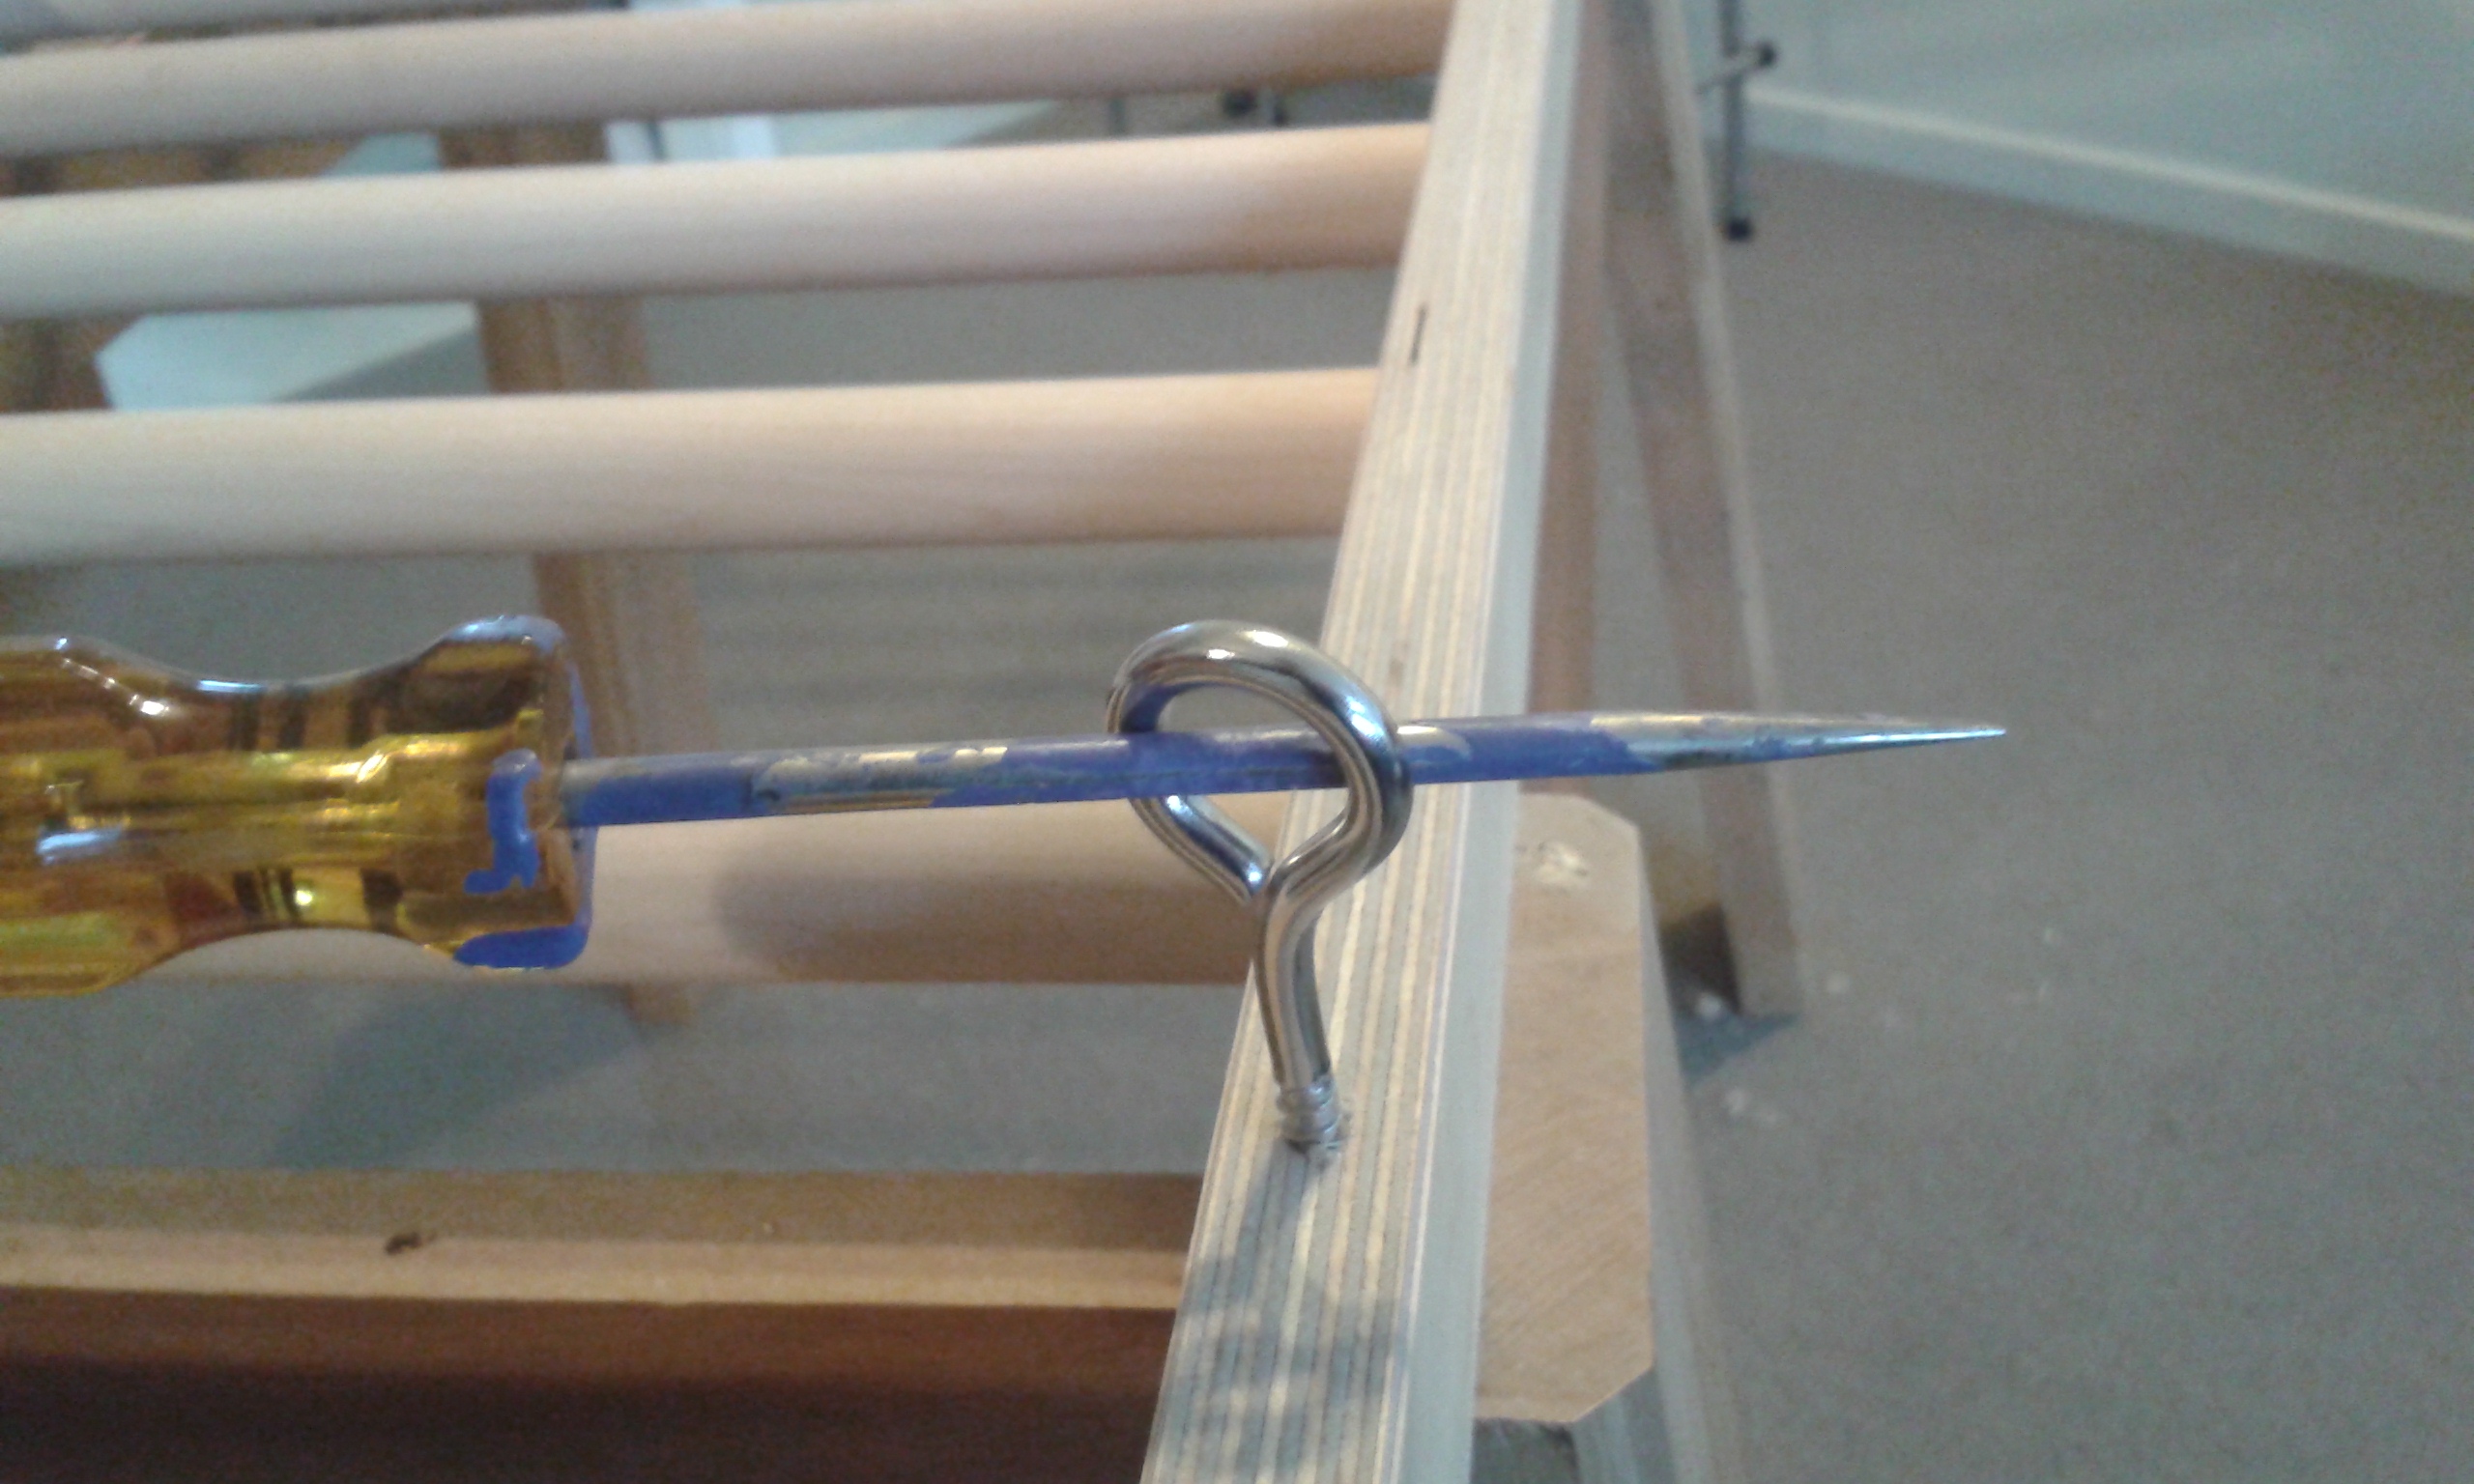
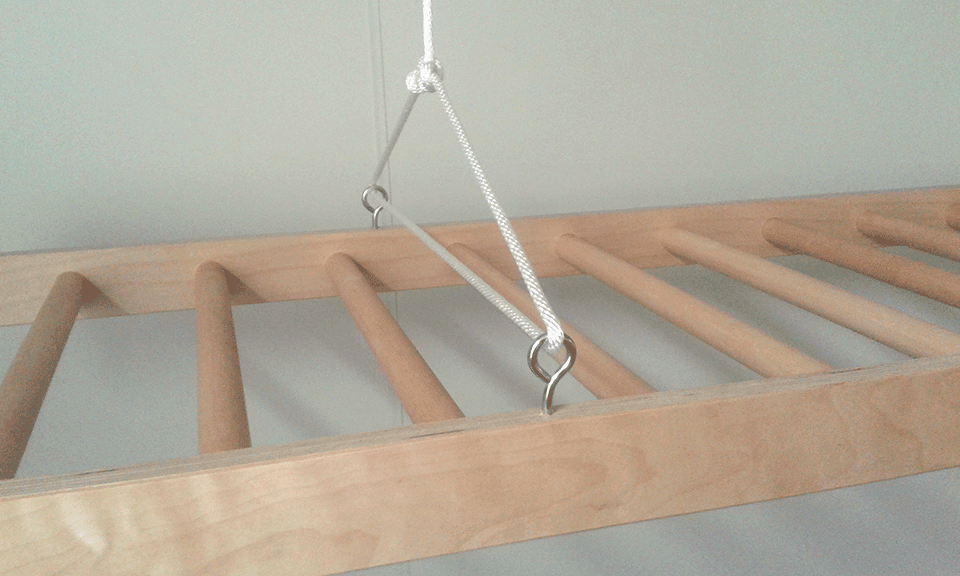
Twist all the dowels into the holes you drilled for them. If the fit is a little snug and it’s not coming together evenly, tie a loop in the rope (see the…
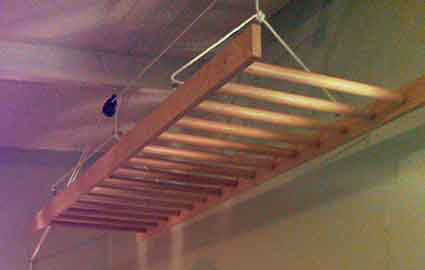
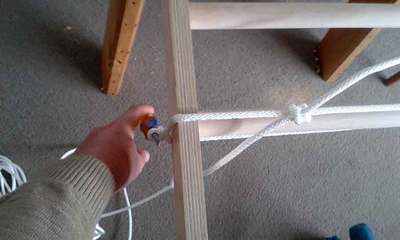
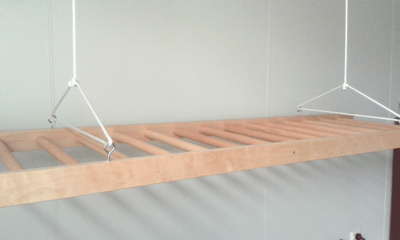
Here the frame/ladder/rack is, all put together on my ‘workbench’. I used a tape measure to check (all along the width of the ‘ladder’) whether everything had…
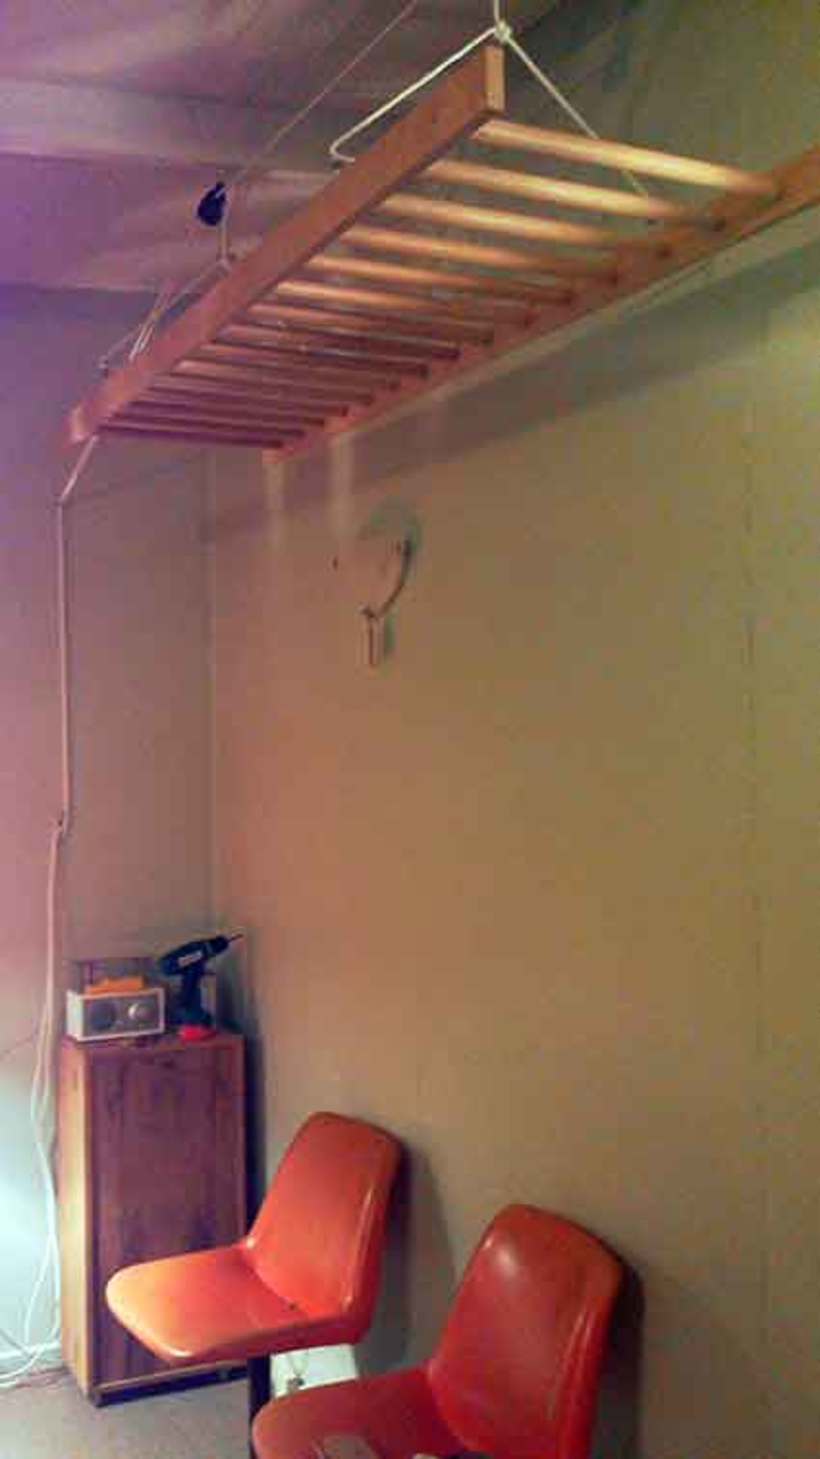
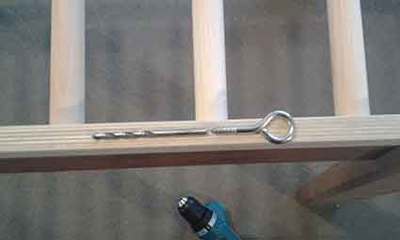
After the urethane dried (about 2 hours) I drilled the pilot holes for the four eye hooks. My ceiling joists/bearers are 980mm apart so I put the eye hooks…
Drill two holes in your ceiling bearers/joists approx 600mm away from the wall (so you’ve got room for the dryer to sway a bit). Wear safety glasses so that…
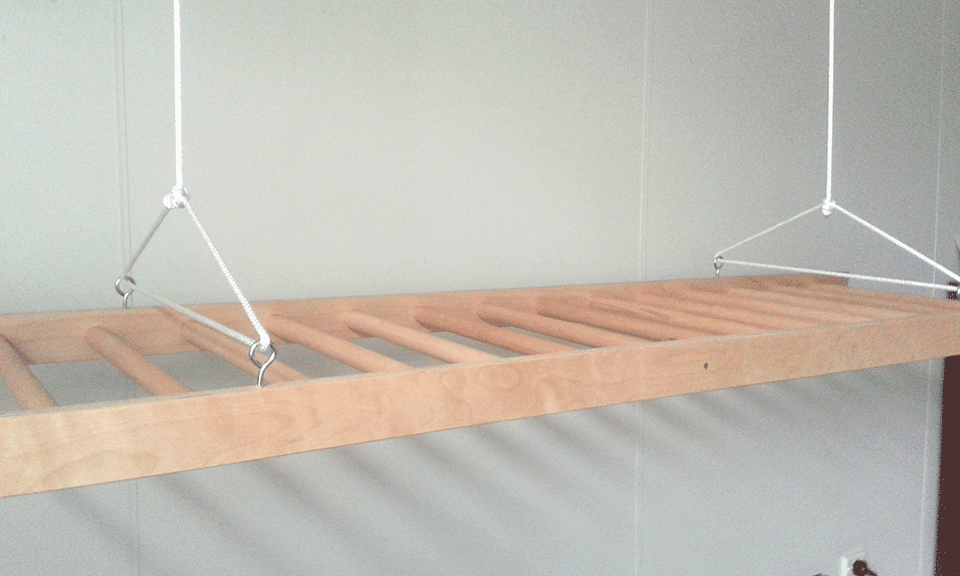
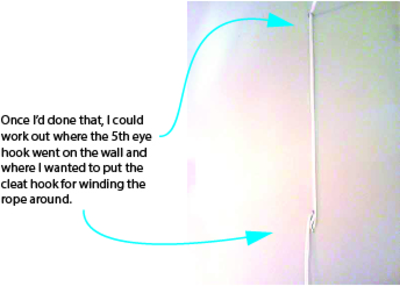
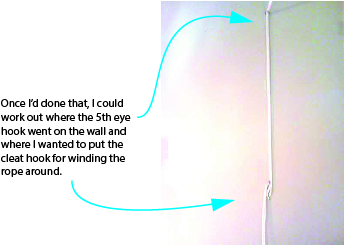
You can see, hopefully, in the image that the eye hook is up quite high on the wall so that the rope doesn’t get caught in the ‘ladder’ . It takes quite a bit…