
Steps, page five:
posted by  FabLabWgtn on June 06, 2015


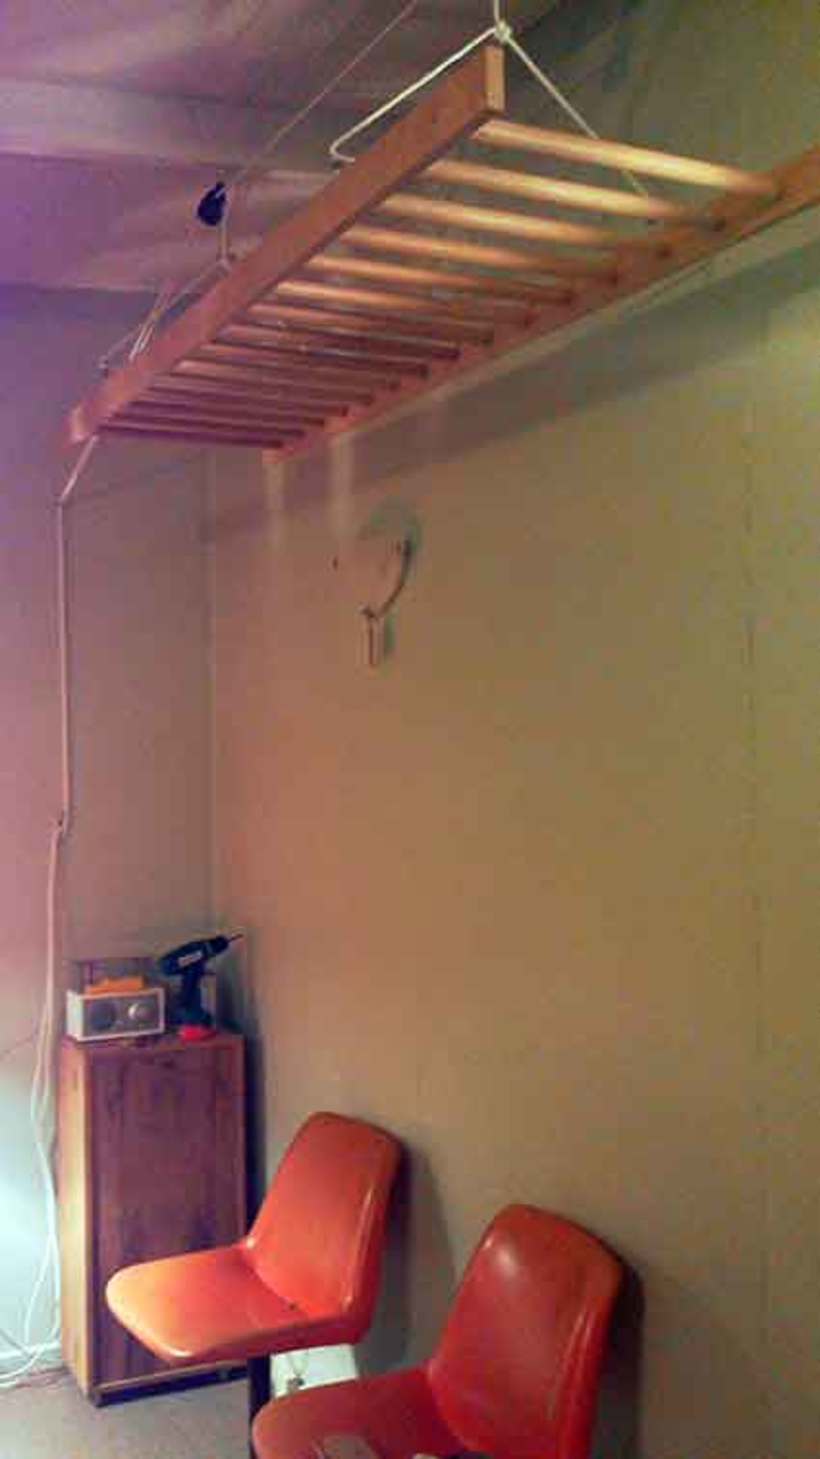
Drill two holes in your ceiling bearers/joists approx 600mm away from the wall (so you’ve got room for the dryer to sway a bit). Wear safety glasses so that you can look and not get dust in your eyes while you’re drilling. Put in those two screw hooks. They’re to hang the pulleys from.
Now comes the bit that was really quite a mental challenge for me. Threading the rope.
I got 10 metres; you might need more. My ceiling height is approx 2700mm...
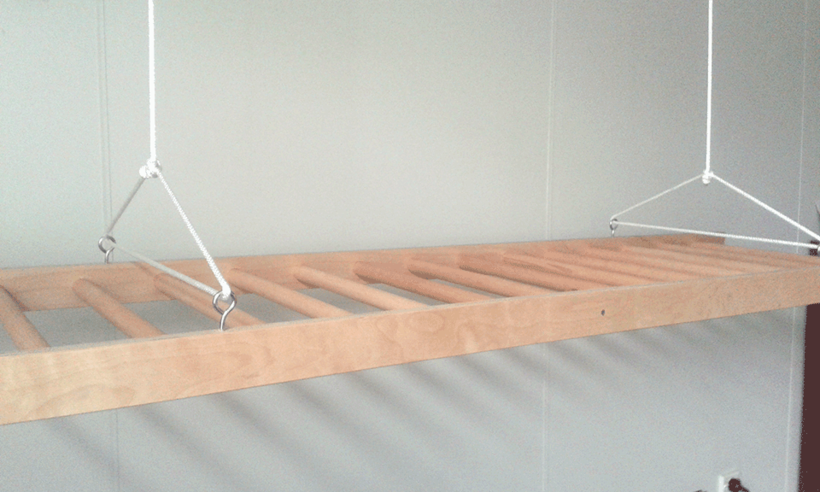
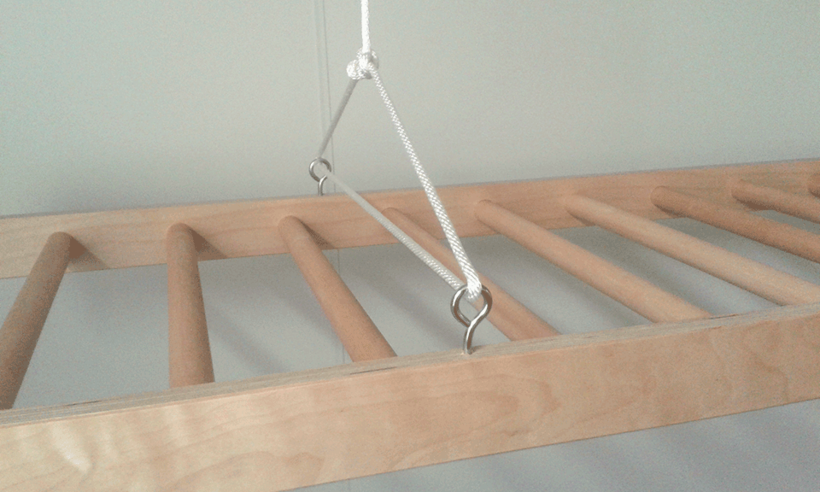
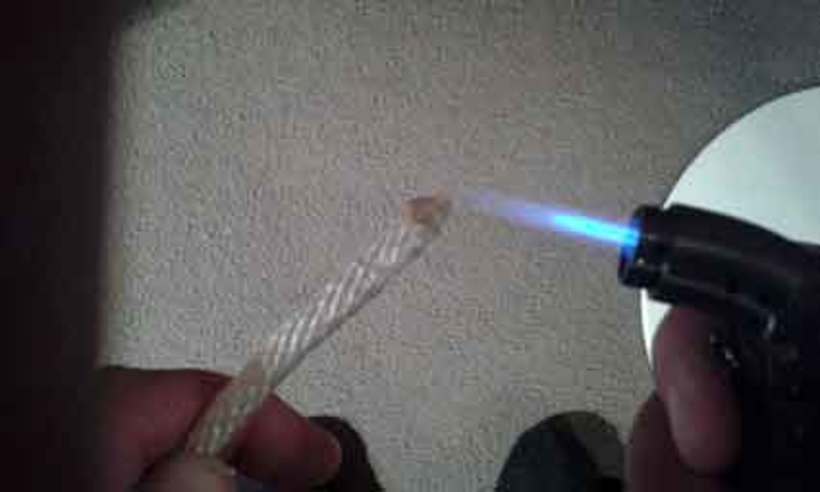
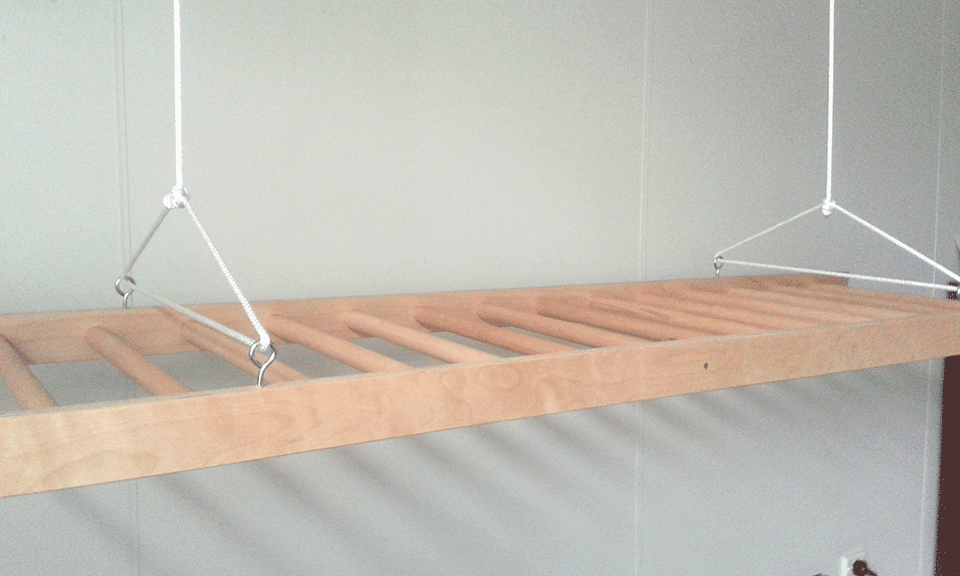
Take one end of the rope, thread it through two of those eye hooks and then tie it together so that it looks like a triangle - see the image. If the end isn’t sealed, this is when you might singe the end with the mini blow torch or lighter (in a well
ventilated, child-free space). I tied a slip knot so that the rope triangle becomes quite small and the rack can go up as high as possible in the ceiling.
Now comes the bit that was really quite a mental challenge for me. Threading the rope.
I got 10 metres; you might need more. My ceiling height is approx 2700mm...
Take one end of the rope, thread it through two of those eye hooks and then tie it together so that it looks like a triangle - see the image. If the end isn’t sealed, this is when you might singe the end with the mini blow torch or lighter (in a well
ventilated, child-free space). I tied a slip knot so that the rope triangle becomes quite small and the rack can go up as high as possible in the ceiling.