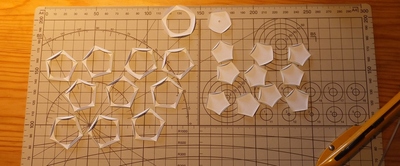
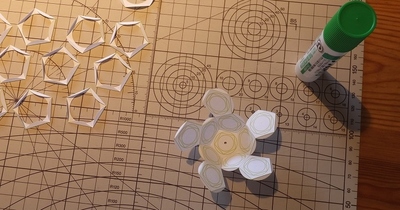
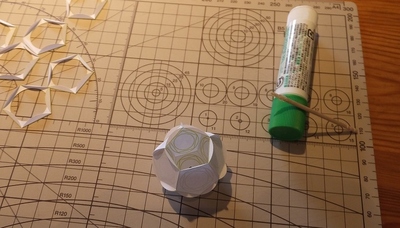
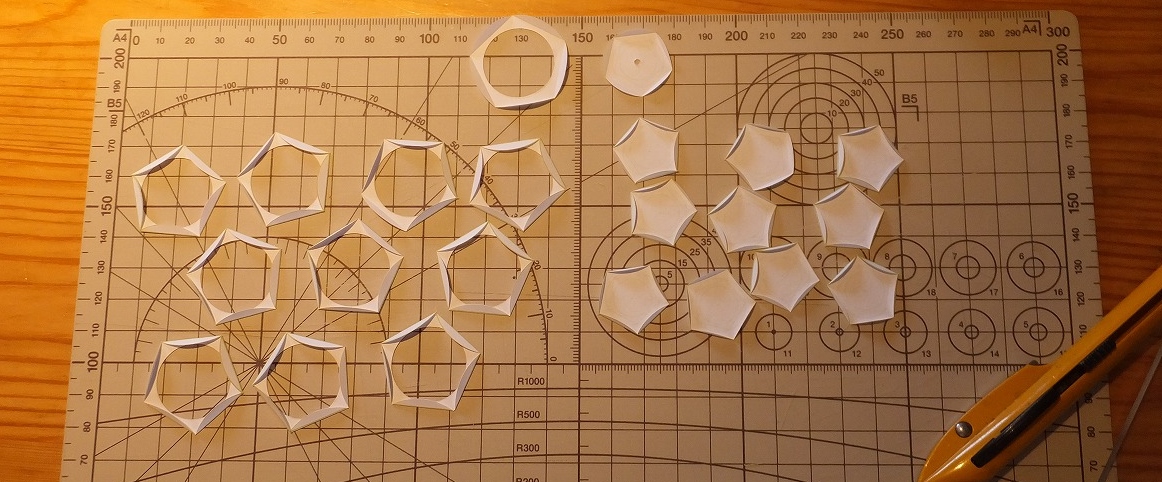
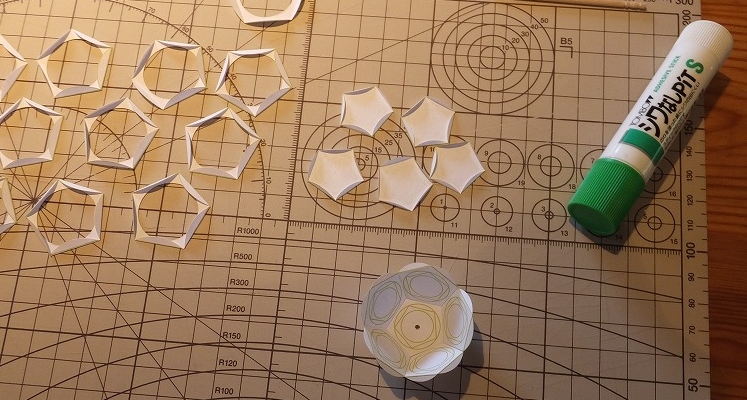
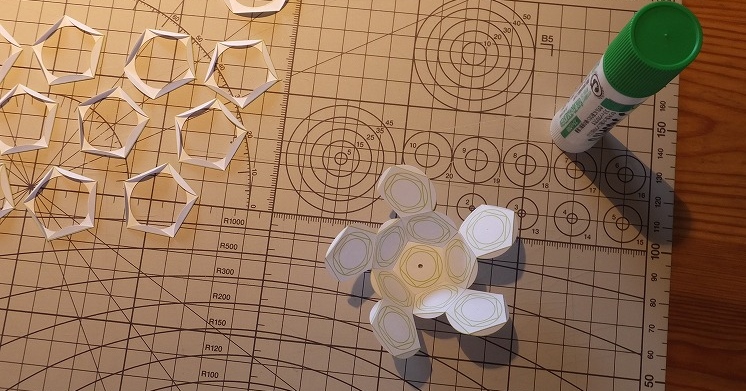
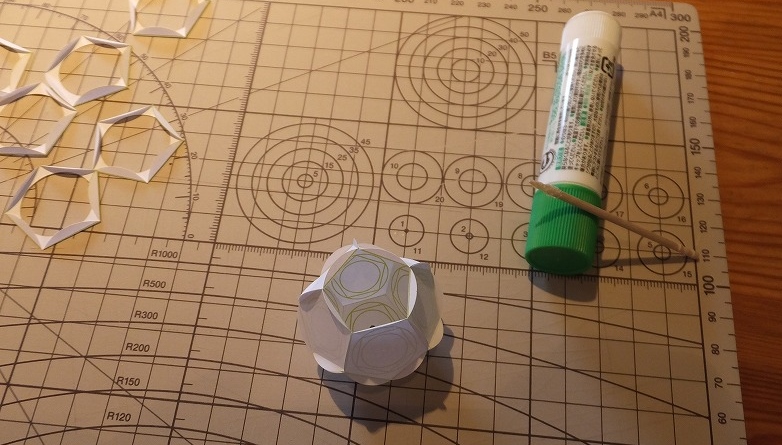
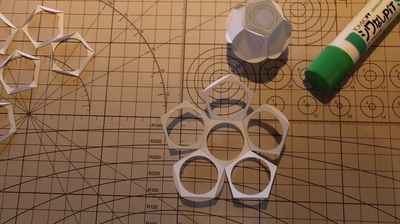
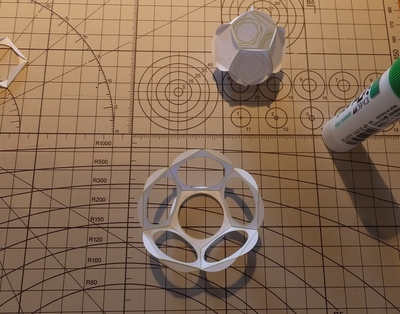
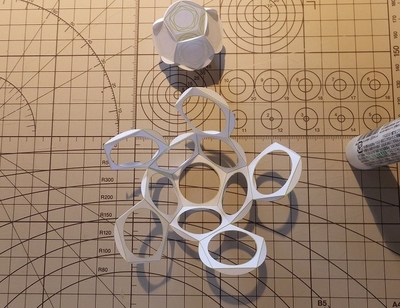
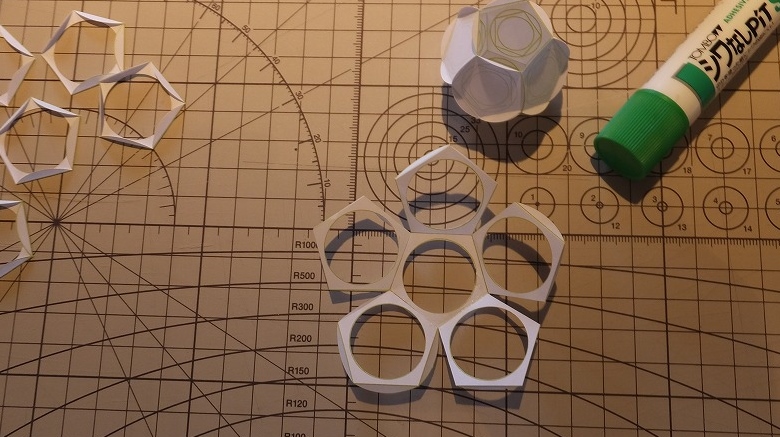
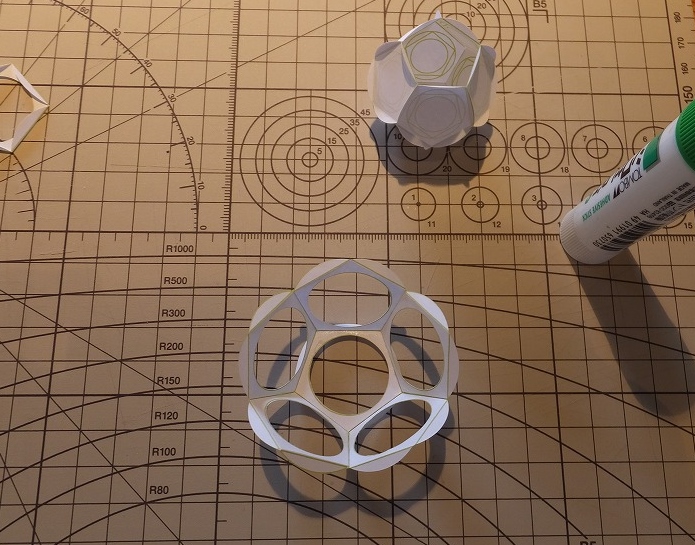
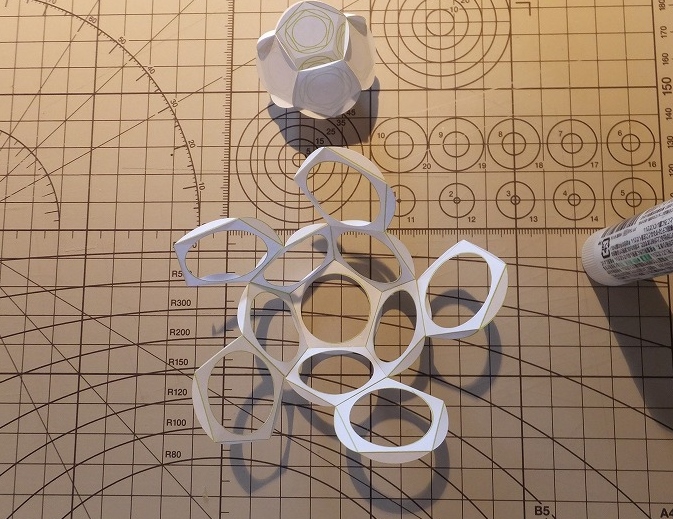
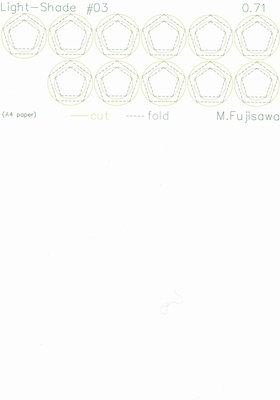
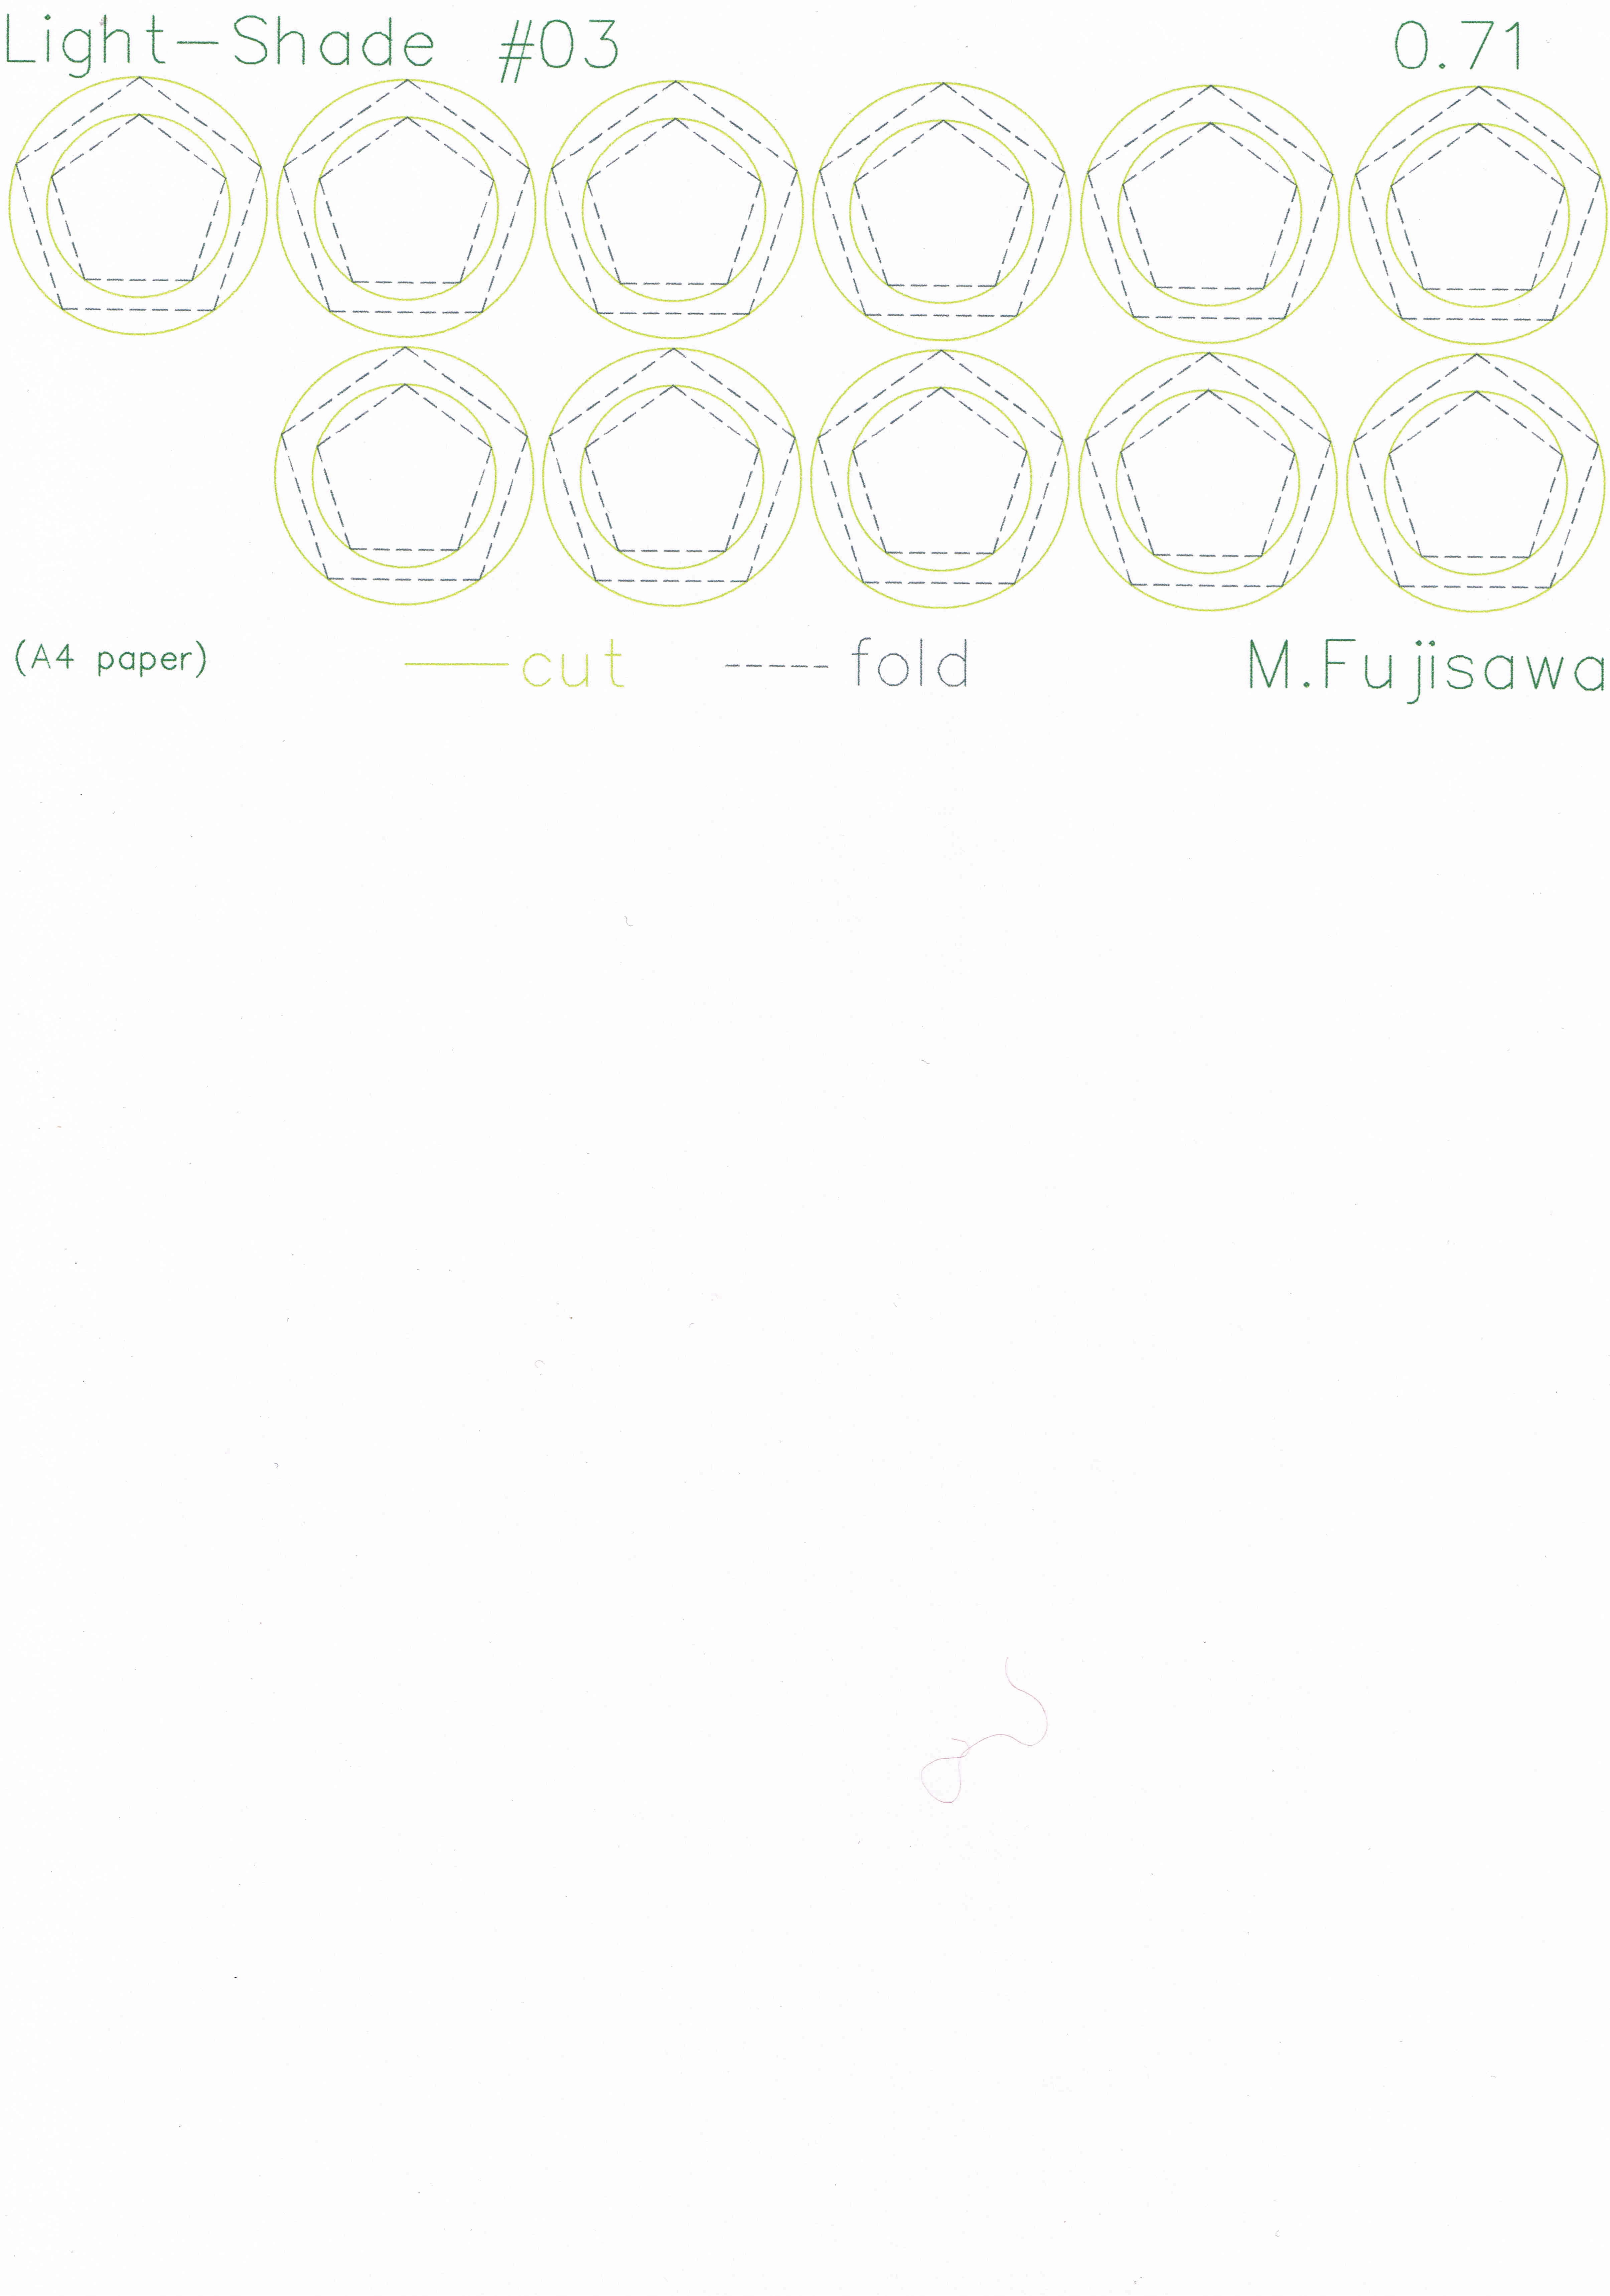
1. Print the drawing on the color/white papers. 色/白用紙に図面を印刷する。・・・・・・・2. Cut out all the solid-lined shapes. 実線の内外円をすべて切り出す。
Light-Shade #03
Owner & Collaborators
License

Light-Shade #03 by fujisawaminoru is licensed under the Creative Commons - Attribution-NonCommercial-ShareAlike license.
Summary
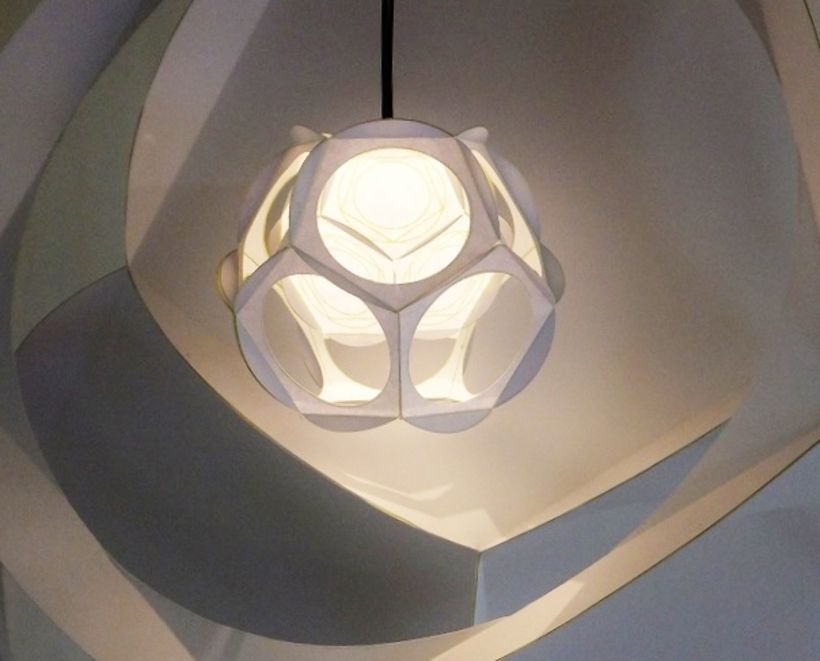
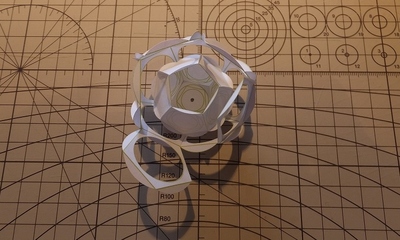
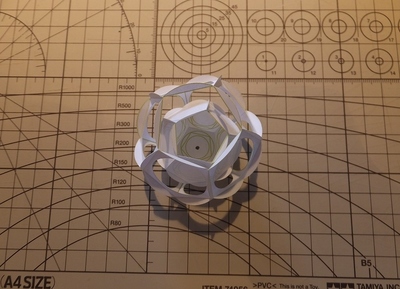
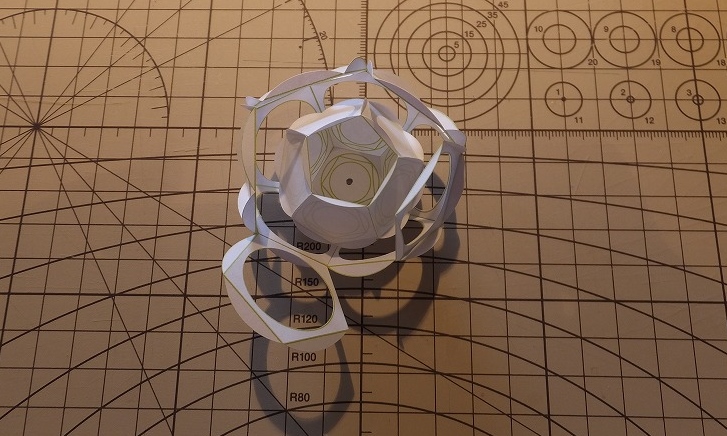
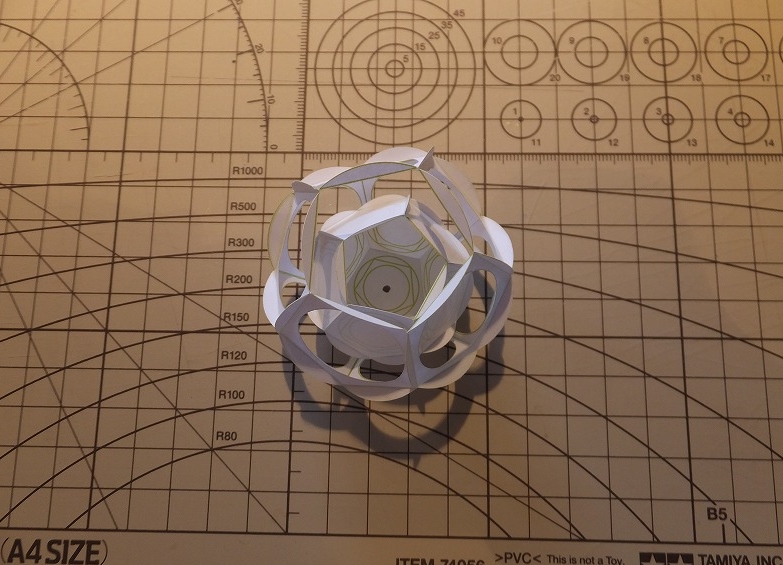
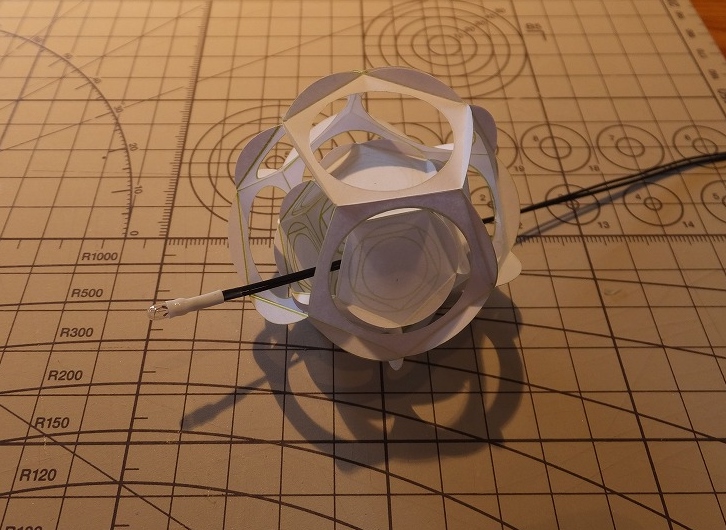
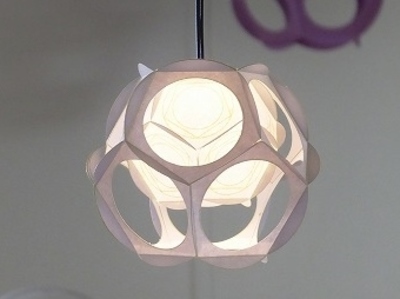
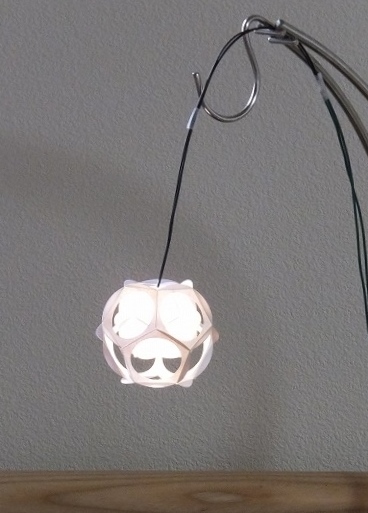
Light-Shade#03 [0.71, double-sphere, translucent] ライトシェード #03 [0.71、二重構造、透過光タイプ] ・・・(One of tiny variations of Light-Shade #1)(ライトシェード#1の極小バリエーション)・・・・・Tools1&2 are common to Light-Shade #1 道具1&2についてはライトシェード#01と共通・・・Material is thin paper for writing, printing or general usage. 材料は汎用のコピー用紙・・・A miniature light bulb or a micro LED light chip can be used. 模型用の麦球とかLED照明チップを使用する。・・・AA-size batteries may be suitable. 単三電池で充分だろう。・・・Use appropriate wire, switch, and battery holder. 適当な電線、スイッチ、電池ボックスを使用すること。・・・This #3 is applying the ratio of 0.71 instead of 0.809 for obtaining the stiffer outer ribs. この#2では内側の円比率を0.809ではなく0.71にして、外球のリブ強度を高めている。・・・・Ref. 0.71:1(=1:1.414) is an approximation of the 'Silver Ratio'. ちなみに0.71:1(すなわち1:1.414)はいわゆる「白銀比」の近似値である。・・・・・・(Ref. The background of the photo is Light-Shade #1.) (なお、写真の背景はライトシェード#1である)
Materials
Tools
Blueprints
Making
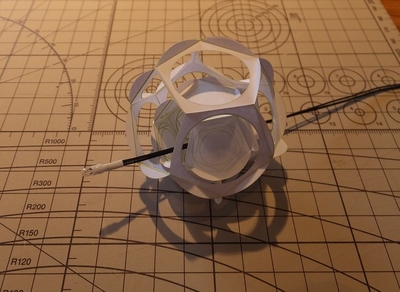
- 6. Assemble the set of electrical parts through the top of the inner sphere. 麦球からコードを内球上面を通し他の部品に接続して組み立てる。
References
Usages
Project comments

Comments