メモ
03Dでプリンタで作ったパーツは割れやすいのでそのうちレーザーカッターで作ったバージョンも公開予定
WalkingTree( with 3D Printer and AVR)
Owner & Collaborators
License

WalkingTree( with 3D Printer and AVR) by jun1chi is licensed under the Creative Commons - Attribution-NonCommercial-ShareAlike license.
Summary
WalkingTreeは自然から最適な木の枝や植物を採取し胴体とすることで,歩く植物とする自立型ロボット玩具である.上部の植木鉢に採取した植物や木の枝を植え,体験者の想像した歩行植物ロボットとして完成する.
完成後は,自立したロボットとして動き始める.太陽光の当たる場所に辿り着くと,動力のモーターはソーラー充電器により蓄電され,上部に植えられた植物は光合成を行う.太陽光エネルギーによって光合成と発電を行う,いわば動く植物である. WalkingTree is a stand-alone robotic toy which consists of natural branches and plants. As users play with this toy in nature,so user become sensitive to nature materials.Users attach the collected branches and plants into the pot to complete a walking botanical robot which they have imagened. The ways of toy's walking change according to a length and a position of attached branches. After the robot is completed, the WalkingTree will start to move as a stand-alone robot. When it reaches a sunny place, its solar cell charges and its plants will start to photosynthesize. WalkingTree photosynthesize and generate electricity by solar energy.
完成後は,自立したロボットとして動き始める.太陽光の当たる場所に辿り着くと,動力のモーターはソーラー充電器により蓄電され,上部に植えられた植物は光合成を行う.太陽光エネルギーによって光合成と発電を行う,いわば動く植物である. WalkingTree is a stand-alone robotic toy which consists of natural branches and plants. As users play with this toy in nature,so user become sensitive to nature materials.Users attach the collected branches and plants into the pot to complete a walking botanical robot which they have imagened. The ways of toy's walking change according to a length and a position of attached branches. After the robot is completed, the WalkingTree will start to move as a stand-alone robot. When it reaches a sunny place, its solar cell charges and its plants will start to photosynthesize. WalkingTree photosynthesize and generate electricity by solar energy.
Materials
Tools
Blueprints
Making
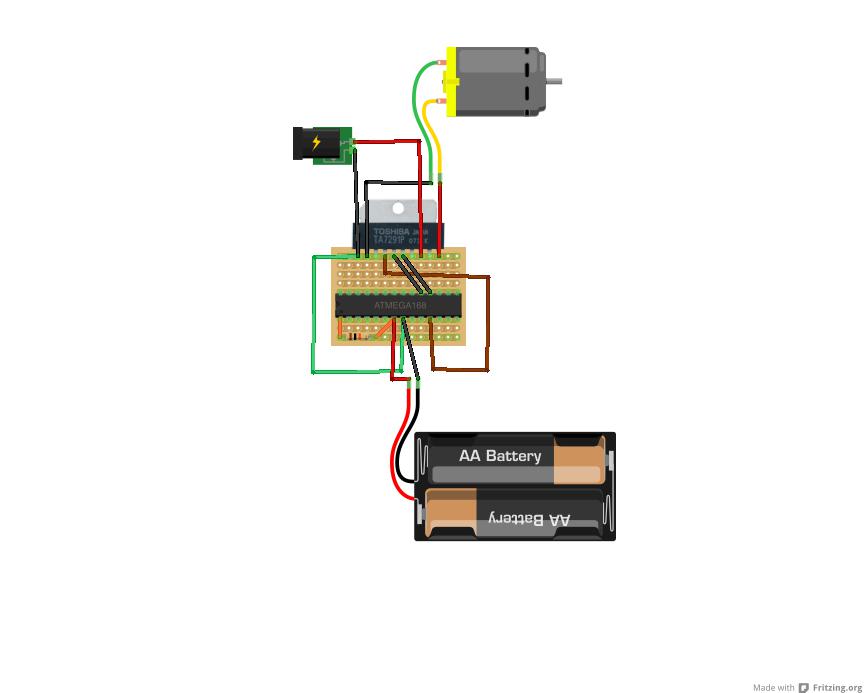
- タミヤ ロボクラフトシリーズ メカキリンを開封し、説明書③〜⑤に従ってギアボックスを組み立てる。このとき、逆転スイッチは使用しないので取り付けなくてよい。また電池ボックスはマイコンに接続するので、ここではモータとは配線しない。
- ただちょっとこれは初心者には難しめなので、Arduinominiとか Trinket使ったバージョンも公開します。参考http://jun1chi.blogspot.jp/2012/02/atmega328parduino-pro-33v-8mhz.html
- 接着剤などでギアボックスに体パーツをつける
- グルーガンなど使うとつけやすい
- プラ版とかでカバーを作ってつける
- タミヤ メカキリンの説明書⑦〜⑨を参考にしながらギアボックスに造形した脚パーツを付ける。脚パーツには、木の枝などを取り付けるための輪ゴムをはめる。ゴムは何でも良いが、直径15mmのゴムチューブを輪切りにして使用した。
- 公園や森で適切な長さの木の枝や花、草などを採取してくる。植木鉢部分につける植物は、クッションシートなどで包んでいると入れやすい。
完成
0
References
Usages
Project comments


Comments