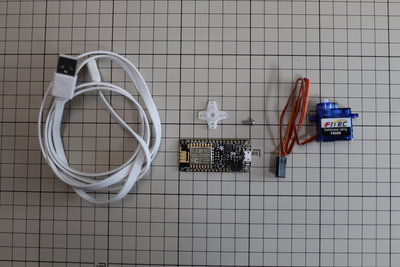
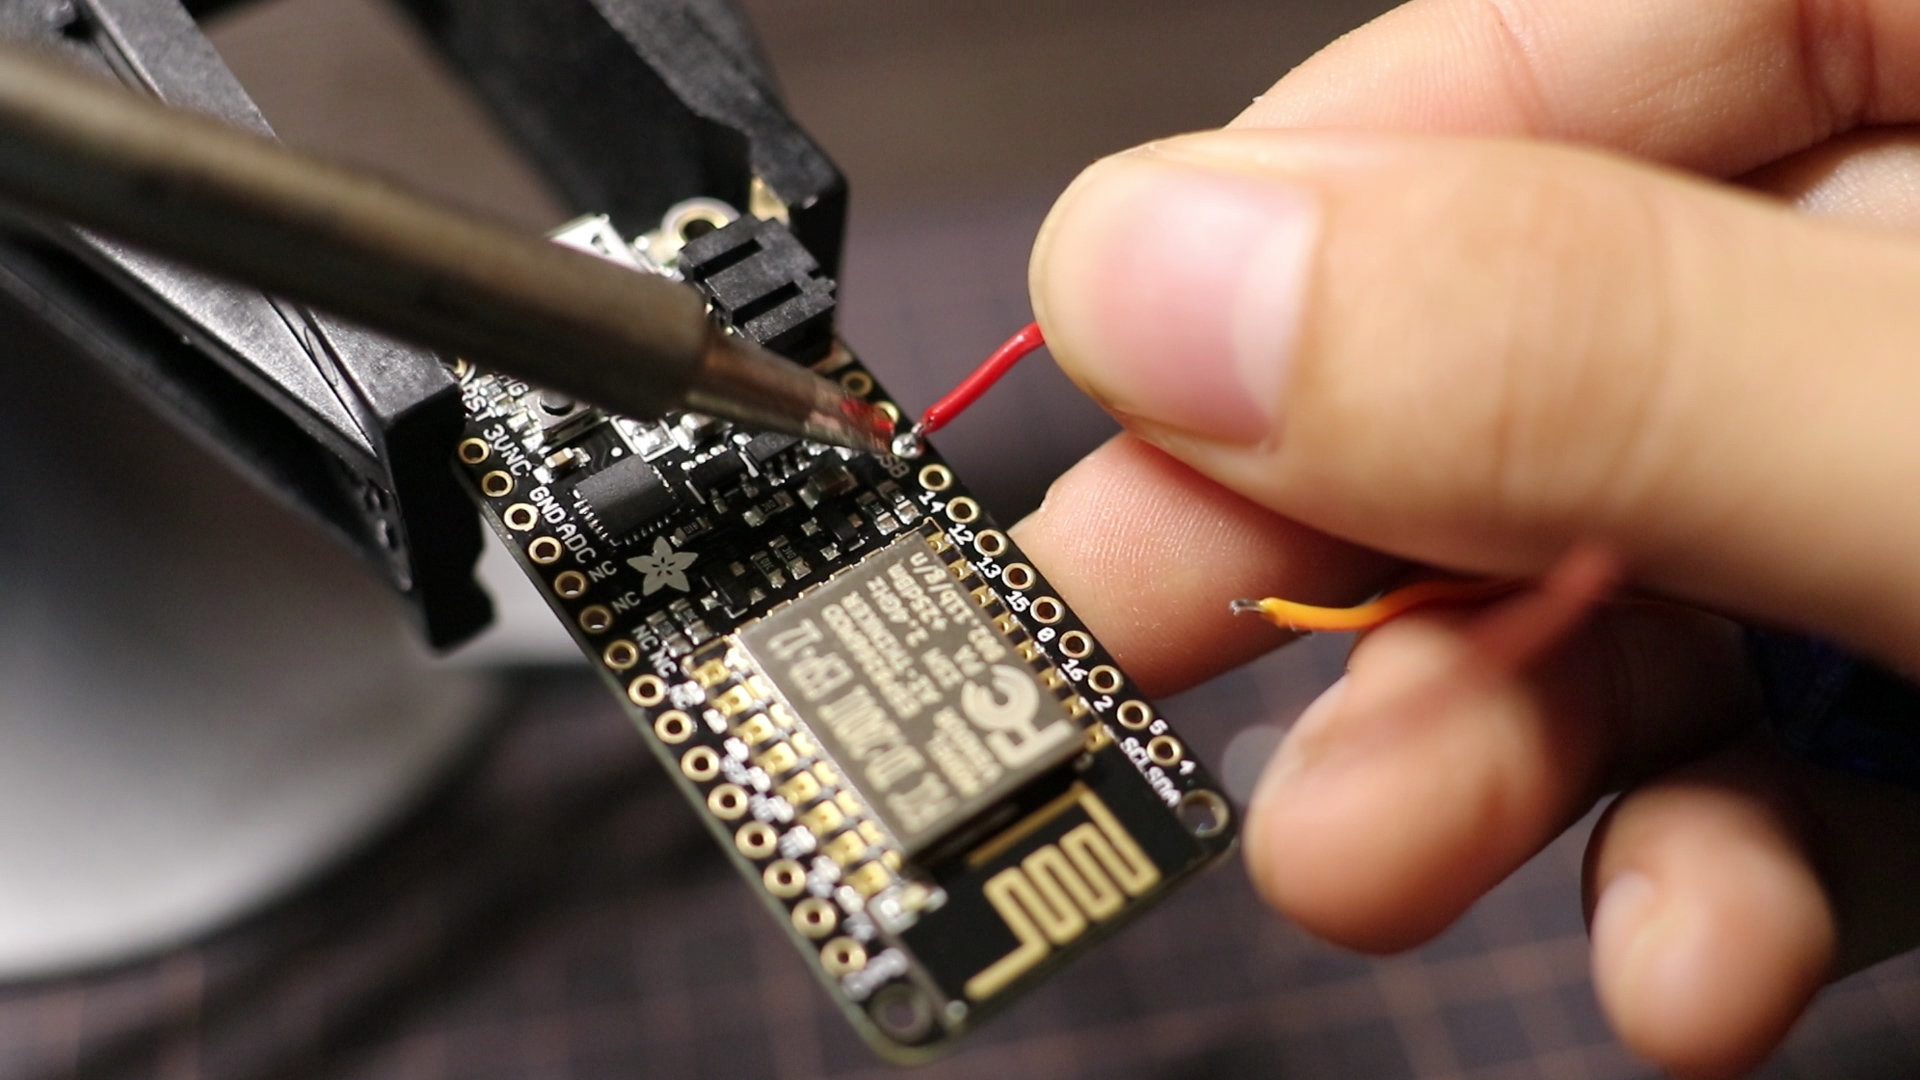
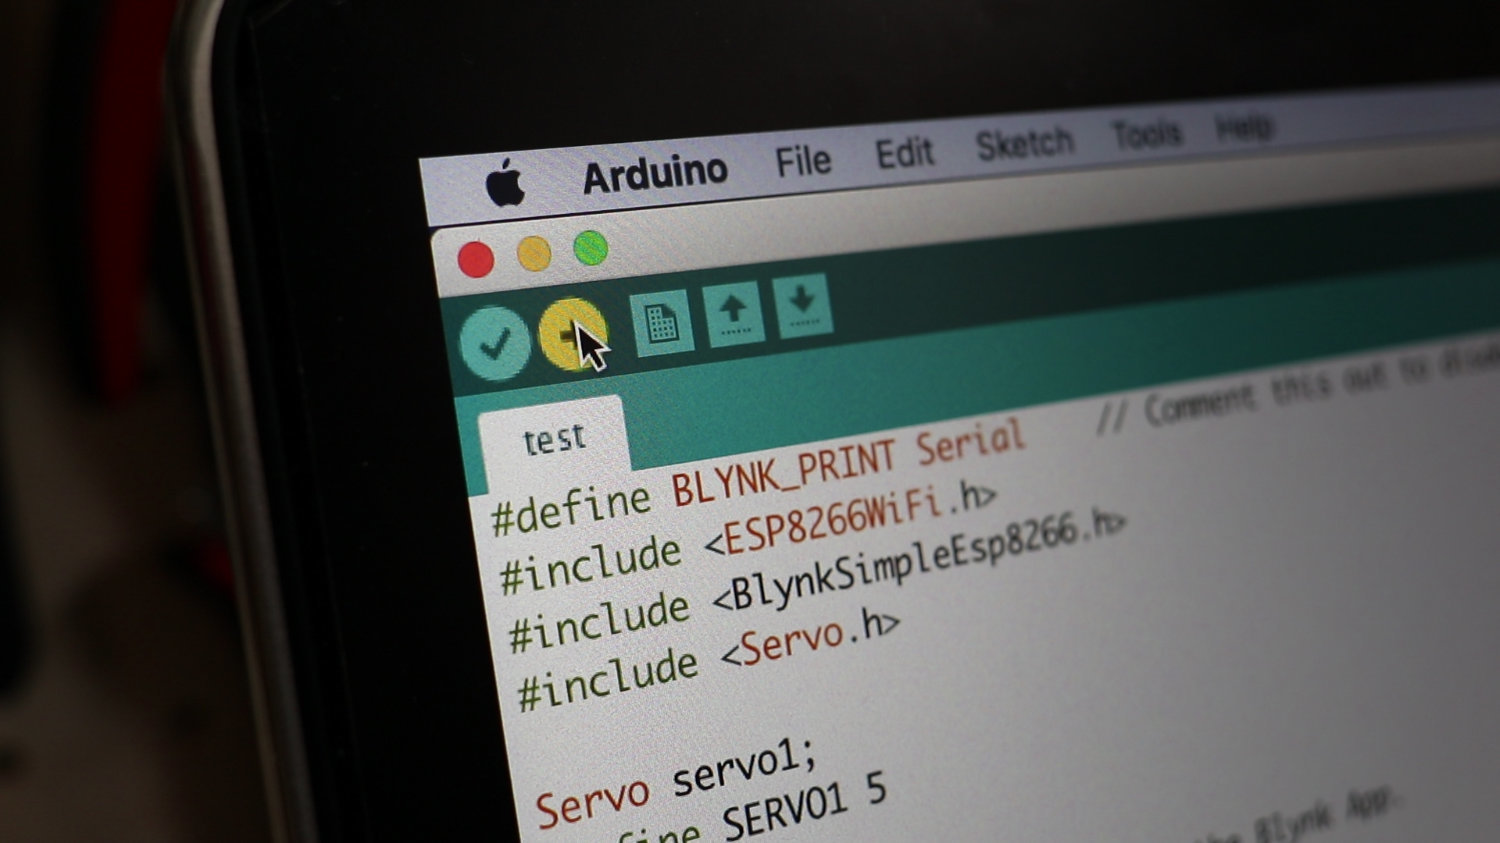
I needed to design something that can be 3D printed and off course feed my cat. The device also needed to be able to be controlled over the internet, so my mother can feed our hungry cat wherever she is, so I came up with an idea to use WIFI Arduino with servo motor mechanism to make this project.
- I chose to use Fusion 360 for this project because I know how to use it better than any other CAD softwares, but you can use any other CAD softwares like Auto CAD, 123D Sketch or OpenSCAD.However, if you don't feel comfortable using a CAD software, you can download from this link.
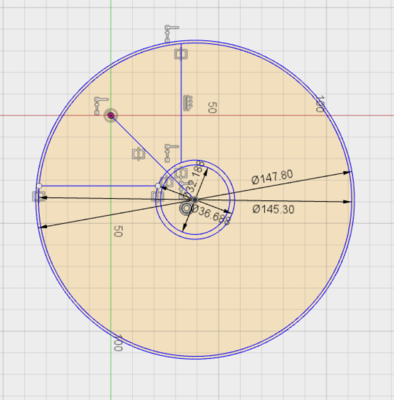
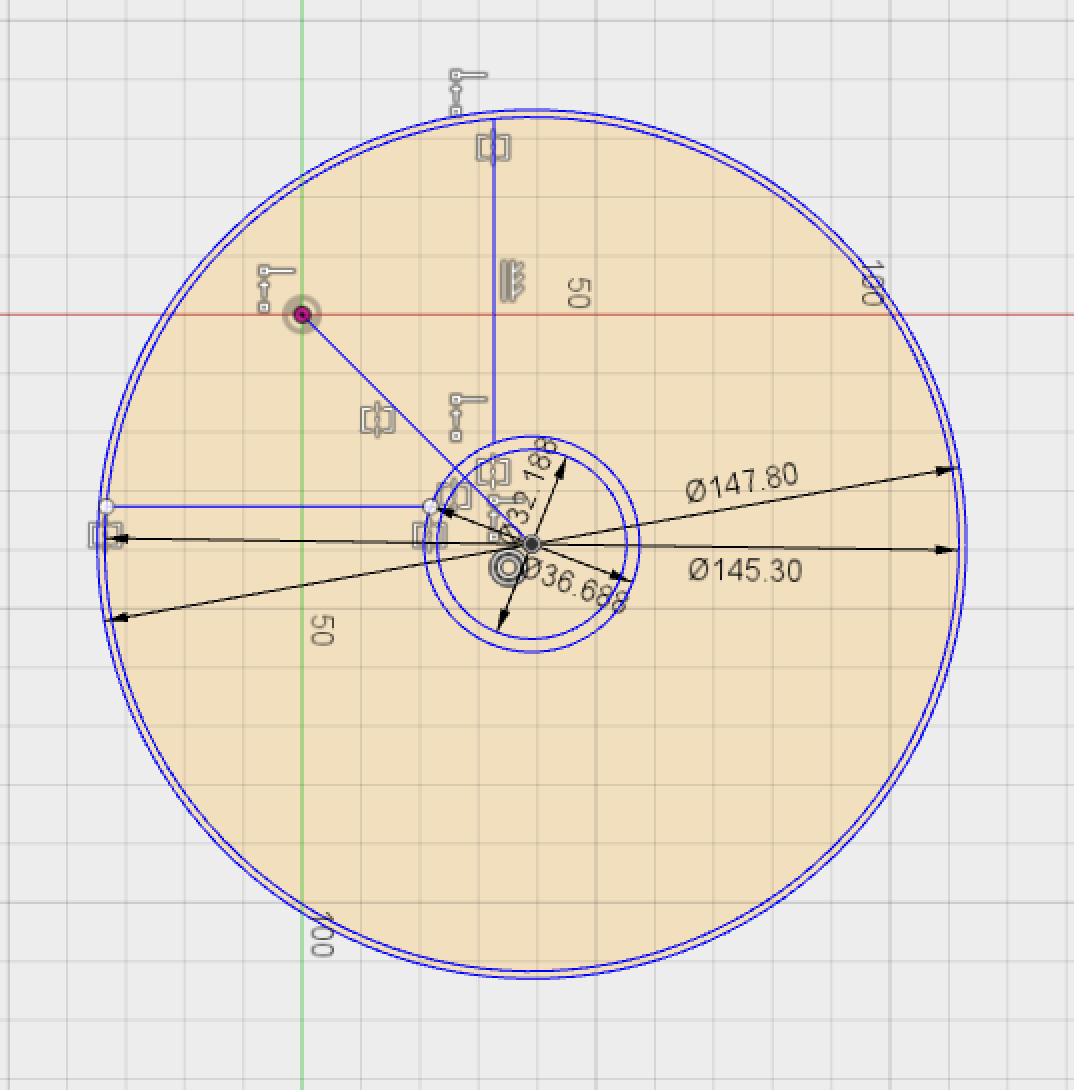
- Draw the outer, inner circle and the servo/tray holder of the base based on your needs and the servo motor's dimensions. You can choose any diameter you like.

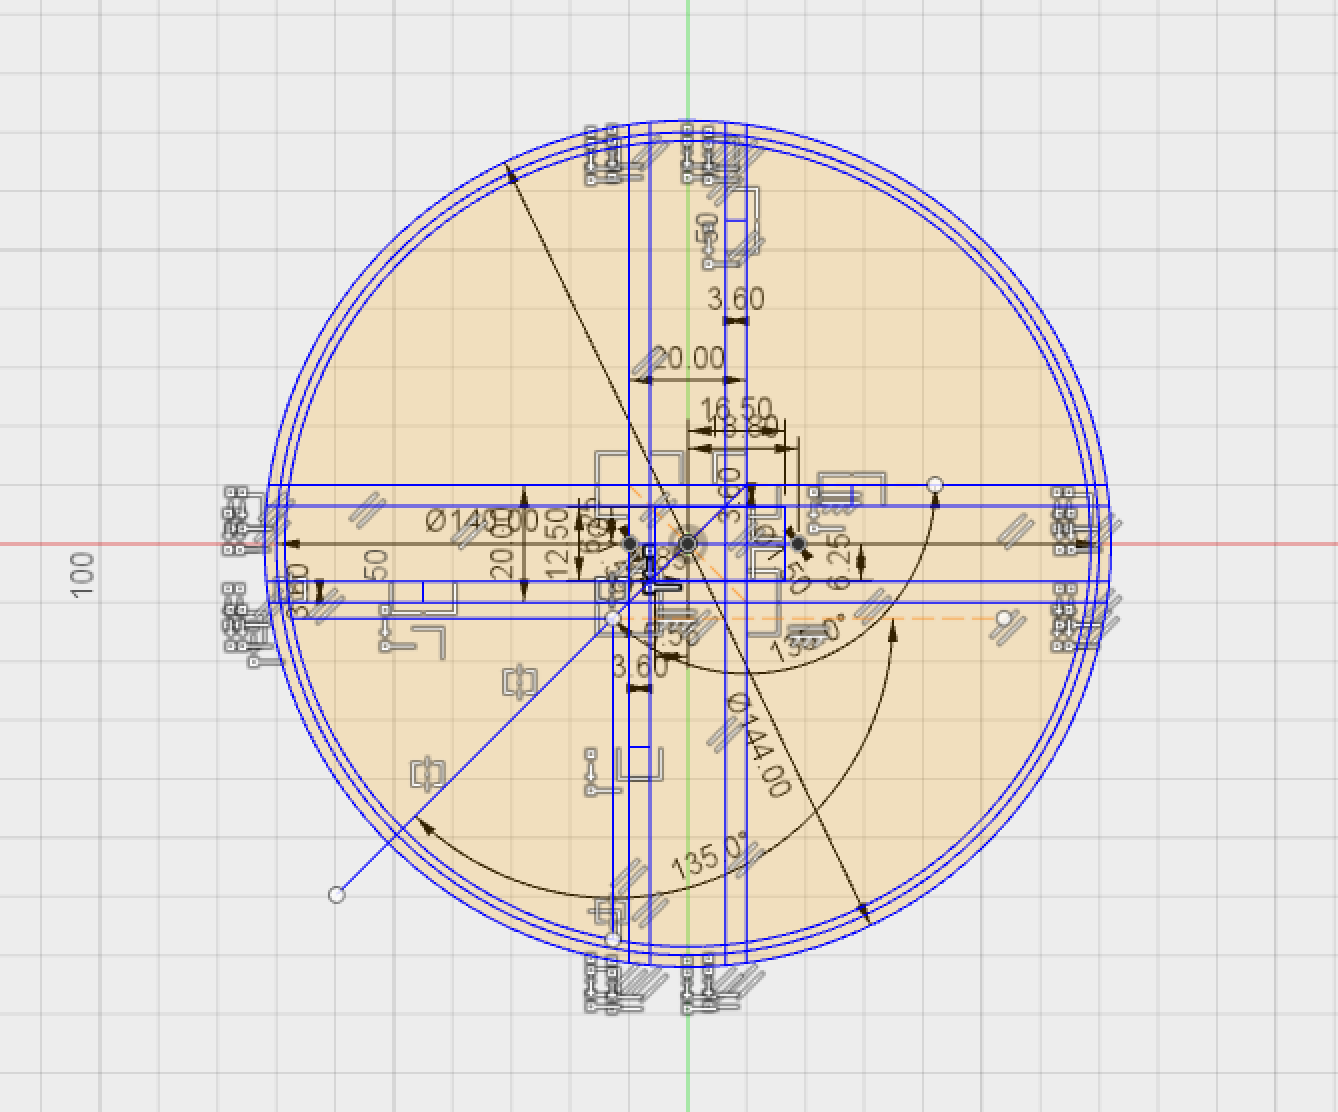
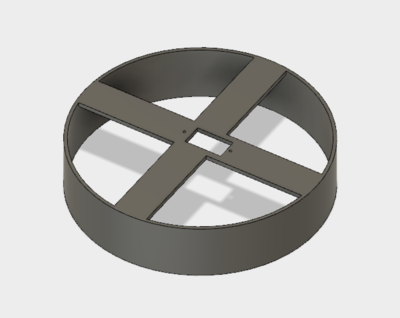
- Extrude the circle part and the servo/tray holder separately so it becomes a 3D object.

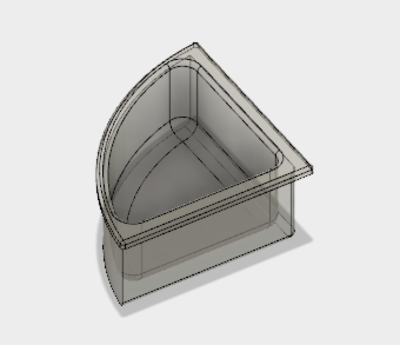
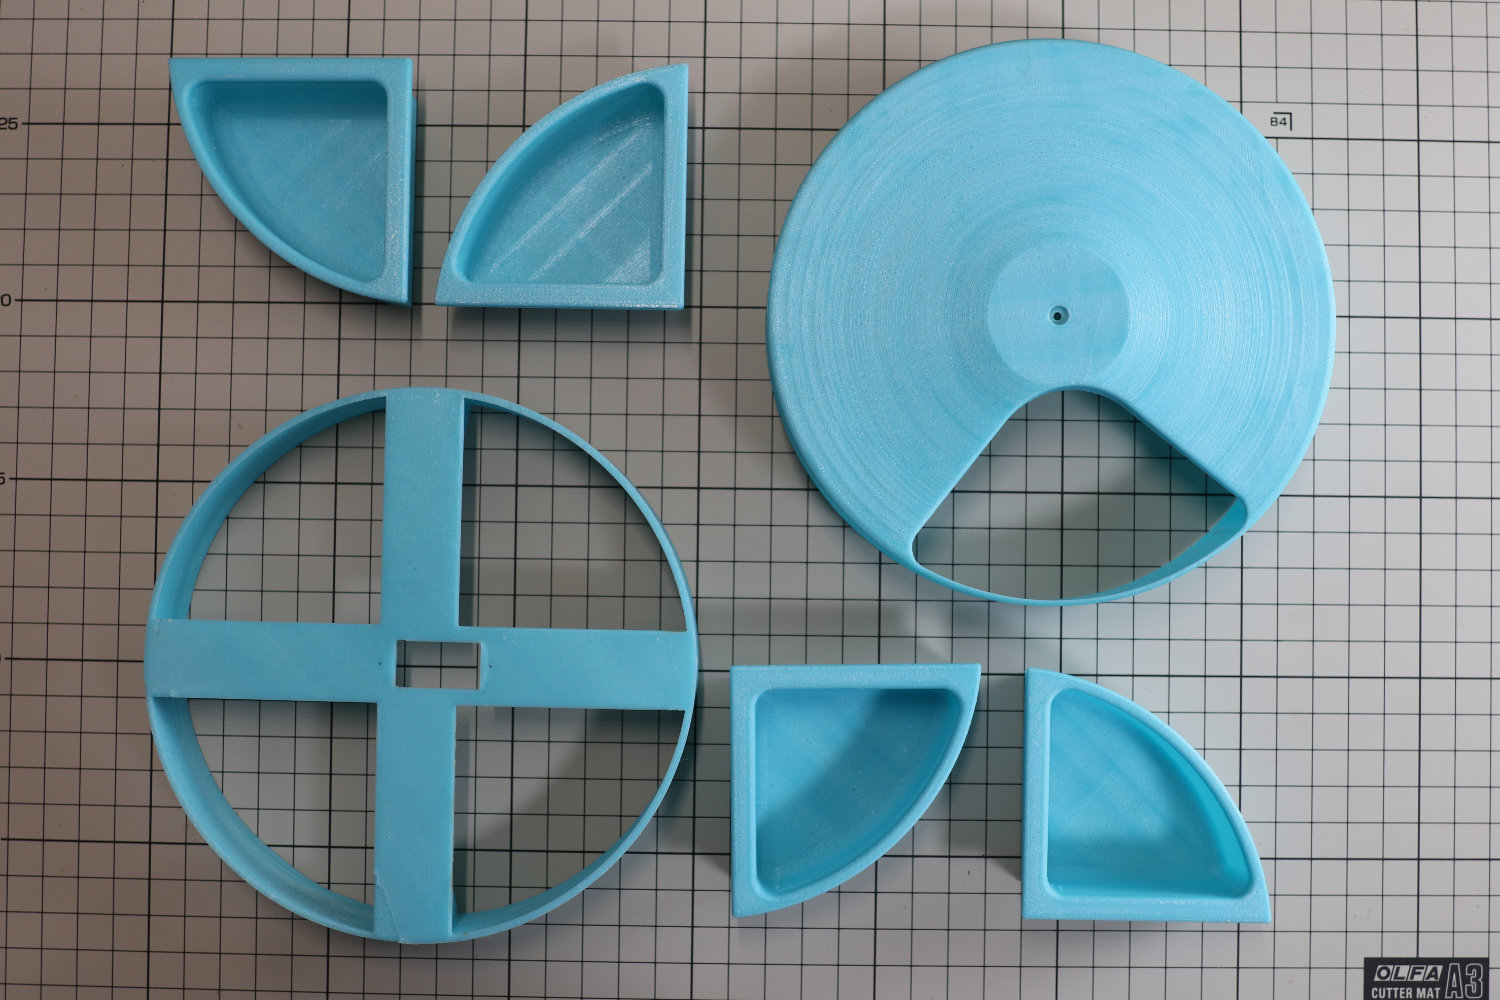
- The tray will hold the food inside the device.To make this we need to draw 2 sketches for bottom and the top like the one on the right. Draw this so that it matches up the dimensions of the base platform.TIP: Draw sketch using a construction plane from the base platform.
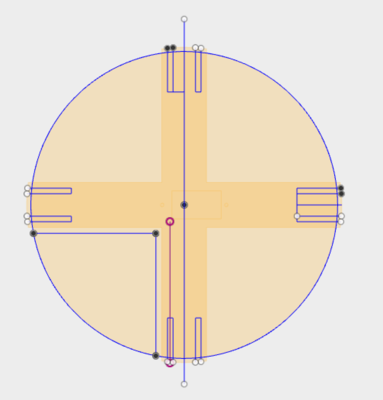

- Now extrude the top sketch to reach the bottom sketch. Use fillets to make the edges smooth.

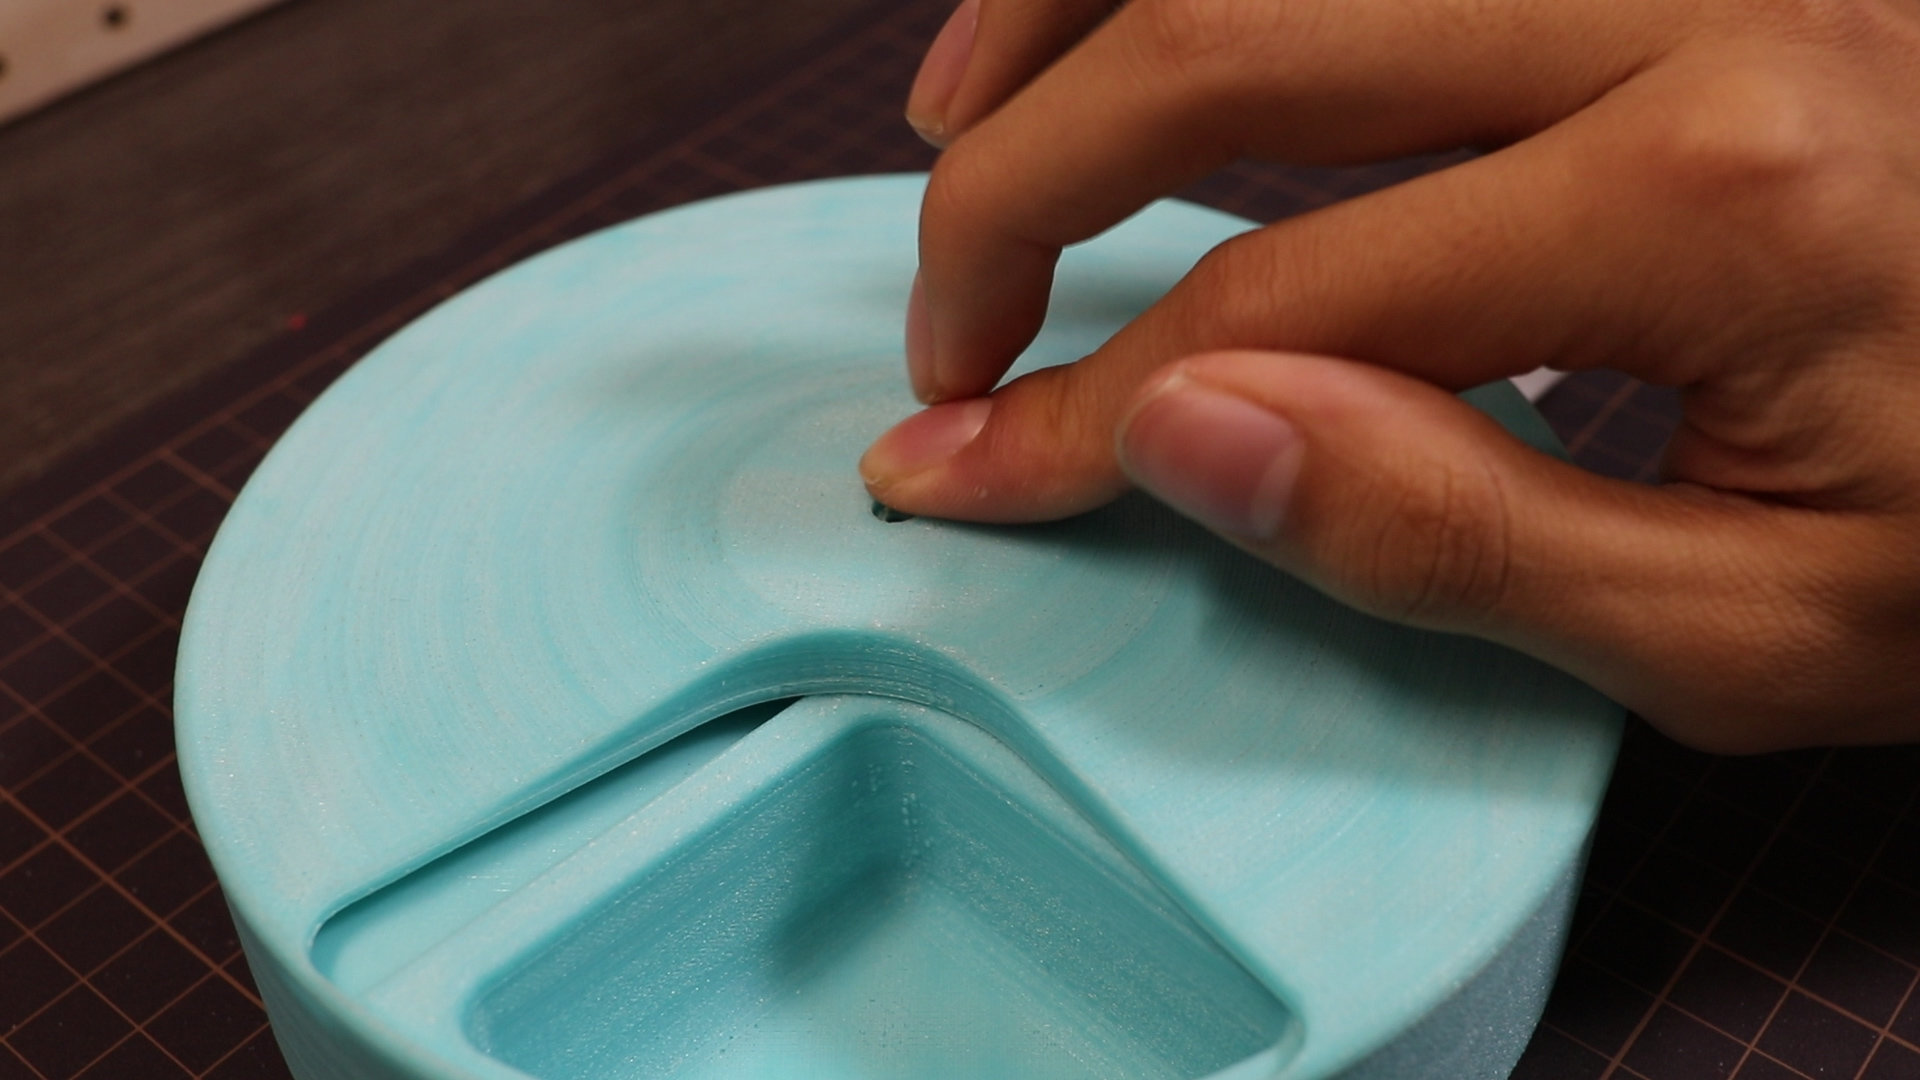
- Draw a sketch of the cover based on your previous dimensions. Also, we need to draw two lines to cover one quarter of the sketch to make it cover up 3 of the trays. Then add 2 circles for the servo motor horn.
- Extrude the outer circle and the inner circle separately to form the cover. Make sure to not include the one quarter area.
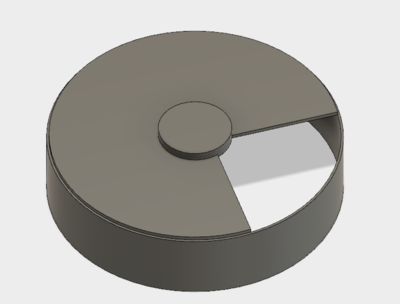
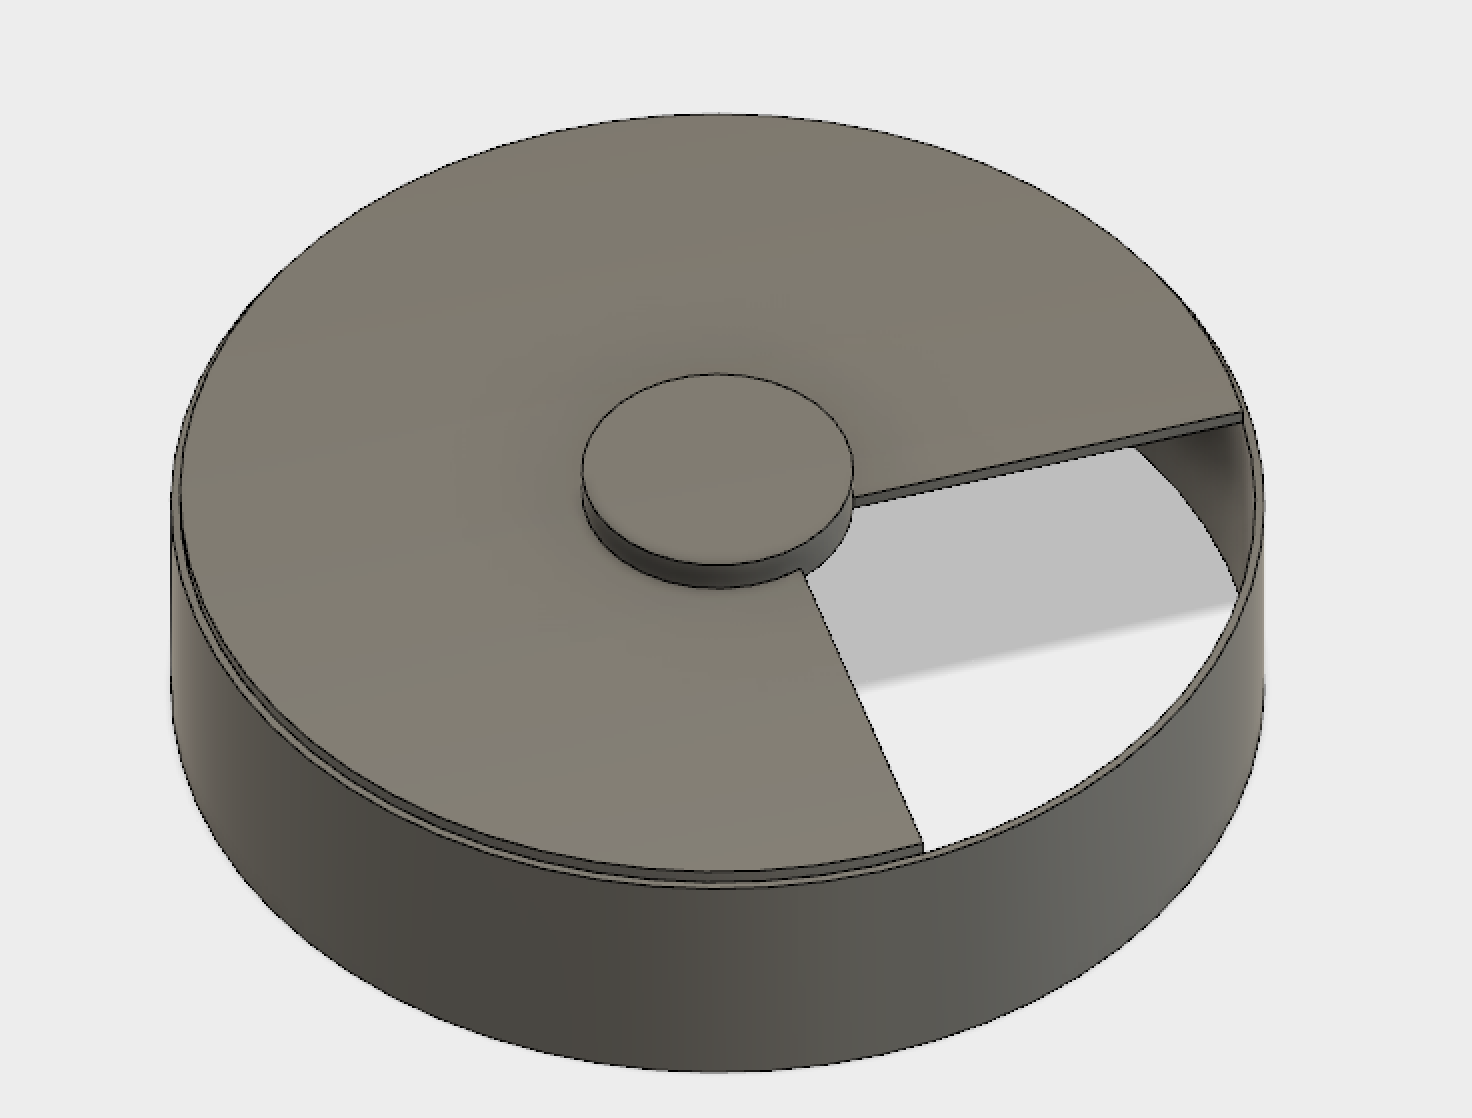
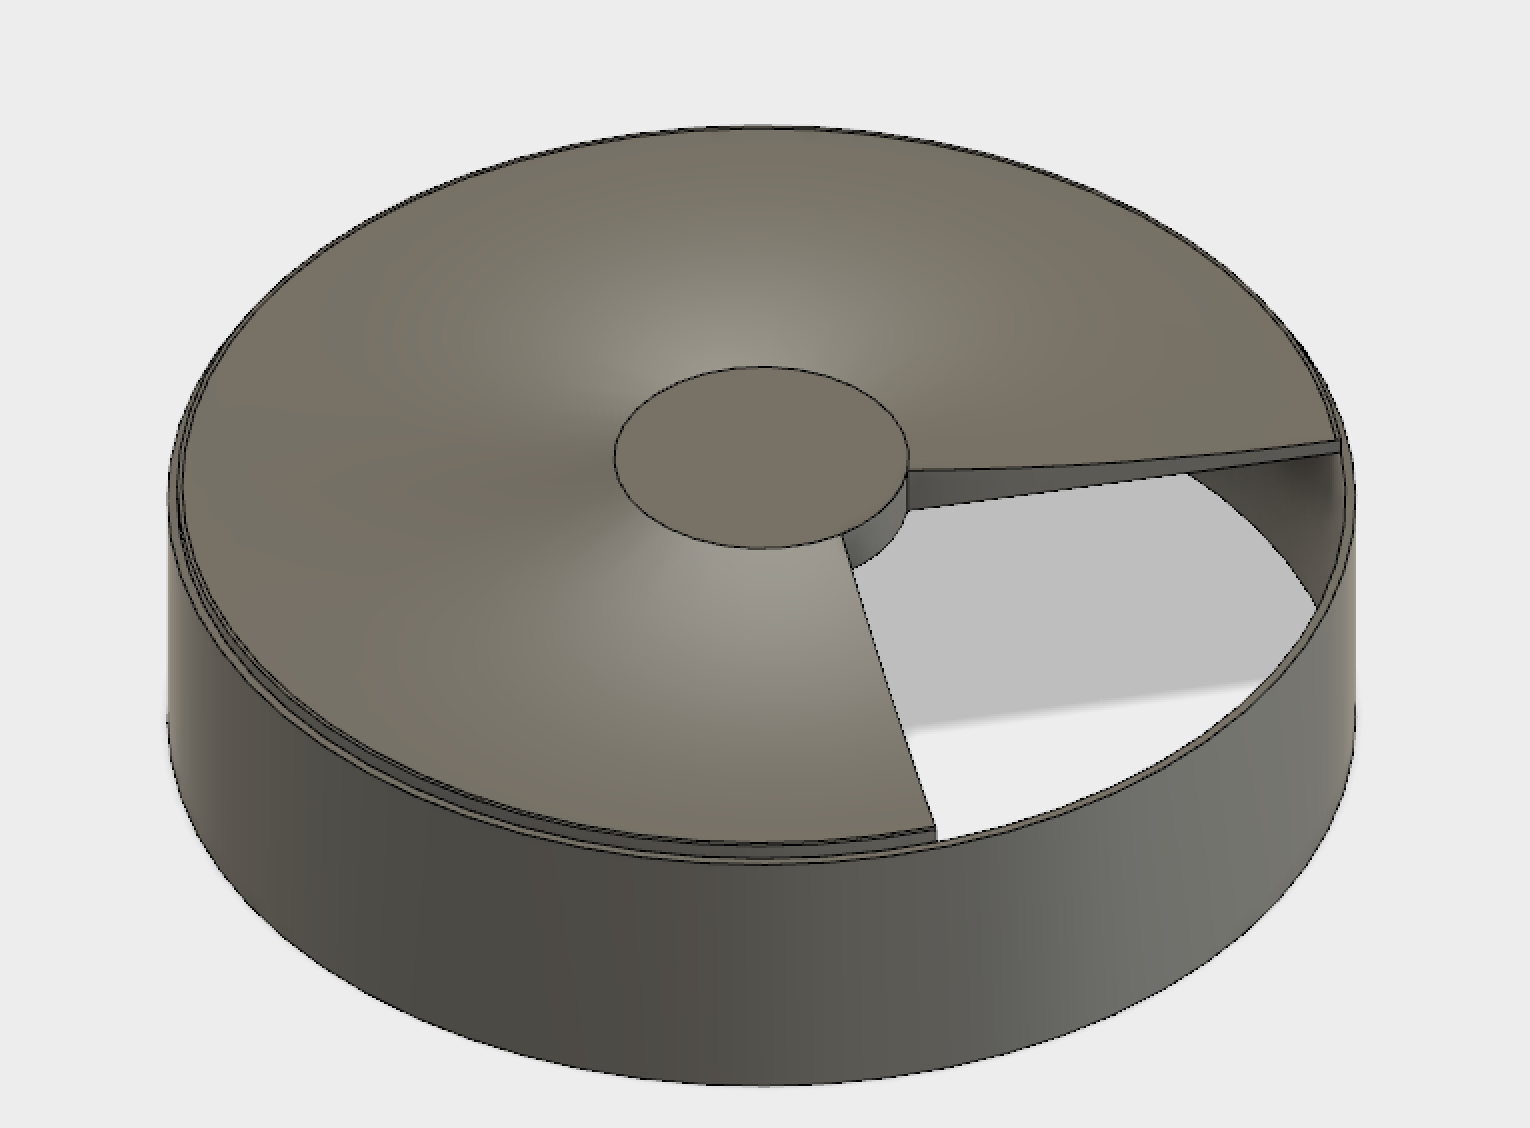
- Apply fillet to the circular line that joins the cover surface (largest surface on the top) and the horn holder's surface (the smaller surface at the very top). Enough fillet should be applied in order to make the top surface smooth.


Comments