

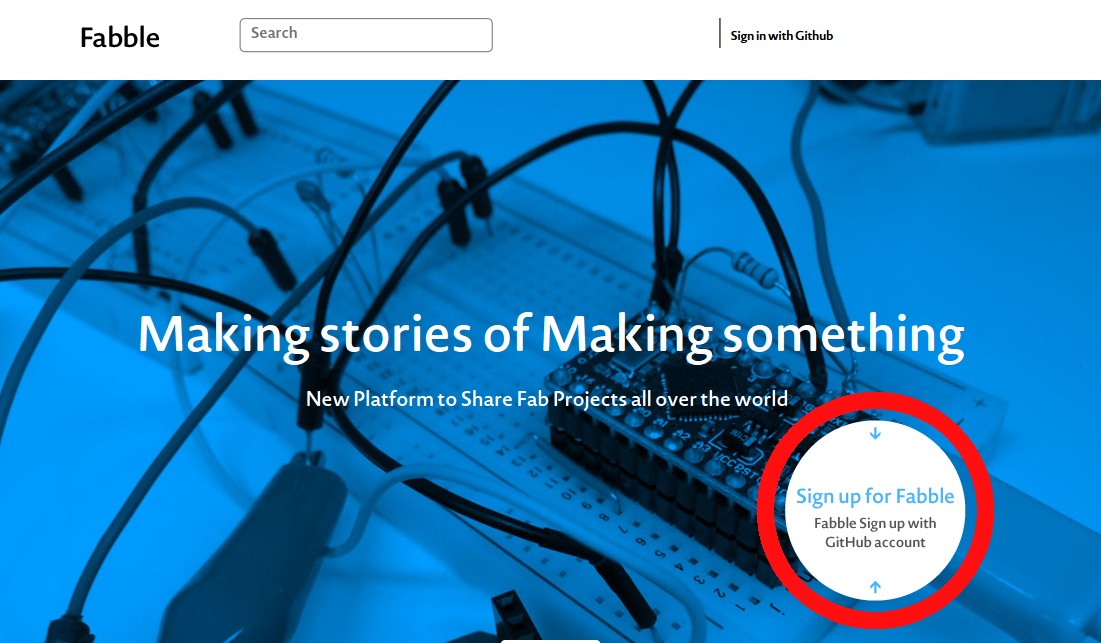
A GitHub account is necessary for logging in to Fabble. Please sign up for GitHub if you do not already have an account.
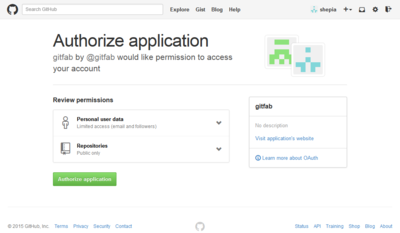
- For the initial login, the site will request permission to access your GitHub account. Please confirm the information and authorize.


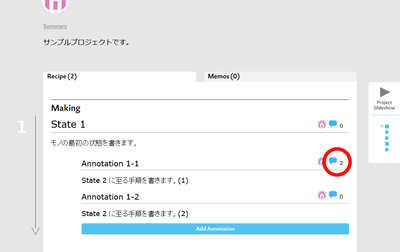
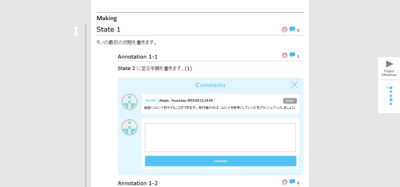


Comments